Paint Roller Marks on a Door: Causes, Sanding, and Recoat Checks
Roller marks on a door usually come from paint that did not level before it dried, a roller cover that did not suit the surface, uneven loading, or a recoat made before the previous coat was ready. The clean repair is to assess the texture, smooth only what is dry and stable, then apply a controlled finish coat.
Identify the kind of roller mark
Stand to the side of the door under good light. Raised ridges, orange-peel texture, lap lines, and lint each point to different causes. A mark that is visible only at an angle may be a leveling issue; a ridge you can feel needs surface preparation before another coat.
Check the entire door, including rails, panels, edges, and the area around hardware. A flat slab door and a paneled door require different rolling patterns, but both benefit from maintaining a wet edge and avoiding repeated passes over paint that has already begun to set.
Choose a cover that fits the door surface
Smooth doors need a cover intended to leave a fine finish, while rougher surfaces require more nap to reach texture. A cover that is too thick can leave heavy stipple; one that is too thin may not distribute paint evenly. Use the coating manufacturer’s recommendations when available.
Use a clean, quality cover and avoid switching between different cover types midway through the same finish coat. Loose fibers, dried paint, or a partially worn cover can leave defects that look like a paint problem but are actually a tool problem.
Load the roller evenly
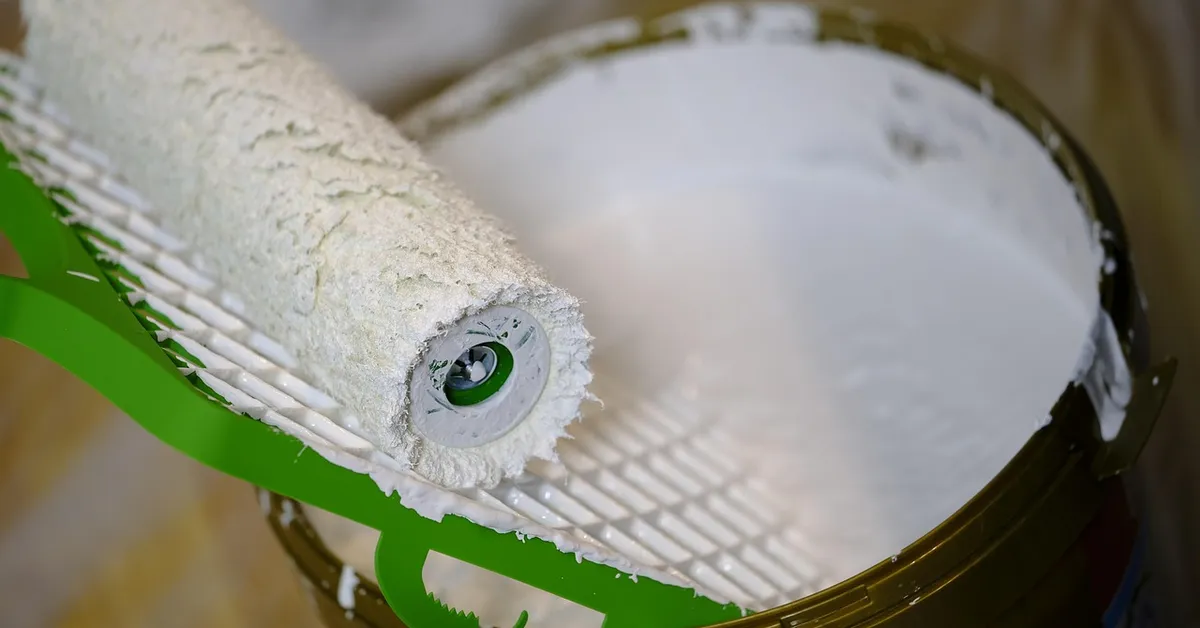
Roll the cover through the tray or bucket screen until it is evenly loaded but not dripping. An overloaded roller splatters and leaves ridges; an underloaded roller forces repeated dry passes that create lap marks. Apply paint in manageable sections rather than trying to cover the entire door in one long pass.
For a flat door, spread the paint, then make light finishing passes in one consistent direction before the paint starts to set. Do not return to a section just to make it look perfect while it is tacky; that is how a smooth film becomes a textured one.
Sand only after the coat is dry enough
Follow the paint label’s recoat and cure guidance before sanding. When the surface is ready, use a fine abrasive appropriate for the coating and lightly knock down raised defects rather than cutting through the finish. Remove dust thoroughly before recoating.
If you expose bare wood or metal, restore the correct primer before the finish coat. Skipping that step can create flashing, poor adhesion, or a visible repair patch. The objective is a uniform surface, not simply a surface that feels smoother under one hand.
Control temperature, airflow, and recoat timing
Paint flow and leveling depend on the product, room temperature, surface temperature, humidity, and airflow. Direct sun, a hot door, fast-moving air, or an early recoat can make a finish set before it levels. Work within the label conditions instead of relying on a generic drying time.
Ventilate safely, but do not create a strong draft across freshly painted surfaces. If the door is exterior-facing, plan the job around the forecast and protect the surface from moisture and debris while it dries.
A reliable recoat sequence
Clean the surface, correct ridges only after drying, remove sanding dust, use the right cover, load it evenly, and finish each section with deliberate light passes. Allow the full recommended time before judging the final sheen; some coatings look uneven until they have leveled and dried.
The information gain in this repair is the defect map: feel for ridges, inspect at an angle, and separate texture from lap lines before sanding. That prevents unnecessary aggressive sanding and helps the next coat solve the actual cause.
Before you recoat, make a small controlled check
Use a test area or the least visible part of the door to confirm that the prepared surface accepts the coating smoothly. This small check is more useful than adding a full coat and hoping the tool, paint, temperature, and surface condition all work together.
Record the paint product, roller cover, room conditions, and recoat time while the job is fresh. If a defect returns, those details help you distinguish a coating-system problem from application technique without relying on memory or repeating the same failed method.
Mask hardware and protect adjacent surfaces before the final coat, but remove tape according to the paint and tape instructions so it does not tear a soft edge. Keep the door open long enough for the coating to dry without sticking to its weatherstrip or stop.
If the finish is a high-gloss or semi-gloss coating, inspect it from more than one angle after it has dried. Gloss reveals small surface flaws more readily than a flat coating, so controlled preparation and a clean final pass matter more than adding extra paint thickness.
Know when a coating problem is beyond a simple recoat
Stop and seek product-specific guidance if paint wrinkles, remains soft, peels, reacts with an earlier coating, or repeatedly develops defects after the stated drying time. Those signs can point to contamination, incompatible layers, moisture, or an unsuitable primer rather than a roller technique issue.
For a historic, exterior, or lead-painted door, use the appropriate safety precautions before sanding or scraping. Do not create dust from an unknown old coating without first considering testing and local safety guidance.
Frequently asked questions
Can I paint over roller marks on a door?
Yes, after the existing coat is dry enough to evaluate and prepare. Smooth raised defects lightly, clean away dust, then recoat with the correct roller, paint load, and technique.
Why did my roller leave lines on a door?
Common causes include uneven loading, an unsuitable nap, overworking paint as it starts to dry, and poor flow or leveling conditions. Inspect whether the lines are raised, textured, or only visible at an angle.
What roller nap should I use for a smooth door?
Use a cover intended for smooth surfaces and follow the coating manufacturer’s recommendation. The correct nap depends on the door material, paint system, and desired finish.
The practical next step
A smooth door finish comes from correcting the right defect before the next coat. Let the paint dry, prepare only the confirmed high spots, and use a controlled rolling method that gives the coating time to level.
Sponsored / affiliate links. As an Amazon Associate I earn from qualifying purchases. I may earn additional commission from eligible campaigns.