How to Remove a Door Latch (Stuck, Painted, or Standard)
Removing a door latch means unscrewing the knob or handle first, then taking off the faceplate to pull the latch mechanism free — most U.S. interior latches use a 2-3/8 or 2-3/4 inch backset per ANSI/BHMA A156.2. Forcing a stuck or painted-over latch can crack the faceplate or strip the screw heads. This guide covers standard removal, stuck and painted-over latches, and what to check before buying a replacement.
Quick Answer
Take off the door knob or handle first, then remove the two faceplate screws on the door’s edge and pull the latch mechanism straight out. If it won’t budge, look for two small tabs on the latch body — rotating them a quarter turn with pliers releases the internal spring catch on most tubular latches.
Why You Might Need to Remove a Door Latch
First things first, let’s talk about why you’d want to remove a door latch in the first place. Maybe your latch is old and rusted, or perhaps you’re giving your home a facelift with new, modern hardware. Sometimes, it’s about replacing a broken mechanism that’s making it hard to open or close the door. Other times, you might be prepping for a paint job and need the latch out of the way. Whatever your reason, knowing how to remove a door latch is a handy skill that saves time and money. No need to call a locksmith when you can do it yourself.
Tools You’ll Need
Before we get started, let’s gather the tools. You don’t need a fancy toolbox, just a few basics. Here’s what I recommend:
| Tool | Purpose |
|---|---|
| Flathead screwdriver | For prying and removing cover plates |
| Phillips screwdriver | For removing screws |
| Allen wrench (optional) | For some modern latch designs |
| Needle-nose pliers | For rotating release tabs or gripping stubborn parts |
| Lubricant (like WD-40) | To loosen stuck screws (if needed) |
| Utility knife | To score paint seals on painted-over faceplates |
| Rag or cloth | To clean up or wipe down parts |
I keep these tools in a small toolbox in my garage. If you don’t have them, you can find them at any hardware store for cheap. Trust me, they’re worth having for all sorts of home projects like fixing a loose door knob.
Understanding Your Door Latch
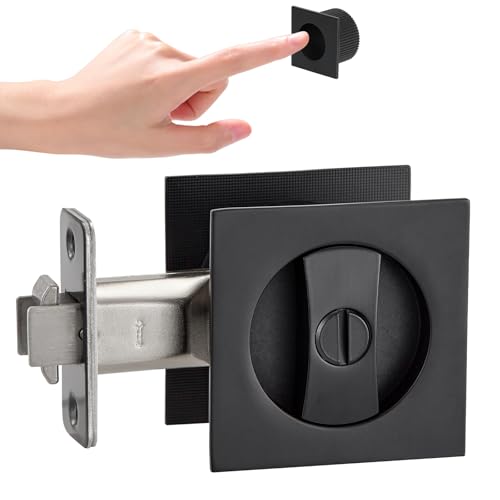
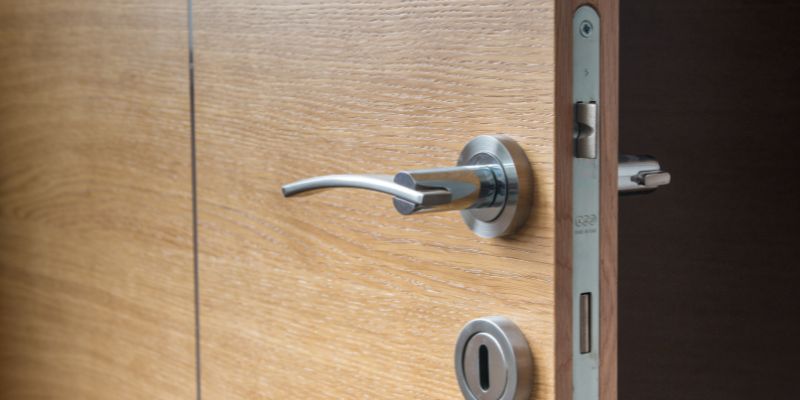
Okay, let’s talk about the latch itself. Most homes in the USA have either a mortise latch, a tubular latch, or a cylindrical latch. The good news? The removal process is pretty similar for all of them. A mortise latch sits inside a pocket in the door, while tubular and cylindrical latches are more common in modern homes and fit into a drilled hole. The key parts you’ll deal with are the latch bolt (the part that sticks out and catches the strike plate), the faceplate (the metal piece on the door’s edge), and the screws holding it all together.
| Latch Type | Where Found | Removal Difficulty |
|---|---|---|
| Tubular | Most modern interior/exterior doors | Easy — pulls straight out |
| Cylindrical | Commercial and some residential doors | Easy — similar to tubular |
| Mortise | Older homes, solid-core doors | Harder — set deeper, more screws |
A door latch backset is the distance from the edge of the door to the center of the knob or lever hole, and it determines which replacement latch will fit. Most U.S. interior doors use a 2-3/8 inch backset, while many exterior doors use 2-3/4 inch. Always measure the old latch before buying a replacement — mixing backset sizes is the most common reason a new latch won’t seat flush.
📊 Residential bored and preassembled latches (2-3/8in and 2-3/4in backset) are governed by ANSI/BHMA A156.2 — Source: Builders Hardware Manufacturers Association, A156.2-2022
Preparing for the Job
Before you start unscrewing anything, take a moment to prep. First, close the door and check how the latch moves. Does it stick? Is it loose? This gives you a sense of what you’re dealing with. Next, clear the area around the door so you have room to work. If you’re worried about scratching the door, lay down a towel or some painter’s tape around the latch area. I also like to keep a small bowl nearby to hold screws — trust me, those little guys love to roll away.
Step-by-Step Guide to Removing a Door Latch
Now, let’s get to the fun part — actually removing that latch. I’ve done this enough times to know the process by heart, and I’ll break it down so you can follow along easily.
Step 1: Remove the Door Knob or Handle
The first thing you need to do is take off the door knob or handle. Most latches are connected to the knob, so this is where we start. Look at the base of the knob on the interior side of the door. You’ll usually see a small slot or hole. If there’s a cover plate, use your flathead screwdriver to gently pry it off. Once the plate is off, you’ll see screws — usually two or three. Grab your Phillips screwdriver and remove them. Keep those screws in your bowl. After that, the knob or handle should pull off easily. If it’s stuck, give it a gentle twist or tug. Sometimes, a little WD-40 helps loosen things up.
Step 2: Detach the Latch Faceplate
With the knob off, you can now see the latch mechanism inside the door. On the edge of the door, you’ll notice the faceplate — the metal piece that surrounds the latch bolt. This is usually held in place by two screws. Use your Phillips screwdriver to remove them. I’ve had times where these screws were painted over or rusted, so if they’re tough to turn, spray a bit of lubricant and let it sit for a minute. Once the screws are out, the faceplate should come off. If it’s stuck, gently pry it with your flathead screwdriver. Be careful not to damage the door’s edge.
Step 3: Pull Out the Latch Mechanism
Here’s where the magic happens. With the faceplate removed, you can now pull out the latch mechanism. It’s usually a small metal piece that sits inside the door. I like to wiggle it gently to see if it slides out easily. If it’s a tubular or cylindrical latch, it should come out with a little pull. For mortise latches, you might need to tug a bit harder since they’re set deeper into the door. If it’s really stuck, check for any hidden screws or clips. I once spent 20 minutes pulling on a latch before realizing there was a tiny set screw holding it in place — don’t make my mistake. An Allen wrench or needle-nose pliers can help with those tricky bits.
Step 4: Inspect and Clean
Once the latch is out, take a moment to inspect it. Is it damaged? Rusty? This is a good time to decide if you’re replacing it or just cleaning it up. I like to wipe down the latch and the hole in the door with a rag to remove dust or grime. If you’re reusing the latch, a bit of lubricant can make it work like new. If you’re replacing it, keep the old latch as a reference when you head to the hardware store — having the old one in hand makes picking the right size and type way easier.
“I once spent 20 minutes pulling on a latch before realizing there was a tiny set screw holding it in place — don’t make my mistake. Check for hidden set screws before you start forcing anything.”
How to Remove a Stuck or Painted-Over Door Latch (Tab Method)
If the latch won’t slide out even after the faceplate screws are gone, look for two small tabs on the latch body — one facing the interior edge, one facing the exterior edge. Grip each tab with needle-nose pliers and rotate it a quarter turn until it sits vertical; this releases the internal spring catch that most tubular latches use to lock into the bore.
For latches painted over multiple coats, score around the faceplate edge with a utility knife first to break the paint seal, then follow the same tab-rotation method. Never hammer directly on a tubular latch body — it’s thin stamped metal and will dent, making a replacement latch’s faceplate sit unevenly. On older doors, a latch that’s simply pressed into a snug bore can sometimes be knocked free from the latch side with a screwdriver and a light mallet tap, but try the tab method first.
Troubleshooting Common Issues
Sometimes, things don’t go as smoothly as planned. If the screws are stripped, use a larger screwdriver or pliers to get a better grip. If the latch won’t budge, double-check for hidden screws or clips. Some modern latches have a small release button or set screw that’s easy to miss. If the door is painted, score around the faceplate with a utility knife to break the paint seal. And if the latch is part of a complex lockset, like a deadbolt combo, you might need to remove additional parts. Take it slow and keep track of what you’re unscrewing.
Tips for Replacing or Reinstalling a Latch
If you’re swapping out the old latch for a new one, make sure the replacement matches the size and type of the original. Not all latches are universal, so measure the backset (the distance from the door’s edge to the center of the knob hole) — most are either 2-3/8 inches or 2-3/4 inches. When installing the new latch, reverse the removal steps: slide the latch into the hole, screw on the faceplate, and reattach the knob. Test the door a few times to make sure everything clicks smoothly. I always give the screws an extra turn to make sure they’re snug but not overtightened. See our door knob guide if you’re unsure which replacement style fits your door.
Safety First
Safety matters. Wear gloves if you’re dealing with rusty parts. If you’re using lubricant, keep it away from your eyes and work in a well-ventilated area. And if you’re removing a latch on an exterior door, make sure the door is secure while you work so it doesn’t swing open. A simple doorstop can save you a lot of hassle.
Best Replacement Latch Pick
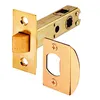
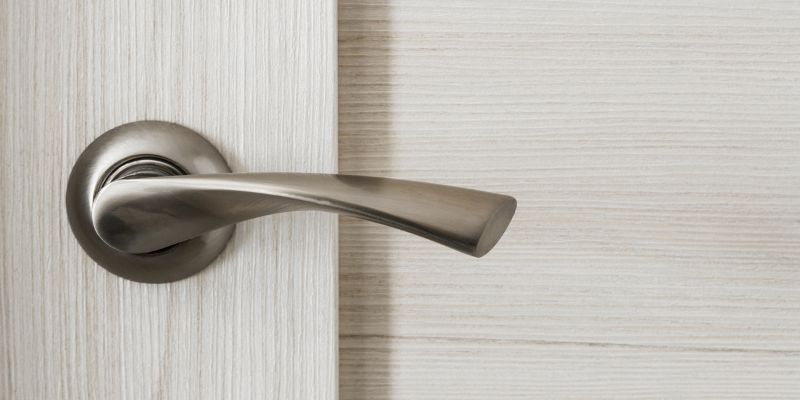
Prime-Line E 2281 Passage Door Latch – $8.99
A universal passage latch with a 9/32 and 1/4 inch square drive spindle — fits most standard knobs without an exact backset match, matching the "measure the old latch first" tip this guide covers.
- Best for: Standard interior doors needing a straightforward passage (non-locking) latch replacement
- Why we picked it: Prime-Line is a long-established hardware brand and this latch fits both backset sizes this guide covers
- Main drawback: Brass finish only in this listing — check it matches your existing hardware before ordering
Compare more door latch options
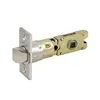 Option 1 Design House 6-Way Adjustable Passage Latch – $11.59
|
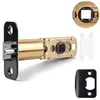 Option 2 Uliykukr Adjustable Deadlatch – $10.39
|
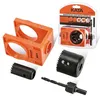 Option 3 KATA Door Lock and Deadbolt Installation Kit – $9.99
|
As an Amazon Associate we earn from qualifying purchases.
Why DIY Is Worth It
Taking on a project like this might seem small, but it’s satisfying. Removing a door latch takes maybe 20 minutes, and it saves a good chunk of change by not calling a pro. Plus, it builds confidence to tackle other door hardware repairs, like freeing a stuck deadbolt. Whether you’re in a cozy suburban home or a city apartment, knowing how to handle basic repairs like this makes you feel like you’ve got your space under control.
Frequently Asked Questions
What if my door latch is stuck and won’t come out?
If the latch is stuck, check for hidden screws or clips first — a small set screw sometimes holds it in place. Look for the release tabs on the latch body and rotate them a quarter turn with pliers. A bit of lubricant like WD-40 can help loosen things up. Gently wiggle the latch with pliers if needed, but don’t force it.
Can I remove a door latch without removing the knob?
Usually, no. The knob is connected to the latch mechanism, so you need to remove it to access the latch. Start by taking off the knob or handle, then work on the latch faceplate and mechanism.
How do you remove a door latch from a closed or locked door?
If the latch is jammed and the door won’t open, remove the interior door handle first by unscrewing its base plate — this exposes the spindle without needing to open the door. Once the handle is off, use a flathead screwdriver to retract the latch bolt manually through the spindle hole, then swing the door open and remove the faceplate as normal.
Why won’t my door latch retract?
A latch bolt that won’t retract is usually caused by a broken or disconnected spring inside the latch body, a bent bolt from a slammed door, or paint and grime built up in the strike-plate hole. Removing the latch and cleaning or replacing the spring assembly typically fixes it.
How do I know what type of latch I have?
Look at the door’s edge. If the latch is set deep into a pocket, it’s likely a mortise latch. If it’s a simpler setup with a faceplate and a bolt, it’s probably tubular or cylindrical. The removal process is similar either way.
Do I need special tools to remove a door latch?
Not really. A Phillips screwdriver and a flathead screwdriver will handle most latches. An Allen wrench or needle-nose pliers might help with specific designs, but they’re not always necessary.
How long does it take to remove a door latch?
For most people, it takes about 15-30 minutes, depending on experience and the latch type. If screws are stuck or the latch is tricky, it might take a bit longer. Take your time to avoid damaging the door.
Conclusion
You’re now ready to remove a door latch like a pro. From gathering tools to freeing a stuck or painted-over latch, it’s a simple project that anyone can do with a little patience and the right tools. Grab that screwdriver, pop off that latch, and give yourself a pat on the back when you’re done.
Sponsored / affiliate links. As an Amazon Associate I earn from qualifying purchases. I may earn additional commission from eligible campaigns.