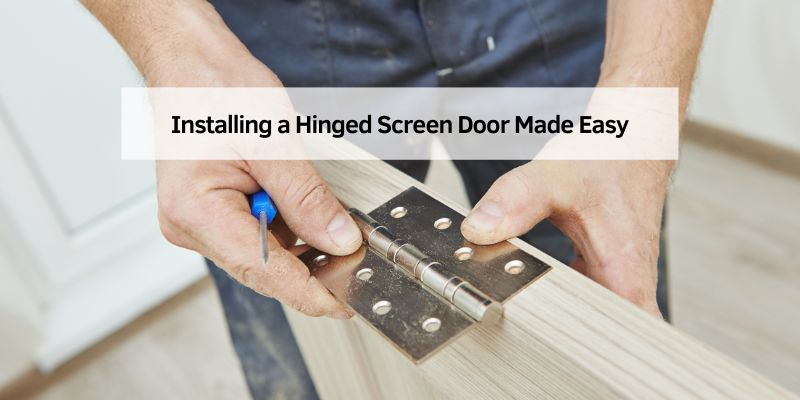
Installing a Hinged Screen Door Made Easy
My first attempt at installing a hinged screen door was a comedy of errors. I mismeasured the frame, dropped a hinge, and ended up with a door that wouldn’t close right! But I learned the tricks, and now I’m excited to share a simple guide to help you install a hinged screen door like a pro. This article walks you through every step, from picking the right door to securing the hinges. Whether you’re a beginner or a DIY enthusiast, you’ll find clear tips, tools, and fixes for common mistakes. Let’s make your home breezy and bug-free!
What Is a Hinged Screen Door?
A hinged screen door swings open like a regular door. It lets fresh air in while keeping bugs out. These doors are often made of wood, aluminum, or vinyl. They’re great for front or back entrances. I love how my screen door makes my porch feel like an extra room! They’re sturdy and easy to install with basic tools. Plus, they add charm to your home.
Why Install a Hinged Screen Door?
Screen doors are awesome for many reasons. They let you enjoy cool breezes without pesky flies. They also protect your main door from weather damage. Some even have pet flaps for furry friends! The only downside? They need occasional cleaning to keep the screen looking sharp. But trust me, it’s worth it for the fresh air.
Tools and Materials You’ll Need
Before you start, gather these tools and materials. Most are probably in your toolbox already!
- Tools: Tape measure, pencil, drill, screwdriver, level, hacksaw (for metal frames), sandpaper (for wood doors).
- Materials: Hinged screen door, hinges (usually included), screws, shims, door handle, door closer (optional).
- Safety Gear: Gloves, safety glasses (drilling can kick up dust!).
Here’s a quick table to help you choose the right tools:
| Tool | Purpose | Recommendation |
|---|---|---|
| Tape Measure | Measure door frame | 25-foot tape for accuracy |
| Drill | Make pilot holes, screw hinges | Cordless drill for ease |
| Screwdriver | Tighten screws | Phillips head for most screws |
Table 1: Essential Tools for Installing a Hinged Screen Door
Skip the stock zinc screws that come in most hardware kits if the door faces weather. Stainless steel (grade 304, or 316 near the coast) resists rust far longer and avoids the corrosion streaks that plain steel screws leave on paint.
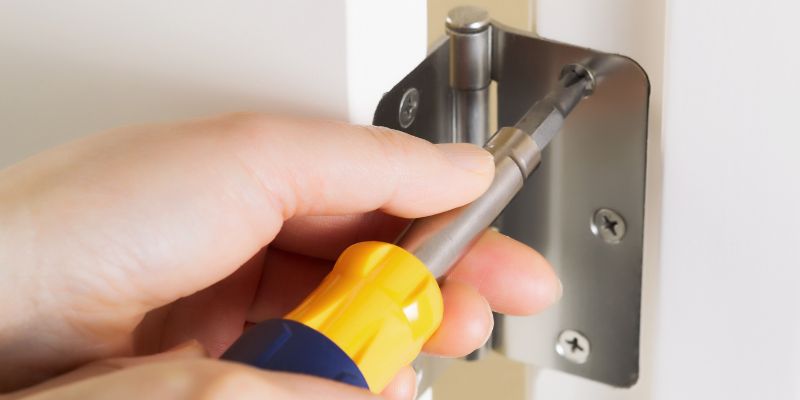
Best Hardware Kit Pick
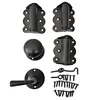
Kimberly Bay Hardware Kit with Self-Closing Hinges – $25.20
Bundles matching hinges, handle, and closer hardware in one kit – skips the guesswork of pairing separate parts described in Steps 4-8.
- Best for: a complete, matched hardware set for this project
- Why we picked it: self-closing hinges skip the separate door-closer step
- Main drawback: hinge spacing is fixed, so check your frame fits first
Compare more screen-door install essentials
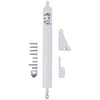 Option 1 Wright Products Adjustable Door Closer – $10.48
|
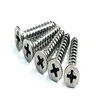 Option 2 Stainless Hinge Screws, 24-Pack – $6.99
|
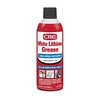 Option 3 CRC White Lithium Grease – $9.99
|
As an Amazon Associate we earn from qualifying purchases.
Step-by-Step Guide to Install a Hinged Screen Door
Here’s how to install a hinged screen door in eight easy steps. Follow along, and it’ll be a breeze!
Step 1: Measure the Door Frame
Measure the height and width of your door frame. My first mistake was assuming my frame was standard—it wasn’t! Most frames are 32 or 36 inches wide. Leave a 1/8-inch gap around the door for smooth swinging. Double-check with a tape measure.
Step 2: Choose the Right Screen Door
Pick a door that fits your measurements. Wood doors are classic but need painting. Aluminum or vinyl doors are low-maintenance. I went with a vinyl door from Home Depot because it’s lightweight and rust-proof. Check that the hinges match your door’s weight.
Step 3: Check the Fit
Place the door in the frame without hinges. Use shims to ensure a 1/8-inch gap on all sides. Shims are thin wedges that keep things even. If the door sticks, sand wooden doors lightly or trim metal ones with a hacksaw. This step saves headaches later!
Step 4: Mark Hinge Placement
Mark hinge spots on the door’s edge, opposite the handle. Place the top hinge 5 inches from the top, the bottom hinge 10 inches from the bottom, and the middle hinge centered between them. Use a pencil for easy erasing. A level keeps everything straight.
Step 5: Drill Pilot Holes
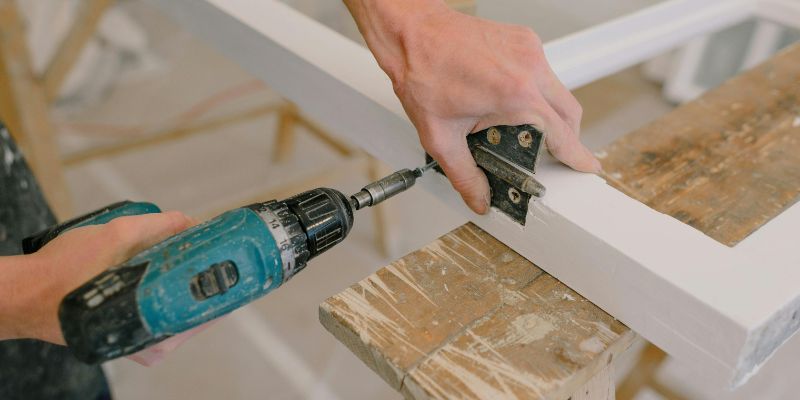
Use a hinge as a template to mark screw holes on the door. Drill pilot holes with a bit smaller than your screws. This prevents wood from splitting. I learned this the hard way when I cracked a corner! Go slow to keep holes neat.
Step 6: Attach Hinges to the Door
Screw the hinges onto the door using a screwdriver or drill with a low clutch setting. Start with the middle screw to secure the hinge, then add the rest. Use the screws that come with the door for the best fit. Tighten until snug.
Step 7: Secure Hinges to the Frame
Hold the door in place (grab a friend if you can!). Align the hinges with the frame and mark screw holes. Drill pilot holes, then screw the hinges into the frame. Check the door’s alignment with a level. Adjust shims if it’s not even.
Step 8: Test and Adjust
Open and close the door. Does it swing smoothly? If it rubs, tighten or loosen screws slightly. If it sags, check that all screws are tight. Install the handle and latch, ensuring they don’t bump into the main door’s handle. Add a door closer for automatic shutting.
The 5-inch/10-inch rule is a general hinge convention, not a screen-door-manufacturer spec – most pre-hung screen doors already have pre-punched hinge rails, so measure your specific door before drilling anything new.
Cost Breakdown and Savings Tips
Installing a hinged screen door can be budget-friendly. Here’s a cost estimate:
| Item | Cost Range | Savings Tip |
|---|---|---|
| Screen Door | $30-$200 | Choose vinyl for affordability |
| Hinges | $10-$20 | Reuse existing hinges if possible |
| Door Closer (Optional) | $15-$40 | Skip for manual closing to save |
Table 2: Cost Breakdown for Hinged Screen Door Installation
Savings Tips:
- Shop sales at Lowe’s for discounted doors.
- Use existing tools to avoid extra purchases.
- Paint wooden doors yourself to save on pre-finished costs.
Pros and Cons of DIY Installation
Pros:
- Saves money compared to hiring a pro ($100-$300).
- Fun and rewarding project.
- Customize your door’s look (e.g., paint colors).
Cons:
- Takes time (2-4 hours for beginners).
- Mistakes like misaligned hinges can cause issues.
- Heavy doors may need two people.
Alternative: Hire a professional from Therma-Tru if you’re short on time or tools. They ensure perfect alignment but cost more.
Personal Tips from My DIY Journey
My first screen door install was a learning curve. Here are my top tips:
- Double-check measurements: A 1/4-inch error can ruin the fit.
- Use a cordless drill: It’s faster and easier on your wrists.
-
Test the swing early: Catch problems before final tightening.
I once forgot to level the door, and it scraped the floor. A quick shim fixed it, but it was a hassle! Learn from my flubs and check alignment often.
If a door sags after a season outdoors, check the hinge screws before anything else – loosened screws in worn pilot holes are the most common cause, and re-drilling slightly off the original hole with a longer screw usually fixes it.
Common Mistakes to Avoid
- Skipping pilot holes: This splits wood or strips screws.
- Ignoring the level: Uneven doors stick or sag.
-
Wrong hinge placement: Uneven hinges make the door wobbly.
Take your time with each step. It’s not a race!
Frequently Asked Questions
How Do I Choose the Right Hinged Screen Door?
Measure your door frame and pick a door that fits with a 1/8-inch gap. Wood is classic, but aluminum or vinyl is easier to maintain. Check hinge quality and ensure the handle doesn’t clash with your main door.
What Tools Do I Need to Install a Hinged Screen Door?
You’ll need a tape measure, pencil, drill, screwdriver, level, and shims. A hacksaw or sandpaper helps with adjustments. Safety glasses and gloves keep you safe while drilling.
How Long Does It Take to Install a Hinged Screen Door?
For beginners, it takes 2-4 hours. With experience, you can do it in about an hour. Having a helper speeds things up, especially for holding the door.
Can I Install a Screen Door Alone?
Yes, but it’s easier with a helper to hold the door while you mark and screw. If solo, lay the door flat to attach hinges, then prop it in the frame.
What If My Door Doesn’t Fit Properly?
Use shims to adjust gaps. Sand wooden doors or trim metal ones for a snug fit. If it’s still off, check the frame’s square with a level and consult a pro if needed.
How Do I Maintain a Hinged Screen Door?
Clean the screen with soapy water yearly. Tighten screws if they loosen. Lubricate hinges with white lithium grease, not WD-40 – WD-40 is a solvent/water-displacer that attracts dust outdoors, while lithium grease stays put and protects longer. Repaint wooden doors every few years to prevent wear.
Should I Add a Door Closer?
A door closer makes the door shut automatically, which is great for kids or pets. It’s optional but costs $15-$40. Adjust the tension to avoid slamming.
Conclusion
Installing a hinged screen door is a fun DIY project that spruces up your home. Measure carefully, use shims for a perfect fit, and check the swing before finalizing. With simple tools and a little patience, you’ll have a breezy, bug-free entryway in no time. Try it out this weekend, and let me know how it goes! Share your tips or photos in the comments—I’d love to see your handiwork!
Sponsored / affiliate links. As an Amazon Associate I earn from qualifying purchases. I may earn additional commission from eligible campaigns.
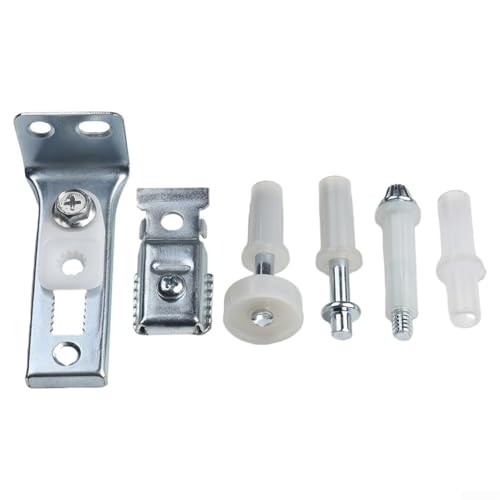 Bi-Fold Door Hardware Repair Kit, Fits 1" to 1-3/8" Thick Closet or Room Doors, Includes Top and Bottom Brackets, Pivots, Guide Wheel for Smooth Operation and Easy Installation
 Bifold Door Hardware Kit, Heavy Duty Double Folding Doors for Closet, Ceiling Mount with Track, Durable Aluminum Alloy Pocket Door System