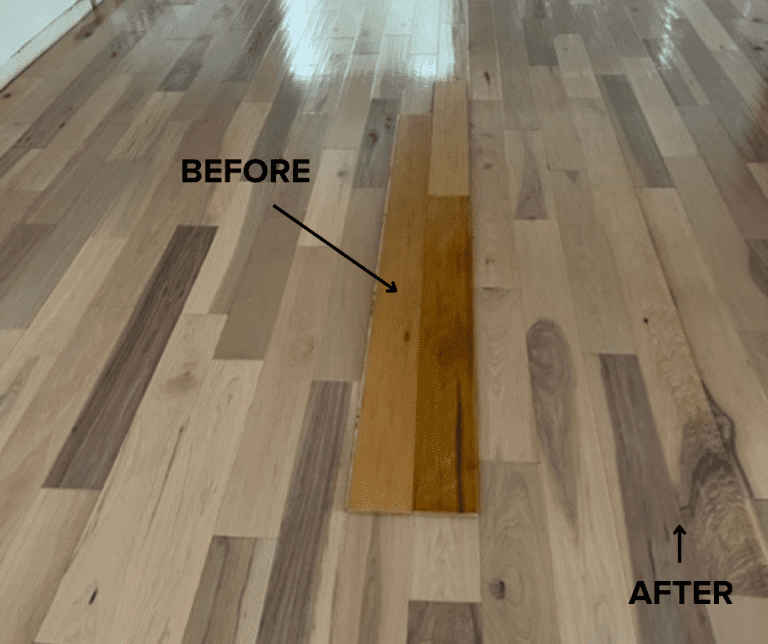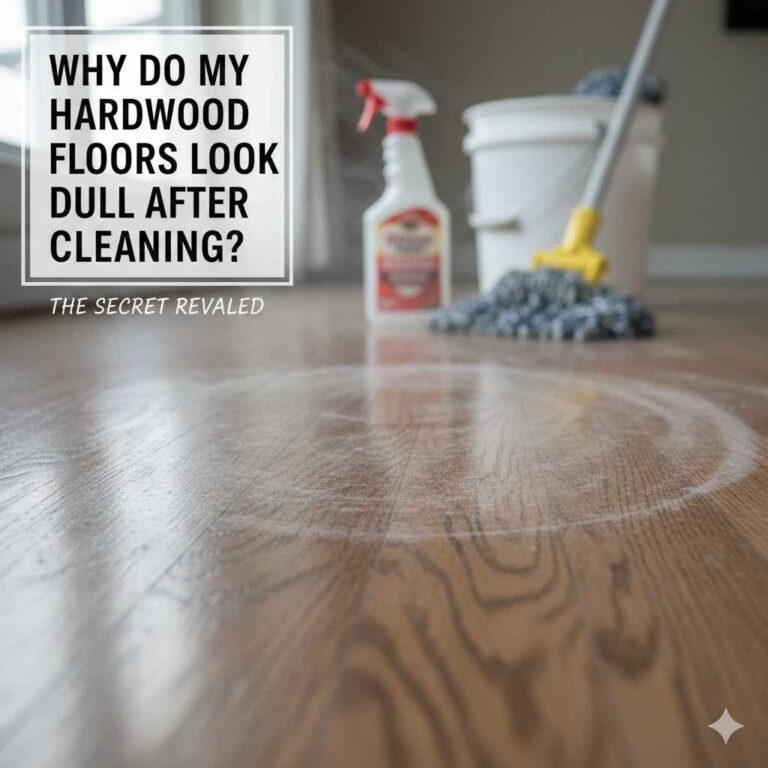
How To Clean Hardwood Floors Without Streaks (Simple Guide)
Dealing with streaks on your hardwood floors after cleaning can be super frustrating. You put in the effort, hoping for that beautiful shine, only to see those dull marks. It feels like all that work went to waste, right?
Many of us have been there, wiping and wiping, but still ending up with a less-than-perfect finish. The good news is, it doesn’t have to be this way. You can achieve that clean, streak-free glow with a few simple tricks and the right approach.
This guide will walk you through everything you need to know.
Cleaning hardwood floors without streaks involves using the right cleaner, a damp (not wet) mop, and proper drying techniques. Avoid harsh chemicals, excessive water, and abrasive materials for a natural, streak-free shine.
Understanding What Causes Streaks on Hardwood Floors
So, why do streaks even show up on hardwood floors? It’s usually a combination of things. Often, it’s the cleaner itself.
Some cleaners leave behind a residue. This sticky layer catches dust and light. This makes it look like a streak.
Water is another big culprit. If you use too much water, it sits on the floor. Then, as it dries, it leaves behind minerals.
These minerals form those annoying lines. Even the type of mop you use can matter. Some mops just push dirt around.
Think about it like washing a window. If you use too much soap or not a clean cloth, you get streaks. Hardwood floors are a bit like that.
They need a gentle touch. And the right tools are super important. We need to avoid anything that builds up or leaves a film.
The Best Cleaners for Streak-Free Hardwood
When you’re picking a cleaner, think gentle. You want something that cleans well but doesn’t leave anything behind. Many standard floor cleaners have waxes or oils.
These might make the floor look shiny at first. But they often build up over time. This leads to dullness and streaks.
Look for cleaners specifically made for hardwood floors. These are usually pH-neutral. This means they are not too acidic or too alkaline.
They are designed to lift dirt without harming the finish. Some people love using plain water with a drop of dish soap. This can work if done carefully.
But be very, very careful with the amount of soap.
A tiny amount is all you need. Too much soap will definitely leave a residue. Another great option is a solution of white vinegar and water.
Vinegar is a natural disinfectant. It also cuts through grease and grime. A common mix is about half a cup of white vinegar per gallon of warm water.
But always test this in a hidden spot first.
Some newer cleaners are also enzyme-based. These break down dirt and oils. They then evaporate without leaving much behind.
Always read the label. It should clearly state if it’s safe for sealed hardwood floors. And make sure it’s streak-free.
Many brands now advertise this right on the bottle.
Your Essential Cleaning Toolkit
Having the right tools makes all the difference. You don’t need a lot of fancy gadgets. Just a few key items will get the job done perfectly.
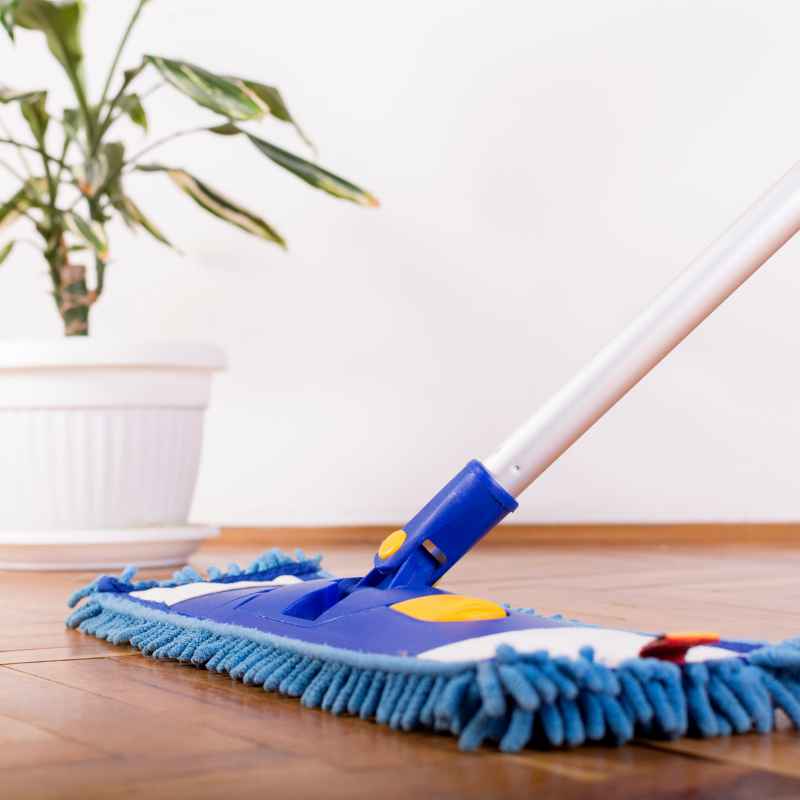
First, you need a good quality mop. Microfiber mops are your best friends here. They are super absorbent.
They also grab dirt and dust really well.
Look for a spray mop or a flat mop with a washable microfiber head. A spray mop lets you control how much cleaner you use. This is a big plus.
If you use a traditional mop, make sure it’s one you can wring out very, very well. You want it damp, not soaking wet.
Next, you’ll need a bucket. If you’re not using a spray mop, a bucket is essential. Make sure it’s clean.
Any dirt in the bucket can transfer to your floor. You’ll also need some clean, lint-free cloths. Microfiber cloths are also great for drying.
They don’t leave fuzzy bits behind.
And, of course, your chosen hardwood floor cleaner. Having a spare microfiber mop head is also a good idea. You can swap it out if one gets too dirty.
This keeps your cleaning effective. It’s all about preparing your tools before you start. This saves time and frustration later on.
Quick Tool Checklist for Streak-Free Floors
Mop: Microfiber flat mop or spray mop.
Bucket: Clean bucket for rinsing or mixing cleaner.
Cloths: Lint-free microfiber cloths for drying.
Cleaner: pH-neutral hardwood floor cleaner or DIY solution.
Optional: Extra mop heads.
The Step-by-Step Process for a Flawless Finish
Okay, let’s get down to business. Following these steps will help you achieve that streak-free shine every time. It’s a simple process but requires attention to detail.
First things first: preparation is key. Before you even touch a mop, you need to clear the floor.
Move any furniture, rugs, or decor out of the way. This gives you a clear path. Then, you need to get rid of loose dirt.
Sweep or vacuum your floors thoroughly. Use a vacuum cleaner with a hard floor attachment. This prevents scratching.
You want to remove all dust, crumbs, and pet hair. This stops them from turning into mud when you mop.
Now, prepare your cleaning solution. If you’re using a commercial cleaner, follow the instructions on the bottle. If you’re making your own, mix your vinegar and water or soap and water in your bucket.
Remember, less is more with soap.
Next, it’s time to mop. Dip your microfiber mop head into the solution. Wring it out extremely well.
It should feel just barely damp. You don’t want it dripping water. Start mopping in sections.
Work your way across the room. Always mop in the direction of the wood grain. This helps lift dirt effectively.
As you mop, pay attention to the mop head. If it starts looking dirty, rinse it out thoroughly. Or, swap it for a clean one.
A dirty mop just spreads grime around. This is a common cause of streaks.
The most crucial step for avoiding streaks is drying. Don’t let the water sit and air dry. As soon as you finish mopping a section, go back with a clean, dry microfiber cloth.
Buff the floor dry. This is where the magic happens. It picks up any lingering moisture or residue.
You can do this by hand with the cloths. Or, if you have a spray mop, you can just use the dry side of the microfiber pad. Work quickly.
You want to dry the floor before the water has a chance to evaporate on its own. This ensures no water spots or mineral deposits are left behind. It’s a bit more work, but the results are totally worth it.
You’ll see that beautiful, clear shine.
Common Mistakes That Lead to Streaky Floors
We’ve all made mistakes when cleaning. Sometimes, it’s not knowing better. Other times, we’re just in a hurry.
But a few common slip-ups can sabotage your efforts to get streak-free hardwood. Understanding these can help you avoid them in the future. One of the biggest mistakes is using too much water.
Hardwood floors can be damaged by excess moisture. It can seep into the wood. This causes warping or discoloration.
But it also leaves those streaks. Water needs to evaporate. When it dries slowly, it leaves behind whatever was in it.
This can be minerals from the water or residue from the cleaner.
Another common error is using the wrong cleaning product. As we talked about, many household cleaners are too harsh. They contain waxes, silicones, or strong chemicals.
These can build up on your floor’s finish. This creates a hazy layer. This is basically what you see as streaks.
Never use ammonia-based cleaners or abrasive pads.
Forgetting to sweep or vacuum first is a big one too. Imagine trying to wash a dusty car. You’d just be smearing the dirt around.
The same applies to your floors. Loose dirt and grit will turn into a muddy mess when wet. This makes streaks even worse.
Not rinsing your mop often enough is another culprit. Your mop acts like a sponge. If it’s full of dirt, it can’t effectively clean the floor.
It just redistributes the grime. Always rinse your mop head thoroughly. Or better yet, use multiple clean microfiber pads.
Finally, letting the floor air dry is a mistake. This seems like the easiest way. But it’s how water spots and mineral streaks form.
The active drying and buffing step is crucial. It’s the secret weapon against streaks. Don’t skip it!
Mistake vs. Solution Snapshot
Mistake: Too Much Water
Solution: Wring mop thoroughly; dry immediately.
Mistake: Wrong Cleaner
Solution: Use pH-neutral hardwood cleaner.
Mistake: Skipping Dry Sweeping
Solution: Sweep/vacuum first.
Mistake: Dirty Mop
Solution: Rinse often or use clean pads.
Mistake: Air Drying
Solution: Buff dry with a clean cloth.
Deep Cleaning vs. Regular Maintenance
It’s good to know the difference between your everyday clean and a deeper clean. Regular maintenance is what you do weekly or bi-weekly. It’s about keeping the floor looking good and preventing dirt buildup.
This involves the simple sweeping and damp mopping we’ve discussed.
Deep cleaning is more intensive. You might do this a few times a year. Or when your floors look particularly dull.
For deep cleaning, you might consider a specialized hardwood floor cleaner. Some are designed to remove old wax or grime buildup. But always follow the product instructions carefully.
And test in a small area.
Sometimes, a very diluted wood polish might be used. But be cautious. Polishes can build up.
They aren’t always necessary for modern finishes. Always check what your floor’s finish can handle. Older finishes might be more sensitive.
Newer polyurethane finishes are usually quite durable.
A deep clean might also involve a more thorough buffing. You might use a buffer machine if you have one. But for most homes, a good old-fashioned buffing with microfiber cloths is enough.
The goal of deep cleaning is to remove stubborn grime. It also restores a bit of the floor’s luster. But it still requires the same principle: avoid excess water and residue.
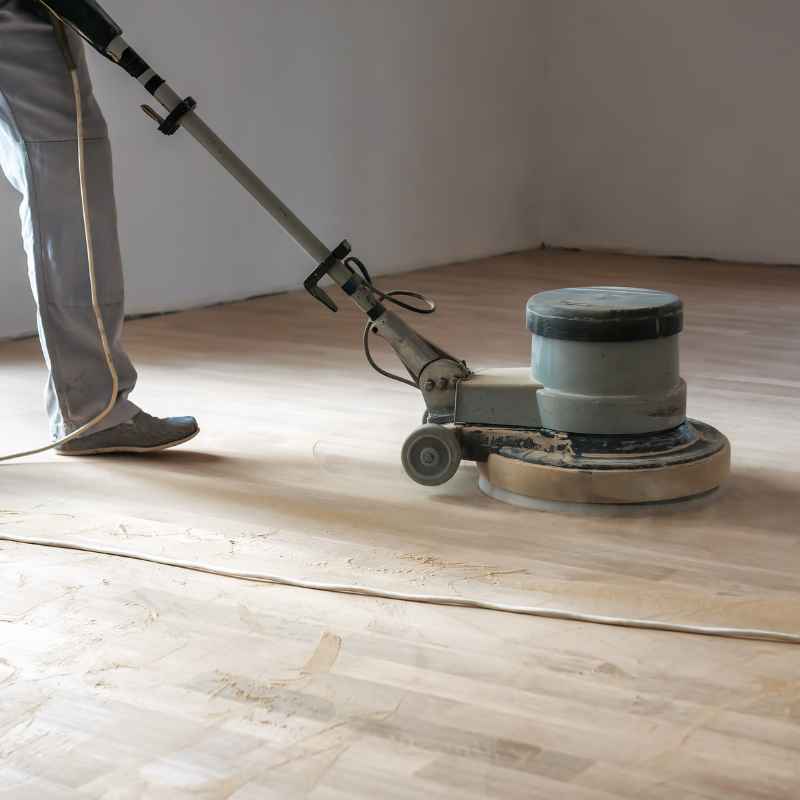
When to Call a Professional
Sometimes, despite your best efforts, your floors might need more than a DIY touch. If you notice significant damage, like deep scratches, gouges, or water damage, it’s time to think about professionals. These issues go beyond simple cleaning.
Also, if your floors have a very old or unusual finish, it’s wise to consult an expert. They can identify the finish. They can also recommend the best way to care for it.
Some older finishes, like wax finishes, require different care than modern urethane finishes. Using the wrong cleaner on these can be disastrous.
If you’re dealing with widespread discoloration or dullness that doesn’t improve with cleaning, a professional can assess the situation. They might suggest refinishing or recoating your floors. This can bring them back to life.
It’s an investment, but it can totally transform your home.
Don’t be afraid to seek expert advice. Professionals have the tools and knowledge to handle tough situations. They can save your floors from further damage.
And they can ensure the job is done right. It’s better to pay for expert help than to try a risky fix yourself. That could end up costing you more in the long run.
Maintaining That Streak-Free Shine
Once you’ve achieved that beautiful, streak-free shine, you want to keep it that way, right? It’s all about consistent, gentle maintenance. The best way to maintain your floors is to prevent dirt from becoming a problem in the first place.
Use doormats at all entrances. This traps dirt and moisture before it even gets onto your hardwood. Ask people to remove their shoes when they come inside.
This is a huge help. High heels can cause dents. Grit from shoes can scratch the finish.
Wipe up spills immediately. Even small spills can leave a mark if left to sit. Keep a microfiber cloth handy for quick cleanups.
Regularly sweep or vacuum your floors. Doing this a few times a week will keep dust and debris at bay. This makes your weekly or bi-weekly mopping much easier.
Avoid using area rugs with rubber or latex backing. These can sometimes react with certain floor finishes. They can leave behind discolored spots.
If you do use rugs, make sure they have a cotton or felt backing. Or, use a rug pad designed for hardwood floors.
Protect furniture legs with felt pads. These soft pads prevent scratches when furniture is moved. Check them regularly and replace them when they wear out.
It’s the little things that make a big difference in keeping your hardwood floors looking their best.
Everyday Habits for Lasting Shine
Entry Mats: Trap dirt at the door.
Shoe-Free Rule: Protects from grit and wear.
Spill Patrol: Wipe up messes instantly.
Frequent Sweeping: Keep dust levels low.
Furniture Pads: Prevent scratches.
Dealing with Different Wood Finishes
It’s important to know that not all hardwood floors are the same. The finish on your wood plays a big role in how you should clean it. Most modern hardwood floors have a polyurethane finish.
This is a very durable, protective layer. It’s also water-resistant.
For polyurethane floors, the methods we’ve discussed – gentle cleaners, damp mopping, and immediate drying – are perfect. These finishes are designed to withstand regular cleaning without damage. They are the most common type of finish in homes today.
Older homes might have different finishes. Some have oil-based finishes. Others have wax finishes.
Wax finishes are beautiful but much more delicate. They require special care. You usually can’t use water-based cleaners on them at all.
They often need buffing with a special wax. If you have a wax finish, it’s best to consult a professional or a specialty wood floor care guide.
Some floors might have a penetrating oil finish. These also have specific cleaning needs. They often require oil-based soaps or specific rejuvenation products.
Using the wrong cleaner can strip the oil. This can leave the wood unprotected and dull.
If you’re unsure about your floor’s finish, check with the manufacturer if possible. Or, try a tiny amount of cleaner in an inconspicuous spot, like inside a closet. See how the floor reacts.
It’s always better to be safe than sorry. Using the right method for your specific finish will prevent damage and keep your floors looking great.
DIY vs. Commercial Cleaners: What’s Best?
The debate between DIY cleaners and commercial products is a common one. Both have their pros and cons. For streak-free hardwood, both can be effective.
It really depends on your preference and what works best for your floors.
DIY cleaners, like the vinegar and water solution, are often cost-effective. They use simple, readily available ingredients. Many people prefer them because they know exactly what’s in them.
This can be reassuring if you have pets or young children. You avoid potentially harsh chemicals.
However, DIY solutions need to be mixed correctly. Too much vinegar can sometimes dull certain finishes over time. And a little too much soap can definitely leave a residue.
You need to be precise. It’s also important to test any DIY mix in a small, hidden area first.
Commercial cleaners are formulated specifically for hardwood floors. They often have precise pH levels and cleaning agents. Many are designed to dry quickly and leave no residue.
The benefit here is convenience. You just grab a bottle, follow the instructions, and go. Many brands are very reliable.
The key with commercial cleaners is to choose wisely. Look for those specifically labeled for hardwood. And check for “streak-free” claims.
Avoid multi-surface cleaners or those with waxes or silicones. When in doubt, read reviews or ask for recommendations from flooring professionals.
Ultimately, the best cleaner for you is one that cleans effectively without leaving residue or damaging your floor’s finish. Whether you make it yourself or buy it, consistency in your cleaning routine is what really matters for maintaining that streak-free shine.
When is it Okay to Use a Little More Water?
We’ve stressed the importance of using minimal water. And that’s usually the best advice for hardwood floors. But there are very rare situations where you might use slightly more.
This is typically only for very tough, dried-on messes. And even then, extreme caution is needed.
Imagine a sticky spill that has hardened. You might need to let a damp cloth sit on it for a minute. This softens the mess.
But you must not let standing water pool. After softening, you’d carefully lift the residue. Then, you would immediately buff that spot dry.
You’re not flooding the floor.
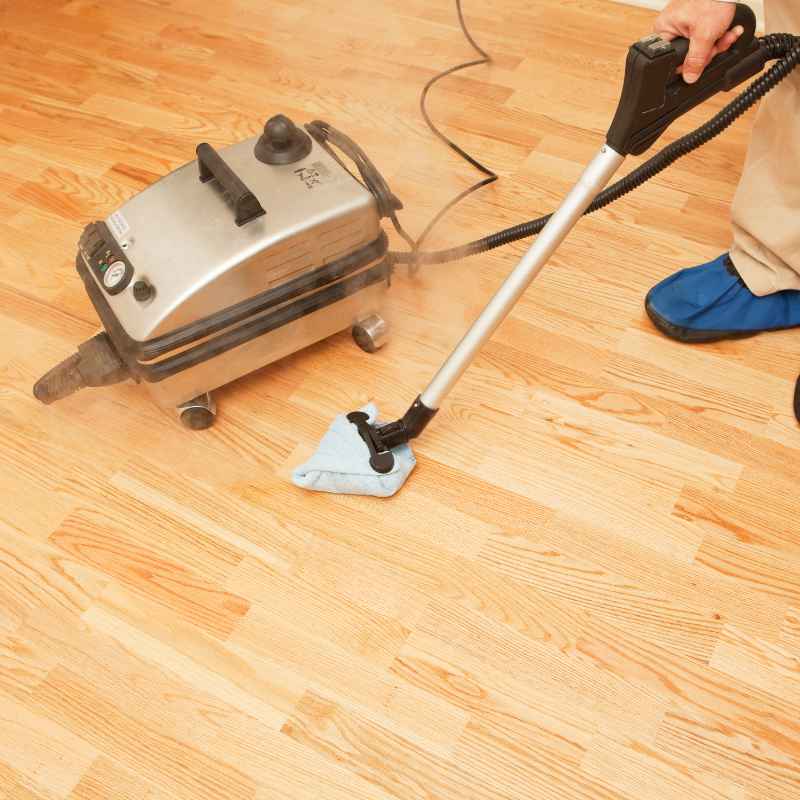
Another scenario might be if you’re using a steam mop. Some newer steam mops are designed for hardwood. They use high heat and very little moisture.
But even with these, you need to ensure your floor is properly sealed. And that the steam mop is set to the correct low-moisture setting. Always check your floor manufacturer’s guidelines before using a steam mop.
For the vast majority of cleaning, stick to a barely damp mop. The risk of water damage or streaks outweighs any small benefit of using more water. It’s about targeted cleaning for tough spots, not general mopping.
And always, always dry immediately after. This is the rule that never changes.
The Role of Air Quality and Humidity
Did you know that the air in your home can affect your floors? High humidity can cause hardwood floors to expand. Low humidity can cause them to contract.
This expansion and contraction can lead to gaps between boards or even warping over time. It can also make finishes more susceptible to damage.
When humidity is high, floors absorb more moisture from the air. This can make them feel slightly sticky. This can attract more dust.
It can also make it harder for cleaners to evaporate cleanly. This might contribute to streaks if you’re not careful with drying.
Conversely, very dry air can make floors brittle. It can also affect how finishes perform. It’s why maintaining a consistent indoor humidity level is important for all types of flooring.
For hardwood, ideally, you want humidity between 30% and 50%.
Using a dehumidifier in humid months or a humidifier in dry months can help. This creates a more stable environment for your floors. It protects the wood.
It also makes cleaning more predictable. When the air is balanced, your floors will respond better to cleaning. And you’ll likely find it easier to achieve that streak-free shine.
Pay attention to seasonal changes. Are your floors looking duller in the summer? Is dust sticking more in the winter?
These might be clues about your home’s humidity levels. Taking steps to control it is a great way to protect your investment. And it helps keep your floors looking their absolute best.
Protecting Your Hardwood Finish
The finish on your hardwood floor is its armor. It protects the wood from spills, scratches, and everyday wear. Keeping that finish in good shape is key to preventing future cleaning problems.
And it helps maintain that beautiful, natural look.
The most critical thing is to avoid anything abrasive. Harsh scrubbing pads, steel wool, or gritty cleaners will scratch and dull the finish. These scratches create tiny valleys.
Dirt and cleaning residue can get trapped in them. This makes streaks even harder to remove.
Always use soft cleaning tools. Microfiber is your best friend. It’s gentle but effective.
Also, be mindful of what you place on your floors. Heavy furniture can cause dents. Sharp objects can cause gouges.
Even pet claws can scratch some finishes.
Avoid harsh chemicals. As we’ve mentioned, ammonia, bleach, and oil-based soaps (unless specifically for wood) can damage the finish. They can break down the protective layer.
This leads to premature wear and dullness.
Regular, gentle cleaning is much better than occasional harsh scrubbing. It prevents buildup. It keeps the finish looking smooth and even.
Think of it like skincare. Gentle, consistent care is better than infrequent, aggressive treatments.
If you notice any signs of wear on your finish, like dull spots or light scratches, it might be time for a reapplication of a hardwood floor restorer or refresher. These products can add a protective layer. They can help revive the look of your floor.
Always choose one made for your specific floor finish.
By taking care of the finish, you make the cleaning process much easier. A healthy finish repels dirt. It allows cleaners to glide across the surface.
And it results in that beautiful, clear shine you’re looking for.
Personal Experience: The Night I Almost Gave Up
I remember one late Tuesday night. I had hosted a small get-together earlier that day. My living room floors, usually my pride and joy, were a mess of footprints and tiny spills.
I decided to tackle them before bed. I grabbed what I thought was a good wood floor cleaner. It promised a “brilliant shine.”
I poured a generous amount into my bucket. I used my trusty old string mop. I mopped away, feeling quite satisfied.
The floor looked wet and dark. I thought, “Great, this is going to look amazing when it dries.” I went to bed, dreaming of gleaming floors.
Waking up the next morning, I walked into the living room. My heart sank. Instead of a brilliant shine, I saw a hazy, streaky nightmare.
Every step I took left a new, dull mark. The light caught all the uneven patches of cleaner residue. It looked worse than before I started!
I felt a wave of frustration and annoyance wash over me. I had ruined my floors!
That’s when I realized I had made a critical error. I had used too much cleaner. And I hadn’t paid enough attention to wringing out my mop.
The string mop was just too absorbent. It left too much liquid. I spent the next hour re-cleaning the floors.
This time, I used a specific pH-neutral cleaner. I used a microfiber flat mop. And I wrung it out until it was barely damp.
Then, I immediately buffed every section dry with a clean towel. The results were night and day. That’s when I learned the true power of the right tools and techniques for streak-free floors.
Quick Fixes for Minor Streaks
Sometimes, you just get a few stray streaks. Don’t panic! You can usually fix these minor issues easily.
Often, it’s just a bit of lingering moisture or residue. You can tackle this with a dry microfiber cloth. Simply buff the streaky area.
Use firm, circular motions. This should lift the excess moisture and blend it in.
If buffing alone doesn’t work, you can lightly dampen a clean cloth with plain water. Again, make sure the cloth is just barely damp. Gently wipe the streaky area.
Then, immediately buff it dry with a clean, dry cloth. This helps to remove any residue that might be causing the streak.
For slightly tougher spots, you can try a very dilute solution of white vinegar and water on a cloth. Dampen the cloth, wipe the streak, and then dry and buff immediately. Always test this in an inconspicuous area first.
The key is to use minimal moisture. And always follow up with thorough drying and buffing. It’s like touching up a small smudge.
You don’t need to repaint the whole wall. Just fix the specific spot. These quick fixes can save your floors from looking dull between full cleaning sessions.
Frequently Asked Questions about Cleaning Hardwood Floors
Can I use a steam mop on my hardwood floors?
Some steam mops are designed for hardwood floors and use very little moisture. However, it’s crucial to check your floor manufacturer’s recommendations first. Always use the lowest moisture setting and ensure your floor’s finish is in good condition.
Excessive heat and moisture can damage hardwood.
How often should I clean my hardwood floors?
For best results, sweep or vacuum your hardwood floors daily or every other day to remove loose dirt and dust. Damp mop them once a week or bi-weekly, depending on traffic and use. More frequent spot cleaning of spills is also recommended.
What should I do if my cleaner leaves a sticky residue?
If a cleaner leaves a sticky residue, you’ll need to clean it off. Dampen a clean microfiber cloth with plain water or a very dilute white vinegar solution. Wipe the residue.
Then, immediately buff the area dry with a clean, dry microfiber cloth. Avoid using more of the sticky cleaner.
Are DIY cleaners like vinegar and water safe for all hardwood floors?
Vinegar and water solutions can be safe for many sealed hardwood floors when used sparingly and diluted. However, they are acidic. Over time or with improper use, they could dull certain finishes.
It’s always best to test in a small, hidden area first. For older or unsealed floors, consult a professional.
Can I use soap on my hardwood floors?
If you use soap, it should be a very mild, pH-neutral dish soap. Use only a tiny drop per gallon of water. Too much soap will leave a residue that causes streaks.
It’s generally safer to use cleaners specifically formulated for hardwood floors or a vinegar-water solution.
How do I deal with scratches on my hardwood floors?
Minor surface scratches can sometimes be buffed out with a dry microfiber cloth. For deeper scratches, you might need a wood repair kit or color putty. Significant damage may require professional refinishing.
Regular cleaning and preventative measures like felt pads help avoid scratches.
Conclusion
Achieving streak-free hardwood floors is totally doable. It’s not about magic products. It’s about understanding your floors and using the right methods.
Gentle cleaning, minimal water, and immediate drying are your keys to success. Stick to these simple principles, and you’ll enjoy beautiful, shining floors for years to come.