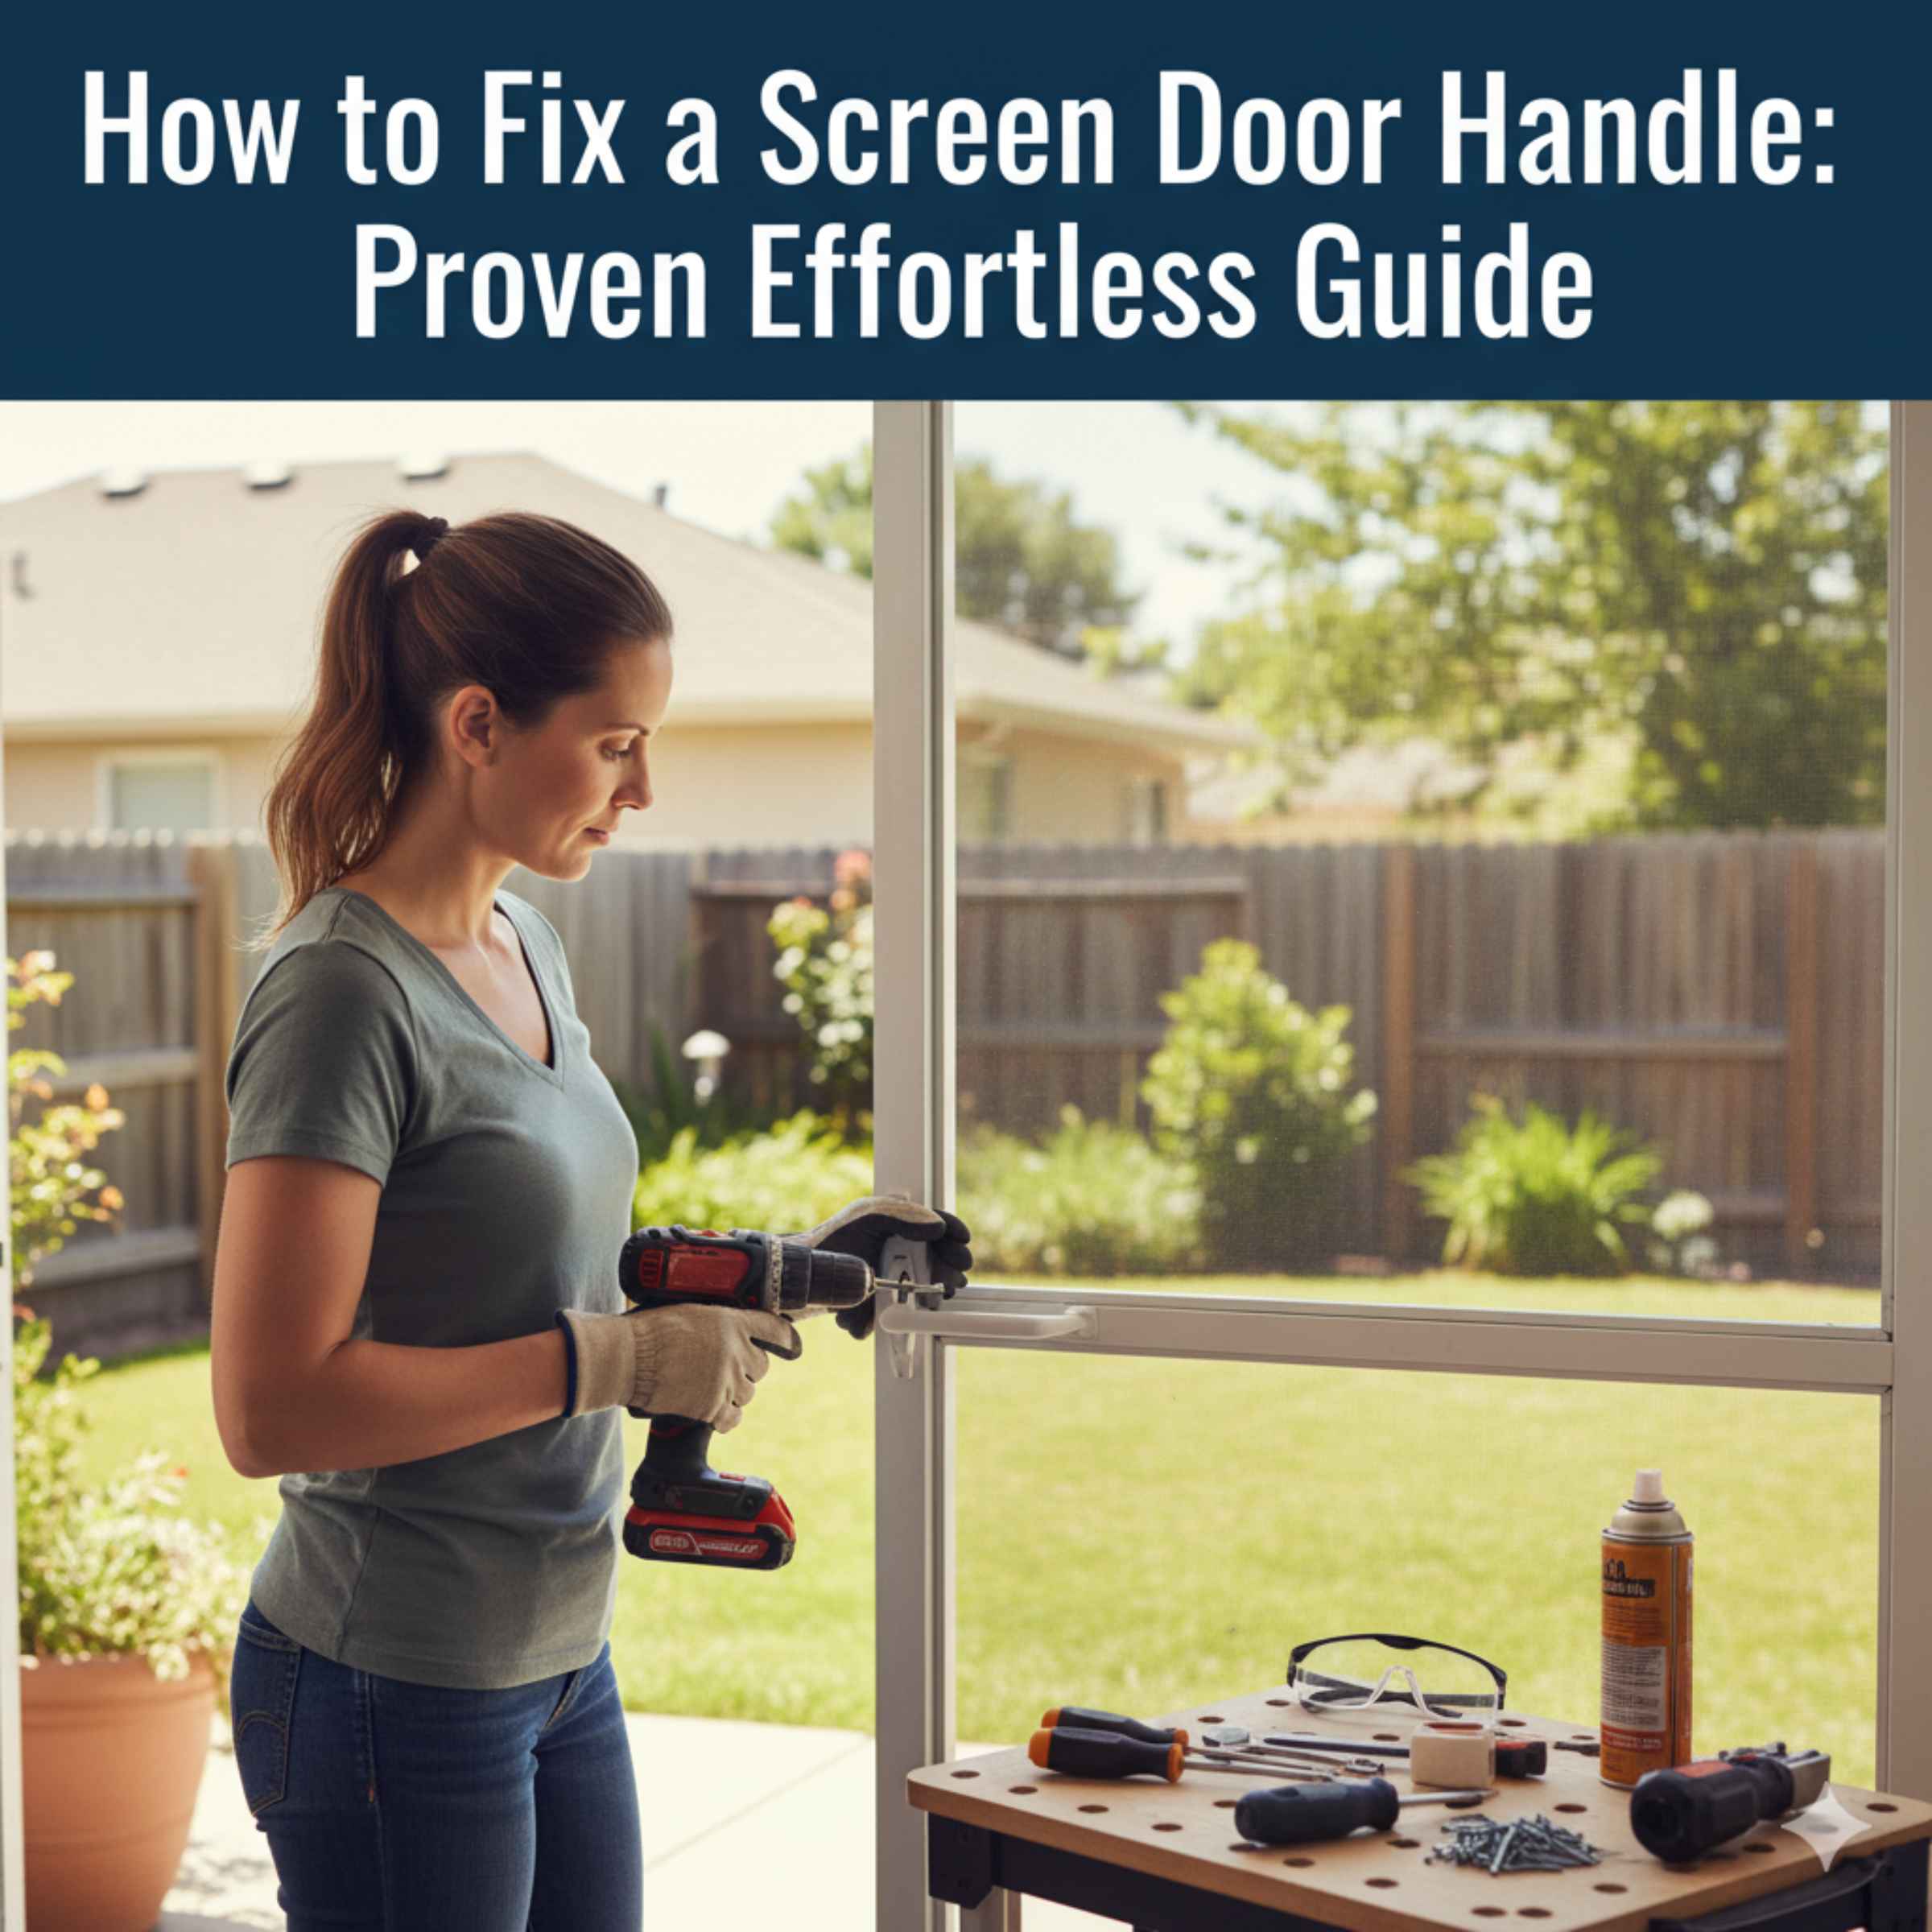
How to Fix a Screen Door Handle: Proven Effortless Guide
Quick Summary: Fixing a screen door handle is a simple DIY task. Usually, it involves tightening loose screws, replacing a broken spindle, or reattaching a detached handle. With basic tools and these easy steps, you can restore your screen door’s functionality in no time.
That frustrating jiggle when you try to open your screen door? Or maybe the handle just came right off in your hand? It’s a common household snag, but don’t worry! A broken screen door handle doesn’t mean you need to call a handyman or replace the whole door. I’m here to show you just how easy it can be to fix it yourself.
Think of your screen door handle as the handshake of your home – it should be firm and reliable! When it’s loose or broken, it’s not just annoying; it can be a safety concern, especially if it prevents the door from closing properly. But with a few simple tools and a little bit of guidance, you’ll have that handle working like new again. We’ll go through the most common issues and how to solve them, step by step.
Ready to get your screen door back in working order? Let’s dive in and tackle this project together. You’ve got this!
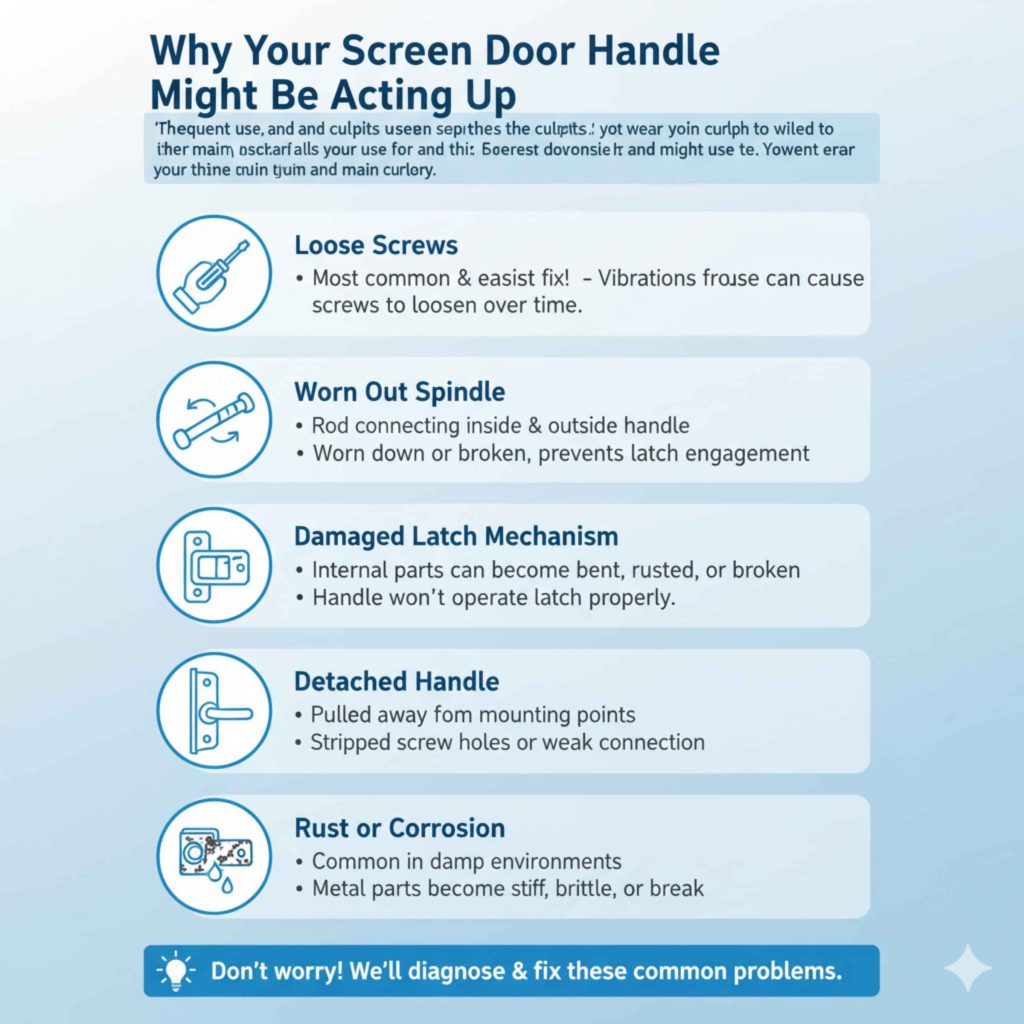
Why Your Screen Door Handle Might Be Acting Up
Screen door handles are often the unsung heroes of our homes, working hard every day to let in fresh air while keeping bugs out. Because they’re used so frequently, and sometimes a bit more forcefully than intended (we’ve all been there!), they can develop a few common problems. Understanding what’s likely gone wrong is the first step to a successful fix.
Most often, issues stem from simple wear and tear, or perhaps a little neglect. Think about how often it’s used – by kids, pets, or even just the wind. This constant use can lead to screws loosening over time, internal mechanisms wearing out, or the handle itself becoming damaged. Fortunately, these aren’t complex mechanical failures; they’re usually straightforward issues that a homeowner can easily address.
Here are some of the most frequent culprits:
- Loose Screws: This is the most common and easiest fix! Over time, vibrations from the door opening and closing can cause the screws holding the handle assembly to loosen.
- Worn Out Spindle: The spindle is the rod that connects the inside and outside handle parts. If it’s worn down or broken, the handle won’t engage the latch mechanism properly.
- Damaged Latch Mechanism: The internal parts that allow the handle to operate the latch can become bent, rusted, or broken.
- Detached Handle: The handle might have simply pulled away from its mounting points due to stripped screw holes or a weak connection.
- Rust or Corrosion: Especially in damp environments, metal parts can rust, making them stiff or brittle, and eventually causing them to break.
Don’t let these common problems discourage you. We’ll walk through how to diagnose and fix each one, making your screen door handle feel brand new again.
Tools You’ll Need for the Job
One of the best things about fixing a screen door handle is that you likely already have most, if not all, of the tools you need right in your toolbox. This project is designed to be beginner-friendly, focusing on simplicity and common household items. Having the right tools makes the job faster, safer, and much more satisfying!
Here’s a look at what you might need. Don’t worry if you don’t have something; often, a close alternative will work just fine.
Essential Tools:
- Screwdriver Set: You’ll primarily need a Phillips head screwdriver, but having a flathead on hand is also a good idea. Look for a set with various sizes so you can match the screw heads perfectly.
- Pliers: Needle-nose pliers are great for gripping small parts, and regular pliers can help with stubborn components.
- Measuring Tape: Useful for checking the size of replacement parts if you need them.
- Pen or Pencil: To mark screw hole locations if you need to remove the entire handle assembly.
- Safety Glasses: Always a good idea when working with tools to protect your eyes from dust or flying debris.
- Work Gloves: To protect your hands from splinters or sharp edges.
Optional (but helpful) Tools:
- Drill with Screw Bits: For faster screw removal and installation, especially if you have many screws or they are tight.
- Utility Knife: Can be helpful for gently prying or cleaning around the handle area.
- Penetrating Lubricant (like WD-40): If parts are stuck due to rust or grime.
- Replacement Screws: It’s always good to have a few common screw sizes on hand, just in case.
Before you start, take a moment to gather your tools. Having everything ready will make the process smooth and enjoyable. It’s like preparing your ingredients before cooking – it sets you up for success!
Step-by-Step Guide: How to Fix a Screen Door Handle
Let’s get your screen door handle back in tip-top shape! We’ll break this down into simple, actionable steps. Remember, the key is to go slow, be patient, and don’t force anything. If a step feels tricky, take a breath and re-read it.
Step 1: Assess the Problem
First, let’s figure out exactly what’s wrong. Gently wiggle the handle. Does it feel loose? Does it move without opening the latch? Or is it completely detached? Take a close look at the screws holding the handle assembly to the door frame. Are any missing or visibly loose?
Also, examine the latch mechanism itself. Does it extend and retract smoothly when you operate the handle? Sometimes, the issue isn’t the handle itself but the latch it operates. This initial assessment will guide you to the right fix.
Step 2: Tighten Loose Screws (The Easiest Fix!)
If your handle is just wobbly, the screws are the most likely culprit. Grab your screwdriver. For most screen door handles, you’ll find two screws on the outside, often covered by a decorative plate or cap. Sometimes, these caps can be gently pried off with a flathead screwdriver or your fingernail.
Action:
- Identify the screws.
- Select the correct screwdriver bit (usually Phillips head).
- Carefully tighten each screw. Don’t overtighten, as this can strip the screw hole or damage the door frame. Just make them snug.
- Test the handle. If it feels firm and operates the latch correctly, you’re done!
If tightening the screws doesn’t solve the problem, or if the screws just spin without tightening, move on to the next steps.
Step 3: Addressing Stripped Screw Holes
If the screws keep spinning and won’t tighten, the wood or metal they’re screwed into has likely stripped. This means the hole is too large for the screw threads to grip. Don’t worry, this is a common issue and fixable!
Option A: Wood Dowels or Toothpicks
This is a great method for wooden screen doors.
Action:
- Remove the loose screws completely.
- Dip a few wooden toothpicks or a small piece of wooden dowel into wood glue.
- Insert the glued toothpicks or dowel piece into the stripped screw hole. Pack them in tightly.
- Break or cut off any excess toothpick/dowel sticking out, flush with the door surface.
- Let the glue dry completely (check the glue bottle for drying times, usually a few hours).
- Once dry, carefully re-drill a small pilot hole into the glued material.
- Re-insert the original screw. It should now have something to grip.
Option B: Larger Screws
If the stripped hole is in a sturdy part of the frame, you might be able to use a slightly larger or longer screw of the same type.
Action:
- Remove the old screws.
- Go to your local hardware store and find screws that are the same length but a slightly larger diameter, or the same diameter but a bit longer. Make sure they will still fit through the handle assembly.
- Carefully drive the new, larger screw into the stripped hole.
After addressing stripped holes, test the handle again. If it’s now secure, great job!
Step 4: Replacing a Broken Spindle
The spindle is the metal rod that passes through the door and connects the inside and outside handles. If this part is broken or severely worn, the handle will spin freely without engaging the latch. You’ll likely need to remove the entire handle assembly to access and replace the spindle.
Action:
- Remove the Handle Assembly: Unscrew all screws holding the inside and outside parts of the handle to the door. You might need to gently pry them apart if they’re stuck.
- Examine the Old Spindle: Once the handle is off, you should be able to see the spindle. It might be broken in half, bent, or just worn down. Note its length and the shape of its ends.
- Purchase a New Spindle: Take the old spindle (or measurements) to a hardware store to find a replacement. Spindles are fairly standard, but it’s best to match the size and shape. Many screen door handle kits come with a new spindle.
- Install the New Spindle: Slide the new spindle through the hole in the door frame, ensuring it’s oriented correctly to engage the latch mechanism.
- Reattach the Handle: Place the inside and outside handle parts back onto the door, aligning them with the spindle. Screw them securely into place.
- Test: Ensure the handle operates the latch smoothly and securely.
If you’re replacing the entire handle assembly, the new one will usually come with a spindle, screws, and sometimes even a new latch. This can be a simpler route if your old hardware is heavily corroded or damaged.
Step 5: Repairing or Replacing the Latch Mechanism
Sometimes, the handle and spindle are fine, but the latch itself is the problem. It might be stuck, bent, or broken. If the latch bolt isn’t extending or retracting properly, the handle won’t work as it should.
Action:
- Inspect the Latch: With the handle assembly removed (as in Step 4), examine the latch mechanism that slides into the door frame. Is it bent? Rusted? Does it move freely?
- Lubricate: If the latch is just stiff, try applying a penetrating lubricant like WD-40. Work the latch back and forth to loosen it up.
- Straighten: If the latch bolt is slightly bent, you might be able to gently straighten it with pliers. Be careful not to snap it.
- Replace the Latch: If the latch mechanism is significantly damaged or rusted, it’s best to replace it. You can often buy replacement latch mechanisms separately. Measure your old one carefully to ensure you get a compatible replacement. Follow the instructions that come with the new latch for installation. This usually involves sliding it into the existing cavity in the door frame and securing it with screws.
- Reassemble: Once the latch is functioning correctly, reattach your screen door handle assembly.
A properly functioning latch is crucial for both security and the smooth operation of your screen door. Don’t hesitate to replace it if it’s beyond repair.
Step 6: Reattaching a Detached Handle
If your handle has completely pulled away, it’s usually because the screws have failed or the material they were attached to has crumbled. This is essentially a more severe version of the loose screw or stripped hole problem.
Action:
- Clean the Area: Remove any loose debris or old glue from the door where the handle was attached.
- Assess Mounting Points: Look closely at where the handle screws were. Are there signs of stripped holes? Is the frame material weak?
- Use the Stripped Hole Fixes: If the holes are stripped, use the methods described in Step 3 (wood dowels/toothpicks or larger screws).
- Consider Reinforcement: For very weak or damaged areas, you might consider using a stronger adhesive like construction adhesive to help secure the handle, in addition to screws. Apply it sparingly to the back of the handle plate before screwing it back on.
- Reattach Securely: Once your mounting points are reinforced or repaired, reattach the handle assembly with its screws. Ensure it’s firmly attached and operates the latch correctly.
A detached handle is a clear sign that something needs reinforcement. Taking the time to properly fix the mounting points will prevent the handle from coming off again.
Troubleshooting Common Screen Door Handle Issues
Even with the best intentions, sometimes things don’t go exactly as planned. Here’s a quick guide to help you troubleshoot those tricky moments that might pop up during your repair.
Problem: The handle still feels loose after tightening screws.
Solution: The screws might be stripped (see Step 3). Or, the internal mechanism of the handle itself might be worn out, meaning the handle spins on the spindle even if the spindle is fine. In this case, you might need to replace the entire handle assembly.
Problem: The latch won’t move when I turn the handle.
Solution: Check the spindle connection. Is it seated correctly in both the handle and the latch mechanism? If the spindle is broken or the wrong size, the latch won’t engage. Also, inspect the latch mechanism for any obstructions or damage (see Step 5).
Problem: The handle is stiff and hard to operate.
Solution: Rust or dirt buildup is the usual suspect. Try applying a penetrating lubricant (like WD-40) to the spindle and the latch mechanism. Work the handle back and forth to loosen things up. If it’s still stiff, the internal parts might be worn and need replacement.
Problem: The screws won’t go back in straight.
Solution: Ensure you’re using the correct size screwdriver and that the screw is aligned properly with the hole. If you’re dealing with stripped holes, use the toothpick or dowel method described in Step 3 to create a solid anchor point.
Problem: The new handle assembly doesn’t fit.
Solution: Screen door hardware comes in various sizes. Double-check the measurements of your old hardware (hole spacing, spindle length, latch backset) against the new product before purchasing. It’s always a good idea to measure twice and buy once!
Remember, patience is key. If you get stuck, take a break, re-evaluate, and consult resources like the This Old House website for more visual guides and tips. They often have excellent demonstrations of common home repairs.
When to Consider Replacing the Entire Handle Assembly
While many screen door handle issues can be fixed by tightening screws or replacing a single component like the spindle, there are times when it’s more practical and cost-effective to replace the entire handle assembly. This is especially true if your current hardware is old, heavily corroded, or if multiple parts are damaged.
Consider replacement if:
- Extensive Rust or Corrosion: If the metal parts are significantly rusted, they might be brittle and prone to breaking again even after a repair.
- Multiple Damaged Parts: If the spindle is worn, the latch is bent, and the handle is loose, it’s often more economical to buy a new, integrated unit.
- Obsolete or Uncommon Hardware: If you can’t find a specific replacement part for your older handle, a new universal assembly is the way to go.
- The Door Frame is Damaged: Sometimes, the damage to the door frame around the handle is so extensive that a new assembly with slightly different mounting points might be easier to install securely.
- You Want an Upgrade: Newer screen door handles often have improved designs for durability and ease of use. This is a perfect opportunity to upgrade to something more modern or functional.
Replacing an entire assembly is usually straightforward. Most new kits come with all the necessary parts: the inside and outside handles, the spindle, screws, and often a new latch mechanism. The installation process is very similar to what we’ve described for replacing a spindle or latch, just with all new components.
Before you head to the hardware store, measure the distance between the screw holes on your current handle. This is called the “center-to-center” measurement and is crucial for ensuring the new assembly will fit your door. You’ll also want to measure the thickness of your door and the backset of the latch (the distance from the edge of the door to the center of the latch hole).
Here’s a quick comparison of fixing vs. replacing:
| Factor | Fixing Existing Handle | Replacing Entire Assembly |
|---|---|---|
| Cost | Generally lower, especially for simple fixes like tightening screws. | Higher initial cost, but can be cost-effective if multiple parts need replacement. |
| Time | Can be very quick for simple fixes. More time-consuming for complex repairs. | Installation time is often comparable to fixing multiple components. |
| Difficulty | Ranges from very easy (tightening screws) to moderate (replacing spindle/latch). | Usually moderate, similar to replacing individual parts, but with all new components. |
| Durability | Depends on the quality of the original parts and the repair itself. | Typically offers a fresh start with new, potentially more durable parts. |
| When to Choose | Loose screws, minor spindle wear, stiff but functional latch. | Extensive rust, multiple broken parts, obsolete hardware, desire for an upgrade. |
Choosing to replace the whole unit can give you peace of mind, knowing that all the components are new and working together perfectly. For many DIYers, it’s the most straightforward path to a reliable fix.
Safety First!
Working on your home should always be a safe experience. While fixing a screen door handle is generally a low-risk DIY project, it’s important to keep a few safety tips in mind to avoid any minor mishaps.
- Wear Safety Glasses: Even though you’re not drilling into a wall, small bits of metal, wood, or rust can fly off when you’re working with screws or prying parts. Safety glasses are a simple way to protect your eyes.
- Protect Your Hands: Screen doors and their hardware can sometimes have sharp edges or splinters, especially if they are older or made of wood. Wearing a pair of work gloves will prevent cuts and scrapes.
- Work in Good Lighting: Make sure you have adequate light to see what you’re doing. This prevents fumbling and misplacing small parts.
- Don’t Force It: If a screw is stuck or a part won’t budge, don’t force it with excessive strength. You could strip the screw head, break the part, or injure yourself. Try a penetrating lubricant or a different tool.
- Secure Your Workspace: If you’re removing the entire handle assembly, make sure the door can be secured so it doesn’t swing unexpectedly, especially if it’s windy.
- Keep Children and Pets Away: Small parts can be a choking hazard, and you don’t want curious pets or children getting underfoot while you’re working with tools.
By following these simple safety guidelines, you can ensure your DIY screen door handle repair is as safe as it is successful. A little bit of caution goes a long way in making your home improvement projects enjoyable and worry-free.

Frequently Asked Questions (FAQ)
Q1: How do I know if I need to replace the whole screen door handle or just fix a part?
A1: If the handle is just wobbly and tightening screws fixes it, you’re good to go! If parts are broken, extensively rusted, or multiple components are damaged, replacing the entire assembly is often the most reliable and straightforward solution.
Q2: What size screwdriver do I need for my screen door handle?
A2: Most screen door handles use Phillips head screws. You’ll likely need a medium-sized Phillips head screwdriver. It’s best to have a small set to try, as screw sizes can vary slightly.
Q3: Can I fix a screen door handle if the screws are stripped?
A3: Absolutely! You can fill stripped screw holes with wood glue and toothpicks or a small wooden dowel. Let the glue dry, then drill a new pilot hole and reinsert the screw. This gives the screw something solid to grip.
Q4: My screen door handle is very stiff. What can I do?
A4: Stiffness is usually caused by rust or dirt. Try spraying a penetrating lubricant like WD-40 onto the spindle and the latch mechanism. Work the handle back and forth to loosen it up. If that doesn’t help, the internal parts may be worn and need replacement.
Q5: Where can I buy a replacement screen door handle?
A5: You can find replacement screen door handles at most hardware stores, home improvement centers (like Home Depot or Lowe’s), and online retailers. Be sure to measure your existing handle’s screw hole spacing before you buy to ensure a proper fit.
Q6: Is it difficult to replace the entire screen door handle assembly?
A6: Not at all! Replacing the whole assembly is usually quite simple. It typically involves unscrewing the old one and screwing in the new one. Most new kits come with clear instructions and all the necessary hardware.
Conclusion
And there you have it! You’ve learned how to diagnose and fix common screen door handle problems, from simple loose screws to more involved repairs like replacing a spindle or latch. Tackling this project yourself not only saves you money but also gives you a real sense of accomplishment.
Remember, most screen door handle issues are straightforward and don’t require special skills or expensive tools. By following these steps, gathering the right tools, and working patiently, you can easily restore your screen door handle to full working order. A functional handle means a smoothly operating door, letting you enjoy that fresh breeze without any hassle.
Don’t let a wobbly or broken handle be a persistent annoyance. You’ve got the knowledge now to handle it. So, grab your screwdriver, take a deep breath, and get ready to enjoy a perfectly working screen door. Happy DIYing!