How to Fix a Sink Stopper (Pop-Up, Toe-Touch & More)
A stuck or leaking sink stopper is almost always the pivot rod or lift rod, not the drain itself – tighten or adjust either one and most stoppers work again in under an hour. Skipping this fix means calling a plumber for $75-150 versus about $10 in parts. This guide covers pop-up, push-and-pull, toe-touch, flip-it, and grid-strainer stoppers, so you can identify yours and fix it directly.
Why Fixing a Sink Stopper Matters
Let’s start with why this is worth your time. A sink stopper controls whether water stays in or drains out. When it’s broken, you might deal with a sink that won’t hold water for dishes or one that drains too slowly, like mine did. I got tired of standing in a puddle while brushing my teeth!
Fixing it yourself saves money—plumbers can charge $75-$150 for a quick visit. I spent $10 on tools and fixed it in an hour. Plus, it keeps your sink functional and prevents water waste. It’s like tuning up your car’s brakes—small fixes make a big difference. Let’s look at the types of stoppers you might have (see our full bathroom fixtures hub for more).
Types of Sink Stoppers
Before you start fixing, you need to know what kind of stopper you’re dealing with. I made the mistake of assuming all stoppers were the same, and it cost me an extra trip to the hardware store. Here’s what I found:
- Pop-up stopper: Common in bathroom sinks, these move up and down with a lift rod. My bathroom sink had this type.
- Push-and-pull stopper: You push down to close and pull up to open. I saw this in a friend’s kitchen sink.
- Toe-touch stopper: Press with your foot or hand to open or close. My guest bathroom has one.
- Flip-it stopper: Flip a lever to seal or open. I fixed one at my mom’s house.
- Grid strainer: A fixed stopper with holes for draining. Common in kitchens, I have one in my utility sink.
Each type has its own fix, so check yours by looking under the sink or removing the stopper. Let’s gather the tools you’ll need.
Tools and Materials You’ll Need
Having the right tools makes this job so much easier. I learned this after trying to use a butter knife as a wrench—don’t do that! Here’s what I use:
- Adjustable wrench: To loosen nuts. I got one for $8.
- Screwdriver: Phillips or flathead, depending on screws. I had one in my toolbox.
- Pliers: For gripping small parts. My $5 pair worked great.
- Plumber’s tape: To seal threads. A $2 roll lasts forever.
- Cleaning brush: To scrub gunk. I used an old toothbrush.
- Bucket: To catch water. I grabbed one from my garage.
- Replacement parts: Like a new stopper or pivot rod, if needed. I spent $5 on a universal stopper kit.
- Vinegar and baking soda: For cleaning. I had these in my kitchen.
- Optional: Lubricant: Silicone grease for smooth movement. I bought a $3 tube.
My total cost was about $25, and most tools are reusable. Check your stopper type to grab any specific parts. Let’s prep your sink for the fix.
Preparing Your Sink for the Repair
Before you dive in, a little prep saves a mess. I skipped this once and got water everywhere—lesson learned! Here’s how I set up now:
- Turn off the water: Find the shut-off valves under the sink and turn them off. I did this to avoid a flood.
- Clear the area: Remove soaps, sponges, or anything under the sink. I used a towel to keep things clean.
- Place a bucket: Put it under the sink to catch drips. I caught a half-cup of water this way.
- Plug the drain: If you drop screws, a cloth in the drain saves them. I learned this the hard way!
- Inspect the stopper: Lift or twist it to see how it moves. My pop-up stopper was stuck, so I knew it needed cleaning.
This prep takes 10 minutes but makes the job smoother. It’s like checking your tire pressure before a drive—do it right! Let’s start with the most common fix: a pop-up stopper.
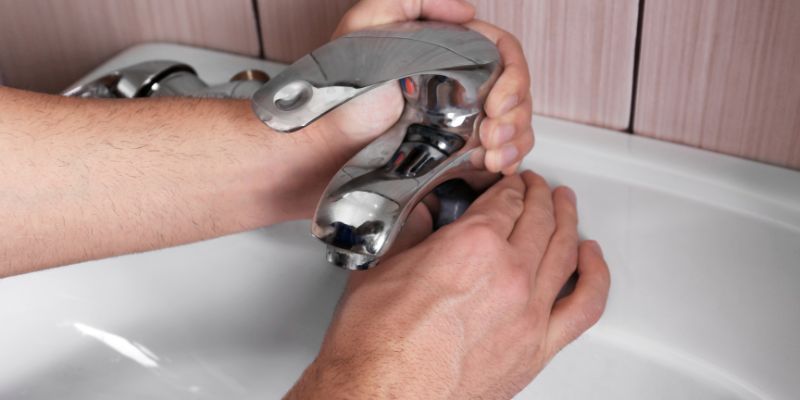
Fixing a Pop-up Sink Stopper
Pop-up stoppers are super common, and mine was the culprit in my bathroom sink. Here’s how I fixed it:
- Remove the stopper: Pull up the stopper and twist it to release. Mine popped out after a quarter-turn.
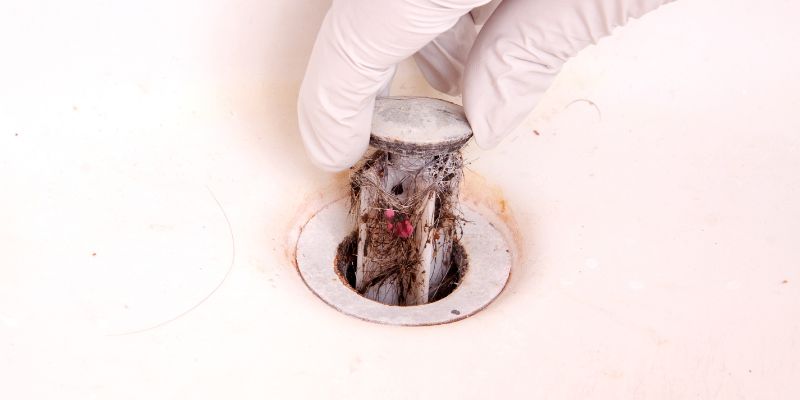
- Clean the stopper: Soak it in vinegar to remove gunk. I scrubbed mine with a toothbrush, and it looked brand-new.
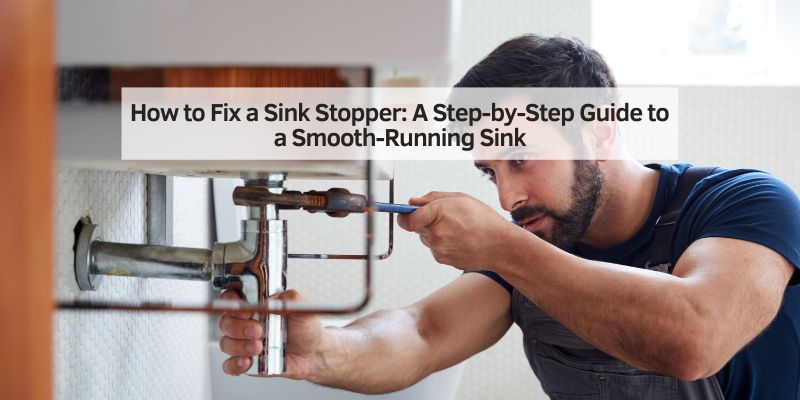
- Check the pivot rod: Look under the sink for a horizontal rod connected to the drainpipe. Mine was loose.
- Tighten the pivot rod: Use a wrench to tighten the nut holding the rod. I turned it clockwise until snug.
- Adjust the lift rod: The rod behind the faucet moves the stopper. I loosened its screw, adjusted the height, and retightened.
- Test the stopper: Reinsert the stopper and test it with the lift rod. My stopper sealed perfectly after tweaking the rod.
- Lubricate if needed: I added silicone grease to the stopper’s base for smooth movement.
This took 30 minutes and cost $5 for grease and a new pivot rod clip. If it still doesn’t work, you might need a new stopper—mine was fine after cleaning. (If yours needs full removal rather than a tune-up, see how to remove a drain stopper.) Let’s look at push-and-pull stoppers next.
Best Sink Stopper Parts Pick
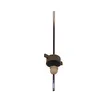
Moen Replacement Bathroom Sink Pivot Rod
If tightening your existing pivot rod doesn’t hold, a worn or bent rod is the next likely culprit – this is the exact part the pop-up fix above targets.
- Best for: pop-up stoppers that won’t stay sealed after tightening
- Why we picked it: genuine Moen part, direct fit for 50/50 style drains
- Main drawback: only fits Moen-pattern drain assemblies
Compare more sink stopper repair options
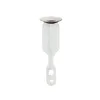 Option 1 PF WaterWorks Chrome Pop-Up Stopper
|
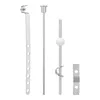 Option 2 Universal Pivot & Lift Rod Assembly Kit
|
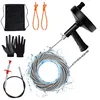 Option 3 33-Foot Drain Auger Snake
|
As an Amazon Associate we earn from qualifying purchases.
Fixing a Push-and-Pull Sink Stopper
Push-and-pull stoppers are simple but can get stuck. I helped my friend fix one in her kitchen. Here’s the process:
- Remove the stopper: Unscrew it counterclockwise. I had to grip mine with pliers to loosen it.
- Clean it: Soak in vinegar and scrub with a brush. Her stopper had soap scum buildup.
- Check the post: The stopper screws onto a post in the drain. I made sure it wasn’t bent.
- Inspect the O-ring: A rubber ring seals the stopper. Hers was cracked, so I replaced it for $2.
- Reapply plumber’s tape: Wrap tape around the post’s threads. I did two layers for a tight seal.
- Reinstall the stopper: Screw it back on and test. Her stopper worked smoothly after this.
- Lubricate: I added silicone grease to the O-ring to prevent sticking.
This took 20 minutes and cost $5 for parts. It’s an easy fix if the stopper’s not damaged. Let’s tackle toe-touch stoppers.
Fixing a Toe-Touch Sink Stopper
Toe-touch stoppers are spring-loaded and fun to fix. My guest bathroom had one that wouldn’t stay closed. Here’s how I fixed it:
- Remove the stopper: Push it to the open position and unscrew counterclockwise. Mine came off easily.
- Clean the parts: Soak in vinegar and scrub the spring mechanism. I removed hair and gunk.
- Check the spring: The internal spring makes it pop. Mine was weak, so I replaced the stopper for $10.
- Inspect the flange: The drain’s rim holds the stopper. I tightened it with pliers.
- Reinstall the stopper: Screw it back in and test. My new stopper clicked perfectly.
- Lubricate: I added grease to the spring for smooth action.
This took 25 minutes and cost $10. If the spring’s fine, cleaning might be enough. Next up, flip-it stoppers.
Fixing a Flip-It Sink Stopper
Flip-it stoppers are less common but easy to fix. I repaired one at my mom’s house. Here’s how:
- Remove the stopper: Flip it open and pull up. Mine popped out with a gentle tug.
- Clean it: Soak in vinegar and scrub the lever. Her stopper had hard water stains.
- Check the pivot ball: A ball inside the drain moves the stopper. I tightened its nut with a wrench.
- Replace the O-ring: The ball’s rubber ring was worn. I swapped it for $1.
- Reinstall the stopper: Push it back in and test. Her stopper sealed tightly after this.
- Lubricate: I used grease on the ball for smooth flipping.
This took 15 minutes and cost $3. It’s a quick fix if the parts aren’t broken. Let’s cover grid strainers.
Fixing a Grid Strainer
Grid strainers are fixed but can clog. My utility sink had one that drained slowly. Here’s my fix:
- Remove debris: I scooped out hair and gunk with a brush. A lot was stuck in the holes.
- Soak the strainer: I poured vinegar over it to dissolve grease. I let it sit for 20 minutes.
- Scrub the drain: I used a toothbrush to clean the grid. It cleared the clog.
- Check the trap: Under the sink, I unscrewed the P-trap and cleaned it. It had more gunk.
- Reassemble and test: I reattached the trap and ran water. My sink drained fast after this.
This took 20 minutes and cost $0, since I used vinegar. Regular cleaning prevents clogs. Let’s troubleshoot common issues.
Troubleshooting Common Stopper Problems
Sometimes, fixes aren’t straightforward. Here’s how I handled issues I ran into:
- Stopper won’t seal: Adjust the pivot rod or replace the O-ring. I tweaked my pop-up’s rod height to fix a leak.
- Slow draining: Clean the trap or use a drain snake. I snaked my bathroom drain for $5 to clear a deep clog.
- Stopper won’t move: Check for corrosion or loose screws. I tightened a loose screw on my lift rod.
- Parts are broken: If the stopper’s damaged, replace it. I bought a universal stopper for $10 when my toe-touch broke.
These fixes are quick and keep your sink working. If DIY doesn’t cut it, I’d call a pro. Let’s talk prevention.
Preventing Future Stopper Issues
Once your stopper’s fixed, I want to keep it that way. Here’s what I do:
- Clean monthly: I soak my stoppers in vinegar to prevent buildup. It takes 10 minutes.
- Use a drain catcher: I got a $3 mesh catcher to trap hair. It saves my bathroom sink.
- Check connections: I tighten screws and nuts every 6 months. A 5-minute check prevents leaks.
- Avoid grease: I don’t pour oil down the drain. It clogs my kitchen strainer.
- Run hot water: After using the sink, I run hot water to flush debris. It’s free and effective.
These habits save me time and money. It’s like rotating your tires—small steps prevent big problems. Let’s compare stopper fixes.
| Stopper Type | Common Issues | Cost | Time Needed | Fix | Difficulty |
|---|---|---|---|---|---|
| Pop-up | Stuck, won’t seal | $5-$15 | 30 min | Clean, replace the O-ring | Medium |
| Push-and-Pull | Sticks, leaks | $3-$10 | $5 | 20 min | Clean, replace the stopper |
| Toe-Touch | Spring fails, won’t pop | $5-$20 | 25 min | Clean, replace the O-ring | Medium |
| Flip-It | Lever sticks, loose ball | $3-$10 | 15 min | Clean, scrub the trap | Easy |
| Grid Strainer | Clogs easily | $0-$5 | 20 min | Clean, scrub trap | Easy |
I found flip-its easiest, but pop-ups are most common. Pick based on your stopper and issue.
When to Call a Professional Plumber
Sometimes, you need a pro. I called a one when my efforts failed once. Here’s when I’d get help:
- Persistent leaks: If cleaning and tightening don’t work, a plumber can spot a cracked drain. I called for a hidden leak.
- Damaged pipes: If the P-trap or drainpipe is corroded, pros handle it. My friend needed a new trap.
- Complex systems: Older homes have tricky plumbing. I’d hire a pro for my 1950s rental property.
- No time or tools: If you’re not comfy, a $100-$200 visit saves stress.
Plumber’s expertise is worth calling for complex issues, but I fixed most stoppers myself. Let’s talk safety tips.
Safety Tips for Fixing Your Stopper
Plumbing’s safe with care. Here’s what I keep in mind:
- Turn off water: I always shut off valves to avoid a mess.
- Wear gloves: I protect my hands from gunk with $1 gloves for a job.
- Use tools safely: I grip wrenches firmly to avoid slipping.
- Work in good light: I use a flashlight to see under the sink.
- Ventilate: I open a window when using vinegar or cleaners.
These tips keep me safe and dry. It’s like checking your mirrors before driving—be cautious!
“Fixing a sink stopper myself instead of calling a plumber saved me $100 – and every time the sink drains perfectly now, I’m glad I tackled it instead of paying for a quick visit.”
Conclusion
Most sink stopper problems come down to the pivot rod or lift rod – tighten or adjust either one before assuming you need a whole new stopper. Identify your type first, since the fix differs between pop-up, push-and-pull, toe-touch, flip-it, and grid strainer models.
Frequently Asked Questions
Why won’t my sink stopper stay down?
It’s likely a loose pivot rod or worn O-ring. I tightened my rod and replaced the O-ring for $2 to fix it.
Can I fix a sink stopper without tools?
Not really, you need a screwdriver or wrench. I tried without tools once and couldn’t loosen anything.
How long does it take to fix a sink stopper?
It took me 15-30 minutes, depending on the type. Pop-ups took longer, flip-its were fastest.
Do I need to replace my stopper if it’s stuck?
Not always. I cleaned my mine with vinegar, but I replaced my toe-touch one for $10 when the spring broke.
What if my sink still drains slowly after fixing the stopper?
Check the P-trap or use a snake for deeper clogs. I snaked my drain for $5, and it cleared right up.
📊 A professional drain snaking service costs $100-275, versus about $5-10 for a DIY hand-crank snake — Source: HomeGuide, 2026 cost data
Sponsored / affiliate links. As an Amazon Associate I earn from qualifying purchases. I may earn additional commission from eligible campaigns.