How to Fix Recessed Light Spring Clips (Halo & Juno Fixes)
Recessed light spring clips fail when heat, age, or an oversized ceiling hole let the torsion or coil springs lose tension, letting the fixture sag or drop. Reshaping bent clips or swapping in replacements — matched to your Halo, Juno, or generic housing — fixes most sagging lights in 15 to 30 minutes for $6-$8 in parts. This guide covers diagnosing the failure, step-by-step repair, brand-specific clip types, and when the job needs an electrician instead.
Quick Answer
Recessed light spring clips fail from heat, age, or a too-large ceiling hole. Turn off the breaker, pull the fixture down, and either reshape bent clips with needle-nose pliers or snap in replacement clips matched to your housing — Halo, Juno, and most generic cans use similar torsion or coil springs. Most fixes take 15-30 minutes and cost under $10 in parts.
Understanding Recessed Light Spring Clips
Let’s start with the basics. Recessed lights, those sleek fixtures that sit flush with your ceiling, rely on spring clips to stay in place. These clips are typically small, metal, spring-loaded mechanisms that grip the ceiling material, holding the light fixture snugly in place. But over time, these clips can weaken, bend, or even break, causing your light to droop or wobble.
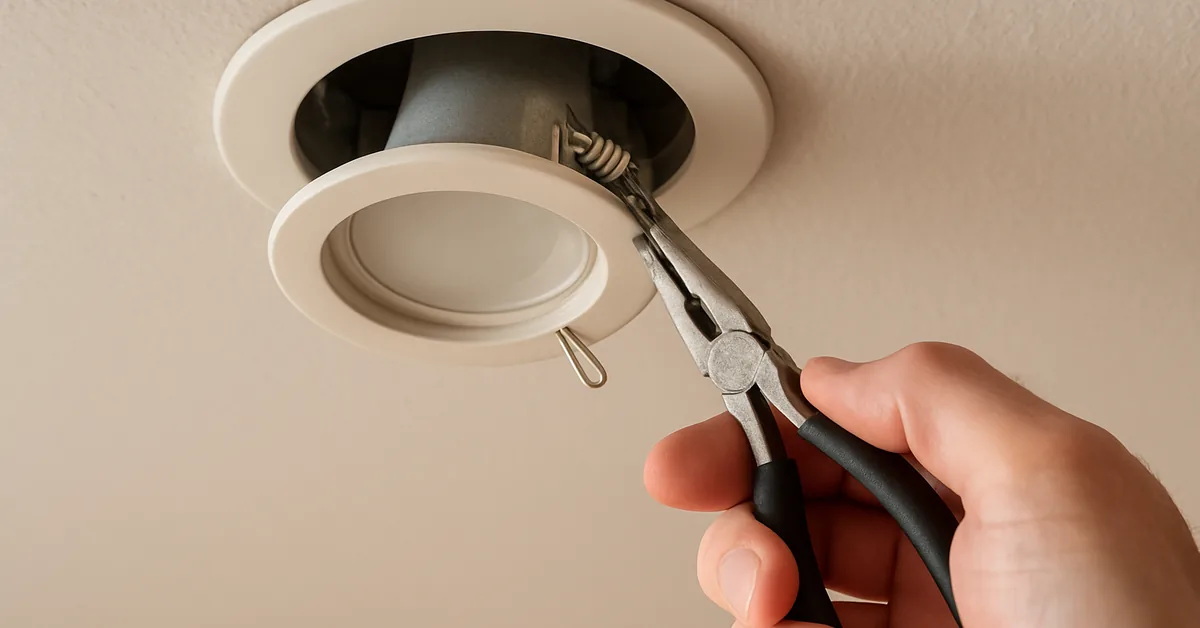
Torsion springs are U-shaped wire clips that twist and hook into “ear” brackets mounted inside the recessed can — they’re common on heavier trims and older can-style housings. Coil springs (sometimes called V-springs) press outward against the ceiling material to hold lighter, modern trims flush, and usually get replaced rather than bent back into shape. Knowing which type you have determines whether you reshape it or simply swap in a new one.
Spring clips are designed to be strong but not indestructible. Heat from the bulb, ceiling vibrations, or plain wear and tear can make them lose their grip over the years.
Why Do Spring Clips Fail?
Before we get to the fixing part, let’s talk about why these clips fail in the first place. Age is a big factor — in older homes, clips that have been holding lights for years develop metal fatigue. Improper installation is another cause: if the clips weren’t set correctly, or the ceiling hole was cut oversized, they never get a firm grip to begin with.
Heat from high-wattage bulbs can also weaken springs over time, and rust or corrosion — especially in bathrooms or other humid rooms — eats away at plain steel clips until they lose tension entirely. Vibrations from heavy footsteps upstairs or nearby construction add to the wear.
Tools and Materials You’ll Need
Okay, let’s get ready to fix those clips. You don’t need a fancy toolbox, but having the right tools makes the job easier. Here’s what you’ll want on hand:
| Tool/Material | Purpose |
|---|---|
| Stepladder | To safely reach the ceiling |
| Non-contact voltage tester | To confirm the circuit is dead before you touch anything |
| Flathead screwdriver | To pry out the light fixture or adjust clips |
| Needle-nose pliers | For bending or adjusting spring clips |
| Replacement spring clips | In case the old ones are damaged or rusted |
| Safety glasses | To protect your eyes from debris |
| Gloves | To keep your hands protected |
| Flashlight or work light | To see clearly in dim spaces |
| Measuring tape | To check the size of the ceiling hole |
If you don’t have replacement clips, check your local hardware store or online for clips that match your light’s brand and exact housing model number — not just the brand name, since parts are rarely universal across models. Pro tip: take a picture of your fixture before heading to the store, it’ll save you from buying the wrong parts.
Best Universal Spring Clip Pick
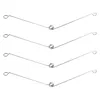
4-Pack Stainless Steel Torsion Spring Clips – $6.89
Stainless steel resists the rust and corrosion this guide flags as a common failure cause, and the hooked ends fit most generic can housings covered in Step 4.
- Best for: generic or unbranded recessed can housings
- Why we picked it: stainless steel holds tension longer in humid rooms than plain steel
- Main drawback: may not match specific Halo or Juno hook spacing exactly
Compare more spring clip options
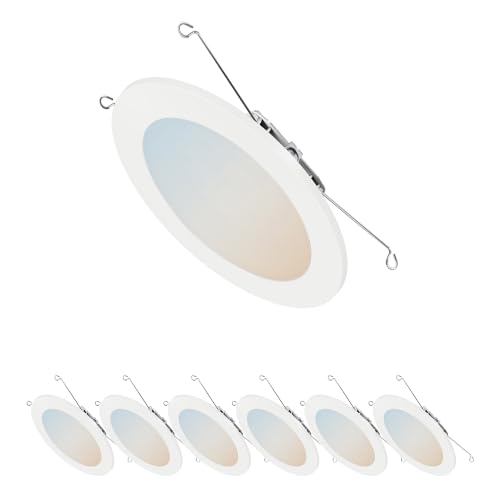
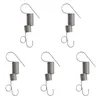 Option 1 Halo RS7H Coil Spring 5-Pack – $5.99
|
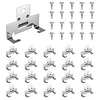 Option 2 C-Clip Retrofit 20-Pack – $7.99
|
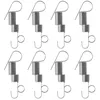 Option 3 Coil Spring 8-Pack – $7.69
|
As an Amazon Associate we earn from qualifying purchases.
Step-by-Step Guide to Fixing Recessed Light Spring Clips
Now, let’s get to the good stuff — fixing those clips. Follow these steps in order and you’ll have those lights sitting flush again in no time.
Step 1: Turn Off the Power
Safety first, always. Head to your breaker box and turn off the power to the light you’re working on, then double-check by flipping the wall switch a few times. For extra certainty, touch a non-contact voltage tester to the fixture’s wiring before handling it — standard household circuits run 120V, and the tester will light up or beep if the circuit is still live.
Step 2: Remove the Light Fixture
Climb up your stepladder and gently pull the light fixture down from the ceiling. Most recessed lights have a trim ring or baffle that you can grip; wiggling it gently while pulling downward usually works. If it’s stuck, use a flathead screwdriver to carefully pry it loose, but don’t force it — you don’t want to damage the ceiling. Once the fixture is out, you’ll see the spring clips attached to the housing. Look them over for bends, breaks, or rust.
Step 3: Inspect the Spring Clips
Check those clips closely. Are they bent out of shape? Completely broken? Rusted or corroded? Or maybe they’re just not gripping the ceiling tightly enough. If the clips look salvageable, you can usually bend them back into shape. If they’re rusted, broken, or have lost their springiness, you’ll need replacements. Hold onto the old clips for reference when buying new ones.
Step 4: Adjust or Replace the Clips
If the clips are just bent, grab your needle-nose pliers and carefully reshape them. For torsion springs, make sure the coils are tight and even. For coil springs, ensure they press outward firmly. If you’re replacing the clips, match the new ones to the old ones in size and type — most clips snap or hook into the fixture housing.
Step 5: Check the Ceiling Hole
The hole in your ceiling matters just as much as the clips. If it’s too big, even the best clips won’t hold the light securely. Use your measuring tape to check the hole’s diameter — most recessed lights fit in standard 4-inch, 5-inch, or 6-inch holes. If the hole is oversized, you may need a repair kit or a larger trim ring to fill the gap.
Step 6: Reinstall the Fixture
Once your clips are fixed or replaced, line up the fixture with the ceiling hole and push it up until the clips catch. You may need to squeeze the clips inward slightly to get them through the hole, then let them spring out to grip the ceiling. A firm but gentle push works best — don’t shove it too hard, or you could damage the clips again. Check that the fixture sits flush with the ceiling.
Step 7: Test the Light
Turn the power back on at the breaker and flip the switch. Does the light work? Is it sitting flush? If it’s still sagging, double-check the clips or the hole size — sometimes a clip needs a second adjustment before it holds for good.
Common Recessed Light Brands and Their Spring Clip Types (Halo, Juno, Broan & More)
Spring clip design varies by brand and housing series, which is why a generic clip doesn’t always fit. Halo housings in the RS7H/H7 series (models 301, 310, 401, and 426) use coil springs with hooks on both ends that attach to the trim ring. Juno housings typically use their own torsion-clip retention system sized specifically to their trim series, and the clips are rarely interchangeable with Halo parts even when they look similar. Broan bath fan/light combo units often use flat spring clips that hook onto tabs molded into the housing rather than coil or torsion springs.
Budget or private-label canless retrofit discs (sold under names like Commercial Electric or Utilitech) usually skip springs entirely — the disc mounts directly to a retrofit bracket with a twist-lock or torsion-clip edge instead. If you’re not sure which system you have, check the housing for a stamped model number before ordering replacement clips; matching the exact model avoids buying clips that are close but don’t quite hook in.
Common Problems and Solutions
Sometimes, things don’t go as planned. Here are a few issues and how to solve them:
- Light still sags after fixing clips: The ceiling hole might be too large. Try a larger trim ring or a ceiling repair patch kit.
- Clips won’t stay in place: Check if the clips are compatible with your fixture. Some brands use specific clip designs.
- Light flickers instead of sagging: That’s usually a wiring, dimmer, or bulb compatibility issue rather than the spring clips — see our guide on why recessed lights flicker to diagnose it separately.
- Fixture won’t come out: If it’s stuck, use a screwdriver to gently pry around the edges, but be careful not to crack the ceiling.
- Clips keep bending: You might be using bulbs with too high a wattage, causing heat damage. Switch to LED bulbs — they run cooler.
Tips for Preventing Future Issues
Once your light is fixed, you’ll want to keep it that way. Here’s how to avoid clip problems down the road:
- Use LED bulbs: They produce less heat, which is easier on the clips, and they save energy.
- Check clips regularly: Every couple of years, pop the fixture out and inspect the clips for wear.
- Watch for rust: A light coat of silicone spray helps keep clips from corroding, and stainless steel replacement clips resist rust better than plain steel in bathrooms or other humid rooms.
- Avoid overloading the circuit: Too many lights on one circuit can cause flickering or heat buildup, which affects the clips.
- Hire a pro for tricky installs: If your ceiling is unusually thick or thin, a professional can ensure the clips are set correctly.
📊 A handyman or electrician typically charges $40-$80 to fix a sagging recessed light caused by worn or bent mounting/spring clips — Source: HomeGuide, 2026
When to Call a Professional
DIY is great, but sometimes it’s best to call in the pros. If your ceiling hole is damaged, the wiring looks sketchy, or you’re dealing with multiple lights that keep failing, an electrician can save you time and stress — especially if cracked drywall is involved. As noted above, expect to pay roughly $40-$80 for a simple clip or mounting fix, more if wiring or the housing itself needs work.
“One of our kitchen recessed lights started sagging after about ten years — the torsion spring had lost its tension. Reshaping it with needle-nose pliers held for about a week before it slipped again; swapping in a $6 replacement clip was the fix that actually lasted.”
Frequently Asked Questions
Why do my recessed lights keep falling?
Your recessed lights might be falling because the spring clips are worn out, bent, rusted, or not gripping the ceiling properly. A too-large ceiling hole or high-wattage bulbs causing heat damage could also be the issue. Check the clips and hole size, and consider switching to LED bulbs.
Can I replace spring clips without replacing the whole fixture?
Yes, you can almost always replace just the spring clips. Remove the fixture, inspect the clips, and buy replacements that match your light’s brand and housing model number. Most hardware stores carry generic versions, or you can order brand-specific ones online.
How do I know if my ceiling hole is too big?
Measure the hole’s diameter with a measuring tape and compare it to your fixture’s specs (usually 4, 5, or 6 inches). If the hole is noticeably larger, the clips won’t hold well, and a larger trim ring or repair kit can help close the gap.
Are LED bulbs better for recessed lights?
Yes. LED bulbs produce less heat, which is gentler on spring clips and extends their life. They’re also more energy-efficient and last longer than traditional incandescent or halogen bulbs.
What if I can’t get the fixture out of the ceiling?
If the fixture is stuck, gently pry around the edges with a flathead screwdriver, being careful not to damage the ceiling. If it’s still not budging, there might be adhesive or a unique clip design — consider calling an electrician rather than forcing it.
How long does it take to fix a recessed light spring clip?
For one light, it usually takes 15-30 minutes, depending on your experience and whether you need to replace clips rather than just reshape them.
Do Halo and Juno recessed lights use the same spring clips?
No. Halo RS7H/H7 housings use coil springs made for that specific series, while Juno and other brands often use differently sized torsion clips or their own retention systems. Always match the replacement clip to your exact housing model number, not just the brand name, since parts are rarely universal across models.
Conclusion
Fixing recessed light spring clips might seem daunting at first, but it’s totally doable with a little patience and the right tools. By following these steps, you can tackle those pesky clips and enjoy a well-lit space without the frustration of sagging fixtures.
Whether you’re bending clips back into shape or swapping them out for new ones, you’ve got this. Grab your ladder, turn off that breaker, and get to work — your ceiling (and your wallet) will thank you. And if you’re starting a recessed lighting project from scratch rather than repairing one, see our full recessed lighting installation guide for IC-rated housing requirements.
Sponsored / affiliate links. As an Amazon Associate I earn from qualifying purchases. I may earn additional commission from eligible campaigns.