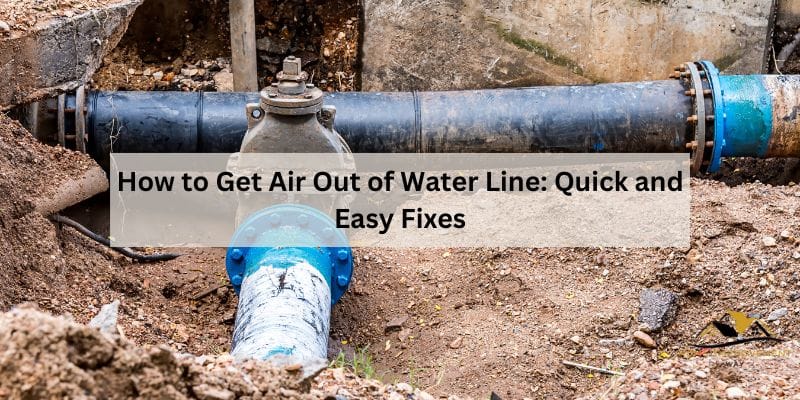
How to Get Air Out of Water Line: Quick and Easy Fixes
To get air out of a water line, start by turning off the water supply and opening the faucets to release any trapped air. Slowly turn the water supply back on to remove the remaining air.
It is important to follow these steps to ensure efficient water flow and prevent any issues in your plumbing system.
Why Air Gets Trapped In Water Lines
Air can become trapped in water lines, causing issues such as sputtering faucets or low water pressure. To remove air from the water line, you can try methods like opening faucets, flushing toilets, or bleeding radiators to restore normal water flow.
Hard Water Deposits
Hard water deposits can be a common reason why air gets trapped in water lines. When water has a high mineral content, such as calcium and magnesium, it is classified as hard water. Over time, these minerals can build up and form deposits on the inside of the water line, creating a barrier that traps air bubbles.
This build-up of hard water deposits can occur in both residential and commercial plumbing systems, leading to reduced water flow and water pressure. These deposits not only affect the efficiency of your plumbing system but can also contribute to the annoying sound of air bubbles when you turn on a faucet or shower.
To prevent air from getting trapped due to hard water deposits, it’s essential to regularly clean your water lines and remove any mineral build-up. This can be done using various remedies, such as using vinegar or a commercial descaling agent, to dissolve the deposits and restore the proper water flow.
Leaks Or Cracks In Pipes
Another leading cause of trapped air in water lines is leaks or cracks in the pipes. Even small openings in the pipes can create air pockets that interfere with the smooth flow of water. Over time, these air pockets can accumulate and cause problems such as reduced water pressure or inconsistent water flow.
Leaks or cracks in pipes can occur due to various reasons, including aging pipes, shifting foundations, or physical damage. It’s crucial to address these issues promptly to prevent further damage to your plumbing system.
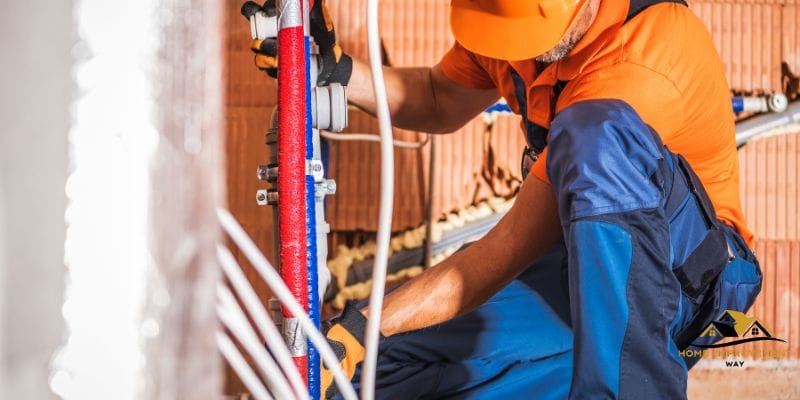
If you suspect a leak or crack in your water line, it’s best to consult a professional plumber who can assess the problem and suggest appropriate repairs. Fixing these issues not only prevents air from getting trapped in your water lines but also helps maintain the integrity of your entire plumbing system.
Signs Of Air In Water Lines
Spitting Faucets
One of the unmistakable signs of air in water lines is spitting faucets. You may notice small bursts of air coming out along with the water flow, creating a frustrating experience. These bursts of air can occur when you turn on the faucet or even while the water is running. The sporadic spitting can be annoying, but it also indicates that there is air present in the water lines.
Gurgling Sounds
Gurgling sounds are another indication that there may be air trapped in your water lines. Often, you can hear these strange noises coming from your faucet or pipes, particularly when you turn on the water. The gurgling sounds can be caused by air bubbles moving through the lines, disrupting the smooth flow of water. If you consistently hear these sounds, it’s a sign that you should take action to remove the air from your water lines.
Fixing Air In Water Lines
Dealing with air in your water lines can be a frustrating experience. Not only can it cause disruptions in water flow, but it can also lead to sputtering faucets and reduced water pressure. Fortunately, there are simple steps you can take to fix the air in your water lines. In this article, we will discuss the process of bleeding the air out and checking for leaks, so you can get your water lines back to normal.
Bleeding The Air Out
To begin the process of fixing air in your water lines, you will need to bleed the air out. Bleeding the air out involves releasing the trapped air from your plumbing system. Here’s how you can do it:
- Locate the main water valve in your home and turn it off. This will halt the water supply and prevent any further air from entering the lines.
- Starting from the lowest faucet in your home, open it up fully. This faucet should be located in the basement or ground floor.
- Once opened, leave the faucet running for a few minutes or until the water runs smoothly without any sputtering or air bubbles.
- Move to the next faucet in your home, preferably located on the next floor. Open it up fully and let it run for a few minutes as well.
- Repeat this process for all the faucets in your home, working your way up from the lowest point to the highest.
- Finally, once you have bled the air out of all the faucets, turn on the main water valve to restore the water supply in your home.
By bleeding the air out of your water lines, you allow the water to flow freely again, eliminating any disruptions in water pressure or sputtering faucets.
Checking For Leaks
After bleeding the air out, it is essential to check for any signs of leaks in your water lines. Leaks can cause air to enter your plumbing system, which in turn leads to air in the water lines. Here’s how you can check for leaks:
- Visually inspect all the exposed pipes in your home, paying close attention to joints and connections.
- Look for any signs of water drips or moisture on the pipes. If you notice any, this might indicate a leak.
- Use a paper towel or tissue to wipe the suspected area. If the paper towel becomes wet or shows signs of moisture, there may be a leak present.
- If you have access to a water meter, check the meter reading while all faucets in your home are turned off. If the meter continues to run or show movement, there could be a leak in your water lines.
- If you discover a leak, it is crucial to fix it as soon as possible. Depending on the severity of the leak, you may either attempt a DIY repair or contact a professional plumber for assistance.
Regularly checking for and fixing leaks in your water lines helps prevent air from entering the plumbing system, ensuring a continuous and smooth water flow throughout your home.
Tools You Will Need
To get air out of your water line, you’ll need a few essential tools. These include a wrench, a bucket to collect water, and a towel to clean up any spills. With these tools in hand, you can easily eliminate air bubbles and ensure a smooth flow of water in your line.
Before we begin getting the air out of water lines, let’s make sure you have the necessary tools at hand
Pliers
Pliers are an essential tool to have when dealing with water lines. They help you grip and tighten connections, making it easier to remove air pockets. Make sure you have a pair of pliers that are suitable for the size of the pipes you are working with. Adjustable pliers are versatile and can be used for various pipe sizes.
Bucket
A bucket is another crucial tool that should always be within reach. When you remove air from water lines, it’s common for water to spurt out. Having a bucket nearby will help you catch any water that may come rushing out, preventing it from causing a mess. Ensure the bucket has a wide enough opening to collect the water effectively.
Wd-40
WD-40 is a handy lubricant that can assist in loosening any tight connections or valves. Before attempting to remove air from water lines, you may need to loosen certain parts to access the airlocks. Apply a small amount of WD-40 to the affected areas and allow it to work for a few minutes before proceeding. Remember to wipe away any excess WD-40 afterwards.
Adjustable Wrench
An adjustable wrench is a versatile tool that will come in handy when dealing with different sizes of nuts and bolts. It will help you loosen and tighten various components of the water line system. Ensure your adjustable wrench is in good condition and properly adjusted to fit the nuts or bolts you are working with.
Plumber’s Tape
Plumber’s tape, also known as Teflon tape, is used to create a watertight seal on threaded connections. It helps prevent leaks and allows for smoother removal and reinstallation of components. Wrap the plumber’s tape clockwise around the threads before reconnecting the water line components.
Bucket Of Water
A bucket of water can be useful for priming the water line or flushing out any remaining air pockets. By immersing the open end of the water line in the bucket of water and turning on the tap, you can let water flow through and remove any lingering air. This step is especially important if you have made significant changes to the water line system.
Extra Towel Or Rag
Having an extra towel or rag nearby is always a good idea when working with water lines. It can help you quickly clean up any spills or drips, ensuring a safe and dry working environment. Keep a towel or rag within easy reach so you can quickly address any unforeseen water leaks.
Common Diy Solutions
Learn how to effectively remove air from your water line with these simple DIY solutions. Say goodbye to sputtering faucets and enjoy uninterrupted water flow in no time.
Flushing The Water System
To get air out of your water line, one of the easiest and most common DIY solutions is to flush the water system. Flushing the system helps to clear any trapped air pockets and allows for a smooth flow of water. Here’s how you can do it:
- Start by turning off the main water supply to your home. This will prevent any water from entering the pipes while you flush the system.
- Next, locate the faucet that is farthest from the main water supply and open it fully. This can be a faucet in the basement, on the highest floor, or any faucet that is away from the main water line.
- Let the faucet run for a few minutes to allow the air to escape. You may notice sputtering or uneven water flow at first, but that should subside once the air is cleared.
- Once the water runs smoothly and without any air pockets, you can close the faucet.
- Now, go to each faucet in your home and repeat the process, starting with the faucet closest to the main water supply and working your way towards the farthest faucet – this will ensure that all air pockets are removed from the entire water line.
Adjusting Water Pressure
Another common DIY solution to get air out of your water line is adjusting the water pressure. Sometimes, high water pressure can cause air bubbles to form in the pipes. To adjust the water pressure and eliminate the air pockets, follow these steps:
- Locate the water pressure regulator, which is usually found near the main water supply valve.
- Using a wrench, turn the adjustment screw on the regulator to lower the water pressure. Be sure to do this slowly and in small increments.
- After each adjustment, run the faucets in your home to check if the air pockets have cleared. If not, continue making small adjustments until the air is eliminated and the water flows smoothly.
By flushing the water system and adjusting the water pressure, you can effectively get air out of your water line. These simple DIY solutions can help restore your water flow to its normal state, ensuring a hassle-free experience in your home.
Conclusion
Removing air from a water line is a simple process that can be done by following a few steps. By turning off the water supply, opening the faucet, and allowing the air to escape, you can ensure a smooth flow of water without any disturbances.
Remember to check for any leaks or damage in the line, and if necessary, seek professional help. With these tips, you can easily get rid of air in your water line and enjoy a consistent water supply.