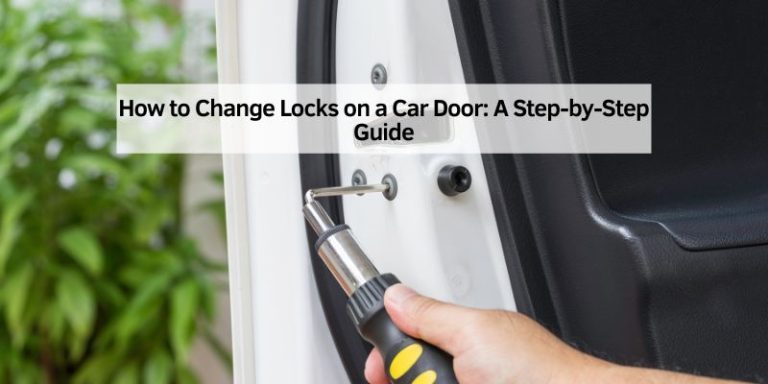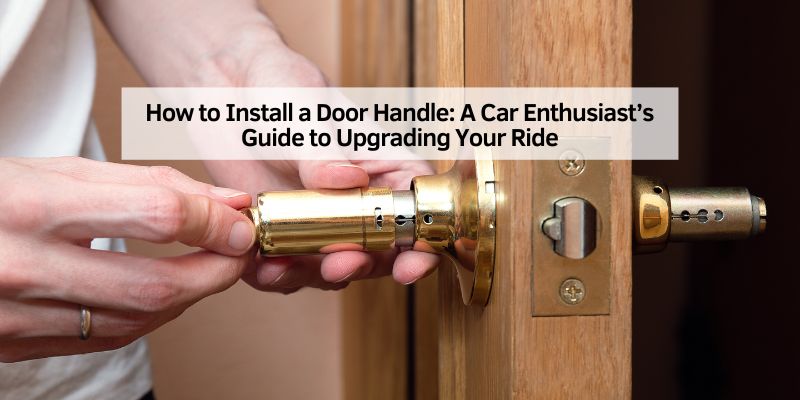
How to Install a Door Handle: A Car Enthusiast’s Guide to Upgrading Your Ride
Hey there, friend! Picture us in my garage, tinkering with my old pickup, when you ask, “How do you install a door handle?” It’s a great question, especially for car lovers like us who want every part of our ride to work to be smooth and look sharp. I’ve replaced door handles on my truck, my RV, and even my garage door, and let me tell you, it’s a satisfying project. Whether your car’s handle is broken, loose, or just needs a stylish upgrade, installing a new one is a job you can tackle with some basic tools and a little know-how.
I’ve learned the ropes through trial and error, and I’m excited to share my tips. It’s like we’re working side by side, swapping stories and getting that handle installed. In this guide, I’ll walk you through every step of installing a door handle, with a focus on car doors, but some tips for RVs and garages too. Let’s grab our tools and make your ride feel brand new!
Why Installing a Door Handle Matters for Car Owners
A door handle might seem like a small part, but it’s a big deal. I learned this when my truck’s handle got so loose it barely opened the door. For car enthusiasts, a faulty handle isn’t just annoying—it can mess with your car’s security, make it tough to get in and out, and even hurt its resale value. Imagine trying to show off your ride at a car meet with a handle that’s falling off. Not cool, right?
I’ve also had to replace handles on my RV’s entry door and my garage door, where I keep my car safe. A good handle ensures easy access, whether you’re loading gear for a road trip or grabbing tools for a detailing session. Installing a new handle yourself saves money and feels as good as waxing your car to a mirror shine. Let’s talk about why and how to do it right.
Types of Door Handles You Might Encounter
Before we dive in, let’s look at the types of door handles you might be working with. I’ve dealt with a few, and knowing your handle type helps you pick the right replacement:
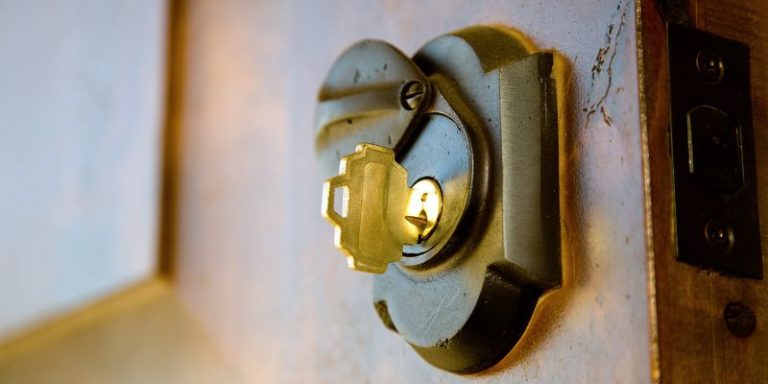
- Exterior car door handles: These are on the outside of your car, often with a lock cylinder. My truck’s handle was a pull-up style with a keyhole.
- Interior car door handles: These are inside the car, usually simpler, and connected to the latch. I replaced one on my sedan when it cracked.
- RV or camper door handles: These vary, from lever types to paddle styles. My RV has a latch-style handle with a deadbolt.
- Garage door handles: These can be surface-mounted or recessed, often for side or service doors. My garage has a basic twist handle.
Each type has its own quirks, but the steps to install them are similar. I’ll focus on car door handles, with tips for RVs and garages where needed.

Tools and Supplies You’ll Need
Installing a door handle doesn’t need a ton of fancy tools, but having the right ones makes it easier. I’ve built a kit based on my projects. Here’s what I use:
| Tool/Supply | Purpose | Where to Find It |
|---|---|---|
| Screwdriver (Phillips/Flathead) | Removes screws from door panel and handle | Hardware stores, home |
| Socket wrench or ratchet | Pops off the door panel without damage | Auto stores, hardware stores |
| Trim removal tools | Replaces the key mechanism for exterior handles | Auto stores, online |
| Replacement door handle | Replaces old or broken handle | Auto parts stores, online |
| Lock cylinder (if needed) | Replaces key mechanism for exterior handles | Auto parts stores, online |
| Cleaning rags | Wipes away dirt or grease | Home, auto stores |
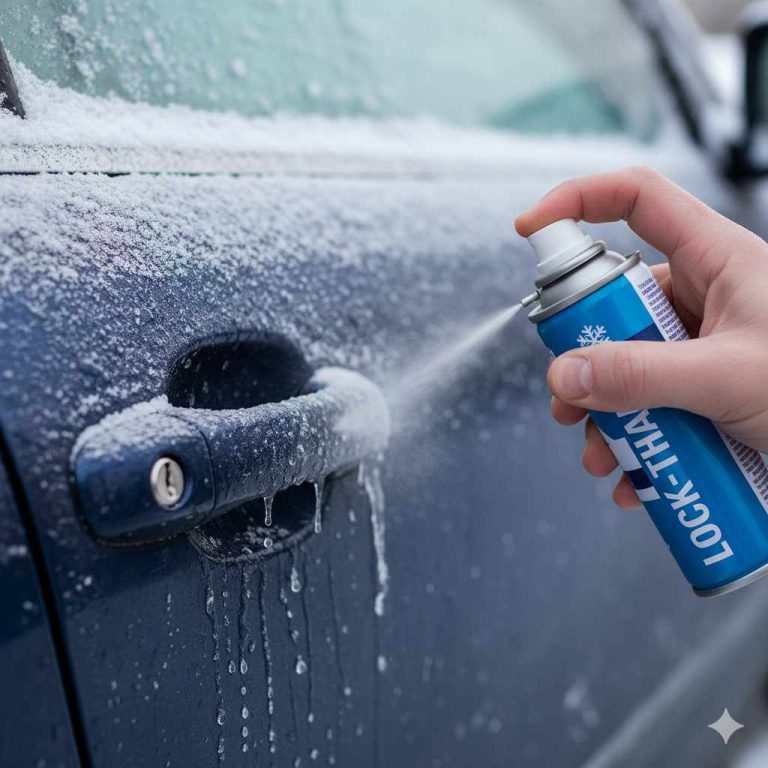
| Lubricant (silicone spray) | Keeps moving parts smooth | Auto stores, supermarkets |
| Small container | Holds screws to avoid losing them | Home, hardware stores |
| Painter’s tape | Protects paint during installation | Hardware stores, supermarkets |
| Safety glasses and gloves | Protects eyes and hands | Hardware stores, supermarkets |
Most of these are cheap or already in your garage. I keep a small toolbox for quick fixes, and it’s saved me when my RV’s handle broke during a camping trip.
Step 1: Prepare Your Workspace
Before we start, let’s set up like pros. I always park my car on a flat surface and engage the parking brake. If it’s an interior handle, I open the door for easy access. For exterior handles, I work with the door closed to reach the outside. In my garage, I clear space around the door to move freely.
I also disconnect the car battery if I’m working on an interior handle with power windows or locks to avoid electrical issues. I learned this after accidentally shorting a wire once—yikes! For RV or garage doors, I make sure the door is secure, sometimes propping it open. I gather all tools and keep a small container for screws so I don’t lose them. This prep is like checking your tires before a long drive—it sets you up for success.
Step 2: Remove the Door Panel (For Car Handles)
For car door handles, you usually need to remove the interior door panel to access the handle’s guts. I start by finding all the screws, usually around the armrest, handle, or panel edges. My truck had screws hidden under small plastic caps, so I popped those off with a flathead screwdriver.
Next, I use trim removal tools to pry the panel off gently. These plastic tools won’t scratch like a screwdriver. I work around the edges, popping the clips that hold the panel. If your car has power windows or locks, I will disconnect the wiring harnesses carefully, noting where they go. I once forgot to disconnect a wire and nearly yanked it out—lesson learned.
I lift the panel up and off, setting it aside on a blanket to avoid scratches. For RV or garage doors, you might not need to remove a panel, but check for access covers or screws around the handle. This step feels like opening the hood of your car—you’re getting to the good stuff.
Step 3: Remove the Old Door Handle
Now, let’s get that old handle off. For an exterior car handle, I go inside the door through the panel opening. I find the handle’s mounting bolts or screws, usually two or three, and loosen them with a socket wrench or screwdriver. My sedan’s handle had a clip holding a rod to the latch, which I popped off with a flathead.
If the handle has a lock cylinder, I remove the retaining clip or screw holding it. I wiggle the handle out from the outside, being careful not to scratch the paint. I use painter’s tape around the handle area for extra protection. For interior handles, it’s simpler—I unscrew the handle from the door panel’s back and disconnect any rods or clips.
For RV or garage handles, I unscrew the handle from the door’s exterior or interior, depending on the design. My RV’s handle had a backing plate that I removed first. This step takes patience, like removing a stuck spark plug—go slow to avoid breaking anything.
Step 4: Prepare the New Door Handle
Before installing the new handle, I check it against the old one to ensure it matches. I once bought the wrong handle for my truck and had to return it. If your exterior handle includes a lock cylinder, I will transfer the old cylinder or rekey the new one to match my car key. A locksmith helped me with this for my sedan.
I clean the door’s mounting area with a rag to remove dirt or rust. If the handle has clips or rods, I test them to make sure they move freely. I also apply a light coat of silicone spray to the moving parts for smooth operation. For RV or garage handles, I check that the new handle’s screw holes line up with the door. This prep is like sanding before painting your car— it makes the final result better.
Step 5: Install the New Door Handle
Time to put the new handle in place. For an exterior car handle, I slide it into the door’s slot from the outside, aligning it with the mounting holes. I go inside the door and secure it with the bolts or screws, tightening them snugly but not too hard to avoid stripping. I reconnect any rods or clips to the latch, testing them by pulling the handle.
For interior handles, I attach the handle to the door panel’s back, screwing it in and reconnecting any rods. For RV or garage handles, I position the handle on the door, secure it with screws, and attach any backing plates or latches. My RV’s handle needed a deadbolt aligned, which took some tweaking.
I test the handle by opening and closing the door, ensuring it feels solid. If it’s loose or sticky, I adjust the screws or rods. This step is like bolting on a new car part—you want it tight and working perfectly.
Step 6: Reattach the Door Panel (For Car Handles)
With the handle installed, I put the door panel back on. I reconnect any wiring harnesses for power windows or locks, making sure they snap in securely. I lift the panel onto the door, aligning the clips with their slots, then press firmly until they pop into place.
I screw in all the panel screws and replace any caps or covers. I test the handle, windows, and locks to make sure everything works. For RV or garage doors, I secure any access covers or plates I removed. Reattaching the panel feels like closing your car’s hood after a repair—everything’s back where it belongs.
Step 7: Test and Adjust the Handle
Now, let’s make sure the handle is perfect. I open and close the door several times, checking for smooth operation. I listen for clicks or grinds and feel for resistance. If the handle sticks, I loosen the screws slightly and adjust its position. For exterior handles, I test the lock with my key.
I also check the door’s alignment, ensuring it closes flush with the frame. My truck’s door needed a slight latch adjustment after a new handle. If it’s an RV or garage handle, I test any deadbolts or latches. This step is like test-driving your car after a tune-up—you want everything to feel right.
Maintenance Tips to Keep Your Door Handle Working
To keep your new handle in top shape, I follow these habits:
- Lubricate regularly: I spray silicone lubricant on the handle’s moving parts every six months.
- Check screws: I tighten screws every few months to prevent looseness.
- Clean the handle: I wipe it with a damp rag during car washes to remove dirt.
- Avoid forcing it: I use gentle pressure to avoid stressing the handle or latch.
- Inspect for wear: I check for cracks or rust during routine car maintenance.
These steps keep my handles working smoothly, like rotating tires to extend their life.

Why This Matters for Car Enthusiasts
Installing a door handle isn’t just about fixing a problem—it’s about making your car or RV better. A solid handle improves security, looks great, and makes every drive more enjoyable. I love knowing my truck’s door opens effortlessly, just like I love a clean engine bay. For RV campers or garage owners, a good handle means easy access to your gear or workspace.
Doing it yourself saves money and feels as good as swapping your car’s air filter. It’s a skill you can use on any door, from your daily driver to your camper, and it boosts your confidence as a car owner. Plus, a sleek new handle is like a fresh coat of wax—it adds that extra shine.
Common Mistakes to Avoid
I’ve messed up a few times, so let me save you some grief. Don’t rush removing the door panel—prying too hard can break clips. I snapped one on my sedan and had to order a replacement. Also, don’t lose screws; keep them in a container. I dropped one in my garage and spent 10 minutes searching.
Avoid overtightening screws, which can strip them or crack the handle. I did this once and had to buy a new screw. Don’t skip testing the handle before reattaching the panel—fixing it after is a pain. And double-check you’ve got the right handle model before starting. These mistakes are like forgetting to torque your lug nuts—avoidable with care.
When to Call a Professional
Most handle installations are DIY-friendly, but some jobs need a pro. If your car’s door has complex wiring, like for keyless entry, I’d call a mechanic to avoid electrical issues. Severe rust or frame damage around the handle is another pro job—I saw this on a friend’s old van. For RV or garage handles with tricky deadbolts or custom designs, a locksmith might be best. I called one for my RV’s handle when the lock cylinder was stuck, and it saved me hours.
My Personal Story
Let me tell you about replacing my truck’s exterior handle. It was loose and barely opened the door, which was embarrassing at a car show. I bought a matching handle online, popped off the door panel, and removed the old one. The lock cylinder was tricky, so I took it to a locksmith to rekey. Installing the new handle took about an hour, and I felt like a champ when the door clicked open smoothly.
I’ve since replaced an interior handle on my sedan and an RV handle, each time getting faster. It’s like learning to change your oil—practice makes it second nature. The pride of fixing it myself is hard to beat, and it saved me a couple of hundred bucks.
Why It’s Worth Doing Yourself
Installing a door handle is so rewarding. I love saving money and knowing I made my car or RV better. It’s a quick job—usually under two hours—and the results are instant. A new handle makes your ride look and feel sharper, like swapping out worn wiper blades for clear visibility. Plus, you gain a skill you can use again, whether it’s for your car, camper, or garage. It’s a small project with a big payoff for any car enthusiast.
Conclusion
Installing a door handle is a fun, doable project that any car lover can master. I’ve shared my step-by-step guide—from popping off the door panel to testing your new handle—because I know how great it feels to fix something yourself. It’s like we’ve been in the garage together, turning a busted handle into a smooth-operating upgrade. Whether you’re sprucing up your daily driver, RV, or garage, these tips will get you there. So grab your tools, put on some tunes, and make that door handle shine. Here’s to smooth doors, proud fixes, and awesome car adventures!
FAQs
How long does it take to install a car door handle?
It usually takes 1-2 hours, depending on your car and experience. My truck’s handle took about an hour.
Can I install a door handle without removing the door panel?
For most car handles, no, you need to access the inside. RV or garage handles might not require it.
What if I buy the wrong door handle?
Check your car’s make, model, and year before buying. I returned a wrong handle once because it didn’t match.
Do I need a locksmith for the lock cylinder?
If your exterior handle has a lock, a locksmith can rekey it to match your key. I did this for my sedan.
How do I know if my new handle is installed right?
Test it by opening and closing the door. It should feel smooth, with no sticking or looseness.
When should I call a pro for a door handle install?
If there’s complex wiring, rust damage, or a tricky lock, a mechanic or locksmith can help.