How To Join Two Pieces Of Wood With Brackets (Step-By-Step)
Joining two pieces of wood can feel like a puzzle sometimes. You want a strong connection that looks good. Often, you need more than just nails or screws. That’s where brackets come in. They offer extra support. This guide will walk you through it. We’ll cover everything you need to know.
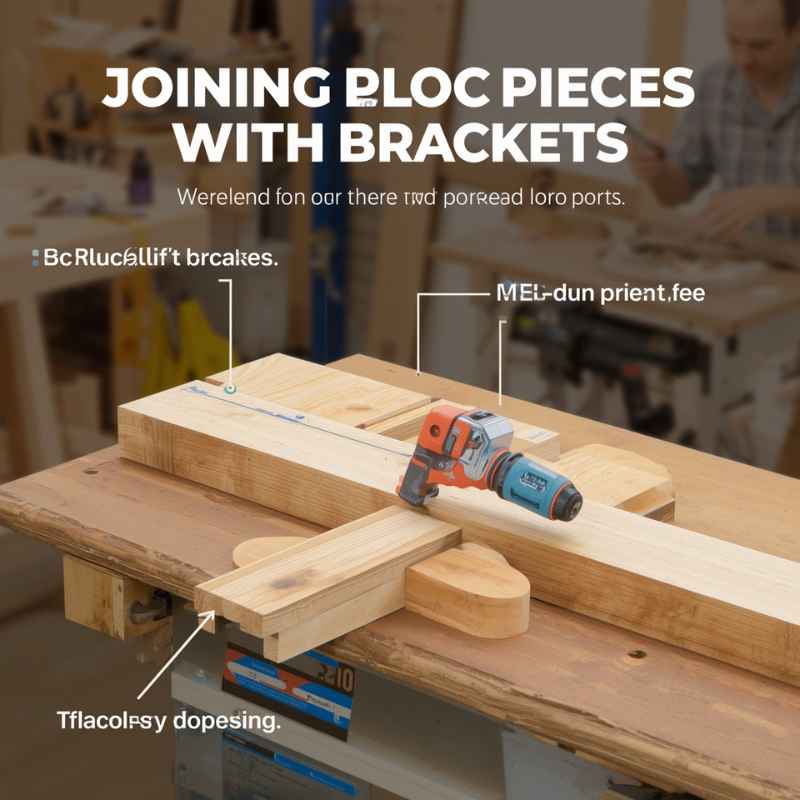
To join two pieces of wood with brackets, you first select the right bracket type for your project. Then, gather your tools and hardware. Carefully mark your wood for placement. Finally, drill pilot holes and securely fasten the brackets to both wood pieces using appropriate screws.
Understanding Wood Brackets
Brackets are pieces of metal or other sturdy material. They help connect two or more objects. For wood, they add strength. They also help hold things in place. Think of them as extra support beams. They make your wood projects last longer. They also make them safer.
There are many types of brackets. Each is made for a specific job. Some are L-shaped. Others are flat plates. Some have decorative designs. The shape helps them do their job best. The right bracket means a strong bond.
Common Bracket Types
Let’s look at some common kinds.
- Corner Brackets: These are often L-shaped. They fit into the corner where two boards meet. They are great for shelves. They also work for framing.
- Tee Brackets: These look like a “T”. One part goes along one board. The other part attaches to the second board. They join boards end-to-end or at a right angle.
- Straight Brackets: These are flat metal plates. They have holes for screws. You place them across the joint. They offer a simple, strong join.
- Joist Hangers: These are strong, U-shaped brackets. They hold floor joists. They connect to beams. They are very important for building floors.
- Specialty Brackets: Some brackets have fancy designs. They add decoration. They are often used for furniture or decorative shelves.
The material matters too. Most are steel. Some are aluminum. Steel is strong. It’s also common. Look for galvanized steel. This helps stop rust. Powder-coated steel is also nice. It looks good and lasts longer.
Choosing the Right Bracket
Picking the right bracket is key. It stops your project from failing. Think about what you are building. Is it a heavy shelf? Or a light decorative piece?
Consider the weight. The bracket must hold that weight. Look at the bracket’s rating. It will tell you how much it can bear. Don’t guess. Check the specs.
How will the wood pieces meet? Do they form a corner? Or a straight line? This decides the bracket’s shape. An L-bracket is for corners. A straight plate is for flat joins.
What kind of wood are you using? Hardwood is strong. Softwood is lighter. The bracket should match the wood’s strength. You want screws to grip well.
Finally, think about how it will look. Will the bracket be hidden? Or will it be seen? If seen, pick a style you like. Many brackets come in different finishes.
Tools and Materials You’ll Need
Gathering your tools first makes the job smooth. You don’t want to stop midway. Here’s a basic list.
- The Brackets: Your chosen metal connectors.
- Screws: The right size and type.
- Drill: With drill bits for pilot holes.
- Screwdriver Bits: To match your screws.
- Tape Measure: For accurate placement.
- Pencil: To mark your wood.
- Square: For perfect 90-degree angles.
- Sandpaper: To smooth edges.
- Safety Glasses: Always protect your eyes.
The screws are very important. Use screws made for wood. They should be long enough. They need to go deep into both pieces of wood. But not so deep they poke through the other side.
For most projects, 1.5-inch wood screws work well. If your wood is thicker, you might need longer ones. Check the holes in your bracket. The screw head should fit them. Some brackets have countersunk holes. This means the screw head sits flat.
Screw Selection Tips
Type: Use wood screws. They have a better grip.
Length: Should go through the bracket and into the first wood piece. Then, it must go about half an inch into the second wood piece.
Gauge: This is screw thickness. Match it to bracket holes.
Material: Use galvanized or stainless steel for outdoor use. Avoid rust.
Step-by-Step: Joining Wood with Brackets
Now, let’s get to the actual work. Follow these steps carefully. This is how to join two pieces of wood with brackets.
Step 1: Prepare Your Wood Pieces
Make sure your wood is ready. It should be cut to the right size. Any edges should be smooth. You can use sandpaper for this. This step helps the bracket fit better. It also makes the finished project look nicer.
If you are joining boards at a corner, make sure the ends are square. A square cut means the two boards meet at a perfect 90-degree angle. This is crucial for strong joints.
Step 2: Position the Bracket
Place your first piece of wood down. Decide where the second piece will join it. Position the bracket. It should sit on the outside of the corner. Or across the seam for a straight join.
Align the bracket carefully. Make sure it’s straight. Use your square tool. It should be centered over the joint. If it’s an L-bracket, the corner of the bracket should line up with the corner of the wood. This makes sure the support is where you need it.
Step 3: Mark the Screw Holes
With the bracket in place, use your pencil. Mark the center of each screw hole onto the wood. This shows you exactly where to drill. Make sure your marks are clear. They should be easy to see.
Double-check the bracket’s position. Are the marks accurate? A small error here can lead to a wobbly joint later. It’s better to take an extra moment now.
Step 4: Drill Pilot Holes
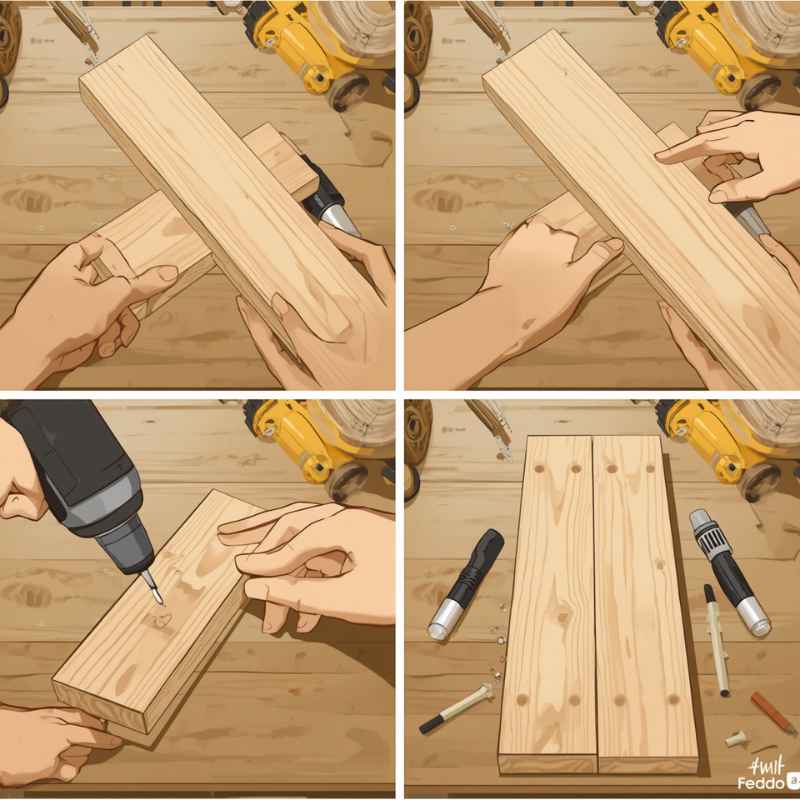
This is a very important step. Drilling pilot holes prevents wood from splitting. Especially near the edges. Select a drill bit. It should be slightly smaller than the screw’s core. Not the threads.
Use your marks to guide the drill. Drill straight down. Make the holes deep enough for the screws. For most wood screws, a hole about half an inch deep is good. Be careful not to drill too deep.
If you’re using a bracket with countersunk holes, you might need to use a larger drill bit. This creates a small recess for the screw head. This makes the screw sit flush with the bracket surface.
Why Pilot Holes Matter
Prevent Splitting: Wood fibers can tear apart when a screw is driven directly in. A pilot hole clears a path.
Easier Driving: Screws go in much easier. This saves your drill’s motor and your effort.
Straighter Screws: A pilot hole guides the screw. It helps keep it from going in crooked.
Step 5: Attach the Bracket
Now, place the bracket back over the pilot holes. Insert your screws. Start driving them in. Use your drill with the correct screwdriver bit.
Tighten the screws slowly. Make sure they go into the pilot holes. Tighten them until the bracket is snug against the wood. Don’t overtighten. This can strip the wood fibers. It can also damage the bracket.
If you are using an L-bracket, attach one side first. Then attach the other. This helps keep the wood pieces aligned. Ensure all screws are firm. The bracket should feel solid. It shouldn’t wiggle.
Step 6: Secure the Second Wood Piece
Once one side is secured, you might need to adjust. If the second piece of wood isn’t quite in place, now is the time. Gently push or pull it. Make sure it’s perfectly aligned.
Then, drive the remaining screws. These will go into the second piece of wood. Make sure they go into the pilot holes you drilled earlier. Tighten them firmly.
Check the connection. Grab the two pieces of wood. Try to wiggle them. They should feel solid and stable. The bracket should be flush. The screws should be tight. Congratulations, you’ve joined two pieces of wood!
Real-World Context and Scenarios
Where do we see this kind of joinery often? Think about everyday items.
Home Shelving: This is a common use. Bookshelves, kitchen shelves, garage storage. Brackets are essential. They hold shelves securely to walls or to vertical supports. L-brackets are very popular here. They can be simple and strong.
Furniture Building: When building tables, chairs, or cabinets, brackets add support. They can reinforce joints. Sometimes decorative brackets are used for style. A table leg might attach to the tabletop with a strong bracket.
Outdoor Projects: Decks, fences, garden beds. These projects face weather. Brackets need to be weather-resistant. Galvanized steel or stainless steel is a must. Joist hangers are crucial for decks. They ensure floor strength.
Simple Repairs: A wobbly chair leg. A loose shelf. Brackets can fix many things. They offer a quick and reliable way to reinforce weak spots.
The choice of bracket and screws can change based on the environment. Indoor projects might use basic steel. Outdoor projects need protection from moisture. Exposure to rain or humidity means rust can be a big problem.
Material Choices for Different Places
Indoors (Dry Areas): Standard steel brackets are usually fine. Powder-coated finishes add looks.
Indoors (Moist Areas like Bathrooms/Kitchens): Stainless steel or galvanized steel is better. This stops rust from humidity.
Outdoors: Stainless steel is best for long-term weather resistance. Hot-dip galvanized steel is a good, more affordable option.
What This Means for You
Using brackets means stronger, more stable projects. It’s a simple step that makes a big difference. It opens up many building possibilities.
When is it normal to use brackets?
- When a joint needs more strength than screws alone can give.
- When you are building shelves that will hold weight.
- When connecting structural elements, like in framing or decks.
- When you want to hide joinery but still have strength.
When should you worry?
- If the bracket looks too small for the job.
- If the screws are not gripping well.
- If the wood is splitting when you put screws in.
- If you see rust on a bracket outdoors.
Simple Checks:
- Give your project a gentle push. Does it feel solid?
- Look at the brackets. Are they still tight?
- Check for any signs of stress on the wood around the bracket.
Sometimes, you can reinforce a weak joint with a bracket. Even if it’s already built. It’s a versatile tool for builders of all levels. From beginners to pros.
Quick Fixes and Tips
Here are a few extra tips to make your bracket work even better.
- Pre-Drill Everything: Always drill pilot holes. This is the golden rule for preventing wood splits. It makes driving screws easy too.
- Use the Right Screws: Match screw length and gauge to your bracket and wood. Don’t use drywall screws for structural connections. They aren’t strong enough.
- Consider Spacing: If using multiple brackets, space them evenly. This distributes the load. It makes the whole structure stronger.
- Don’t Overtighten: Snug is good. Overtight is bad. It can strip the hole. It can also weaken the wood.
- Clean Surfaces: Make sure the wood surfaces where the bracket will sit are clean and flat. This ensures the bracket makes full contact.
- Test the Strength: After installing, give the joint a gentle test. See if it feels secure. It should not move.
When to Use More Than One Bracket
Long Span: If the piece of wood is long, one bracket might not be enough.
Heavy Load: For shelves holding many heavy books, use two brackets for better support.
Stability: Sometimes, even for shorter pieces, a second bracket adds crucial stability against twisting.
Frequently Asked Questions
Can I use nails instead of screws with brackets?
While you can use nails, screws are strongly recommended. Screws provide a much stronger and more stable hold. They are less likely to loosen over time. Nails can sometimes pull out. Always use screws with brackets for best results.
What if my bracket holes don’t match the wood?
This is where careful marking and drilling come in. If the holes don’t line up, you may need to drill new pilot holes. You might also be able to slightly enlarge the bracket holes. But be careful not to make them too big for the screws.
How do I join wood end-to-end with a bracket?
For joining wood end-to-end, a straight bracket or a tee bracket is best. You place the bracket over the seam where the two ends meet. Then, you screw through the bracket into both pieces of wood. Ensure the bracket is centered on the join.
Can I use brackets for joining wood at an angle other than 90 degrees?
Yes, you can. For angled joints, you’ll need to find specific angle brackets. Or, you can use a reinforcing plate bracket and carefully measure and cut the wood ends to meet the desired angle. Then, you attach the bracket to secure the angle.
What is the difference between a bracket and a brace?
Brackets are typically metal pieces that connect objects. Braces are often angled pieces of wood or metal used to add rigidity to a structure. They prevent movement and keep things from bending. Both add strength, but a brace provides more support against forces.
How do I make sure the bracket is strong enough?
Check the bracket’s weight capacity. Also, consider the wood type and thickness. Using enough screws and ensuring they are fully engaged is crucial. For very heavy loads, you might need multiple brackets or larger, heavier-duty ones.
Conclusion
Joining wood with brackets is a fundamental skill. It ensures your projects are sturdy and reliable. By choosing the right bracket and following these steps, you can create strong connections. This knowledge helps build confidence. It also leads to better-looking, longer-lasting projects. Happy building!
Sponsored / affiliate links. As an Amazon Associate I earn from qualifying purchases. I may earn additional commission from eligible campaigns.