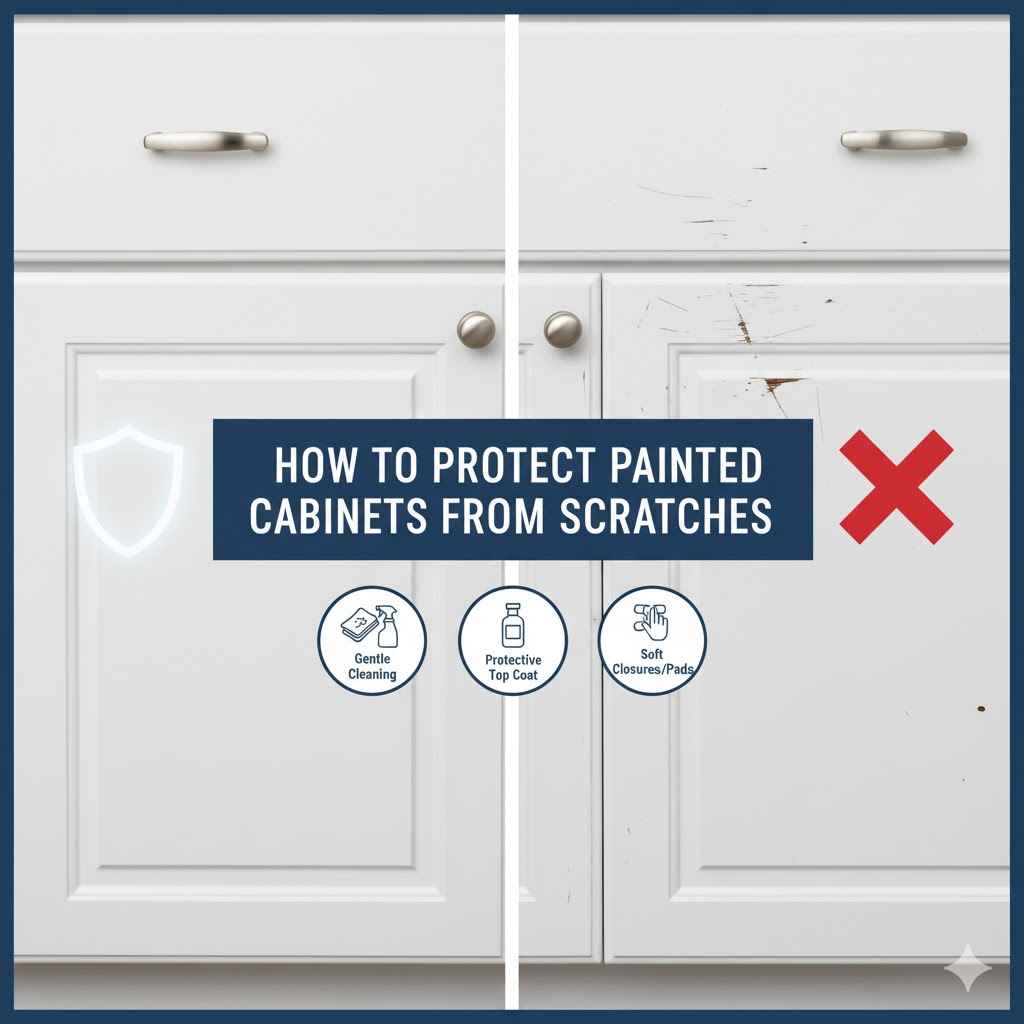
How to Protect Painted Cabinets From Scratches
Keeping painted cabinets looking great can feel like a challenge, especially if you’re new to home care. Little bumps and scrapes can happen easily, leaving frustrating marks on your beautiful paint. This guide will make learning How to Protect Painted Cabinets from Scratches simple.
We’ll break it down step-by-step so you can keep your cabinets looking fresh. Get ready to discover easy ways to prevent damage and maintain that fresh paint finish.
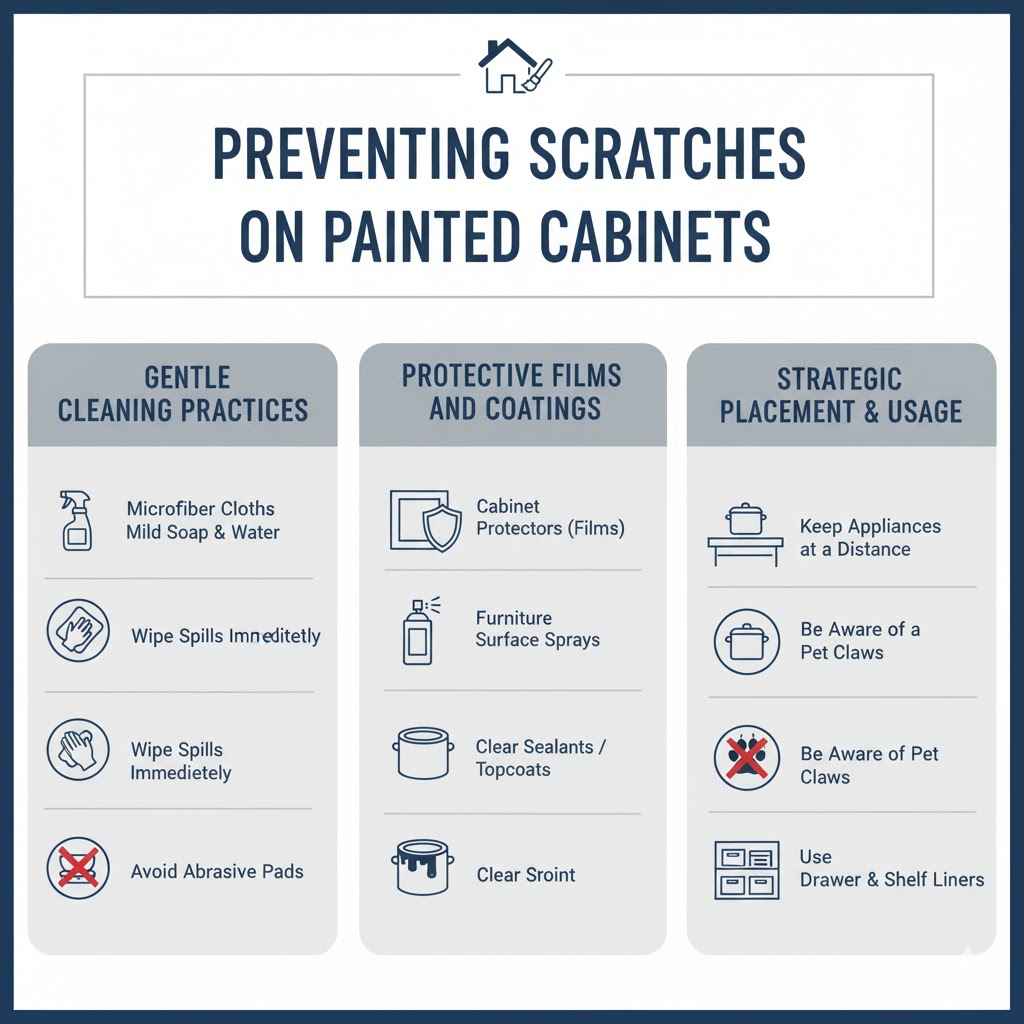
Preventing Scratches on Painted Cabinets
Keeping your painted cabinets in top shape means taking smart steps to avoid scratches before they happen. It’s much easier to prevent damage than to fix it later. By using the right methods and being mindful of how you use your kitchen and bathroom, you can significantly extend the life of your painted surfaces.
This section focuses on proactive measures you can take to shield your cabinets from everyday wear and tear.
Gentle Cleaning Practices
The way you clean your cabinets plays a big role in preventing scratches. Using harsh cloths or abrasive cleaners can dull the finish and even cause tiny scratches that aren’t immediately visible but accumulate over time. Always opt for soft microfiber cloths.
These are gentle on paint and great at picking up dust and grime without scratching.
When you need to clean spills or smudges, use a mild soap mixed with warm water. Avoid using all-purpose cleaners or those with harsh chemicals. These can strip away protective layers or react with the paint, leading to discoloration or damage.
Gently wipe the area with your damp microfiber cloth. After cleaning, use a separate dry microfiber cloth to buff the surface dry. This prevents water spots and ensures a clean, streak-free finish.
- Use microfiber cloths for all cleaning tasks. These cloths are designed to be soft and non-abrasive, making them ideal for painted surfaces. They trap dirt and dust effectively without dragging particles across the paint, which can cause micro-scratches.
- Opt for mild soap and water for general cleaning. A pH-neutral dish soap mixed with warm water is usually sufficient for most kitchen and bathroom grime. Avoid strong degreasers or acidic cleaners, as they can damage certain paint finishes, especially high-gloss or specialty paints.
- Wipe spills immediately. The longer a spill sits on the surface, the harder it can be to remove and the more likely it is to damage the paint. Having a cleaning cloth handy for quick cleanups can save your cabinets from potential staining or etching.
- Avoid abrasive pads or sponges. Items like steel wool, scouring pads, or even the rough side of a kitchen sponge can easily scratch painted surfaces. Stick to soft cloths or very gentle sponges if necessary.
Protective Films and Coatings
For high-traffic areas or cabinets that see a lot of action, applying a protective film or a clear topcoat can offer an excellent barrier against scratches. These solutions add an extra layer of defense without altering the appearance of your paint color or finish. They are especially useful in kitchens where pots, pans, and frequent use can lead to wear.
There are various types of protective films available, often made from clear vinyl or polyurethane. These films are applied directly to the painted surface. They are thin, durable, and can be replaced if they become scratched or worn.
Some are even removable, making them a flexible option. Clear topcoats, on the other hand, are applied like a varnish or sealant. They cure to form a hard, protective layer over the paint.
The type of topcoat you choose will depend on the paint finish and the level of protection you need.
- Consider cabinet protectors. These are clear, adhesive films that you can apply to the most vulnerable areas of your cabinets, such as around handles, edges, or areas prone to bumping. They are often custom-cut or available in sheets you can trim to size.
- Explore furniture surface sprays. Some sprays create a thin, invisible protective layer that can help resist minor scratches and scuffs. Look for products specifically designed for painted surfaces or furniture.
- Evaluate clear sealants for durability. For a more permanent solution, a high-quality clear sealant can be applied over your painted cabinets. This adds a tough, durable finish that can withstand much more wear and tear than paint alone.
Strategic Placement and Usage
Sometimes, preventing scratches is about being mindful of how you use your kitchen and bathroom spaces. Small changes in habit can make a big difference. Think about what might come into contact with your cabinets and how you can minimize those interactions.
For example, when you’re cooking, try to keep cooking utensils and appliances away from cabinet doors and drawers. When you’re carrying groceries, be aware of where your bags or boxes might bump against the cabinets. Similarly, in bathrooms, be careful with items like sharp toiletries or cleaning bottles that could potentially scratch the surface.
Even small habits, like not leaning heavily on countertops or cabinets, can contribute to their longevity.
- Keep appliances and utensils at a distance. When cooking, try to keep hot pans, abrasive utensils, or even bags of groceries a safe distance from cabinet doors. A stray bump or a dropped item can easily cause a scratch.
- Be aware of pet claws. If you have pets, especially cats, their claws can scratch painted surfaces. Consider keeping pets off countertops or areas where they might rub against cabinets, or explore ways to deter them from scratching.
- Use drawer liners and shelf liners. While this protects the inside of your cabinets, it’s also good practice. It prevents items from snagging on edges or rubbing against the painted surfaces inside when you open and close drawers.
Reputable Methods for Scratch Repair
Even with the best preventative measures, minor scratches can still appear on painted cabinets. Thankfully, many of these can be repaired effectively without needing a full repaint. The key is to use the right tools and techniques for the type of scratch and the finish of your cabinets.
This section will guide you through simple and effective ways to fix those unwanted marks.
Touch-Up Paint Techniques
For shallow scratches that haven’t gone down to the bare wood or primer, touch-up paint is often the simplest and most effective solution. The trick is to match the paint color perfectly and apply it carefully to avoid making the repair more noticeable than the original scratch.
First, ensure you have the original paint color and finish. If you don’t, take a chip of paint from an inconspicuous area to a paint store for color matching. Clean the scratched area gently with a damp cloth.
Then, using a very fine artist’s brush or a specialized touch-up applicator, carefully apply a thin layer of paint directly into the scratch. Let it dry completely. You may need to apply a second thin coat if the first doesn’t fully fill the scratch.
Avoid over-applying paint, which can create a raised texture.
- Gather your materials: original paint, fine-tipped brushes, and a clean cloth. Having the exact paint color and sheen is crucial. If you don’t have it, get a sample color-matched at a paint store.
- Clean the damaged area thoroughly. Use a damp cloth to remove any dust or debris from the scratch and surrounding area. This ensures the touch-up paint adheres properly.
- Apply paint with precision. Dip a fine-tip artist’s brush into the paint and gently apply it only to the scratch itself. Avoid getting paint on the surrounding undamaged surface.
- Build thin layers. It is better to apply several thin coats, allowing each to dry, rather than one thick coat. This helps the paint blend in more smoothly and avoids creating an obvious lump.
- Allow ample drying time. Check the paint can for drying times. Ensure the touch-up paint is fully cured before you touch or clean the area again.
Wax Sticks and Fillers
Deeper scratches that go beyond the paint layer might require a slightly more robust solution. Wax sticks or wood fillers are excellent for filling in these more significant abrasions and creating a smooth surface that can then be painted over.
For wax sticks, choose a color that closely matches your cabinet paint. Rub the wax stick firmly into the scratch until it is filled. Then, use a plastic scraper or a credit card to gently remove any excess wax from the surrounding surface.
Buff the area lightly with a soft cloth. If the scratch is quite deep or you need a perfectly smooth finish before painting, a wood filler might be necessary. Apply the filler with a putty knife, ensuring it’s level with the surface.
Let it dry completely, then sand it smooth with fine-grit sandpaper. After sanding, clean the area and proceed with touch-up paint.
- Choose the right filler type. For minor scuffs, a wax stick is simple to use. For deeper gouges, a water-based wood filler is generally best for painted surfaces.
- Match the color. Wax sticks come in various wood tones and paint colors. Select one that is as close to your cabinet’s color as possible to minimize the need for extensive repainting.
- Apply fillers carefully. Use a putty knife to press the filler into the scratch. Smooth it flush with the surrounding surface. For wax sticks, just press and rub it in firmly.
- Sand smoothly. Once dry, gently sand the filled area with fine-grit sandpaper (220-grit or higher). The goal is to make the filled spot completely level with the cabinet surface.
- Clean before painting. After sanding, wipe the area with a tack cloth or a slightly damp microfiber cloth to remove all dust. This is essential for a smooth paint finish.
Professional Refinishing Options
In cases of extensive damage or if you’re not comfortable with DIY repairs, professional refinishing is a great option. A professional painter or cabinet restorer has the tools, experience, and materials to make your cabinets look like new again. They can assess the damage and recommend the best course of action, whether it’s a full repaint or a targeted repair.
Professionals can also advise on the best type of paint and finish for your cabinets to ensure durability and aesthetics. They understand how to properly prepare surfaces, apply finishes evenly, and achieve a seamless look. This can save you time and frustration, ensuring a high-quality result that stands the test of time.
While this is a more costly option, it provides peace of mind and a factory-like finish.
- When to call a pro. If scratches are deep, widespread, or if the paint is peeling or chipped significantly, professional help is recommended. They have specialized tools and techniques.
- What to expect from a pro. A professional will likely assess the damage, prepare the surface by cleaning and sanding, repair deep scratches, and then apply multiple coats of primer and paint for a durable finish.
- Cost considerations. Professional refinishing can be more expensive than DIY but offers superior results and longevity, especially for valuable cabinetry. Get multiple quotes to compare prices.
Maintaining Painted Cabinets Long-Term
Protecting your painted cabinets isn’t just about fixing scratches; it’s also about establishing good habits that keep them looking fresh for years. Consistent care and a little attention can go a long way in preserving their beauty and preventing future damage. This section explores routine maintenance that helps your cabinets stay in excellent condition.
Regular Dusting and Cleaning
Dust accumulation can dull the shine of your cabinets and, over time, can become ground into the paint, making it harder to clean without scrubbing. Regular dusting is a simple yet powerful maintenance step.
Use a dry, soft microfiber cloth to gently wipe down all cabinet surfaces at least once a week. Pay attention to areas like cabinet doors, drawer fronts, and exposed edges where dust tends to gather. For any smudges or light grime, use the mild soap and water solution mentioned earlier, followed by drying with a clean cloth.
This routine cleaning prevents dirt and oils from building up, which can eventually etch or discolor the paint.
- Dust weekly with a microfiber cloth. This is the easiest way to keep painted cabinets looking their best. Dust particles, if left, can abrade the finish over time.
- Wipe down high-touch areas daily. Cabinet doors and drawer pulls are touched constantly. A quick wipe with a dry cloth after cooking or heavy use can remove oils and prevent build-up.
- Deep clean periodically. Once a month or as needed, give your cabinets a more thorough cleaning with a mild soap solution. This removes any grime that regular dusting misses.
Protecting Against Moisture and Heat
Moisture and heat are silent enemies of painted cabinets, especially in kitchens and bathrooms. Prolonged exposure can cause paint to blister, peel, or become sticky. Taking simple precautions can prevent this type of damage.
In the kitchen, try to wipe up any spills near the sink or stovetop immediately. Ensure that your vent hood is functioning properly to draw away steam and grease. In bathrooms, always use exhaust fans during showers and baths to reduce humidity.
Avoid placing hot items directly on cabinet surfaces; use trivets or heat-resistant mats. Also, be careful with cleaning products that can produce high heat or steam, as they can affect the paint’s integrity.
- Manage humidity levels. In bathrooms, always run the exhaust fan during and after showers. In kitchens, use your range hood while cooking to vent steam and grease away from cabinets.
- Control heat exposure. Avoid placing hot appliances or cookware directly on painted cabinet surfaces. Use trivets or silicone mats to protect them from heat.
- Seal around sinks and appliances. Ensure caulk around sinks and backsplashes is in good condition. This prevents water from seeping behind cabinet fronts and causing damage.
Using Cabinet Door Bumpers and Catches
These small, inexpensive accessories can make a surprising difference in preventing wear and tear. Cabinet door bumpers, usually made of clear rubber or felt, are placed on the inside of cabinets where the door meets the frame. They cushion the impact when doors are closed, reducing slamming and preventing chips or dents.
Similarly, soft-close hinges and catches can prevent doors from slamming shut. This not only protects the cabinets themselves but also reduces noise. For drawers, drawer slides with soft-close mechanisms work in the same way.
These features help maintain a smooth, gentle operation, minimizing the physical stress on the painted surfaces over time. Investing in these simple additions is a proactive step in How to Protect Painted Cabinets from Scratches and overall damage.
- Install door bumpers. These small adhesive pads stick to the inside of the cabinet frame where doors make contact. They absorb shock from closing, preventing loud slams and potential chipping.
- Consider soft-close hinges. These mechanisms allow cabinet doors and drawers to close slowly and quietly. This dramatically reduces impact and potential damage from slamming.
- Check hinges and slides regularly. Ensure all hardware is functioning correctly. Loose hinges or sticky drawer slides can cause cabinets to rub or hang unevenly, leading to premature wear.
Protecting Painted Cabinets During Home Projects
Home improvement projects, from minor renovations to full-blown remodels, can pose significant risks to your painted cabinets. Dust, debris, tools, and heavy movement can all lead to scratches and other damage. Planning ahead and taking proper protective measures is essential to keep your cabinets safe throughout the process.
Before any work begins, it’s wise to remove items from inside the cabinets and drawers. This not only protects the contents but also prevents them from shifting and potentially damaging the cabinet interiors. Then, cover the cabinets themselves.
This might involve using painter’s plastic, drop cloths, or even specialized cabinet protection wraps. Ensure the coverings are secured well to prevent them from shifting and exposing the surfaces. Pay extra attention to corners and edges, which are particularly vulnerable.
Covering Cabinets Effectively
The right protective covering can shield your cabinets from dust, paint splatters, and accidental bumps. Painter’s plastic is a common choice, but it needs to be applied carefully to be effective. Ensure it is taped securely to prevent dust from seeping underneath.
For areas prone to impact, consider adding a layer of cardboard or bubble wrap beneath the plastic.
Heavy-duty canvas drop cloths offer more durable protection, especially in high-traffic areas. They are less likely to tear than plastic and provide a good buffer against minor impacts. For critical areas, such as cabinet doors that will be frequently opened or closed, consider removable adhesive protective films designed specifically for furniture and cabinets.
These films offer robust protection without leaving sticky residue.
- Use painter’s plastic for dust protection. Secure it tightly with painter’s tape, paying close attention to edges and corners to prevent dust infiltration.
- Opt for canvas drop cloths for impact resistance. These are sturdier and can protect against minor bumps and scrapes during construction or renovation work.
- Consider temporary cabinet wraps. Specialized wraps are available that provide good protection and are designed to be easily applied and removed without damaging the finish.
- Protect cabinet interiors. Remove items from inside cabinets and drawers. You can also line shelves and drawers with paper or plastic to prevent scuffs.
Securing Tools and Materials
During home projects, tools and building materials are often moved around, increasing the risk of accidental scratches. Designating specific, safe storage areas for these items can significantly reduce the chances of them coming into contact with your cabinets.
Keep tools and materials away from cabinet areas whenever possible. If you must place them nearby, use protective padding like cardboard or old blankets to cushion surfaces. When transporting materials through areas with cabinets, move them slowly and deliberately, being mindful of clearances.
Avoid carrying sharp or heavy objects directly past vulnerable cabinet fronts. Clear pathways and awareness are key to preventing damage.
- Create designated tool zones. Set up a specific area for tools and materials, away from the cabinets, to minimize accidental contact.
- Pad potential impact zones. If you must place items near cabinets, use old blankets, cardboard, or foam padding to protect the surfaces from scratches.
- Maintain clear pathways. Ensure that the routes for moving materials and tools are unobstructed and wide enough to prevent brushes with cabinets.
- Secure ladders and scaffolding. If using ladders or scaffolding, ensure they are placed on stable ground and positioned so they don’t risk falling or leaning against cabinets.
Post-Project Cleaning and Inspection
Once the home project is complete, thorough cleaning is essential not only for tidiness but also for inspecting your cabinets for any damage that may have occurred. Proper cleaning can remove construction dust that might be abrasive.
Begin by carefully removing all protective coverings. Then, clean your cabinets thoroughly, starting with dusting and moving on to a mild soap and water solution. As you clean, closely inspect every cabinet surface for any new scratches, scuffs, or dents.
If you find any damage, address it promptly using the repair methods discussed earlier. This immediate attention can prevent minor issues from becoming bigger problems.
- Remove protective coverings carefully. Peel away plastic, drop cloths, or wraps slowly to avoid any dust or debris being dragged across the cabinet surfaces.
- Perform a deep clean. Use a mild cleaning solution to remove any fine dust or grime left from the project. Microfiber cloths are ideal for this.
- Conduct a detailed inspection. Examine every part of your cabinets for scratches, dents, chips, or any other signs of damage. Look in good lighting for the best results.
- Address any discovered damage. If you find scratches or dings, repair them right away using touch-up paint or fillers as appropriate to prevent further deterioration.
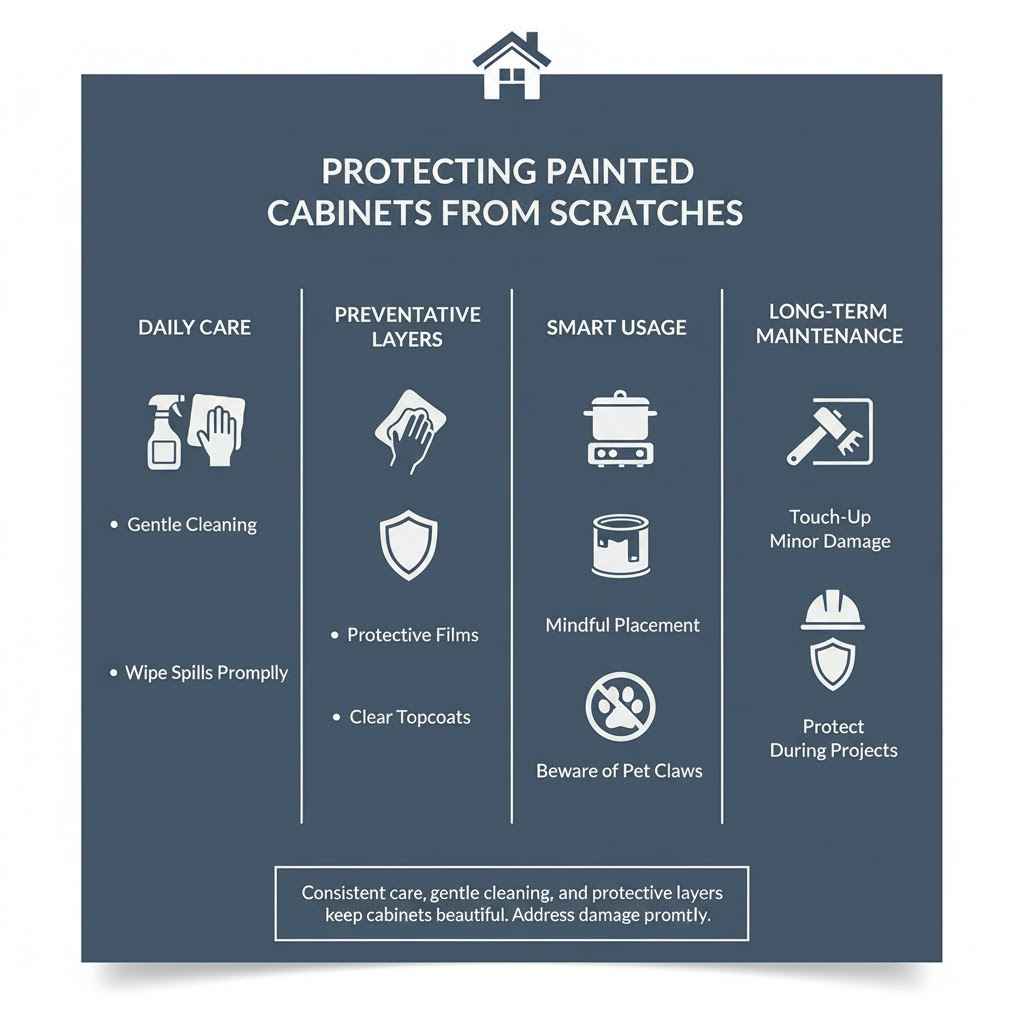
Protecting Painted Cabinets from Scratches
Keeping painted cabinets looking their best is achievable with simple, consistent care. By using gentle cleaning methods, considering protective layers, and being mindful of daily use, you can prevent most scratches. Promptly addressing any minor damage with touch-up paint or fillers ensures that your cabinets remain beautiful for a long time.
Regular maintenance against moisture, heat, and impact, along with careful protection during home projects, solidifies their durability.
Frequently Asked Questions
Question: What is the best way to clean painted cabinets without scratching them?
Answer: Use a soft microfiber cloth dampened with a mild soap and water solution. Avoid abrasive cleaners, sponges, or paper towels, which can scratch the paint. Always wipe dry with a clean microfiber cloth afterwards.
Question: Can I use protective films on my painted cabinets?
Answer: Yes, clear protective films can be a great option. They act as a barrier against scratches and scuffs. Look for high-quality, removable vinyl or polyurethane films designed for furniture.
Question: How do I fix a deep scratch on my painted cabinets?
Answer: For deep scratches, you may need to use a wood filler to level the surface. After it dries and is sanded smooth, you can then use touch-up paint to match the cabinet color.
Question: Should I use a clear coat over my painted cabinets?
Answer: A clear topcoat can add significant durability and protection against scratches and wear. Ensure you choose a quality sealant that is compatible with your paint type.
Question: What is the most common cause of scratches on painted cabinets?
Answer: Common causes include everyday use like bumping into them with appliances or bags, improper cleaning with abrasive materials, pet claws, and accidental contact with sharp objects during home projects.
Conclusion
Learning How to Protect Painted Cabinets from Scratches involves simple, actionable steps. Focus on gentle cleaning, consider protective films or coatings, and be mindful during daily use and home projects. Addressing scratches early with touch-up paint or fillers keeps them looking great.
Consistent, simple care ensures your cabinets stay beautiful for years to come.