How to Turn Off Passive Door Locking: Proven & Essential
Quick Summary
Turning off passive door locking is straightforward and essential for convenience. This guide provides simple, step-by-step instructions for disabling this feature on most common door lock systems, ensuring you regain manual control and avoid accidental lockouts.
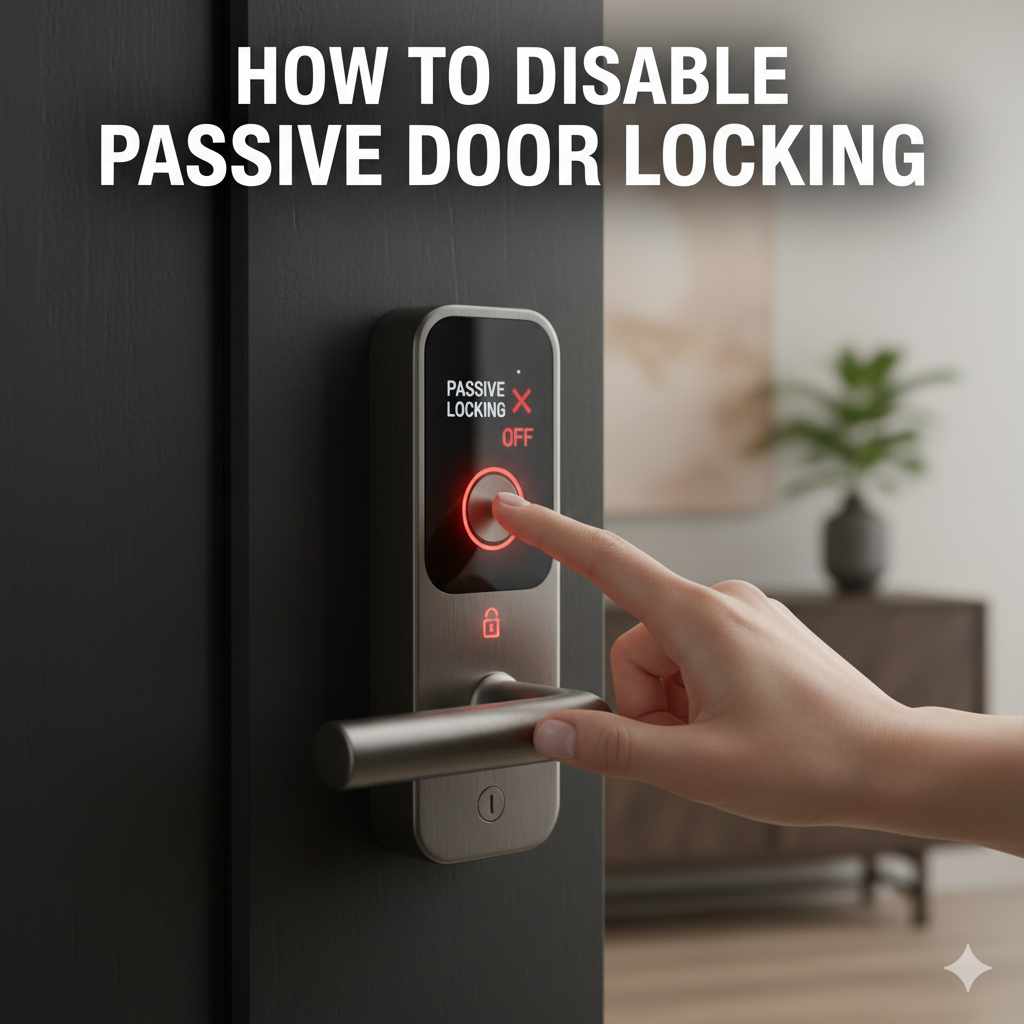
Hello there, fellow DIY enthusiasts and homeowners! Md Meraj here. Ever find yourself locked out of your own home because your door decided to lock itself? It’s a common frustration, especially when you’re just popping out for a moment or have guests arriving. This automatic feature, often called passive door locking or auto-locking, can be a security plus, but sometimes, it’s just plain inconvenient. The good news is, you don’t need to be a locksmith to turn it off. I’m here to guide you through the process, making it simple, safe, and something you can absolutely do yourself. We’ll cover the most common types of locks and show you exactly how to get that passive locking feature disabled, giving you back control. Let’s get started and make your doors work for you!
Understanding Passive Door Locking
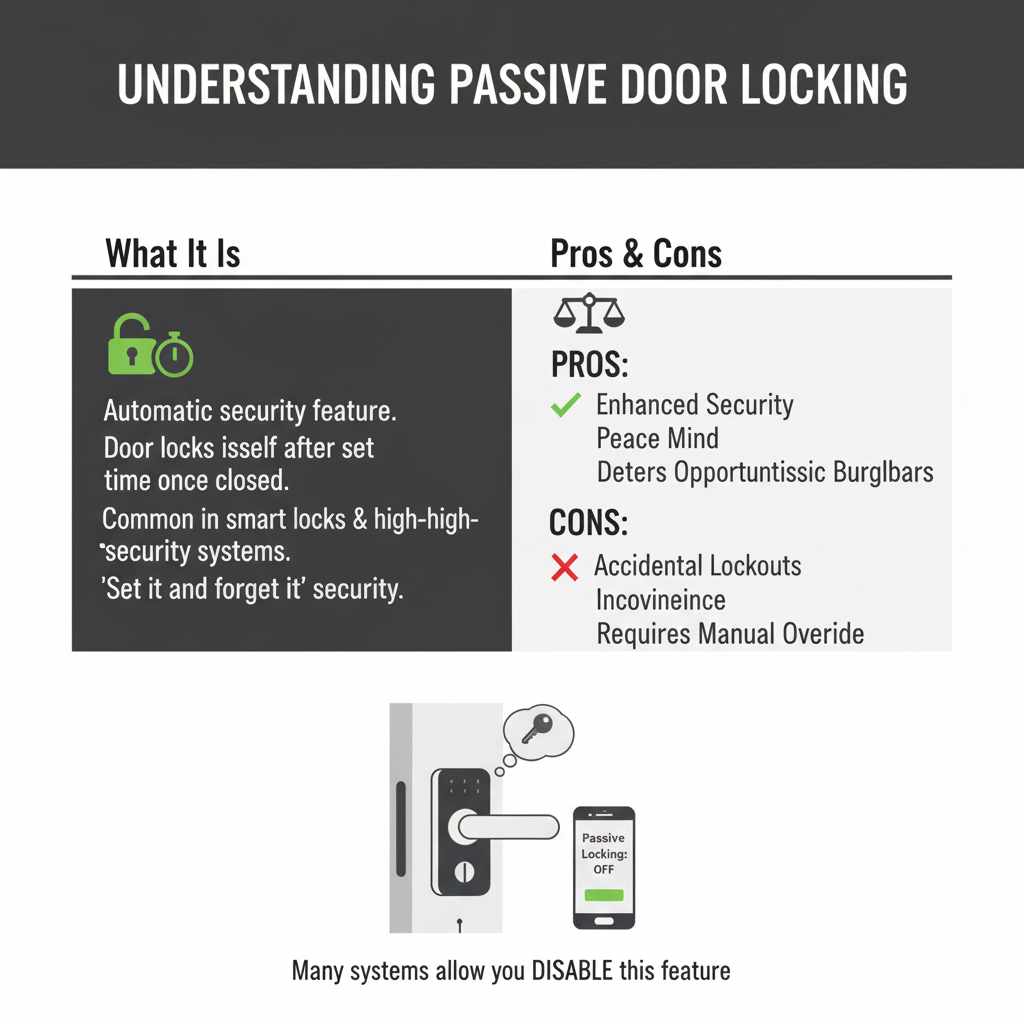
Passive door locking, also known as auto-locking or automatic locking, is a security feature built into many modern door lock systems. When activated, the door automatically locks itself after a set period once it’s closed. Think of it like your car doors automatically locking after you start driving – it’s designed to add an extra layer of security without you needing to remember to do anything. However, for homeowners, this can sometimes lead to unintended consequences. You might step outside for just a second to grab the mail or greet a delivery person, and click – you’re locked out.
This feature is often found on smart locks, high-security deadbolts, and even some integrated home security systems. The primary benefit is enhanced security, ensuring that doors are always locked when not actively being opened. This can deter opportunistic burglars and provide peace of mind. However, the drawback is the potential for accidental lockouts, which can be a major inconvenience, especially in busy households or when you have children or pets who might accidentally trigger the lock. Fortunately, most systems offer a way to disable this feature, and it’s usually a simple adjustment.
Why You Might Want to Turn Off Passive Door Locking
There are several compelling reasons why a homeowner might choose to disable the passive door locking feature. Understanding these can help you decide if it’s the right move for your home:
- Convenience for Frequent In-and-Out Use: If you live in a household where people are constantly coming and going – perhaps with kids playing outside, or if you work from home and frequently step out for breaks – auto-locking can be a nuisance.
- Preventing Accidental Lockouts: As mentioned, stepping out for a moment without your keys can lead to being stranded. Disabling this feature reduces that risk significantly.
- Guest Access: If you frequently have visitors or need to grant temporary access to service providers, turning off auto-locking means they won’t accidentally lock themselves out or lock you out.
- Easier Pet Management: For pet owners, having a door that locks automatically can be problematic if your pet needs to go in and out frequently or if you need to keep an eye on them outside.
- Testing and Maintenance: When you’re working on your door or testing new hardware, having passive locking engaged can interrupt the process.
While security is paramount, practicality often needs to take precedence in daily life. Adjusting these settings allows you to tailor your home’s security to your lifestyle.
Types of Door Locks and How They Handle Passive Locking
The method for turning off passive door locking varies depending on the type of lock you have. Most modern locks that offer this feature will have a way to control it, either through physical switches, programming codes, or a mobile app. Let’s break down the common types:
Smart Locks
Smart locks are the most common culprits for passive locking, as it’s a key feature designed for convenience and security. These locks connect to your home network via Wi-Fi or Bluetooth and are often controlled through a smartphone app.
- App Control: The easiest way to manage passive locking on smart locks is through their dedicated mobile app. You’ll typically find a setting within the app’s menu for “Auto-Lock,” “Passive Locking,” or “Auto-Bolt.” Here, you can usually toggle the feature on or off, and often set a specific delay time before the door locks.
- On-Lock Settings: Some smart locks also have physical buttons or a small screen on the lock itself that allow for basic programming, including disabling auto-lock.
- Manufacturer Websites: If you can’t find the setting in the app, the manufacturer’s website or support documentation will have detailed instructions.
Examples of popular smart lock brands include August, Schlage, Yale, and Kwikset. Each brand’s app interface will differ slightly, but the core concept of finding an “auto-lock” setting remains consistent.
High-Security Deadbolts (Electronic/Programmable)
Beyond typical smart locks, some advanced deadbolts offer programmable features, including passive locking. These might be standalone electronic locks or integrated into a larger home security system.
- Keypad Programming: Many of these locks use a keypad to enter programming sequences. You’ll typically need to enter a master code, followed by a specific function code for auto-locking, and then a command to disable it (e.g., 0 for off).
- Dip Switches: Older or simpler electronic deadbolts might use internal dip switches. You would need to remove the lock’s cover plate to access these small switches and flip them to the desired position to disable passive locking.
Refer to your lock’s manual for the specific programming codes or switch locations. A quick search online for your lock’s model number plus “manual” will usually get you the documentation you need.
Mechanical Deadbolts with Auto-Locking Features
While less common, some purely mechanical deadbolts have a feature that causes them to automatically lock after a certain number of turns or a specific mechanism engagement. These are typically found on commercial doors or specialized security doors.
- Internal Mechanism: Disabling this usually involves altering an internal spring or lever mechanism within the deadbolt itself. This can be more complex and might require partial disassembly of the lock.
- Professional Assistance: For these types of locks, if you’re not comfortable with intricate mechanical work, it’s often best to consult a locksmith or the door manufacturer.
It’s important to distinguish these from standard deadbolts that simply require manual turning to lock. The key indicator of passive locking here is the lock engaging on its own after a door closure or a specific action.
How to Turn Off Passive Door Locking: Step-by-Step Guide
Let’s get to the practical steps. Because the process varies so much, I’ll outline general steps that apply to most common scenarios. Always refer to your specific lock’s manual for precise instructions.
Step 1: Identify Your Lock Type
Before you do anything, determine what kind of lock you have. Is it a smart lock with a mobile app? A keypad deadbolt? A traditional mechanical lock?
- Check the Manufacturer and Model: Look for brand names (Schlage, Kwikset, August, Yale, etc.) and model numbers on the inside of the lock, the strike plate, or the original packaging.
- Observe its Features: Does it have Wi-Fi/Bluetooth capabilities? A keypad? A simple keyhole and thumb turn? This will help narrow down the method.
Knowing your lock type is the most crucial first step. If you’re unsure, a quick search for “identify my door lock model” can provide helpful visual guides.
Step 2: Consult Your Lock’s Manual
This is your golden ticket. Every lock that offers passive locking should have documentation explaining how to manage its features. If you don’t have the physical manual:
- Search Online: Go to the manufacturer’s website and navigate to their support or downloads section. Enter your lock’s model number to find the digital manual (PDFs are common).
- Look for Specific Sections: Once you have the manual, search for terms like “auto-lock,” “passive locking,” “automatic locking,” “disable auto-lock,” or “programming.”
The manual will tell you whether you need an app, a sequence of button presses, or physical adjustments.
Step 3: Disable via Mobile App (for Smart Locks)
If you have a smart lock, this is likely your primary method. Ensure your phone is connected to your lock via Bluetooth or Wi-Fi.
- Open the App: Launch the manufacturer’s app associated with your smart lock.
- Navigate to Lock Settings: Find your specific lock within the app. Look for a “Settings,” “Gear Icon,” or “Device Settings” option.
- Locate Auto-Lock: Within the settings, search for an option labeled “Auto-Lock,” “Passive Locking,” or similar.
- Toggle Off or Adjust: You should see a toggle switch or a checkbox. Turn it “Off.” Some apps allow you to set a delay time; if you’re disabling it completely, ensure it’s set to “Off” or a very long duration that effectively disables it.
- Save Changes: Confirm and save any changes you’ve made. The app will typically send the updated setting to your lock.
It’s a good idea to test this by closing the door and ensuring it doesn’t lock automatically. You might need to re-lock it manually with your key or the app.
Step 4: Disable via Keypad or Physical Buttons
For electronic deadbolts without app control, you’ll often use the keypad or buttons on the lock itself.
- Enter Programming Mode: This usually involves pressing a specific button (often labeled “Program” or “P”) or a sequence of buttons, sometimes while the door is open. You might need to enter a master or installer code first. Consult your manual for the exact sequence.
- Find the Auto-Lock Function: The manual will provide a code or button press sequence to access the auto-lock settings.
- Disable the Feature: You’ll typically enter a command to turn it off. For example, you might press “0” to disable, or “1” to enable, followed by the “#” or “*” key.
- Exit Programming Mode: Follow the manual’s instructions to exit programming mode, which usually involves pressing a specific button or simply waiting a short period.
- Test: Close the door to ensure it doesn’t lock automatically.
Important Note: Always be careful when entering programming codes. Incorrect sequences can sometimes reset the lock to factory defaults, requiring you to re-enter all user codes.
Step 5: Disable via Dip Switches or Internal Mechanisms
This method is less common for typical home doors but might be found on older electronic locks or specialized hardware. It requires opening the lock’s internal housing.
- Remove the Lock Interior: You’ll typically need to unscrew the interior trim plate of the lock. This usually involves removing visible screws on the inside of the door.
- Locate Dip Switches: Inside, you’ll find a set of small, rectangular switches, often numbered. Your manual will indicate which switch controls auto-locking and its “on” and “off” positions (e.g., switch #3 UP = ON, switch #3 DOWN = OFF).
- Adjust the Switch: Carefully flip the relevant dip switch to the “off” position.
- Reassemble the Lock: Screw the interior trim plate back on securely.
- Test: Close the door to verify that passive locking is disabled.
If your lock has a more complex mechanical auto-locking feature, you might need to consult a locksmith. Tampering with internal mechanisms without proper knowledge can damage the lock.
Troubleshooting Common Issues
Even with clear instructions, you might run into a snag. Here are some common problems and how to fix them:
- App Not Connecting: Ensure Bluetooth or Wi-Fi is enabled on your phone and that the lock is within range. Try restarting the app and your phone. If the problem persists, check the lock’s battery level.
- Programming Codes Not Working: Double-check that you are using the correct master or installer code and that you are entering the programming sequence exactly as written in the manual. Some locks have a timeout period, so you need to enter codes quickly.
- Lock Still Auto-Locks After Disabling: This can happen if the changes weren’t saved correctly or if there are multiple ways to control the feature. For smart locks, try force-closing and reopening the app, or even deleting and re-adding the lock to the app. For keypad locks, try re-entering the programming sequence.
- Can’t Find the Manual: As mentioned, search online using the exact brand and model number. If you still can’t find it, contact the manufacturer’s customer support.
- Physical Switches Are Unclear: Some dip switch labels are cryptic. If the manual is vague, you might need to experiment carefully. Change one switch at a time, test the auto-lock feature, and revert if it doesn’t solve the issue.
If you’re consistently struggling, don’t hesitate to reach out to the manufacturer’s support line or a professional locksmith. They deal with these issues daily and can often resolve them quickly.
When to Consider Professional Help
While most passive door locking adjustments are DIY-friendly, there are times when calling in an expert is the wisest choice:
- Complex Mechanical Locks: If your door has a highly specialized or antique lock with an auto-locking feature that requires significant disassembly, a locksmith is your best bet.
- Integrated Security Systems: If the passive locking is part of a larger, complex home security system managed by a professional installer, they will be best equipped to make adjustments.
- Damaged Lock Components: If you suspect the lock itself is damaged or not functioning correctly, attempting repairs could worsen the problem.
- Lack of Confidence: If you’re simply not comfortable with the process or worried about making a mistake, a locksmith can perform the task efficiently and correctly.
A professional locksmith can typically disable passive locking in under an hour, often much less, and can also advise on other security enhancements for your home. You can find reputable locksmiths through local directories or by asking for recommendations from friends and neighbors.
Security Considerations After Disabling Passive Locking
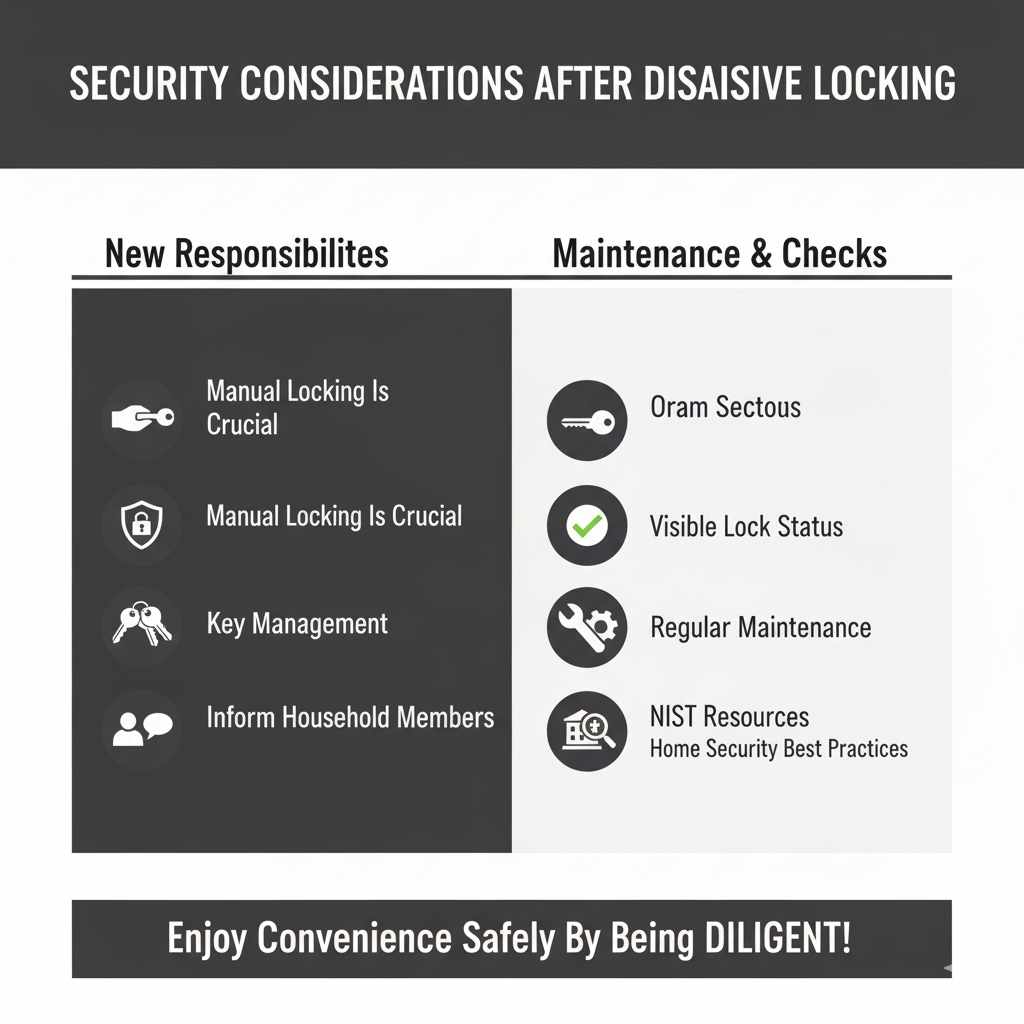
Disabling passive door locking enhances convenience but also means you need to be more mindful of manually securing your home. Here are some key considerations:
- Manual Locking is Crucial: Always remember to manually lock your deadbolt or engage your lock when leaving your home or retiring for the night. This is now your primary line of defense.
- Key Management: Ensure your keys are secure and not easily accessible to unauthorized individuals.
- Visible Locks: If you have a smart lock, ensure it’s still functioning correctly and that the physical deadbolt can still be operated manually.
- Inform Household Members: Make sure everyone in your household understands that the door no longer locks itself and that manual locking is required.
- Regular Maintenance: Even without auto-locking, ensure your locks are in good working order. Lubricate moving parts and check for wear and tear. The National Institute of Standards and Technology (NIST) offers excellent resources on home security best practices, including door and lock selection.
By being diligent about manual locking, you can enjoy the convenience of disabling passive locking without compromising your home’s security.
Frequently Asked Questions (FAQ)
Q1: Will disabling passive door locking make my home less secure?
A1: Not necessarily. It simply means you need to be more diligent about manually locking your doors. The physical security of your deadbolt remains the same. The risk increases only if you forget to lock it manually.
Q2: How long does it usually take to turn off passive door locking?
A2: For most smart locks via an app, it takes just a few minutes. For keypad or dip switch adjustments, it might take 10-30 minutes, depending on your familiarity with the lock and the complexity of the mechanism.
Q3: Can I turn off passive locking on a standard, non-electronic deadbolt?
A3: Standard mechanical deadbolts do not have a passive locking feature. They only lock when you manually turn the thumb turn or use a key. If your mechanical lock is engaging on its own, it might be faulty and require professional inspection.
Q4: What if I accidentally lock myself out while testing the change?
A4: This is a valid concern. It’s best to have a spare key accessible with a trusted neighbor or family member, or to have a locksmith’s number handy before you start. Ensure you have your phone with the app if it’s a smart lock.
Q5: My smart lock manual is confusing. Is there a universal way to disable auto-lock?
A5: Unfortunately, there isn’t a universal method due to the variety of smart lock brands and models. However, the general process of finding an “auto-lock” or “passive lock” setting within the manufacturer’s app or programming menu is common across most smart locks.
Q6: How do I know if my door lock even has passive locking?
A6: If your lock is electronic (keypad, app-controlled, or has a motor that makes noise when locking) and you’ve noticed it locking itself after you close the door, it likely has passive locking. Most manuals will explicitly mention this feature if it’s available.
Q7: Can I re-enable passive door locking later if I change my mind?
A7: Absolutely! The process to disable it can be reversed. You can toggle it back on via the app, re-enter the programming sequence, or flip the dip switch back to its original position, depending on your lock type.
Conclusion
Taking control of your door’s locking behavior is a simple yet significant upgrade to your home’s daily functionality. By understanding your lock type and following the steps outlined in this guide – whether it’s a quick tap in a smartphone app, a few button presses on a keypad, or a simple adjustment of internal switches – you can effectively turn off passive door locking. This empowers you with greater convenience and helps prevent those frustrating moments of being locked out. Remember, while convenience is key, always prioritize manual locking to maintain your home’s security. With a little know-how, you can ensure your doors work precisely how you need them to, making your home a more comfortable and secure space. Happy DIYing!