How to Disassemble a Door Knob (Backset 2-3/8 or 2-3/4in)
Most door knobs come apart in 10-15 minutes with just a screwdriver — except hidden-screw models, which need a paperclip pressed into a spring-loaded detent to release the knob from the spindle. My first attempt at 15 ended in a pile of screws and a stuck door because I skipped that step. This guide covers visible-screw and hidden-screw knobs, the rose/latch/strike-plate removal order, and mistakes that strip screws or damage the door.
What Is a Door Knob and Why Disassemble It?
A door knob is the round or lever handle you turn to open a door. It connects to a latch that catches the door frame. Disassembling a door knob means taking it apart to fix, replace, or clean it. You might need to do this if the knob wobbles, sticks, or looks outdated. It’s a quick DIY job that saves money and boosts your home’s look. Plus, it’s satisfying to fix something yourself!
Types of Door Knobs You’ll Encounter
Door knobs come in different styles, and knowing yours helps. Here are the main types:
- Entry Knobs: Keyed for outside doors, like your front door.
- Privacy Knobs: Lockable from inside, perfect for bathrooms.
- Passage Knobs: No lock, used for closets or hallways.
- Dummy Knobs: Decorative, for shallow closet doors.
Each type disassembles similarly, but some have hidden screws or tricky latches. Let’s dive into the tools you’ll need.
Best Replacement Door Knob Pick
Probrico Brushed Nickel Passage Door Knobs – $38.99
A non-locking passage knob for hallways/closets — once you’ve disassembled the old one, this drops into the same standard 2-3/8 or 2-3/4 inch backset this guide covers.
- Best for: Hallways, closets, non-locking doors
- Why we picked it: Fits both standard backset sizes
- Main drawback: No lock — not for bedrooms/bathrooms
Compare more door knob hardware
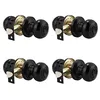 Option 1 Probrico Privacy Door Knob, 4-Pack – $25.64
|
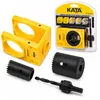 Option 2 KATA Door Lock Installation Kit – $9.99
|
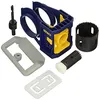 Option 3 IRWIN Door Lock Installation Kit – $16.05
|
As an Amazon Associate we earn from qualifying purchases.
Tools You’ll Need to Disassemble a Door Knob
You don’t need a fancy toolbox. Here’s what I use:
- Phillips screwdriver: For standard screws (star-shaped head).
- Flathead screwdriver: For slots or prying plates.
- Paperclip or pin: For hidden release buttons.
- Allen wrench: For hex-head screws (check sizes).
- Small container: To hold tiny screws.
I suggest a $10 screwdriver set from Home Depot for versatility. Keep tools handy to avoid losing parts. Safety tip: Wear gloves to protect your hands from sharp edges.
Tool Comparison for Door Knob Disassembly
| Tool | Use | Cost | Where to Buy |
|---|---|---|---|
| Phillips Screwdriver | Removes standard screws | $5-$10 | Home Depot, Lowe’s |
| Flathead Screwdriver | Pries plates, presses release slots | $3-$8 | Hardware stores, Amazon |
| Allen Wrench | Loosens hex-head screws | $2-$5 | Walmart, tool shops |
| Paperclip | Triggers hidden release buttons | Free (home) | Any office supply |
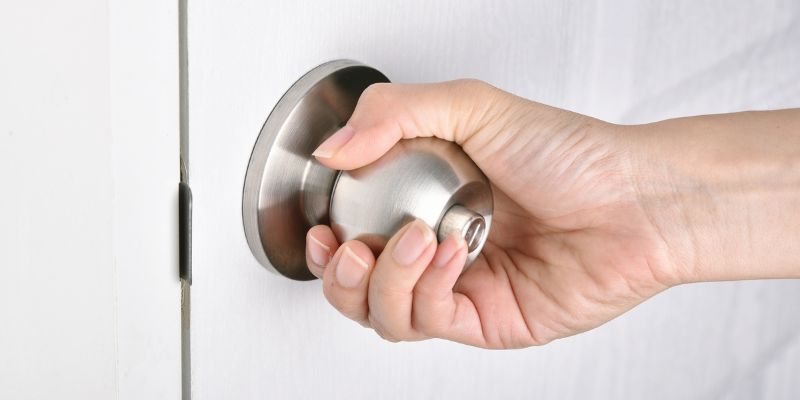
Data Callout: Standard Backset Sizes
The two standard door-knob backset sizes in North America are 2-3/8 and 2-3/4 inches, measured from the door edge to the center of the bore hole — measure yours before buying a replacement so it actually fits. Many modern knobs now include an adjustable latch that switches between both — Source: The Master Locksmith.
Step-by-Step Guide to Disassemble a Door Knob
Here’s how I disassemble a door knob. Follow these steps, and you’ll be done in 10-15 minutes.
Step 1: Check for Visible Screws
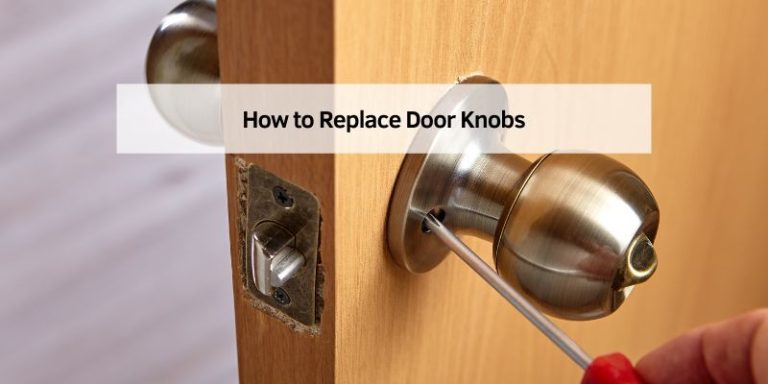
Look at the interior side of the knob (the side without a keyhole). If you see 1-3 screws on the baseplate, you’re in luck—it’s easy! Use a Phillips screwdriver to turn them counterclockwise. Keep screws in a container. If the knob doesn’t budge, wiggle it gently.
“Others have a thin hole through which you insert a firm wire (a straightened-out paper clip is perfect) to press on a spring-activated pin called a detent; this releases the knob from the spindle or shaft that connects both knobs through the latch assembly.”
— Bob Vila, How to Remove (and Replace) a Doorknob
Step 2: Find Hidden Screws or Slots
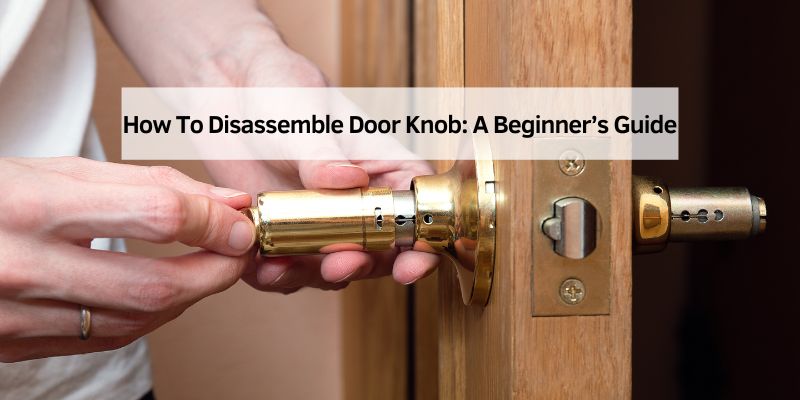
No screws? Check the knob’s neck for a tiny hole or slot. This is a detent—a spring-loaded pin. Push a paperclip or flathead screwdriver into the slot while pulling the knob. It should pop off. Tip: Don’t force it; a gentle twist helps.
Step 3: Remove the Cover Plate (Rose)
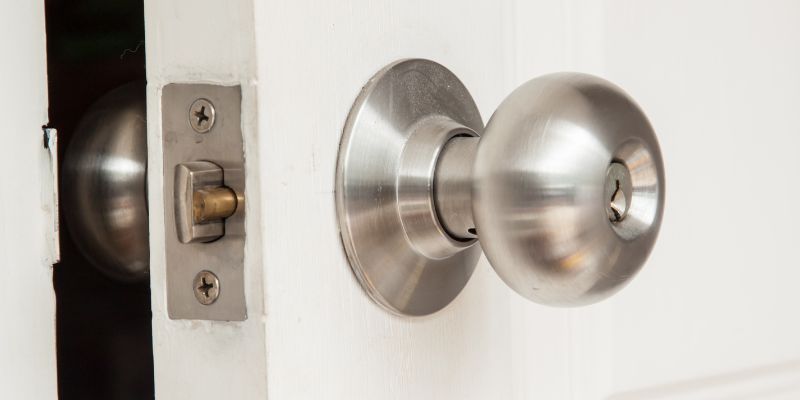
The round plate against the door is the rose. If it hides screws, pry it off with a flathead screwdriver. Look for a small notch on the edge. Twist or pop it off carefully to avoid scratching the door. Now you’ll see the mounting screws.
Step 4: Unscrew the Mounting Plate
Use a Phillips screwdriver to remove the screws holding the mounting plate. These connect both knobs through the door. Pull the knobs apart gently. If the exterior knob sticks, twist it to free the latch. Mistake to avoid: Don’t yank hard—it can damage the door.
Step 5: Take Out the Latch Mechanism
Find two screws on the door’s edge holding the latch (the bolt that catches the frame). Unscrew them and pull the latch out. If it’s stuck, tap it lightly with a screwdriver. Cost-saving tip: Clean the latch with WD-40 to reuse it.
Step 6: Remove the Strike Plate
The strike plate is the metal piece on the door frame. Unscrew it with a Phillips screwdriver. If it’s stuck, pry it gently with a flathead. You’re done! Your door is now knob-free.
Common Door Knob Parts and Their Function
| Part | Function | How to Remove |
|---|---|---|
| Knob | Handle to open/close door | Unscrew or press detent to pull |
| Rose (Cover Plate) | Decorative plate hiding screws | Pry off with screwdriver |
| Latch Mechanism | Bolt that secures door to frame | Unscrew from door edge |
| Strike Plate | Metal plate on frame for latch | Unscrew from door jamb |
Benefits of Disassembling a Door Knob
Taking apart a door knob has big perks. It’s cheap—save $50-$100 versus hiring a locksmith. You can fix wobbly or stuck knobs, making doors work smoothly. Upgrading knobs boosts your home’s style. I swapped my old brass knobs for sleek stainless ones, and my living room feels modern! Plus, it’s a fun DIY skill to brag about.
Drawbacks and Challenges
It’s not always a breeze. Hidden screws can be tricky to find, and old knobs might be rusted. My 1960s knob took WD-40 and patience to loosen! You might strip screws if you’re not careful. Also, some doors need special knobs, so measure the backset (distance from door edge to knob center, usually 2-3/8 or 2-3/4 inches) before buying replacements.
Alternative Approaches
Don’t want to disassemble? Try these:
- Lubricate: Spray WD-40 into the latch to fix sticking.
- Tighten Screws: A loose knob might just need a quick twist with a screwdriver.
- Call a Pro: For antique or complex knobs, a locksmith ensures no damage.
My Top Tips for Easy Disassembly
After years of tinkering, here are my best tips:
- Use the right tool: A too-big screwdriver can strip screws. Match the head size.
- Work slowly: Rushing leads to lost screws or scratched doors.
- Check both sides: Some knobs have screws or slots on the exterior too.
- Clean as you go: Wipe parts with a cloth to remove dust for smoother reassembly.
Cost-Saving Tips for Door Knob Disassembly
| Tip | How It Saves Money |
|---|---|
| Reuse clean latch | Avoids buying a new latch ($5-$15) |
| Use household paperclip | No need for special tools ($2-$5) |
| Lubricate stuck parts | Fixes knobs without replacement ($10-$20) |
Common Mistakes to Avoid
I’ve made plenty of goofs! Here’s what to watch out for:
- Forcing the knob: Pulling too hard can break the spindle or damage the door.
- Losing screws: Always use a container. I lost a screw once and had to buy a whole set!
- Ignoring rust: Old knobs need lubricant, or you’ll strip screws.
- Wrong replacement: Measure the backset to avoid buying the wrong knob.
Conclusion
Disassembling a door knob is a simple DIY win. You just need a screwdriver, a paperclip, and 10 minutes. Whether you’re fixing a wobbly knob or upgrading your home, it’s a fun project. My first success felt like winning a prize! Try it out, and you’ll love the results. Share your knob-fixing stories in the comments or ask me for tips. Ready to tackle your door? Grab your tools and make it happen!
Frequently Asked Questions
How Do I Disassemble a Door Knob With No Visible Screws?
Look for a small slot or hole on the knob’s neck. Push a paperclip or flathead screwdriver into it to release the detent. Pull the knob gently to remove it, then pry off the rose to find hidden screws.
What Tools Do I Need to Disassemble a Door Knob?
You need a Phillips screwdriver, flathead screwdriver, paperclip, and Allen wrench for hex screws. A small container keeps screws safe. Most tools are under $10 at hardware stores.
Can I Disassemble a Door Knob Without Damaging the Door?
Yes, work gently and use the right tools. Score paint around the knob with a utility knife to avoid chipping. Don’t force parts to prevent scratches or dents.
What If My Door Knob Is Stuck or Rusted?
Spray WD-40 into the latch or screws and wait 5 minutes. Wiggle the knob gently. If it’s still stuck, tap lightly with a screwdriver to loosen corroded parts.
How Long Does It Take to Disassemble a Door Knob?
It takes 10-15 minutes for most knobs. Hidden screws or rusty parts might add 5 minutes. Work slowly to avoid mistakes and make it a quick job.
Do All Door Knobs Disassemble the Same Way?
Most follow similar steps, but entry knobs may have keyed locks, and dummy knobs are simpler. Check for hidden screws or detents based on your knob type.
Can I Reuse Parts After Disassembling a Door Knob?
Yes, clean the latch and screws with WD-40 or a cloth. If they’re not damaged, you can reuse them to save $5-$15 on replacements.
Sponsored / affiliate links. As an Amazon Associate I earn from qualifying purchases. I may earn additional commission from eligible campaigns.