When Should Pressure Treated Wood Be Stained For Best Results?
The best time to stain pressure treated wood is after it has thoroughly dried out, which typically takes anywhere from a few weeks to a few months. Proper drying is crucial for stain absorption and longevity. You can test the wood’s readiness by sprinkling water on its surface; if the water beads up, it needs more drying time.
Understanding Pressure Treated Wood and Staining
So, what exactly is pressure treated wood? It’s lumber that has gone through a special process. High pressure forces a preservative deep into the wood.
This treatment helps protect it from rot, decay, and insects. That’s why it’s a popular choice for outdoor projects like decks, fences, and pergolas.
But here’s the thing: this treatment process also makes the wood quite wet. The preservatives are carried in a liquid solution. Even after the wood is treated, it holds onto a lot of that moisture.
This is a big reason why timing your staining is so important.
You might wonder why you can’t just stain it right away. If you apply stain to wood that’s still too wet, the stain won’t soak in properly. It will just sit on the surface.
This can lead to a blotchy finish. Worse, the stain might peel or chip off sooner than you’d like. It’s like trying to paint a damp wall; the paint just won’t stick well.
The goal of staining is twofold. First, it enhances the wood’s natural beauty. It brings out the grain and gives it a rich color.
Second, and perhaps more importantly, it adds another layer of protection. Stain helps shield the wood from the sun’s harsh UV rays. It also provides a barrier against rain and moisture, preventing water from getting too deep into the wood.
Think of it like giving your skin sunscreen. The preservatives are like the built-in protection. The stain is like the added sunscreen that keeps it looking good and fighting off environmental damage.
For the best results, the wood needs to be dry enough to accept this “sunscreen” properly.
The Waiting Game: Why Drying Time Matters
When lumber comes out of the pressure treating cylinder, it’s often quite saturated. Manufacturers usually dry it somewhat afterward. However, “somewhat dry” isn’t usually “ready for stain” dry.
This leftover moisture is the main hurdle. It prevents the stain from penetrating the wood fibers effectively.
This is where the common advice about waiting comes in. Most experts suggest waiting at least a few weeks. Some recommend waiting several months.
The exact time can depend on several factors. These include the type of wood, how it was treated, and the weather conditions after you brought it home.
I remember building a deck a few years back. I was eager to get it stained. The wood looked and felt dry enough to me.
I rushed the staining process. Within a year, the stain started to fade unevenly. In some spots, it peeled right off.
I learned a tough lesson about patience. That patchy deck was a constant reminder to let the wood breathe and dry properly.
The drying process allows the wood to release that excess moisture. As it dries, the wood’s pores open up. This makes them receptive to absorbing the stain.
When the wood is too wet, the water acts as a barrier. It keeps the stain from bonding with the wood fibers. This is why you see those tell-tale signs of poor adhesion later on.
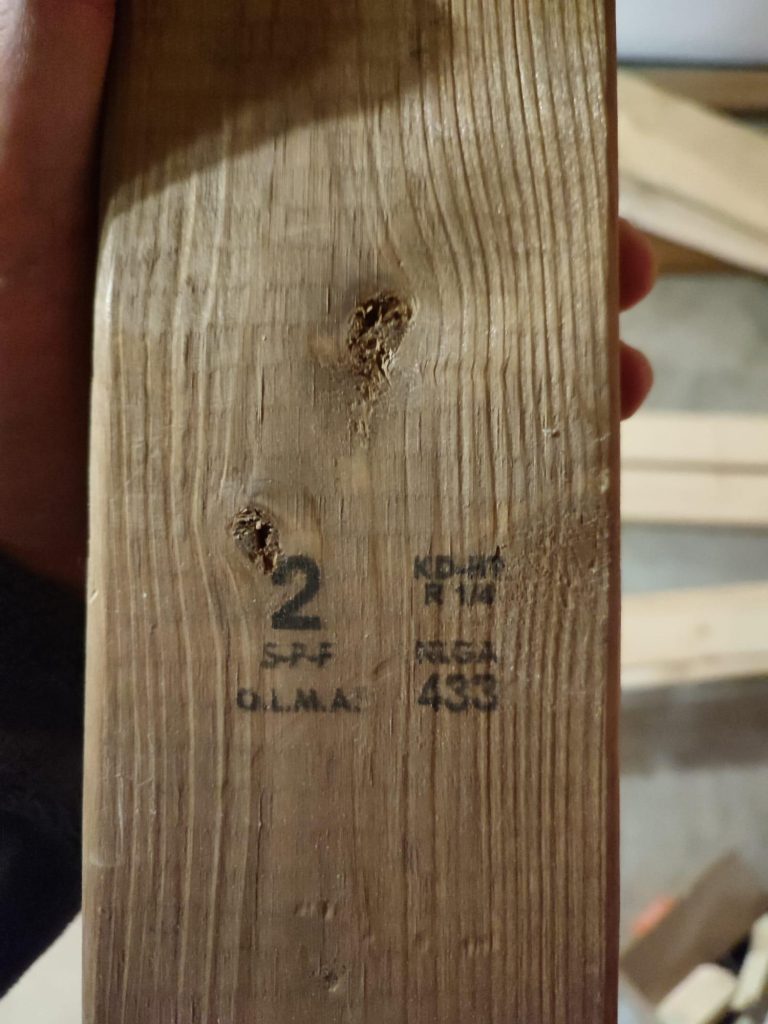
Consider the typical process. The wood comes from the treatment plant with a greenish tint. This is a sign of the copper-based preservatives.
As it dries, this color often fades. The wood usually becomes a more natural tan or brown color. This visual change is a good indicator that drying is happening.
How to Test if Your Wood is Ready
Knowing when to stain can be tricky. You can’t just guess. Fortunately, there’s a simple test you can do.
It’s called the sprinkle test or the water drop test. It’s very reliable and easy to perform.
Here’s how it works: Take a small amount of water, a few drops or a light splash, and put it on the surface of the wood. Do this in a few different spots, especially on boards that might have been more saturated.
Observe what happens to the water. If the water beads up and stays on the surface, like it would on a waxed car, the wood is still too wet. This means the wood’s surface is not yet ready to absorb the stain.
It needs more time to dry out.
If, however, the water soaks into the wood quickly, that’s a good sign. It means the wood is dry enough to accept the stain. The water disappears into the wood fibers instead of sitting on top.
This test is your best friend in determining the right moment.
Another indicator can be the appearance of the wood itself. As I mentioned, pressure treated wood often has a greenish hue. As it dries, this green often fades, and the wood takes on a more natural, lighter brown color.
You might also notice slight warping or checking (small cracks) as the wood dries. These are normal signs of the wood adjusting.
You can also use a moisture meter. These tools are fairly inexpensive and give you a precise reading of the wood’s moisture content. For most stains, you’ll want the moisture content to be below 15%.
Some sources suggest even lower, around 12% for oil-based stains. If you’re serious about getting the longest life from your stain, a moisture meter is a worthwhile investment.
Quick Moisture Check Guide
Method: Sprinkle Test
What to Look For: Water soaks in quickly.
Needs More Drying If: Water beads up on the surface.
Method: Visual Cues
What to Look For: Green tint fades, wood looks natural tan/brown.
Needs More Drying If: Still distinctly green, feels very damp.
Method: Moisture Meter
What to Look For: Reading below 15% moisture content.
Needs More Drying If: Reading is 15% or higher.
Factors Influencing Drying Time
The “wait a few weeks” rule is a good starting point. But the reality is more nuanced. Several things affect how quickly your pressure treated wood will dry out.
Weather Conditions: This is huge. Sunny, hot, and windy weather will speed up drying significantly. If you build your project in the middle of a humid, rainy spell, it will take much longer.
Outdoor air circulation is key. Good airflow helps evaporate the moisture.
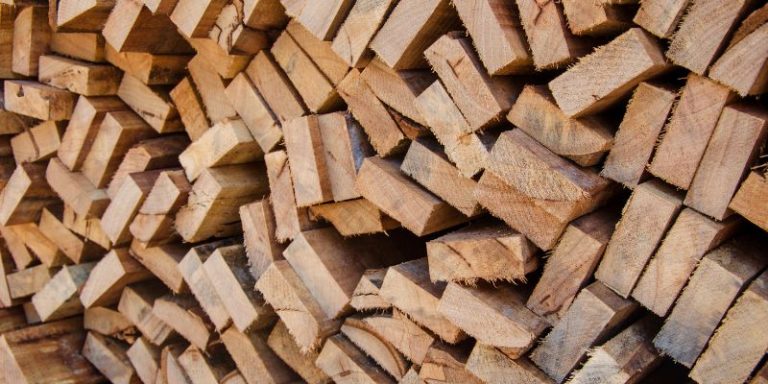
Wood Thickness and Density: Thicker boards take longer to dry than thinner ones. Also, denser types of wood might hold onto moisture a bit more stubbornly. Most standard lumber like pine or fir that is pressure treated will dry within a typical range, but be aware of these variations.
Storage After Purchase: How was the wood stored after you bought it? If it was left out in the rain or stacked in a damp area, it will take longer to dry. Ideally, it should be stored off the ground, covered loosely to protect from rain but allowing air to flow.
This helps it dry evenly.
Type of Treatment: While most common treatments use water-based solutions, the specific process can have minor effects. Some treatments might leave the wood slightly more saturated than others. However, the general rule of waiting for it to dry applies universally.
I had a friend who lived in a very humid coastal area. He built a dock and was frustrated because his wood seemed to take forever to dry. Even after two months, the sprinkle test showed beading.
He ended up having to wait almost four months. It taught me that local climate plays a massive role.
The “wait and see” approach, combined with the sprinkle test, is really the most practical strategy for most homeowners. Don’t feel pressured to stain just because the project is finished. Patience here really does pay off in the long run.
Drying Time Factors at a Glance
- Climate: Sunny, hot, windy = Faster Drying. Humid, rainy = Slower Drying.
- Wood Specs: Thicker, denser wood = Takes Longer.
- Storage: Stored well (off ground, airy) = Dries better.
When to Stain: The Ideal Timeframe
So, to give you a concrete answer: When should pressure treated wood be stained? For most situations, you’re looking at a window of anywhere from two weeks to six months after installation.
The Two-Week Mark: This is the absolute earliest you might consider staining. This is only if you live in a very hot, dry, and windy climate, and you’ve confirmed with the sprinkle test that the wood is indeed dry. You’ll likely need to re-test it frequently during this period.
The One-Month Mark: For many people, one month is a good target if conditions are favorable. You’ve had a decent amount of dry, warm weather. The sprinkle test should be showing good absorption by now.
The Three-to-Six Month Mark: This is the most common and safest recommendation. It allows for variations in weather and ensures that the wood has had ample time to release its internal moisture. If you’re unsure, waiting longer is almost always better than staining too soon.
New Construction vs. Older Wood: The advice above is primarily for newly installed pressure treated wood. If you have older pressure treated wood that has been exposed to the elements for a year or more without being stained, it might behave differently.
It will likely be quite dry, but it might also have degraded surfaces or mildew. Older wood often requires more thorough cleaning and prep before staining.
I often tell people to think of it as a seasonal thing. If you build something in the spring or early summer, you might be able to stain it by late summer or fall after it has had a full season to dry. If you build in the fall, you’ll probably be waiting until the next spring or summer.
The key takeaway is that there isn’t a single magic date. It’s about the wood’s condition. Your testing will tell you when it’s ready, not just the calendar.
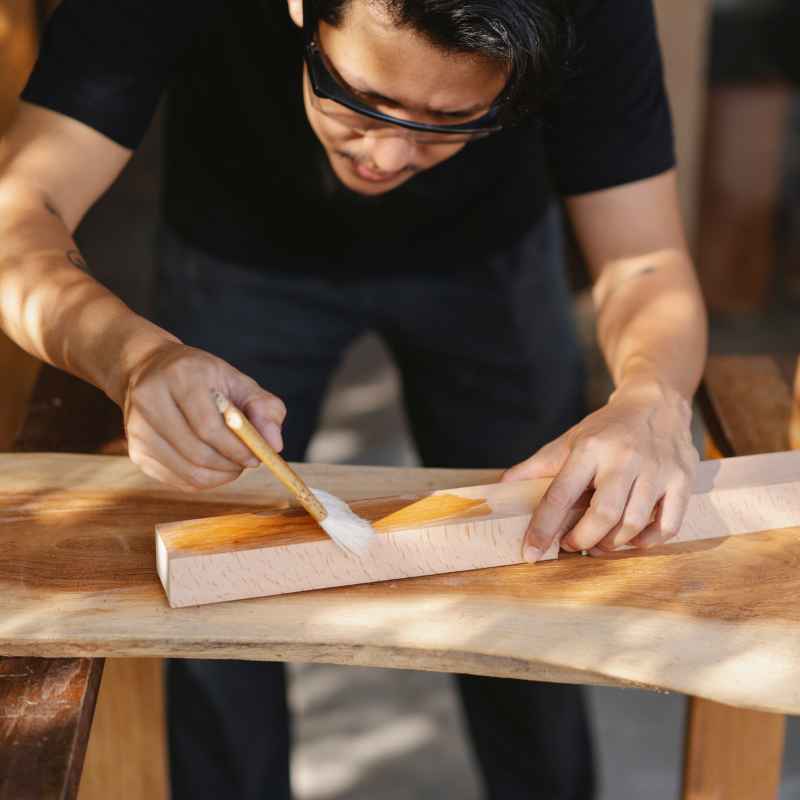
Preparing Your Wood for Stain
Once you’ve determined your wood is ready, the next crucial step is preparation. Don’t skip this! Even if your wood is dry, a dirty or rough surface will impact the stain’s appearance and longevity.
1. Cleaning: You need to clean the wood. This removes dirt, mildew, mold, and any mill glaze.
Mill glaze is a smooth surface left by the milling process that can prevent stain absorption. Use a dedicated deck cleaner or a mixture of oxygen bleach and water. Avoid harsh chlorine bleach, as it can damage wood fibers.
2. Rinsing: After applying the cleaner, rinse the wood thoroughly. Make sure all cleaner residue is gone.
You can use a garden hose with a strong spray nozzle. Some people use a pressure washer, but be very careful. Set it to a low pressure and keep the nozzle moving.
Too much pressure can damage the wood, making it fuzzy and more prone to taking on water later.
3. Drying After Cleaning: After rinsing, let the wood dry completely again. This might take 24 to 48 hours, depending on the weather.
You want the surface moisture from the cleaning process to evaporate. Perform the sprinkle test again to be sure.
4. Sanding (Optional but Recommended): For a really smooth finish, light sanding can be beneficial. Use a medium-grit sandpaper (around 80-grit).
This opens up the wood surface a bit more and removes any remaining imperfections or fuzzies. Again, sand lightly; you don’t want to remove too much wood.
I once stained a porch right after cleaning, without letting it dry fully. The stain looked okay at first, but then I noticed a faint white residue in some spots. It was the cleaner not fully rinsing away and then getting sealed into the wood.
It was a visual reminder to always let the wood dry after cleaning.
Prep Work Checklist
- Apply Cleaner: Use a wood-specific cleaner.
- Rinse Thoroughly: Remove all cleaner residue.
- Dry Completely: Wait 1-2 days for surface to dry.
- Sprinkle Test: Confirm wood is ready.
- Light Sanding: For a smoother finish (optional).
Choosing the Right Stain for Pressure Treated Wood
Not all stains are created equal, especially when it comes to pressure treated wood. You need a stain that is formulated to adhere well to this type of lumber and offer good protection.
Types of Stains:
- Transparent or Semi-Transparent Stains: These offer a lighter color and allow the wood grain to show through. They typically offer less UV protection than darker stains.
- Semi-Solid Stains: These provide more color than semi-transparent stains and hide some of the wood grain. They offer better UV protection.
- Solid Color Stains: These act almost like a thin coat of paint. They hide the wood grain completely and offer the most UV protection. They are often the most durable.
Oil-Based vs. Water-Based Stains:
- Oil-Based Stains: These tend to penetrate the wood deeply. They are known for their durability and ability to condition the wood. However, they can take longer to dry and clean up requires mineral spirits.
- Water-Based Stains: These are easier to use and clean up with soap and water. Modern water-based stains have improved significantly in terms of durability and penetration.
For pressure treated wood, many professionals recommend oil-based stains or high-quality water-based stains specifically designed for decks and outdoor wood. Look for stains that offer UV protection and water repellency.
I personally lean towards semi-transparent stains for most projects. They offer a good balance of color, protection, and showing off the wood’s natural beauty. However, if the wood has some imperfections, a semi-solid or solid stain can be a great way to cover them up while still protecting the wood.
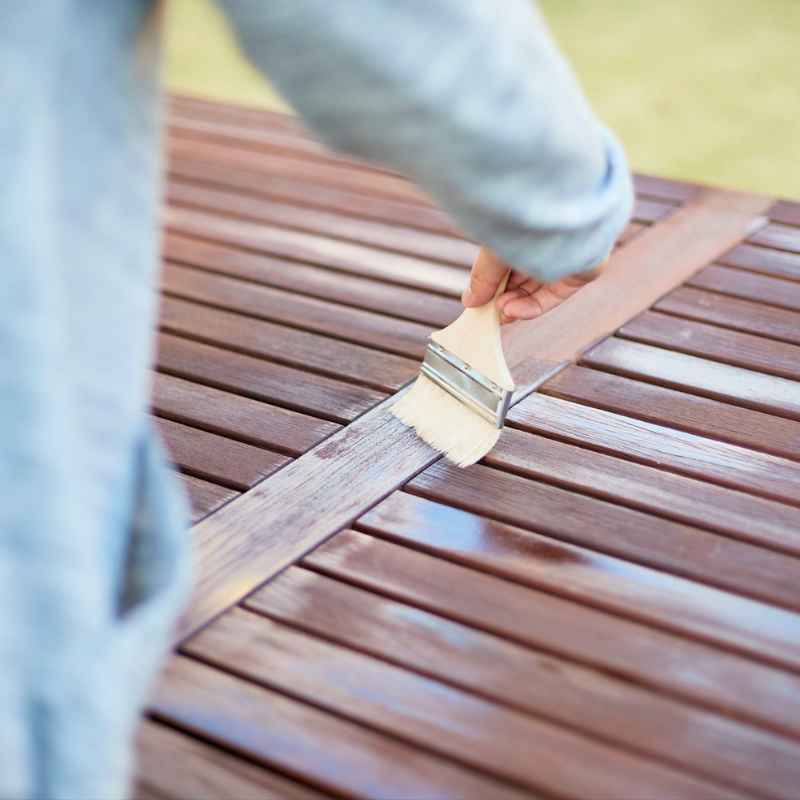
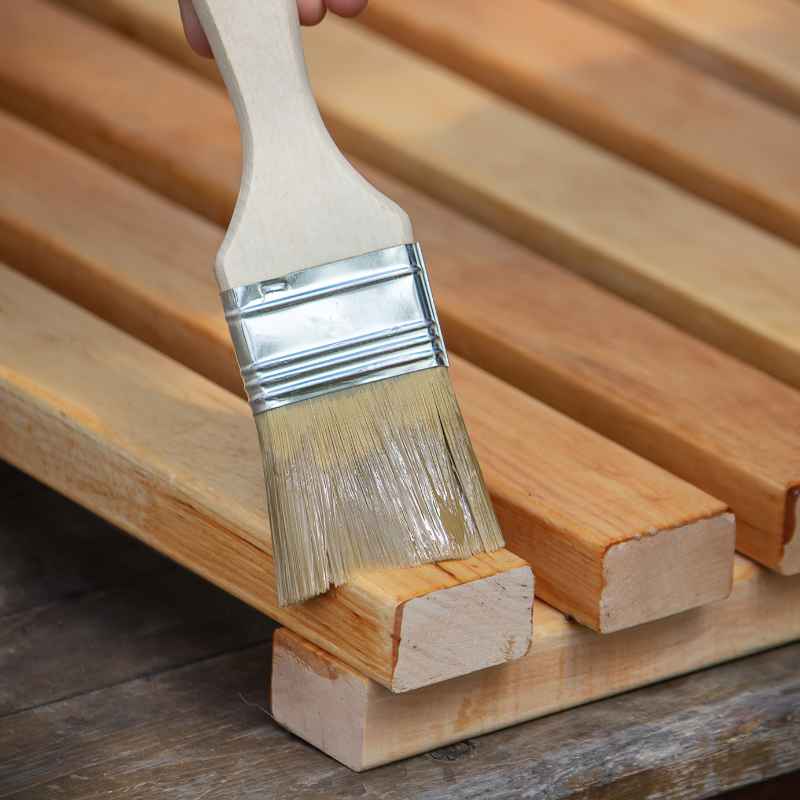
Applying the Stain for Best Results
Once your wood is dry, clean, and prepped, and you have your chosen stain, it’s time to apply it. Proper application is just as important as timing.
1. Read the Can: Seriously, read the manufacturer’s instructions. They know their product best.
Pay attention to recommended application temperatures, drying times between coats, and cleanup procedures.
2. Work in Sections: Don’t try to stain the entire deck at once. Work in manageable sections.
For a deck, this might mean doing a few boards at a time. This helps you maintain a wet edge, meaning you blend the new stain into the section you just finished. This prevents lap marks.
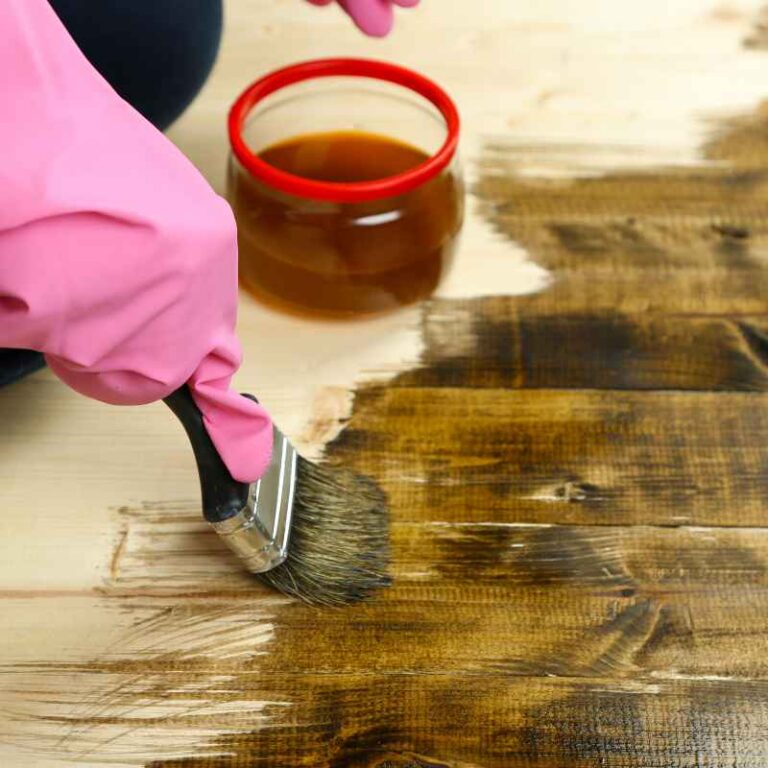
3. Apply Evenly: Use a good quality brush, roller, or pad applicator. Apply the stain evenly.
Avoid applying it too thick. Excess stain won’t penetrate and will likely result in a sticky surface that collects dirt.
4. Back-Brushing: After applying stain to a section, use a brush to smooth out any puddles or thick spots. This is called back-brushing.
It ensures an even coat and helps the stain penetrate the wood pores.
5. Second Coat (If Needed): Some stains only require one coat. Others benefit from a second coat, especially if you’re using a lighter color or want deeper color saturation.
Check the product instructions. If applying a second coat, wait for the first coat to dry completely as per the manufacturer’s recommendations.
6. Weather Watch: Make sure you have good weather for staining and drying. Avoid staining in direct, hot sun if possible, as it can cause the stain to dry too quickly.
Ideally, stain on a mild, cloudy day or in the shade. Also, check the forecast for rain. You don’t want a sudden downpour to wash away your fresh stain.
I learned this “wet edge” trick the hard way. My first deck staining job had obvious lines where one section ended and the next began. It looked terrible.
From then on, I always worked board by board, blending as I went. It makes a huge difference.
Application Tips for Success
- Read Instructions: Always follow the product’s directions.
- Work in Sections: Maintain a “wet edge” to avoid lines.
- Apply Evenly: Use quality tools for smooth coverage.
- Back-Brush: Smooth out drips and thick spots.
- Check for Second Coat: Apply if recommended.
- Monitor Weather: Avoid rain and extreme heat.
Real-World Scenarios and Considerations
Let’s look at a few situations you might encounter.
Scenario 1: A New Deck in Summer Heat
You build a beautiful cedar deck in July in Arizona. The sun is intense, and it’s dry. Even so, the lumber just came from the treatment plant.
You’ll need to be patient. Test the wood regularly with the sprinkle test. It might take six weeks to two months, even in that heat, for the internal moisture to equalize.
Staining too soon could mean peeling by fall.
Scenario 2: A Fence Built in the Pacific Northwest
You’re installing a fence in Seattle in the spring. It’s often damp and cooler. This means your pressure treated fence posts and rails will take longer to dry.
You might be looking at three to four months, or even longer, before the wood is ready for stain. Monitor it closely, and don’t rush. A good rain cycle can set you back weeks.
Scenario 3: Replacing a Few Boards on an Existing Deck
You had a large storm and need to
Scenario 4: DIY vs. Professional Installation
If you hired a professional, they often have more experience and may have tools like moisture meters to gauge readiness. However, it’s still wise to ask them about their process and their recommended waiting period. If you’re doing it yourself, the best approach is careful observation and testing.
Understanding these different scenarios helps you realize that there’s no one-size-fits-all answer. It’s about the wood, the environment, and your observation.
What This Means for Your Project
The main implication of understanding when to stain pressure treated wood is longevity and appearance. Getting the timing right means:
- Better Stain Adhesion: The stain will bond properly with the wood fibers.
- Longer Lasting Protection: The stain will wear better against sun and moisture.
- Even Color: You avoid blotchy finishes or uneven fading caused by moisture trapped under the stain.
- Reduced Peeling and Chipping: Proper adhesion means the stain stays put.
Conversely, staining too soon can lead to:
- Peeling and Flaking: The most common issue.
- Blotchy Appearance: Uneven absorption creates a messy look.
- Mold and Mildew Growth: Trapped moisture can encourage growth.
- Stain Failure: The stain may need to be stripped and reapplied much sooner than expected.
So, while it might feel like a delay, taking the time to let your pressure treated wood dry is an investment. It’s an investment in the beauty and durability of your outdoor projects.
When to Worry: Signs of Trouble
While we’re talking about timing, it’s good to know what might signal a problem, beyond just the wood being too wet.
Excessive Wicking: If you notice the wood is still shedding water very aggressively after many months, there might be an issue with the treatment or the wood itself. This is rare, but possible.
Mold or Mildew: If you see persistent mold or mildew growth on the wood, even after cleaning, it could indicate it’s not drying out properly, or there’s a constant moisture source. You’ll need to address the mold before staining.
Rotting or Soft Spots: Pressure treated wood is resistant to rot, but if you find soft, spongy areas, that’s a sign of a serious problem that needs professional assessment. You wouldn’t stain wood in this condition.
Major Warping or Cracking: While some checking is normal as wood dries, extreme warping or large cracks might indicate the wood is drying too quickly or unevenly, or it’s under stress. Address these structural issues first.
Generally, if your wood passes the sprinkle test and looks like normal aged lumber, you’re in good shape. These “worry” signs are less common but worth being aware of.
Quick Tips for Stain Success
Here are some rapid-fire tips to help you get the best results.
- Use a Quality Stain: Don’t skimp on the stain. A good product is formulated to work with outdoor wood.
- Apply in Appropriate Temperatures: Check the stain can. Most recommend application between 50°F and 90°F (10°C and 32°C).
- Protect Surrounding Areas: Mask off or cover any areas you don’t want stained, like concrete, brick, or plants.
- Dispose of Rags Properly: Oily rags can spontaneously combust. Lay them flat to dry completely or soak them in water before disposal.
- Reapply as Needed: Stains don’t last forever. Check your project every 1-3 years. It will likely need reapplication to maintain its look and protection.
Frequently Asked Questions
How long does pressure treated wood need to dry before staining if it rained recently?
If it rained recently, your pressure treated wood will need extra drying time. You should wait until the surface feels dry and passes the sprinkle test. This could mean waiting several days to a week or more, depending on how heavy the rain was and how quickly the wood can dry out again.
Can I stain pressure treated wood in the fall?
Yes, you can stain pressure treated wood in the fall, as long as the wood is dry and the weather conditions are suitable. You’ll need cooler, dry days, and avoid freezing temperatures. Most stains have specific temperature ranges for application and curing.
Always check the product label.
Is it okay to use a pressure washer to clean pressure treated wood before staining?
You can use a pressure washer, but with extreme caution. Set it to a low pressure setting and keep the nozzle moving constantly. High pressure can damage the wood fibers, causing them to become fuzzy and more prone to absorbing too much moisture or stain.
A stiff brush and a deck cleaner is often a safer alternative.
What is mill glaze and why is it a problem for staining?
Mill glaze is a smooth, hard surface layer created during the milling process of lumber. This glaze can prevent stains from penetrating the wood fibers. Cleaning the wood thoroughly with a deck cleaner is usually enough to remove mill glaze before staining.
How often should I re-stain my pressure treated wood?
The frequency of re-staining depends on the type of stain used, the climate, and the amount of wear and tear the wood receives. Typically, you might need to re-stain every 1 to 3 years to maintain its appearance and protection.
Can I stain pressure treated wood immediately if it’s been sitting in my yard for a few weeks?
Even if it’s been sitting out for a few weeks, you still need to test it for dryness. The sprinkle test is the best way. If it’s been exposed to rain or is in a very humid environment, it might not be dry enough, even after weeks.
Patience and testing are key.
Conclusion
Getting the timing right for staining your pressure treated wood is the secret to a beautiful, long-lasting finish. It’s not about a date on the calendar, but about the wood itself being ready. By understanding the drying process, performing simple tests, and preparing your surface well, you can ensure your deck, fence, or other outdoor project looks its best for years to come.
Patience truly is a virtue when it comes to woodworking.