Where to Put Handles on Cabinet Doors (Upper vs. Lower Rule)
Cabinet handles go 2 to 3 inches in from the door edge, opposite the hinges — not dead-center on the door. Upper cabinet doors take the handle near the bottom corner; lower cabinet doors take it near the top corner, about 1.5 inches above the countertop. Mixing up which corner for which cabinet is the most common placement mistake. This guide covers the upper-versus-lower rule, wide-drawer spacing, and how to mark and drill a straight hole.
This post contains affiliate links. As an Amazon Associate we earn from qualifying purchases — see our Affiliate Disclosure for details.
Why Handle Placement Matters
Handle placement isn’t only about looks — it’s about how your hand naturally reaches for the door. Placed correctly, a handle is easy to grip and pull without straining; placed wrong, you’re stretching awkwardly or catching your knuckles on the countertop every time you open a painted kitchen cabinet door. Consistent placement across every door and drawer is also what makes a kitchen read as professionally finished rather than DIY.
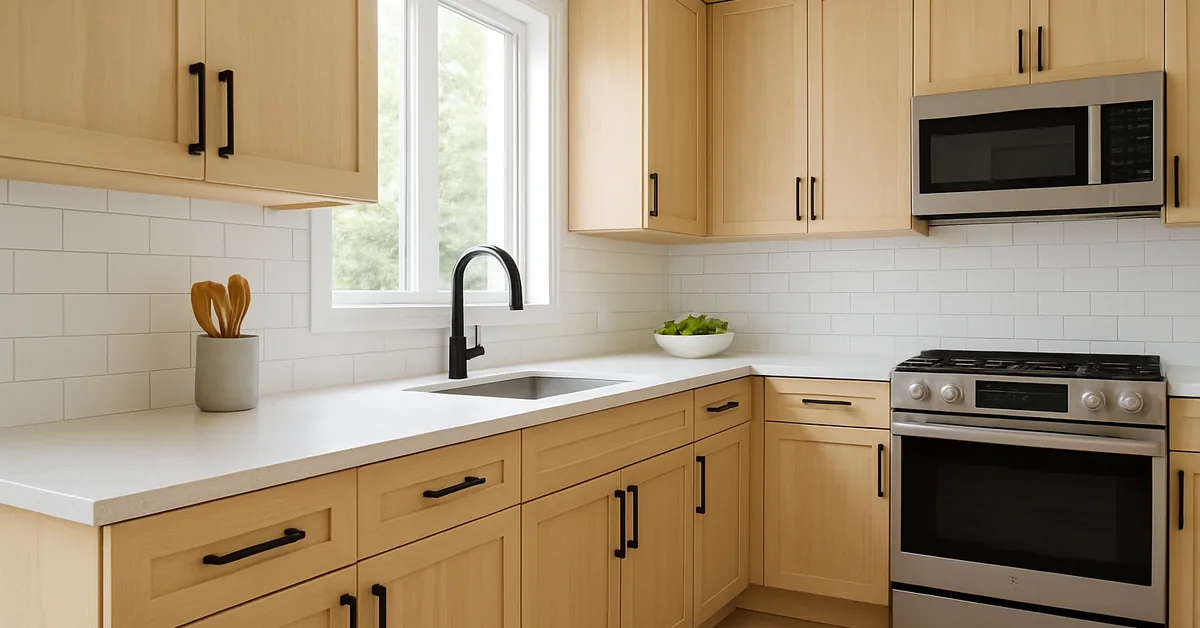
Understanding Cabinet Door Types
Before you measure anything, identify which type of door you have — it changes where the handle looks and feels right.
- Standard Overlay Doors: These doors slightly overlap the cabinet frame, and the handle sits directly on the door face, offset toward the opening edge.
- Inset Doors: These doors sit flush within the cabinet frame. Handle placement follows the same rules, but because there’s no overlap to hide slight misalignment, precise marking matters even more.
- Drawer Fronts: Drawers are essentially shorter, wider doors, and their placement rules differ slightly from vertical doors — centered rather than corner-offset.
The Upper vs. Lower Cabinet Corner Rule
This is the rule most general placement guides skip, and it’s the difference between a kitchen that looks intentional and one that looks slightly off. Upper and lower cabinets use opposite corners for the handle, because each is built around how your hand reaches it.
| Cabinet Type | Handle Corner | Distance from Edges |
|---|---|---|
| Upper cabinet door | Bottom corner, opposite the hinges | 1 to 1.5″ from the side edge, 2.5 to 3″ up from the bottom edge |
| Lower/base cabinet door | Top corner, opposite the hinges | 1 to 1.5″ from the side edge, about 1.5 to 1.75″ down from the top edge |
| Drawer front | Centered, not cornered | Centered horizontally and vertically on the face |
The logic is simple once you see it: an upper cabinet handle near the bottom corner puts it at a comfortable downward reach; a lower cabinet handle near the top corner keeps your hand well clear of the countertop and your knuckles clear of the floor. Centering the handle on the whole door, which many people try first, works fine visually but ignores this reach logic entirely — it’s a legitimate style choice, just not the professional-installer default.
📊 Cabinet hardware placement guidance from the National Kitchen & Bath Association centers on ergonomics: hardware should sit where your hand naturally falls when reaching for the door, with clearance sized to the pull itself — which is exactly why the corner position changes between upper and lower cabinets instead of using one universal spot. Source: NKBA, Kitchen & Bath Planning Guidelines
Essential Tools You’ll Need
You don’t need a workshop full of tools for this — here’s what actually makes the job faster and more accurate:
- Measuring Tape: For precise measurements.
- Pencil: A light touch marks your spot without denting the finish.
- Level: Keeps marks straight, especially across multiple doors.
- Drill with Drill Bits: The correct size bit is crucial for a clean hole.
- Screwdriver: To attach the handles once drilled.
- Hardware Jig or Template: The single biggest time-saver for multiple doors — see our pick below.
- Painter’s Tape: Protects the finish and gives you a clean marking surface.
Best Cabinet Hardware Jig Pick
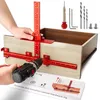
Aluminum Cabinet Hardware Jig for Handles – $34.99
Keeps every hole at the exact same corner offset this guide recommends, door after door — the same consistency check professional installers use.
- Best for: Full kitchens with many doors and drawers to match
- Why we picked it: All-aluminum body holds its shape under repeated use, unlike flexible plastic templates
- Main drawback: Pricier than a basic template if you’re only doing a handful of doors
Compare more hardware jigs and templates
 Option 1 Drill Mounting Template – $8.49
|
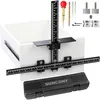 Option 2 SUNCONY Adjustable Drill Guide – $42.98
|
 Option 3 Jig with Center Punch – $9.99
|
As an Amazon Associate we earn from qualifying purchases.
The Golden Rules for Handle Placement
These starting points cover most kitchens; the corner rule above covers the rest.
- For Cabinet Doors: Corner-offset (per the upper/lower rule above) is the professional default. Dead-center on the door is a valid style choice for a more traditional look.
- For Drawer Fronts: Centered both horizontally and vertically on the drawer face.
Step-by-Step Guide: Placing Handles on Cabinet Doors
Follow these steps for accurate, professional-looking handle placement.
Step 1: Choose Your Handle Placement Style
Decide between the corner-offset professional default or a centered, classic look. Whichever you choose, use it on every matching door for consistency.
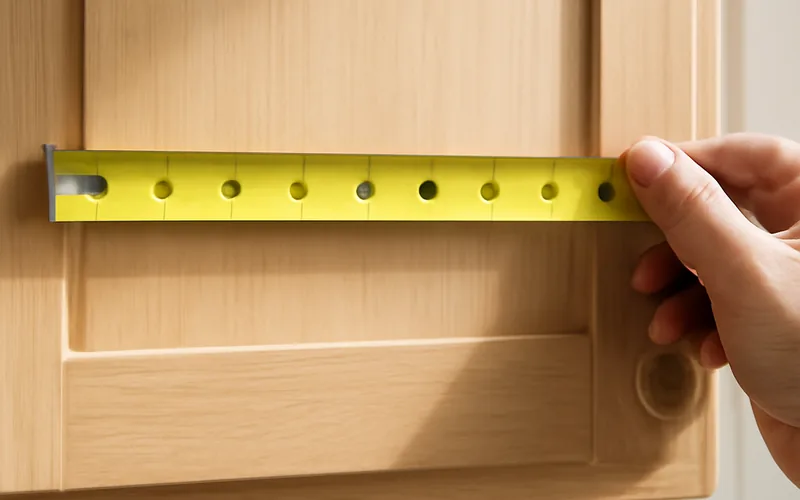
Step 2: Measure and Mark the Horizontal Position
Close the cabinet door. For corner-offset placement, measure 1 to 1.5 inches in from the side edge opposite the hinges. For centered placement, measure the door’s full width and divide by two.
Example: On an 18-inch-wide door, centered placement marks 9 inches from each side; corner-offset marks 1 to 1.5 inches from the non-hinge edge.
Step 3: Measure and Mark the Vertical Position
For an upper cabinet, measure up 2.5 to 3 inches from the bottom edge. For a lower cabinet, measure down 1.5 to 1.75 inches from the top edge. For centered placement on either, divide the door’s height by two instead.
Example: On a 30-inch-tall upper door, corner-offset placement marks 2.5 to 3 inches up from the bottom; centered placement marks 15 inches from top and bottom.
Step 4: Mark the Screw Hole(s)
Hold the handle against your marked spot. A single-hole knob just needs that one mark; a two-hole handle needs its screw spacing measured and transferred as a second mark, level with the first. This is exactly where a hardware jig or template saves the most time — align it to your corner or center mark, tape it down, and mark both holes through it at once.
Step 5: Drill the Holes
Use a bit the same size as, or slightly smaller than, your handle’s screws — too large and the screw won’t have enough material to grip. Drill straight through the marked spot. If you’re worried about splintering the back face, drill partway from the front, flip the door, and finish from the back to meet the first hole.
Safety first: wear safety glasses to keep dust and debris out of your eyes.
Step 6: Attach the Handle
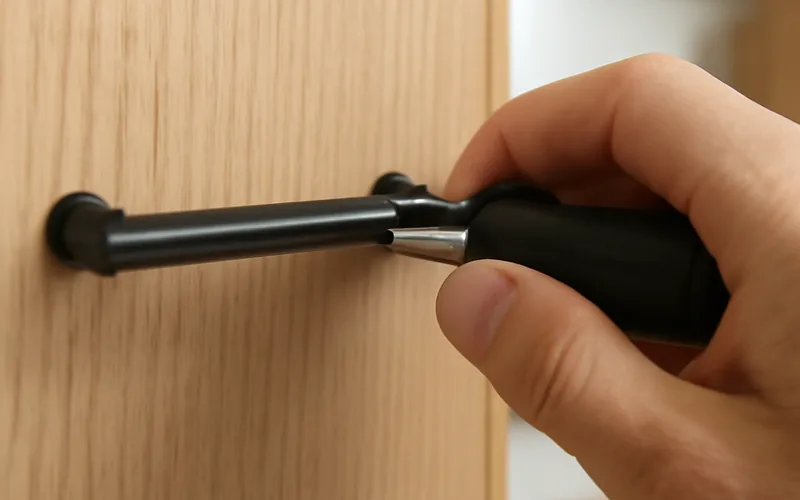
Align the handle with the drilled holes and insert screws from the inside of the door, tightening into the handle from the outside. Don’t overtighten — that’s how you strip the screw or crack the cabinet finish.
Step 7: Repeat for All Doors and Drawers
Use the same method and measurements on every matching door and drawer. For drawers, center the handle both horizontally and vertically on the face. On a long drawer, consider two handles placed symmetrically instead of one centered handle.
Placement Guide: Cabinet Doors vs. Drawers
| Cabinet Part | Horizontal Placement | Vertical Placement | Common Styles |
|---|---|---|---|
| Upper Cabinet Door | 1-1.5″ from side edge (opposite hinges) OR centered | 2.5-3″ up from bottom edge | Single handle, corner-offset or centered |
| Lower/Base Cabinet Door | 1-1.5″ from side edge (opposite hinges) OR centered | 1.5-1.75″ down from top edge | Single handle, corner-offset or centered |
| Drawer Front | Center of width | Center of height | Single centered handle; two for wide drawers |
| Tall Pantry Door | 1-1.5″ from side edge OR centered | 1/3 down from top for easier reach, or centered | Single handle |
Tips for Different Cabinet Styles
Tall Pantry Doors
On a very tall pantry door, the strict corner rule can put the handle too high for shorter household members. Placing it about one-third of the way down from the top keeps the look balanced while improving reach.
Wide Drawers
Amerock’s own installation guidance for oversized drawers is specific: for drawer fronts wider than 18 inches, use two handles rather than one, each placed roughly one-third of the way in from its side edge — not centered as a pair, and not pushed all the way to the corners.
“For cabinet drawers, knobs are typically centered, but for oversized drawers more than 18 inches wide, use two knobs, placing each knob 1/3 distance from the edge of the drawer.”
Shaker Style vs. Flat Panel
Door style doesn’t change the placement math, but it does change the look. On Shaker doors with a raised center panel, keep the handle on the flat panel rather than the frame. On flat-panel doors you have more visual freedom for either centered or corner-offset placement.
The Impact of Handle Style on Placement
The hardware style you choose subtly changes placement decisions too.
- Knobs: The simplest option — a single point, typically at the same corner or center position as a bar handle would use.
- Bar Pulls: Versatile and the most common choice for the corner-offset rule; their length means precise, level alignment matters more than with a knob.
- Cup Pulls: Common on drawers, usually centered horizontally and vertically on the face.
- Edge Pulls: Mounted on the top or side edge itself rather than the face, requiring a measurement approach focused on the edge profile rather than the door surface.
For a cohesive kitchen, use hardware with a consistent visual weight and finish throughout, and apply the same placement rule to every piece of that style.
Common Mistakes to Avoid
- Mixing up the corner: Putting an upper-cabinet handle near the top or a lower-cabinet handle near the bottom defeats the reach logic the whole rule is based on.
- Not measuring twice: Measure, mark, measure again, then drill.
- Wrong-size drill bit: Too big and the screw won’t hold; too small and it won’t seat.
- Skipping the level: Especially on multi-hole handles, an unlevel mark shows immediately once installed.
- Overtightening screws: Damages the cabinet material or strips the handle’s threads.
Securing Your Hardware: A Note on Screws
Most handles ship with screws sized for standard 3/4-inch door stock. If your doors are thicker or thinner, the stock screws may poke through the back or fail to bite. Test the screw length against your actual door thickness before drilling every hole; longer or shorter replacements are inexpensive at any hardware store.
Maintaining Consistency Across Your Kitchen
Once you settle on corner-offset or centered for one door, use that same rule on every matching door in the kitchen — all upper doors together, all lower doors together, all drawers centered. A narrow door next to a wide one may need a slightly adjusted distance from the edge to look balanced, but the underlying rule should stay the same throughout.
Frequently Asked Questions
What Is the Standard Height for Cabinet Handles?
There isn’t one universal height because it depends on the cabinet type. Upper cabinet handles sit 2.5 to 3 inches up from the bottom edge of the door; lower cabinet handles sit 1.5 to 1.75 inches down from the top edge. Drawers are centered vertically on the face instead of using a fixed measurement.
What Handle Size Is Recommended for Cabinet Doors by Door Height?
As a rough guide, a 3 to 4 inch pull suits doors under 24 inches tall, 4 to 6 inches suits standard 24-36 inch doors, and 6 to 12 inch pulls suit tall pantry doors, since a longer pull is easier to grip from a distance. Style preference matters as much as door height here — there’s no code requirement behind these numbers.
Should I Put Handles on Every Cabinet Door?
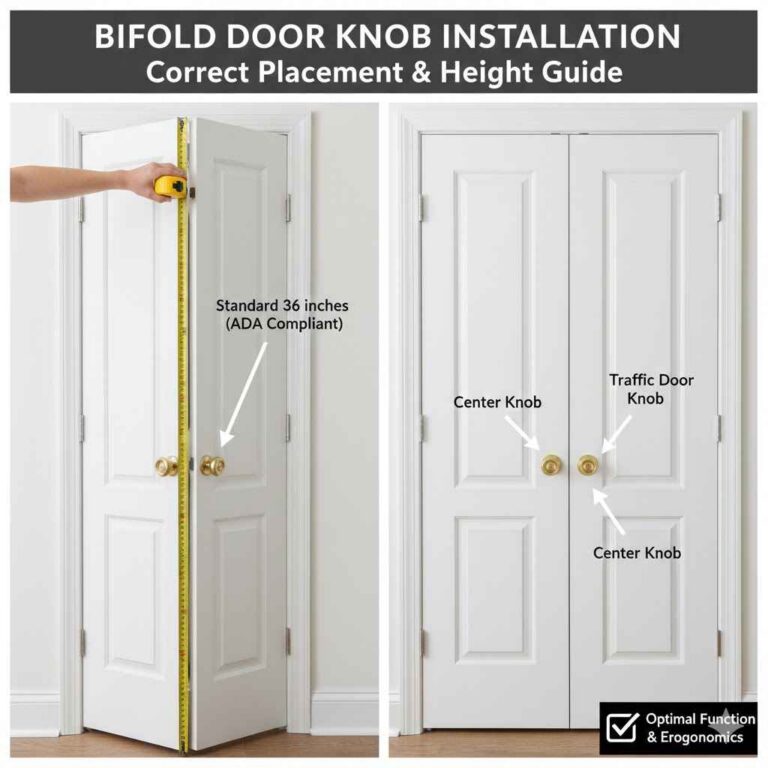
That’s a design choice. Many kitchens use handles on every door and drawer for a unified, easy-grip look; others mix knobs and handles, or skip hardware on certain door styles like bifolds entirely for a minimalist finish. If you mix styles, keep the placement rule consistent across whichever doors get hardware.
How Far From the Edge Should Cabinet Handles Be Placed?
For corner-offset placement, 1 to 1.5 inches from the side edge is standard, on the side opposite the door’s hinges. Keep this distance identical on every matching door so the kitchen reads as intentional rather than approximate.
Do Cabinet Handles or Cabinet Knobs Use a Different Placement Rule?
The corner logic is the same, but knobs are a single point rather than a two-screw span, so they’re more forgiving of small measurement errors. If your hardware is round knobs rather than bar handles, our cabinet knob placement guide covers the knob-specific spacing in more depth.
Can I Put Handles on Glass-Front Cabinets?
Yes. Use a bit rated for glass, drill slowly, and use a template to avoid slipping, since glass won’t forgive a wandering pencil mark the way wood does. Some installers use adhesive-mounted hardware on glass fronts specifically to avoid drilling altogether.
Conclusion
Getting cabinet handle placement right comes down to one rule most guides skip: upper cabinets take the handle near the bottom corner, lower cabinets take it near the top corner, both about 1 to 1.5 inches from the side edge opposite the hinges. Measure twice, use a jig or template for repeatable holes across multiple doors, and keep the same rule consistent throughout the kitchen. If your hardware is round knobs instead of bar handles, see our knob placement guide for the knob-specific version of these rules, and visit our Door Hardware & Locks hub for more cabinet and door hardware guides.
Sponsored / affiliate links. As an Amazon Associate I earn from qualifying purchases. I may earn additional commission from eligible campaigns.