How Long Does Wood Take To Dry After Cutting? Full Guide
Wood is like a sponge. When it’s cut, it holds a lot of water. This water is called moisture.
To use wood for projects, this moisture needs to go down. Drying wood means letting this water escape. The amount of time this takes is different for every piece of wood.
It depends on many things.
Think about a wet towel. If you hang it in a breezy, sunny spot, it dries fast. If you leave it in a damp closet, it takes much longer.
Wood works the same way. We need to understand the basics of how wood dries.
Wood moisture content is measured as a percentage. Green wood, fresh from a tree, can have 50% or more moisture. For most indoor projects, wood should be around 6% to 8% moisture.
For outdoor projects, maybe 12% to 15% is fine. Getting the moisture just right is crucial.
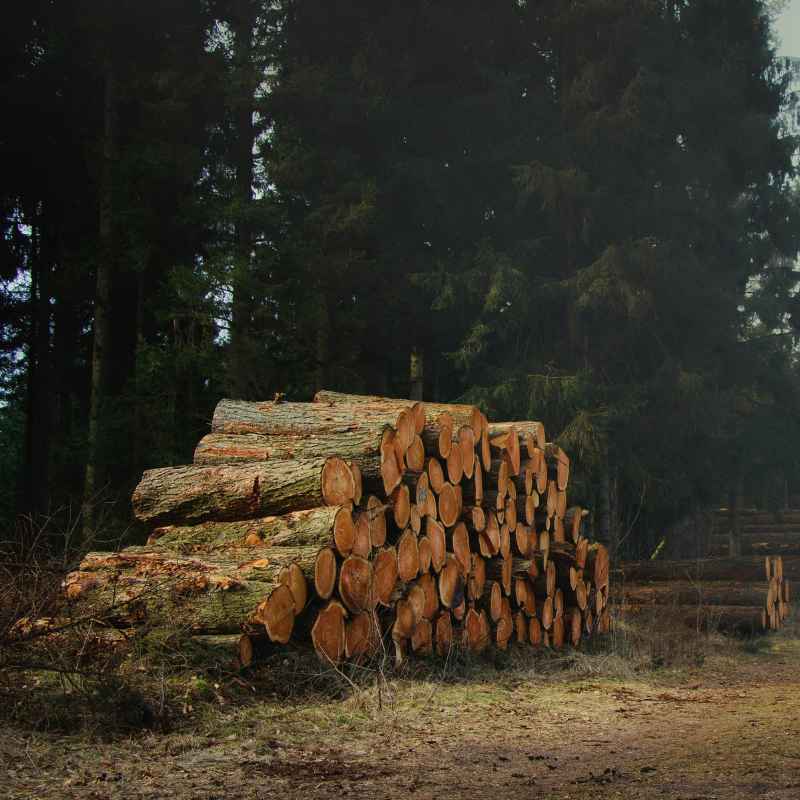
The process of drying wood is called seasoning. This can happen in a few ways. Air drying is one.
Kiln drying is another. Both take time. The question really is, how much time?
Let’s break down what makes it take so long.
My First Woodworking Disaster: The Warped Table
I remember my first big project. I wanted to build a simple coffee table. I found some great oak boards.
They looked perfect. I rushed through the building process. I didn’t really think about how wet the wood was.
I just wanted to see my table come to life. I glued the pieces. I sanded them smooth.
I applied a lovely finish.
Then, it happened. A few days later, I noticed a slight twist. The tabletop wasn’t flat anymore.
It was slightly cupped. Panic set in. My beautiful table was warped!
I had learned a hard lesson that day. Wood needs to dry properly before you use it. Skipping this step can ruin your hard work.
It was a costly mistake in terms of time and materials. That warped table still sits in my garage, a reminder to always respect the drying process.
Wood Drying: Key Factors at a Glance
Wood Type: Some woods dry faster than others.
Wood Thickness: Thicker boards take much longer.
Moisture Level: How wet is the wood initially?
Drying Method: Air drying or kiln drying?
Environment: Temperature, humidity, and airflow matter most.
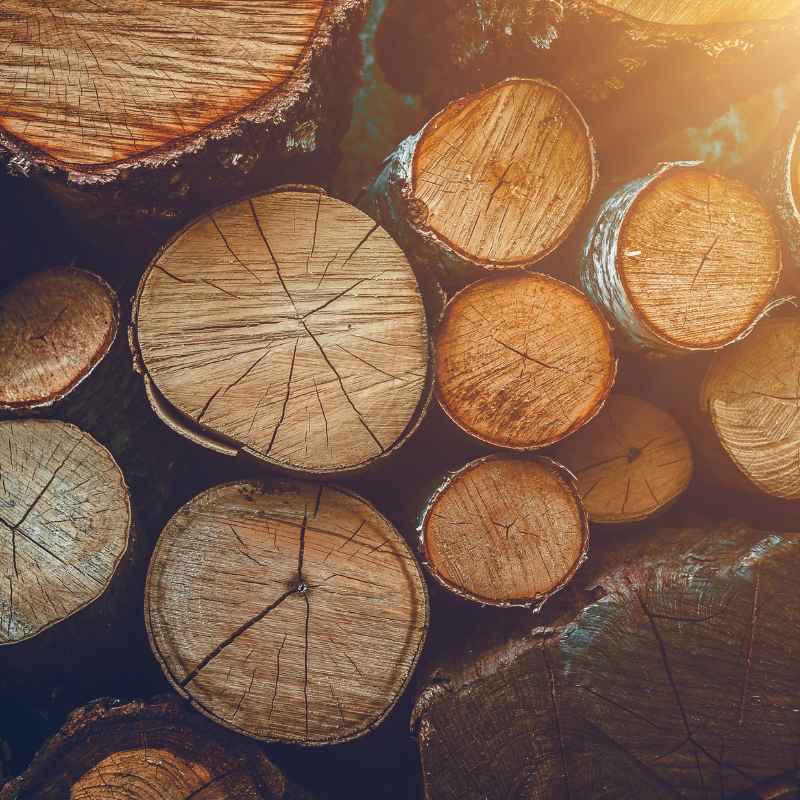
The Science Behind Wood Drying
Wood dries because water moves from the inside out. Water is held in wood in two ways. There’s “free water” in the cell cavities.
There’s also “bound water” within the cell walls. As wood dries, free water leaves first. Then, bound water starts to evaporate.
This movement of water is not always even. It depends on the wood’s structure. Some parts might dry faster than others.
This uneven drying is what can cause problems like cracking and warping. The goal of good drying is to keep this movement as slow and even as possible.
When wood reaches a point called the “fiber saturation point,” all the free water is gone. This is usually around 25% to 30% moisture content. Below this point, as bound water leaves, the wood starts to shrink.
This shrinkage is natural. But if it happens too fast, it stresses the wood.
So, how long does it take? This is where the variables come in. Let’s look at the main ones.
How Long Does Wood Take to Dry? The Big Picture
There’s no single answer. It’s not like saying “a gallon of milk costs $4.” Wood drying time is a spectrum. For a thin board, it might be weeks.
For a massive log, it could be years.
As a general rule of thumb, for air drying, you can expect about one year for every inch of thickness. So, a 1-inch thick board might take one year to dry to a usable level. A 2-inch thick board could take two years.
This is a very rough estimate. It changes based on everything else we will discuss.
Kiln drying is much faster. A modern lumber kiln can dry wood in days or weeks. This is because the temperature and humidity are carefully controlled.
This method is often preferred for furniture-grade lumber. It’s quicker and more predictable.
But many hobbyists and some professionals still use air drying. It’s more natural and requires less specialized equipment. It just requires patience.
Lots and lots of patience.
Speeding Up Drying: Kiln vs. Air
Kiln Drying:
- Fast (days to weeks).
- Controlled environment.
- Higher cost.
- Less risk of decay or insect damage during drying.
Air Drying:
- Slow (months to years).
- Natural process.
- Lower cost.
- Requires good weather and protection from elements.
Factors That Speed Up or Slow Down Drying
Let’s get into the details. What influences this drying time? Why would one piece of oak take longer than another?
Wood Species Matters
Different types of wood have different densities and cell structures. This affects how easily water can move through them. Softwoods like pine and fir tend to dry faster than hardwoods like oak and maple.
For example, a 1-inch pine board might be ready in a few months of air drying. A 1-inch oak board could take a full year or more. This is because oak has tighter, more complex cell structures.
It holds onto its water more stubbornly.
Thickness is a Major Player
This is a big one. The thicker the board, the longer it takes. Water has to travel a longer distance from the core to the surface to escape.
A thin veneer (like 1/16 inch) can dry in hours. A 1-inch board takes months or a year. A 4-inch thick beam?
It could take four years or more to dry properly via air drying. Imagine trying to dry a huge, thick log. It’s like trying to dry a brick through its center.
Initial Moisture Content
If the wood is already somewhat dry when you cut it, it will take less time to season. Green wood, straight from a living tree, has the most water. Wood that has been sitting for a while, even if still considered green, will have less water.
So, if you cut lumber from a recently felled tree, expect a longer drying period. If you get lumber from a yard that’s already seasoned for a bit, it’s a head start.
Environmental Conditions
This is huge for air drying. The conditions around the wood make a massive difference.
Temperature: Warmer air can hold more moisture and promotes faster evaporation. But too much heat, especially too fast, can cause drying defects. Think of a very hot, dry desert wind.
It can dry out the surface too quickly, leading to cracking.
Humidity: Low humidity is best for drying. High humidity means the air is already full of water. It can’t easily absorb more from the wood.
If the air is 90% humid, wood will dry very slowly. If it’s 40% humid, it will dry much faster.
Airflow: Good air circulation is essential. It carries away the moist air that forms around the wood. This allows fresh, drier air to reach the wood surface.
Without airflow, the wood can sit in its own damp microclimate, slowing down drying dramatically. This is why stacking wood properly is so important.
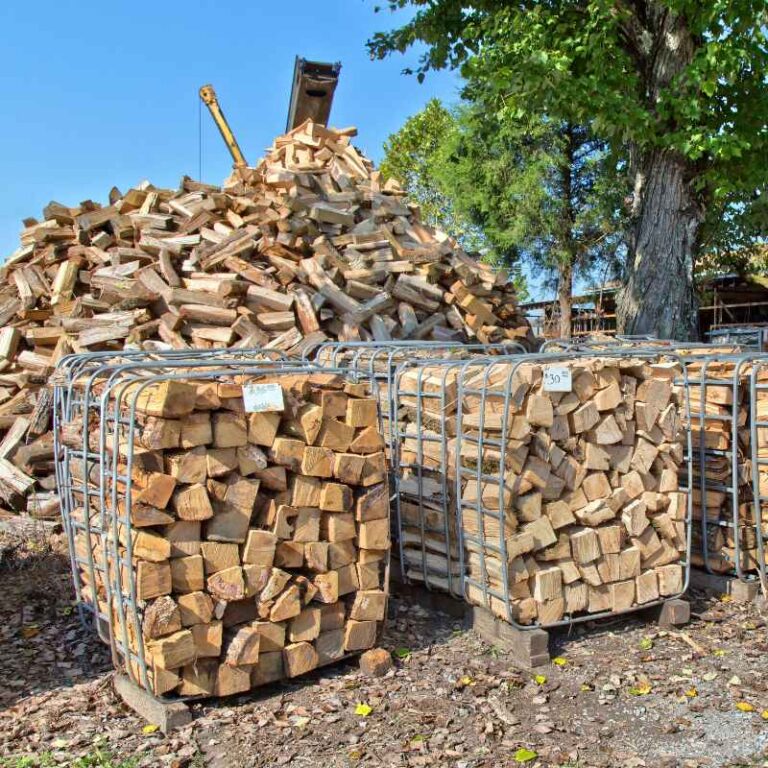
How the Wood is Stacked and Stored
This ties into airflow. For air drying, wood is typically stacked in a lumber pile. Boards are laid flat, one on top of another.
Crucially, small blocks called “stickers” are placed between layers. These stickers are usually 1 inch thick or so.
These stickers create air gaps. These gaps allow air to circulate freely between the boards. Without stickers, the boards would sit flat against each other.
Moisture would get trapped. Drying would be uneven. You’d likely end up with mold and rot.
The lumber pile should also be elevated off the ground. This keeps the bottom boards from absorbing ground moisture. It also helps with airflow from underneath.
The pile should be located in a spot with good sun exposure and prevailing winds, but also protected from direct, heavy rain.
Air Drying Stack: Good vs. Bad
Good Stack:
- Elevated off the ground.
- Boards spaced with 1-inch stickers.
- Stickers aligned vertically.
- Located in an open, breezy area.
- Protected from direct rain with a roof.
Bad Stack:
- Directly on the ground.
- No stickers or stickers too thin/misaligned.
- Boards touching tightly.
- In a damp, shaded, or enclosed space.
- Exposed to rain.
Air Drying vs. Kiln Drying: Which is Best?
Both methods have their pros and cons. The “best” method depends on your needs, budget, and timeline.
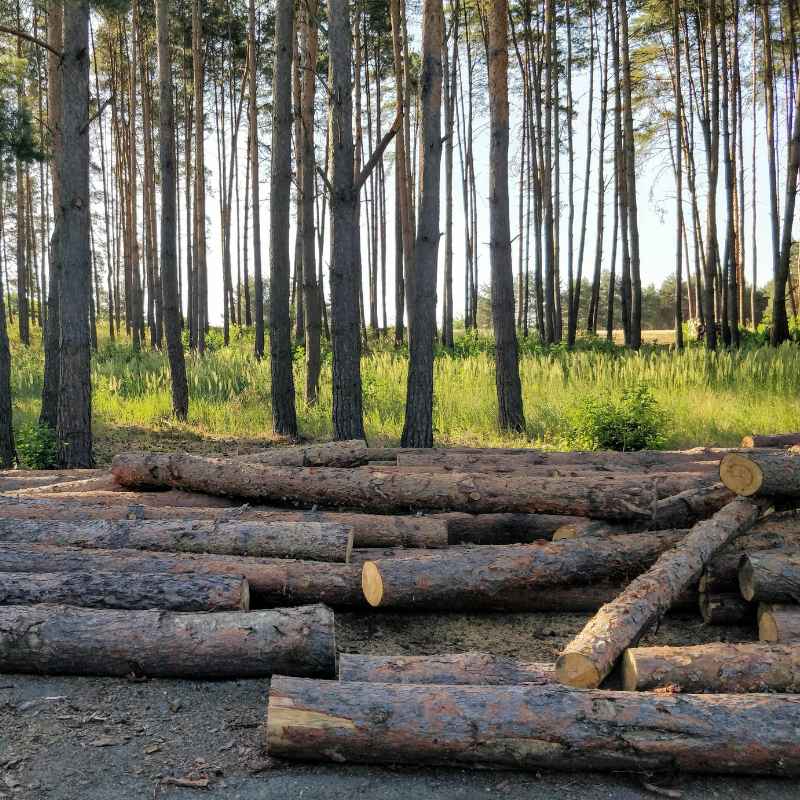
Air Drying Explained
Air drying is the traditional method. You stack the lumber outdoors or in a well-ventilated shed. The wood dries naturally from exposure to the surrounding air.
It’s a slow process. For thick hardwoods, it can take several years to reach a moisture content of around 12-18%.
The main advantage is cost. Once you have a place to stack and a few stickers, it’s mostly free. It’s also gentler on the wood.
The slow drying process minimizes internal stresses. This can lead to wood that is less prone to warping or cracking later on.
However, air-dried wood will never get as dry as kiln-dried wood. For many applications, especially furniture that needs to be stable indoors, 12-18% moisture is still too high. Wood will continue to dry and shrink indoors.
This can cause joints to open or finishes to crack.
Also, air drying takes a very long time. You need to plan well in advance. There’s also a risk of decay, mold, and insect infestation, especially if the wood isn’t stacked properly or the weather is consistently damp.
Kiln Drying Explained
Kiln drying uses a controlled environment. A lumber kiln is like a big oven. It uses heat and fans to rapidly remove moisture from the wood.
The temperature and humidity are carefully managed. This allows for faster, more uniform drying.
The biggest advantage of kiln drying is speed. Lumber can be dried to a specific moisture content (often 6-8% for hardwoods) in a matter of days or weeks, depending on the wood and kiln type. This makes it ideal for commercial lumber yards and manufacturers who need materials ready quickly.
Kiln drying also kills insects and their eggs. It can also help set the wood’s color. The controlled process reduces the risk of mold and decay during drying.
The downside is cost. Kilns are expensive to build and operate. This cost is passed on to the consumer.
It’s usually not practical for a home woodworker to own a large lumber kiln. Some small, portable kilns exist, but they are still a significant investment.
Also, if not done correctly, kiln drying can be too aggressive. It can dry the surface too quickly, causing case hardening. This is where the outer layer becomes dry and hard, trapping moisture inside.
This can lead to problems later when the wood is worked.
Moisture Content Goals: What’s Low Enough?
Green Wood: 50%+ (Freshly cut)
Air Dried Wood (Outdoor Use): 12%-18% (Still has some moisture)
Kiln Dried Wood (Indoor Furniture): 6%-8% (Stable for indoor environments)
Building Framing (Softwoods): 19% or less (Meets building codes)
How to Measure Wood Moisture Content
You can’t always tell how dry wood is just by looking or feeling it. You need a tool. The most common tool for this is a moisture meter.
These meters are relatively inexpensive and easy to use.
There are two main types:
- Pin Meters: These have two pins that you push into the wood. The pins measure the electrical resistance between them. Water conducts electricity. So, less resistance means more moisture. These are usually the most affordable.
- Pinless Meters: These use radio waves to measure moisture content. You hold the meter against the surface. They are generally more expensive but don’t leave small holes in the wood. They are also better for checking surface moisture or for very thin materials.
To get an accurate reading, take several measurements from different spots on the board, both at the surface and a bit deeper if possible. For thicker boards, test near the center as well. Remember that moisture content will vary across the wood’s thickness and width.
If you are air drying, you will check the wood periodically. When it reaches your target moisture content (e.g., below 15% for indoor use, though still not ideal), you can bring it inside to continue acclimating. Let it sit in your workshop for a week or two before using it for precise joinery.
Real-World Scenarios and Drying Times
Let’s paint a picture with some examples. Imagine you’re building a fence. You buy pressure-treated pine boards.
Scenario 1: Building a Fence
Pressure-treated lumber often comes quite wet. It’s treated with chemicals in a process that often saturates the wood. For a fence, you don’t need super-dry wood.
You might be able to start building as soon as the surface feels dry to the touch. However, if you want to stain or paint it right away, you’ll need to let it dry for a while.
A 2×4 pine board, if air-dried in good weather, might be usable for structural purposes within a few weeks to a month. To paint or stain, you’d want it down to around 15-18%. This could take 2-3 months of air drying.
If you were to build with it while it’s still very wet, you might notice issues later. The boards could shrink and warp. This can lead to gaps in your fence or loose pickets.
Scenario 2: Crafting Fine Furniture
Now, imagine you’re building an heirloom dining table out of solid cherry. This requires precision. The wood needs to be very stable.
You’ll want kiln-dried cherry, typically around 6-8% moisture content. If you buy cherry that’s only air-dried, it might be 15% or higher. You would then need to bring that wood into your heated workshop and let it acclimate for at least a couple of weeks, ideally longer, before starting any joinery.
During this time, the wood will continue to dry and shrink.
If you skipped this and used 15% moisture wood in a 40% humidity shop, you would see significant shrinkage. Drawer fronts might not fit. Tabletops could split.
Scenario 3: Making Small Wooden Toys
For smaller items like wooden toys, you might use thinner pieces of wood, perhaps 1/2 inch or 3/4 inch thick. If you are air drying these pieces, they will dry much faster than thicker boards.
A 3/4 inch pine board might be ready for finishing in 2-3 months of good air drying. A 1/2 inch board might be ready in 6-8 weeks. You’d still want to use a moisture meter to confirm it’s below 10% for good stability with finishes.
The key is always to let the wood reach a moisture level suitable for its intended environment. Indoor, climate-controlled spaces need drier wood than outdoor, exposed environments.
Drying Time Examples (Rough Estimates for Air Drying 1-inch thick wood)
Softwoods (Pine, Fir): 4-8 months
Medium Hardwoods (Maple, Cherry): 8-18 months
Dense Hardwoods (Oak, Walnut): 12-24+ months
Note: These are estimates. Actual times vary greatly.
What This Means for You: Practical Implications
So, what’s the takeaway? Why should you care about wood drying time?
When Drying Time is “Normal”
It’s normal for wood to take a long time to dry. Especially if you are air drying thicker hardwood pieces. Patience is part of working with wood.
It’s also normal for wood to continue to change slightly after you bring it inside. Even kiln-dried wood will adjust to your home’s humidity level. That’s why it’s best to let lumber sit in your workshop for a while before you make precise cuts or joinery.
When to Worry About Your Wood
You should worry if your wood shows signs of mold or rot during the drying process. This usually means there isn’t enough airflow or the environment is too damp. You might need to move the stack, add more stickers, or cover it better.
Cracks or significant checks (splits) on the ends or faces of the wood are also signs that it might be drying too quickly. You can often mitigate end checks by sealing the ends of the boards with wax or paint while they are drying.
If you build something and it starts to warp, twist, or split weeks or months later, it’s a strong indicator that the wood wasn’t dry enough when you used it. This is where the frustration really sets in.
Simple Checks You Can Do
The simplest check is using a moisture meter. If you don’t have one, you can do a rough test. Take a small sample piece of the wood you are drying.
Dry it thoroughly in a very low oven (around 120°F or 50°C) until it stops losing weight. Weigh it before and after drying.
Then, weigh your main piece of lumber. Use the weight difference and the sample’s dry weight to calculate the moisture content. This is tedious but works in a pinch.
Also, pay attention to the feel and sound. Drier wood often feels lighter. When you tap it, it might sound more hollow than very wet wood.
Tips for Effective Wood Drying
If you are planning to air dry your own lumber, keep these tips in mind:
- Stack It Right: Use plenty of stickers. Keep them aligned. Make sure they are about 1 inch thick. Elevate your stack off the ground.
- Choose a Good Spot: Find a place with good airflow. It should get sun but be protected from direct rain. Avoid damp, shady areas.
- Protect from Rain: Build a simple roof over your lumber pile. This is crucial. Standing water on the wood can cause serious problems.
- Seal the Ends: Wood dries fastest at the ends. This leads to cracking. Paint or wax the ends of your boards to slow down drying there.
- Be Patient: This is the most important tip. Don’t rush the process. Measure the moisture content regularly. Wait until it’s at the right level for your project.
- Acclimate Indoors: Once your wood is dried to a reasonable level (say, 15-18% for indoor use), bring it into your workshop for a week or two. Let it adjust to your indoor humidity before you start cutting and assembling.
Frequently Asked Questions About Wood Drying
How long does it take for 1-inch thick wood to dry?
For 1-inch thick wood, air drying can take anywhere from 4 months for fast-drying softwoods like pine to over 12 months for dense hardwoods like oak. Kiln drying can reduce this to days or weeks.
Can I use wood that is still a little wet?
It depends on the project. For outdoor uses like fencing or rough framing where some movement is acceptable, slightly wet wood might be okay. For fine furniture, cabinetry, or anything requiring tight joints and stable finishes, you must use dry wood.
Using wet wood for precise projects will lead to warping, cracking, and gaps as it dries and shrinks.
What is the fastest way to dry wood?
The fastest way to dry wood is kiln drying in a properly controlled lumber kiln. This process is designed to remove moisture quickly and efficiently. However, it requires specialized equipment and is more expensive than air drying.
How do I know when my wood is dry enough?
The best way to know is to use a moisture meter. For indoor projects, aim for 6-8% moisture content. For outdoor projects, 12-18% might be sufficient.
Always check multiple spots on the board.
Will wood continue to dry indoors?
Yes, wood will continue to dry indoors and adjust to the ambient humidity of your home or workshop. This is why acclimating wood indoors for a period before use is recommended, even if it has been kiln-dried. Indoor environments are usually much drier than outdoor air.
What is “case hardening” in wood?
Case hardening happens when wood dries too quickly on the surface. The outer shell becomes dry and hard, trapping moisture inside. This creates tension in the wood.
If the wood is later dried further or worked aggressively, it can develop cracks or warp severely.
Conclusion
So, how long does wood take to dry after cutting? The answer is a journey, not a destination. It’s a process governed by nature and your choices.
Patience, proper stacking, and understanding the environmental factors are your greatest allies.
Whether you’re air drying for a year or kiln drying for a week, the goal is the same: stable, usable wood. Respecting the drying time prevents future headaches and leads to better, more beautiful results. Happy building!