How Many Coats Of Polyurethane Does A Hardwood Floor Need?
It’s a question that pops up when you’re staring at a newly sanded hardwood floor, ready to protect your investment. You’ve heard about polyurethane, the go-to finish for wood. But how much is enough?
Too little, and you risk damage. Too much, and it can look… well, thick. Let’s figure out the sweet spot together.
Most hardwood floors need between 2 to 4 coats of polyurethane. The exact number depends on the type of finish used, the amount of foot traffic the floor will get, and the specific wood species. A higher traffic area or softer wood might need an extra coat for better durability.
Understanding Polyurethane for Your Floors
Polyurethane is a liquid coating. It dries into a hard, protective layer. This layer shields your wood floor from spills, scratches, and everyday wear.
It comes in two main types: oil-based and water-based. Each has its own pros and cons.
Oil-based polyurethane is tough. It gives a warm, amber glow to the wood. It’s also very durable.
However, it has a strong smell. It also takes longer to dry between coats. Water-based polyurethane dries faster.
It’s clearer and doesn’t have a strong odor. It’s generally less durable than oil-based, but modern formulas are very good.
The number of coats you apply matters a lot. It directly affects how well the floor holds up. It also influences how the floor looks.
Think of it like painting a wall. One coat might cover, but two or three give it depth and last longer. For floors, this protection is even more critical.
Applying polyurethane is a process. It requires patience. Each coat needs time to dry and cure.
Rushing this step can lead to problems. You might get peeling or chipping later on. Knowing the right number of coats is key to a beautiful, long-lasting floor finish.
My Own Floor Finishing Fiasco
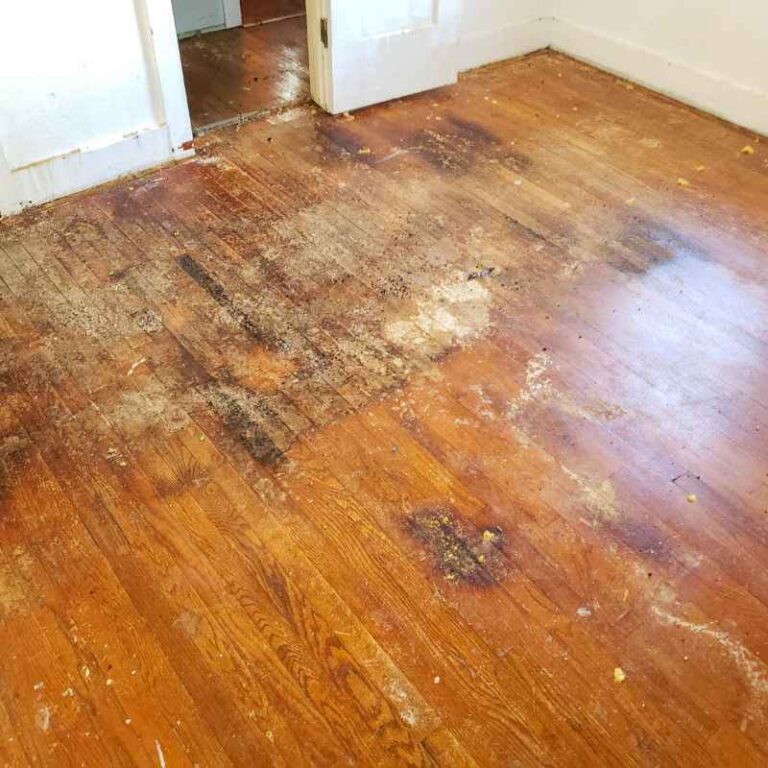
I remember the first time I decided to refinish my own living room floor. It was a beautiful oak. The old finish was dull and scratched.
I watched a bunch of videos. I read a few articles. I thought, “How hard can it be?” I sanded it down.
It looked amazing, all raw and ready for its new coat of life. I bought what I thought was the best polyurethane. The can said “Durable Finish.” I felt pretty confident.
I brushed on the first coat. It looked okay. Then I brushed on the second coat.
I thought, “More is better, right?” I added a third coat the next day. Then, feeling a bit too proud of myself, I added a fourth just to be sure. I let it cure for what felt like forever.
When I finally moved the furniture back, I was so excited. But within a few weeks, I started noticing little nicks. Then came the scuffs.
Especially where my dog tends to play. I had put on too many coats, but maybe applied them too close together. Or maybe the quality wasn’t as top-notch as I thought.
It was a hard lesson. My floor looked worn faster than I expected. It taught me that the number of coats is just one piece of the puzzle.
But it’s a very important piece.
Understanding Wood Floor Traffic Types
High Traffic Areas: Think hallways, entryways, and main living spaces. These areas see constant footfalls. They need more protection.
Medium Traffic Areas: Dining rooms and family rooms might fall here. They get used a lot but not constantly.
Low Traffic Areas: Bedrooms and guest rooms usually get less foot traffic. They might need fewer coats.
Why the Number of Coats Really Matters
The number of polyurethane coats directly impacts how your floor performs. Each coat adds a layer of defense. More layers mean more strength against damage.
This is especially true for real-world use.
Consider the everyday things that happen to floors. You drop something. You slide a chair.
Your pet walks across it. Dirt and grit get tracked in. All these things can scratch or dent the wood.
A thin finish won’t protect the wood for long. It will wear away quickly.
A well-protected floor will look good for years. You won’t need to refinish it as often. This saves you time and money in the long run.
It’s about building a strong shield for your beautiful wood.
The type of polyurethane also plays a role. Some finishes are naturally tougher. Oil-based finishes tend to be thicker and more robust.
Water-based finishes have improved greatly. But they might still benefit from an extra coat for maximum wear resistance. So, the number of coats must be paired with the right product.
Also, think about the wood itself. Softer woods like pine or fir dent more easily. They need more protection than harder woods like oak or maple.
This means they might need an extra coat of polyurethane. This helps to compensate for the wood’s natural softness.
Factors That Influence Your Coat Count
Several things affect how many coats of polyurethane your hardwood floor needs. You can’t just pick a number out of the air. You need to look at your home and your lifestyle.
It’s about making an informed choice.
Foot Traffic: This is probably the biggest factor. How many people walk on the floor? Do you have kids or pets?
Do people often come inside with shoes on? High-traffic areas need more coats. Think hallways, living rooms, and kitchens.
Low-traffic areas, like guest bedrooms, might be fine with fewer coats.
Type of Polyurethane: As we discussed, oil-based and water-based finishes perform differently. Oil-based finishes are generally very strong. They might achieve great protection with 2-3 coats.
Water-based finishes often require more. You might need 3-4 coats of a good water-based product. Always check the manufacturer’s recommendations.
Wood Species: Some wood types are harder than others. Oak and maple are very hard. They stand up well to wear.
Pine and fir are softer. They scratch and dent more easily. Softer woods will benefit from extra coats of polyurethane.
This gives them a thicker protective layer.
Desired Sheen: The sheen (matte, satin, semi-gloss, gloss) can affect how wear shows. Glossier finishes tend to show scratches more. A higher sheen might mean you need more coats to maintain its look.
However, sheen doesn’t change the actual protective quality as much as the number of coats.
Previous Finishes: If you are recoating an already finished floor, the preparation is key. But the number of new coats needed still follows the same rules. If the floor is worn down to the bare wood, you start fresh.
Manufacturer’s Instructions: This is crucial. Always read the label on your polyurethane product. The maker knows their product best.
They will often suggest a specific number of coats for different applications. This is the best starting point.
Making sense of these factors helps you decide. It’s not a one-size-fits-all answer. It’s a tailored approach for your unique floor.
Oil-Based vs. Water-Based: Key Differences
How Many Coats for Different Areas?
Let’s break down how many coats you might need based on where the floor is.
Entryways and Hallways: These are the busiest spots. Dirt, grit, and moisture are tracked in constantly. For these areas, you’ll want at least 3 coats.
If you’re using a water-based product, 4 coats would be even better. This gives you the best possible protection against scuffs and wear.
Living Room and Family Room: These are also high-traffic zones. Kids play here. Furniture is moved.
Pets might spend time here. Aim for 3 coats of polyurethane. If you have a softer wood floor, or if you expect heavy use, consider a fourth coat.
This adds an extra layer of defense.
Kitchen: Kitchens are tricky. Spills are common. Food particles can fall.
It gets a lot of foot traffic. You need robust protection. 3-4 coats of polyurethane is a good rule of thumb.
Using a high-quality, durable product is especially important here.
Dining Room: Dining rooms can vary. If you eat there daily and move chairs often, it’s like a medium-to-high traffic area. 3 coats should be sufficient.
If it’s more for special occasions, 2-3 coats might do. But remember, chairs scraping can cause wear.
Bedrooms: Bedrooms typically see less traffic. People are often barefoot or in socks. If it’s a master bedroom with light use, 2 coats might be enough.
For children’s rooms, or if guests often sleep over, 3 coats would be a safer bet. It adds a little more durability for active play.
Stairs: Stairs are demanding. They see constant traffic in a concentrated area. Each step is a point of friction.
You should apply at least 3 coats, and 4 is highly recommended for stairs. This ensures they stand up to the repetitive stress.
These are general guidelines. Always consult the product you are using. The manufacturer’s advice is always the most reliable.
Quick Coat Guide
- Entryways/Hallways: 3-4 coats
- Living/Family Room: 3 coats (4 for heavy use/soft wood)
- Kitchen: 3-4 coats
- Dining Room: 2-3 coats (3 for high use)
- Bedrooms: 2-3 coats (3 for kids’ rooms)
- Stairs: 4 coats
The Application Process: More Than Just Coats
Applying polyurethane isn’t just about the number of cans you use. It’s about how you apply it. Proper technique ensures each coat does its job.
It also helps you get the best possible finish.
Preparation is Key: Before you even open the can, the floor must be perfectly clean. Any dust or debris will get trapped in the finish. This ruins the look and can create weak spots.
Sanding is important too. Make sure the surface is smooth. Any imperfections will show through the coats.
Stir, Don’t Shake: Polyurethane has ingredients that settle. You need to mix them back together. Stir the can gently.
Do not shake it. Shaking creates tiny air bubbles. These bubbles can end up in your finish.
They weaken the coat and make it look less smooth.
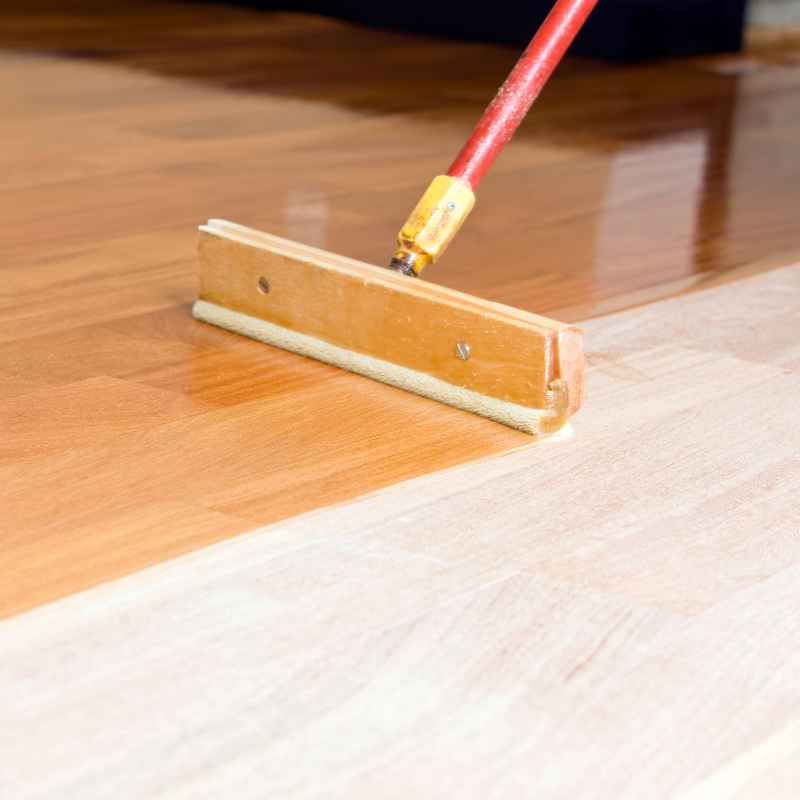
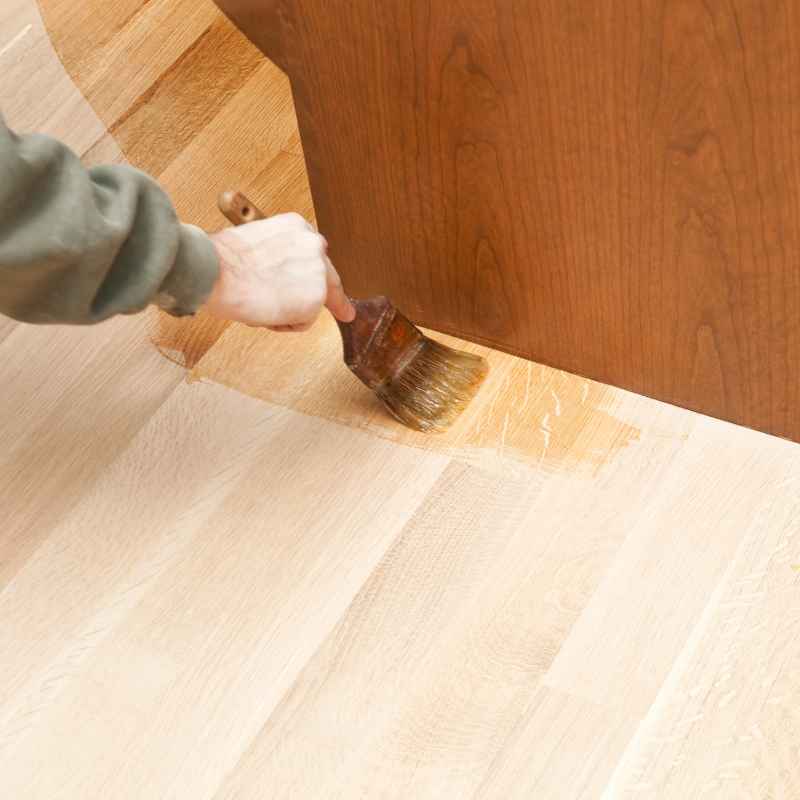
Use the Right Tools: A good quality brush or roller makes a big difference. For oil-based poly, a natural bristle brush works well. For water-based, a synthetic brush or a high-quality foam roller is best.
Use applicators designed for floor finishes. They help apply an even coat.
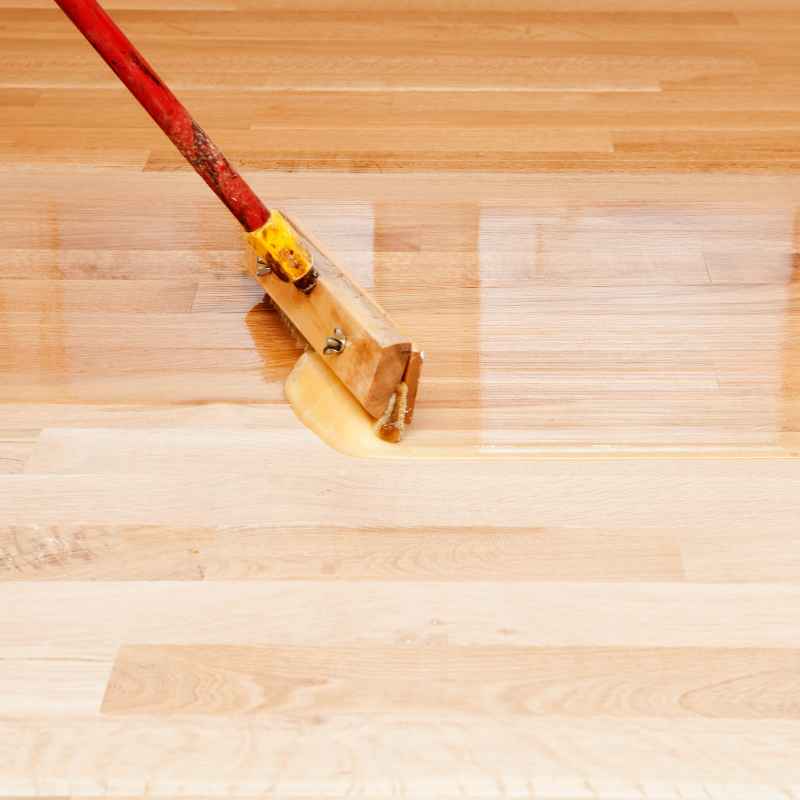
Apply Thin, Even Coats: It’s better to apply several thin coats than one thick one. Thick coats take longer to dry. They are more prone to drips and puddles.
Brush or roll in the direction of the wood grain. Apply just enough to cover the surface. Avoid puddling or heavy buildup.
Sand Lightly Between Coats: This step is often missed but very important. After a coat dries, lightly sand the surface. Use fine-grit sandpaper (like 220 grit).
This knocks down any small bumps or imperfections. It also helps the next coat adhere better. Wipe away all dust after sanding.
Allow Proper Drying Time: This is where patience really pays off. Read the product instructions for drying times. Oil-based poly takes much longer to dry than water-based.
Don’t rush. Walking on the floor too soon can cause dents or marks. Furniture placement needs to wait too.
Full cure can take weeks.
Following these application steps ensures each layer of polyurethane provides the maximum benefit. It’s about creating a strong, seamless shield over your wood.
Key Steps for a Great Finish
- Prep: Clean and smooth the floor perfectly.
- Mix: Stir polyurethane gently; don’t shake.
- Tools: Use quality brushes or rollers.
- Apply: Thin, even coats with the grain.
- Sand: Lightly between coats with fine sandpaper.
- Dry: Wait for full drying and curing times.
When Are 2 Coats Enough?
In most situations, 2 coats of polyurethane is the absolute minimum. You might consider 2 coats only for very specific scenarios. These include low-traffic areas.
Think of a seldom-used guest bedroom. Or perhaps a formal dining room that rarely gets used for meals.
It might also be sufficient if you’re using a very high-end, commercial-grade polyurethane. Some professional products are formulated for extreme durability. They might claim adequate protection with fewer coats.
However, even then, 3 coats are often recommended for true long-term wear.
The wood species matters here too. If you have a very hard wood like dense maple or hickory, and the area has minimal traffic, 2 coats could potentially suffice. But this is still a riskier choice.
It leaves less room for error or unexpected wear.
For almost all standard residential use, 2 coats are likely too few. They won’t offer enough protection over time. You’ll find the finish wears through much faster.
This leads to premature dulling, scratching, and the need for refinishing sooner than you’d like.
If you’re on a tight budget and time is limited, it’s tempting to skimp. But the cost of refinishing later will far outweigh the small savings now. It’s an investment in the future beauty and value of your home.
The Minimalist Approach: When 2 Coats Might Work
Scenario: Very low traffic bedroom, rarely entered.
Wood Type: Extremely hard species (e.g., ebony, though rare for floors).
Product: Ultra-durable commercial-grade finish.
Risk: High chance of premature wear and damage.
Recommendation: Still consider 3 coats for safety.
When 3 Coats is the Standard
For most homes, 3 coats of polyurethane is the standard and often recommended number. This strikes a good balance. It provides solid protection without making the finish excessively thick.
This number is suitable for many common areas. This includes living rooms, family rooms, dining rooms, and even most bedrooms. It offers a good defense against everyday scuffs, minor spills, and normal foot traffic.
When using a good quality water-based or oil-based polyurethane, 3 coats will typically give you several years of wear before you start seeing significant dulling. It’s enough to protect moderately trafficked areas well.
If you’re using a standard quality product, 3 coats ensures that even if one coat has a minor imperfection, the other two layers provide backup. It creates a robust shield that can withstand the typical challenges of a home environment.
This is a safe bet for most homeowners. It’s a level of protection that generally satisfies the needs of daily life. It maintains the floor’s appearance and integrity for a good period.
It’s the sweet spot for many applications.
The “Just Right” Number: 3 Coats
Best For: Standard living areas, dining rooms, kitchens, bedrooms.
Provides: Good protection against daily wear and tear.
Balance: Offers durability without excessive thickness.
Recommendation: A safe and effective standard for most homes.
When to Go for 4 (or Even 5!) Coats
There are definite reasons why you might need more than 3 coats. These situations involve higher demands on the floor. They require extra layers of protection.
High-Traffic Zones: Areas like entryways, hallways, and busy staircases are prime candidates for 4 coats. They take the most abuse. An extra coat here makes a significant difference in how long the finish lasts.
It’s a proactive measure against wear.
Softwood Floors: If you have a floor made from softer wood like pine, fir, or birch, consider 4 coats. These woods dent and scratch more easily. The extra polyurethane acts as a buffer.
It helps protect the wood itself from impact.
Rental Properties or Flip Houses: If the floor will be subjected to heavy, potentially rough use, more coats are wise. This applies to rental units where tenants might not be as careful. Or a house you are flipping, where it needs to look good for many showings.
Children and Pets: Homes with young children or multiple pets often experience more wear and tear. Dropped toys, pet claws, and spilled drinks can all take a toll. Extra coats provide a stronger barrier against these common household challenges.
Commercial Use (Light): While this article focuses on homes, some very light commercial settings might also benefit. Think a small boutique or a home office that sees a lot of client traffic. Four coats might be the minimum here.
Certain Water-Based Finishes: Some high-performance water-based polyurethanes perform best with 4 coats. They might be formulated to build up a strong, thin film rather than a thick one. Always check the manufacturer’s advice.
Long-Term Investment: If your goal is to have the floor looking pristine for the longest possible time, adding a fourth coat is often a good idea. It adds longevity and resilience. It can make the difference between a floor that lasts 7-10 years before needing a full refinish, and one that lasts 10-15 years.
What about 5 coats? This is generally excessive for most residential settings. It can lead to a finish that feels plasticky, or “thick.” It might even yellow or crack over time due to its sheer weight and lack of flexibility.
It’s rarely necessary unless you have extremely demanding conditions and are using a specific product designed for it.
When Extra Coats Are a Smart Move
Situation: High-traffic areas (entryways, hallways).
Wood Type: Softer woods (pine, fir).
Household: Active kids, multiple pets.
Purpose: Rental property, high-demand office.
Goal: Maximum longevity and durability.
Real-World Scenarios and Coat Decisions
Let’s look at some real homes and how coat decisions might play out.
Scenario 1: The Young Family Home
Sarah and Tom have two energetic kids under five and a golden retriever. Their living room is the command center of the house. Toys are everywhere.
The dog often zooms across the floor. They just refinished their oak floors.
Decision: Given the high traffic, kids, and dog, they’re opting for 4 coats of a durable water-based polyurethane. They want that extra layer of protection against spills, scratches from toys, and the dog’s nails. They’ll use a satin finish, which hides minor scuffs better than gloss.
Scenario 2: The Empty Nesters’ Retreat
Maria and David’s kids have moved out. Their home is quieter now. They have a formal dining room and a living room.
They enjoy reading and occasional entertaining. They’re refinishing their maple floors, which are very hard.
Decision: For most areas, they feel 3 coats of a high-quality oil-based polyurethane will be perfect. The maple is strong, and traffic is moderate. For their main entryway, which gets a bit more traffic, they’ll add a fourth coat just to be safe.
They like the warm amber tone oil-based poly gives.
Scenario 3: The Urban Apartment Dweller
Ben lives in a small apartment with his cat. His floors are engineered hardwood. The building management requires specific finishes.
He needs a finish that is easy to maintain and looks good for as long as possible. Traffic is moderate, mostly just him and his cat.
Decision: He’s using a water-based polyurethane recommended by his landlord. He plans for 3 coats. He wants to ensure it holds up well, as he doesn’t want to deal with refinishing anytime soon.
He chose a semi-gloss for a clean, bright look.
These examples show how individual needs drive the decision. It’s about matching the floor’s needs to the home’s reality.
Real Home Styles & Coat Needs
What This Means For Your Floor
So, what’s the takeaway message for your own hardwood floors? It’s about being strategic.
When It’s Normal: Having 2 to 4 coats applied is completely normal and expected. It’s how floors get their protection. 3 coats is the most common recommendation for a reason.
It provides solid, reliable wear for most homes.
When to Worry (About Coat Count): If you’re only applying 1 or 2 coats, you should worry. This level of protection is likely insufficient for most homes. You’ll see wear and tear appear much faster.
Also, if the product is old or improperly mixed, its effectiveness might be compromised, regardless of the number of coats.
Simple Checks: After the floor is finished, check for uniformity. Are there thin spots? Are there puddles?
Does the finish seem to be hardening correctly? You can test durability by gently pressing a fingernail into an inconspicuous area after a few days of curing. It shouldn’t dent easily.
The number of coats is not the only factor in floor durability. The quality of the polyurethane itself matters greatly. The preparation of the floor before application is critical.
And the actual application technique plays a huge role. But getting the coat count right is a fundamental step in ensuring your floor’s longevity.
Quick Tips for Polyurethane Application
Here are some quick tips to keep in mind when you’re getting ready to apply polyurethane:
Ventilation is Vital: Always ensure good airflow. Open windows. Use fans.
Especially important with oil-based poly. This helps the finish dry and cures the fumes.
Work in Sections: Don’t try to do too much at once. Work in manageable sections of the room. This prevents lap marks where wet finish meets dry finish.
Consistent Strokes: Keep your strokes consistent. For rollers, it’s a smooth, even roll. For brushes, it’s the same pressure and direction.
Clean Up Promptly: Clean your tools immediately after use. Mineral spirits for oil-based, water and soap for water-based. This makes them reusable.
Watch for Humidity: High humidity can slow down drying. It can also affect the final finish. Try to apply on days with moderate humidity.
Check Manufacturer’s Specs: Again, this is crucial. The instructions on the can are your best guide. They are specific to that product’s performance.
Polyurethane Application Checklist
- Adequate ventilation
- Work in small, manageable sections
- Maintain consistent application strokes
- Clean tools immediately
- Monitor humidity levels
- Always read product instructions
Frequently Asked Questions About Polyurethane Coats
Can I apply polyurethane over an old wax finish?
No, you cannot. Polyurethane will not adhere to wax. The wax needs to be completely removed before you can sand and apply polyurethane.
This often requires stripping the floor.
How long should I wait between coats of polyurethane?
This depends on the type. Water-based poly usually needs 2-4 hours. Oil-based poly needs 6-8 hours, or even overnight.
Always check the product label for exact times. It must be dry to the touch before recoating.
Will more coats make my floor last longer?
Yes, up to a point. More coats add more protective layers. This increases durability.
However, applying too many coats (5+) can make the finish brittle and prone to cracking. For most homes, 3-4 coats is the sweet spot for longevity.
What’s the difference between drying and curing?
Drying means the surface is no longer wet. It’s dry enough to walk on lightly or recoat. Curing means the finish has hardened completely throughout.
This takes much longer, often 7 to 30 days. During curing, the floor is more vulnerable to damage.
Should I use a polyurethane with a built-in sealer?
Some products are advertised this way. However, most professionals still recommend applying separate coats of polyurethane. If you’re using a high-quality poly, it should provide excellent sealing and protection on its own, often in fewer, more effective coats than a combined product.
Does the color of the wood affect how many coats I need?
Not directly. The color of the wood itself doesn’t change its hardness or how it wears. However, darker woods can sometimes show scratches more easily.
This might lead people to apply an extra coat for peace of mind, even if the wood is hard. Focus on traffic and wood type.
Final Thoughts on Protecting Your Floors
Choosing the right number of polyurethane coats is a key step. It ensures your hardwood floors stay beautiful and protected. It’s not just about following a rule.
It’s about understanding your home, your lifestyle, and the product you’re using. Aiming for 3 to 4 coats is a safe and effective strategy for most homes. This gives your floors the best chance to withstand daily life.
With careful application, you’ll enjoy a durable, stunning floor for years to come.