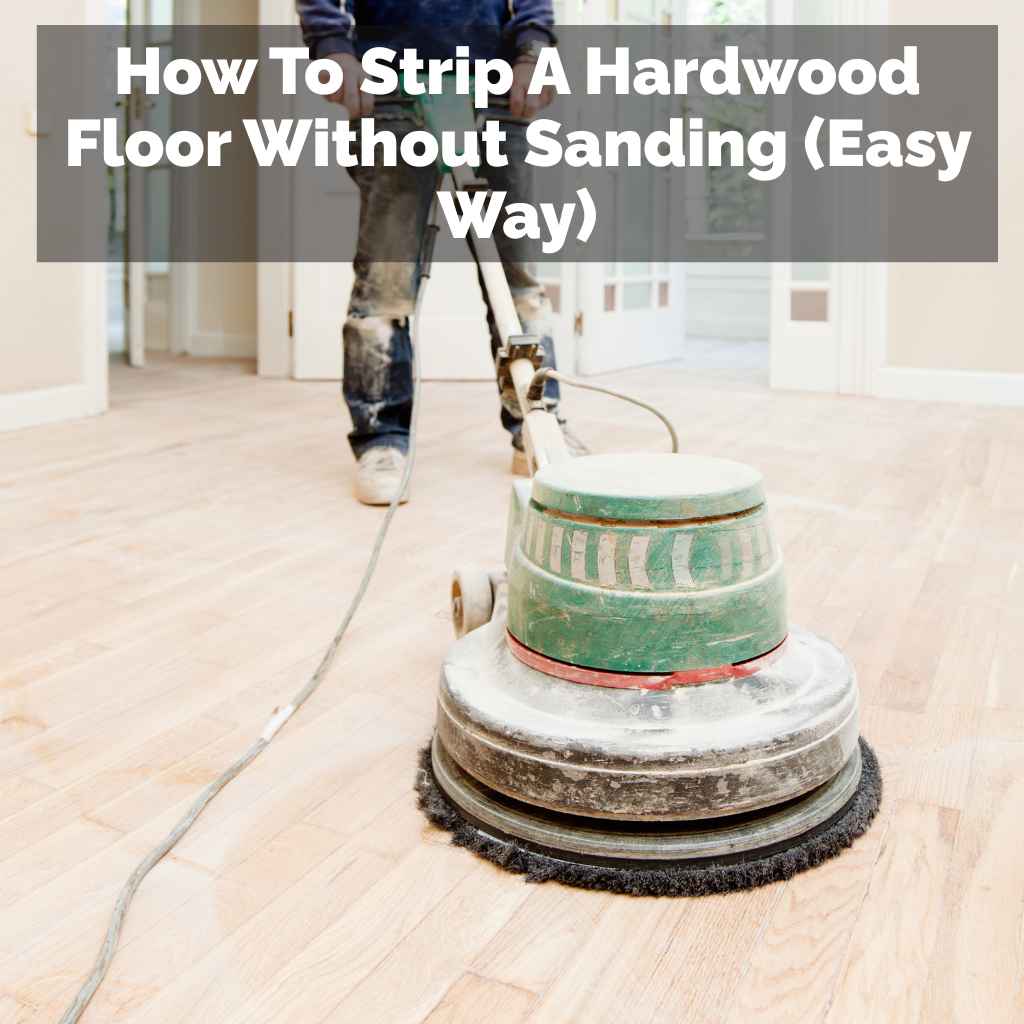
How To Strip A Hardwood Floor Without Sanding (Easy Way)
Dealing with old, worn-out hardwood floors can feel overwhelming. You see the dull finish, the scuffs, and maybe even some old paint spots. You know they need a refresh.
But the thought of sanding? That’s a whole other level of hassle. It’s dusty, noisy, and frankly, expensive if you hire someone.
It’s no wonder so many people put off this project or just cover it up with rugs. But what if there was a way to bring back that shine and prepare your floors for a new look without the extreme measures of sanding? This guide is here to show you exactly that.
We’ll walk through how to strip a hardwood floor without sanding, making the process much more manageable for any homeowner.
Stripping a hardwood floor without sanding is possible by using chemical strippers or heat guns to remove old finishes, followed by careful cleaning and preparation. This method avoids the dust and labor associated with traditional sanding, making it a more accessible DIY project for many homeowners looking to refinish their floors.
What Does “Stripping” a Hardwood Floor Mean?
When we talk about stripping a hardwood floor, we mean taking off the old protective layer. Think of it like peeling off a sticker that’s lost its stick. This layer is usually made of varnish, polyurethane, wax, or paint.
It protects the wood underneath. Over time, this protective coat gets worn down. It can get scratched, dulled, or even start to peel.
Stripping gets rid of all that old stuff. This leaves you with clean, bare wood. Then, you can apply a new finish.
This makes your floors look brand new again.
It’s a crucial step before applying any new stain or sealant. Without it, the new coat might not stick well. It could also look uneven or blotchy.
Imagine painting over an old, peeling coat of paint. It wouldn’t look very good, right? The same idea applies to hardwood floors.
Getting down to the fresh wood is key for a beautiful, long-lasting result. It’s about giving your floors a proper reset.
Why Avoid Sanding?
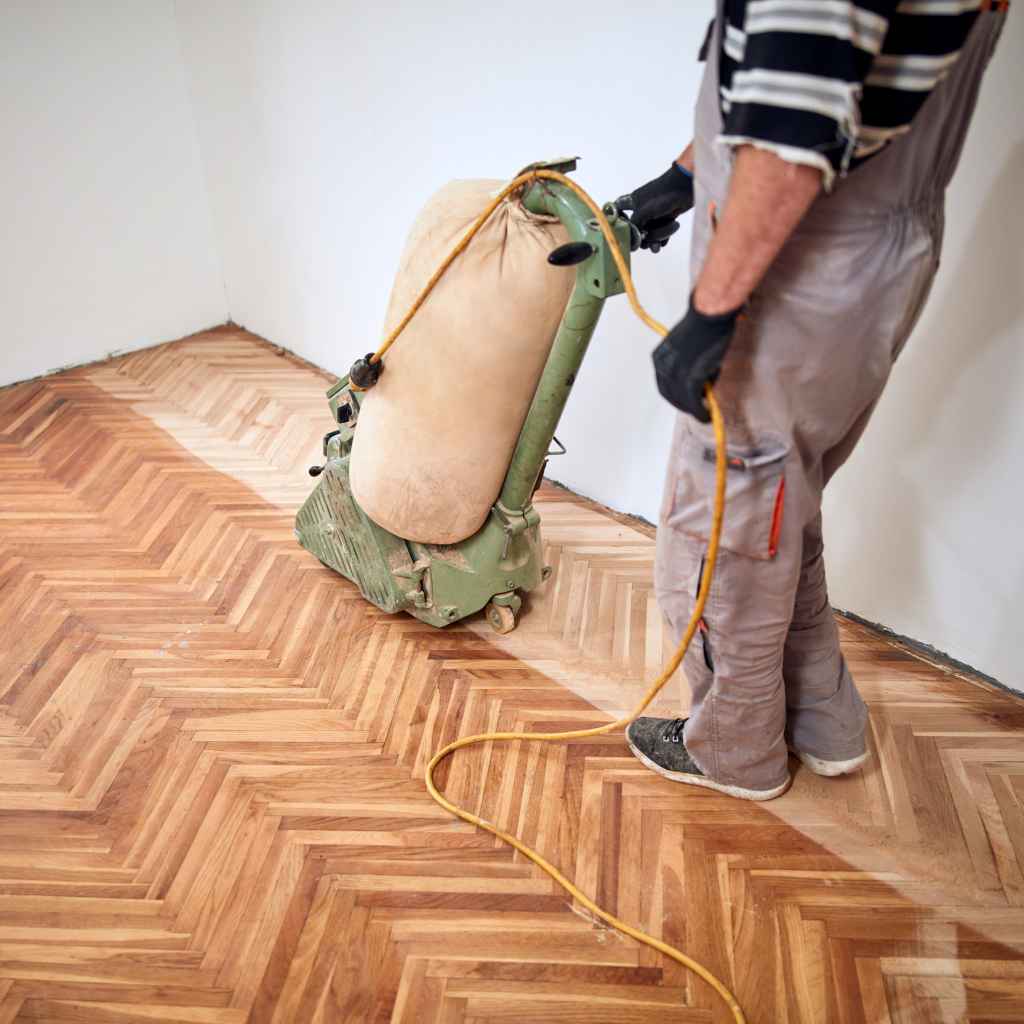
Sanding is the traditional way. It uses powerful machines to grind away the old finish and a thin layer of wood. While effective, it comes with many downsides.
The biggest is the dust. Sanding creates a massive amount of fine wood dust. This dust gets everywhere.
It fills the air, settles on furniture, and can even get into your HVAC system. Cleaning up after sanding is a huge chore. It can take days to get your home back to normal.
Then there’s the noise. Those sanding machines are loud. They can make it difficult to be in the house or even hear yourself think.
Also, sanding requires skill. If done wrong, you can easily damage the floor. You might create uneven spots or gouges.
This can be costly to fix. For many DIYers, the cost of renting or buying sanders, plus the labor and cleanup, makes sanding seem too daunting.
Not sanding means you skip all that. You save your lungs from dust. You save your ears from noise.
You also reduce the risk of damaging the wood yourself. It’s a way to get a refreshed floor with less stress and mess. This is why learning how to strip a hardwood floor without sanding is so valuable.
Understanding the Types of Old Finishes
Before you start, it’s super important to know what kind of old finish is on your floor. Different finishes need different approaches. Trying to strip wax with a product made for polyurethane won’t work well.
It’s like using the wrong key for a lock. You’ll just get frustrated.
Here are the common types you might find:
- Varnish and Polyurethane: These are the most common modern finishes. They form a hard, protective plastic-like layer on top of the wood. Polyurethane is super tough and water-resistant. It’s often yellowish or amber. Varnish is similar but can be a bit more prone to chipping.
- Shellac: This is an older finish. It’s made from beetle secretions. Shellac is beautiful but not very durable. It can be damaged by alcohol and heat. It often has a warm, golden tone.
- Lacquer: Another older finish, lacquer dries very fast. It’s often used in professional settings. It can be sensitive to moisture and heat.
- Wax: Wax finishes are softer. They give wood a soft, matte glow. Wax is usually applied over another finish or directly to the wood. It needs regular reapplication. Wax can be tricky because it can build up and become sticky.
- Paint: Sometimes, wood floors get painted. This can look charming for a while. But paint can chip and wear away over time, revealing the wood underneath. It’s one of the toughest to remove.
How do you tell them apart? A good test is to use denatured alcohol. If it softens and removes the finish, it’s likely shellac.
If it doesn’t, try a paint stripper. If that works, it might be varnish or polyurethane. If nothing happens, it could be wax, or a very old, tough finish.
Sometimes, you might have a combination of finishes.
Knowing this helps you pick the right product. It’s the first step to success when you want to strip a hardwood floor without sanding.
The Chemical Stripper Method
This is the most common way people strip hardwood floors without sanding. It involves using special chemicals. These chemicals break down the old finish.
They make it soft and gooey. Then you can wipe or scrape it away. It sounds simple, but it needs care and the right products.
Choosing the Right Stripper
Type of Stripper: Look for strippers made specifically for wood floor finishes. There are different types:
- Solvent-Based: These are strong and effective. They work fast. But they can have strong fumes. You need good ventilation.
- Citrus-Based: These are more eco-friendly. They smell nicer and have fewer harsh fumes. They tend to work slower than solvent-based ones.
- Lye-Based: These are often for wax finishes. They are caustic, so gloves are a must.
Read Labels Carefully: Always check if the stripper is safe for your specific type of floor finish. Some might not work on certain finishes.
When I first tried this, I grabbed the first can I saw. It said “paint and varnish remover.” It didn’t say anything about wood floors. Big mistake.
It worked, but it took forever and smelled awful. I learned that day that using the right product makes a world of difference. It saved me time and headaches.
Step-by-Step: Using Chemical Strippers
Here’s how to get the job done, safely and effectively.
1. Prepare Your Space
This is crucial. You don’t want to ruin anything else in your house. Ventilation is Key: Open all windows and doors.
Use fans to move air outwards. Chemical fumes can be strong. You need fresh air constantly.
Protect Everything: Cover furniture with plastic sheeting. Use painter’s tape to protect baseboards and walls. Lay down drop cloths on areas you aren’t working on.
Safety Gear: Wear chemical-resistant gloves. Use safety glasses or goggles. A respirator mask designed for organic vapors is highly recommended.
Wear old clothes. Clear the Area: Remove rugs, decor, and anything that could get in the way.
2. Apply the Stripper
Follow the product’s instructions precisely. Work in Small Sections: Don’t try to strip the whole floor at once. Work in areas about 3×3 feet.
This keeps the stripper from drying out too fast. Apply Evenly: Use a cheap paintbrush or a chemical-resistant roller. Apply a thick, even coat of stripper.
Don’t brush it out too thin. * Let It Work: This is where patience comes in. The stripper needs time to soften the finish.
This can take anywhere from 15 minutes to an hour, depending on the product and the finish type.
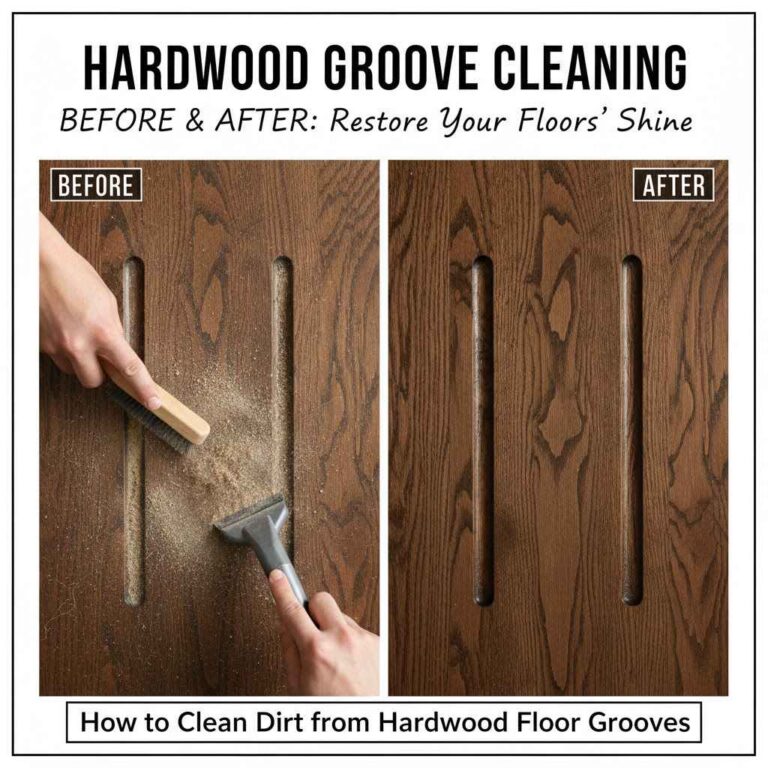
3. Scrape and Remove the Old Finish
This is the satisfying part. Test a Spot: Gently try to scrape a small area. If the finish is soft and comes up easily, it’s ready.
Use a Scraper: A floor scraper with a wide blade is best. Hold it at a low angle to the floor. Gently push and lift the softened finish.
Work with the grain of the wood. Gather Debris: Collect the gooey mess in a disposable container, like a cardboard box or old plastic bag. Don’t let it dry on the floor.
Tackle Stubborn Spots: For tough areas, you might need to apply more stripper or use a plastic putty knife. Avoid metal tools that could scratch the wood.
Infographic-Style: Stripper Application Flow
1. Prep
Ventilate, protect, gear up.
2. Apply
Thick coat in small sections.
3. Wait
Let it soak and soften.
4. Scrape
Gently lift softened finish.
5. Clean
Remove all residue.
6. Neutralize
Rinse and prep for new finish.
4. Clean and Neutralize
After you scrape, there will be residue. This is super important to get clean. Wipe Down: Use clean rags to wipe away any remaining stripper.
You might need a solvent like mineral spirits or denatured alcohol for this. Check the stripper product’s recommendations. Neutralize: Some strippers leave a residue that can affect the new finish.
You may need to “neutralize” the floor. This often involves wiping it down with a solution recommended by the stripper manufacturer. A common method is using a mild solution of water and vinegar, or a specific wood floor cleaner.
Let the floor dry completely. Check the manufacturer’s instructions for the best way to neutralize.
5. Final Check
Once dry, inspect the floor closely. Look for Dull Spots: Any areas where the finish remains might need another round of stripping. Feel for Smoothness: The wood should feel smooth.
If there are rough patches, it means old finish is still there. * Vacuum Thoroughly: Make sure all dust and debris are gone.
This method does create a bit of a mess, but it’s far less than sanding. The key is patience and using the right supplies. It really lets you get down to the bare wood.
The Heat Gun Method
This method is best for specific situations. It works well for removing old paint or very old, brittle finishes. It’s not ideal for polyurethane.
That’s because polyurethane can release toxic fumes when heated too much. Always research the safety of this method for your specific floor type.
The idea is to heat the old finish until it softens. Then, you scrape it off. It’s slower than chemical strippers for large areas.
But it’s dust-free and doesn’t involve harsh chemicals.
Safety First with Heat Guns
Ventilation: Even if fumes aren’t toxic, fresh air is always good. Open windows.
Fire Risk: Be extremely careful. Never leave a hot heat gun unattended. Keep it away from flammable materials like dust or loose wood fibers.
Have a fire extinguisher nearby.
Protective Gear: Gloves and eye protection are essential.
What Not to Heat: Avoid heating finishes like polyurethane directly. It can release harmful gases. This method is better suited for paint or older wax-based finishes.
How to Use a Heat Gun
It’s a methodical process. Work in Small Areas: Just like with strippers, heat a small section, about 1×1 foot. Heat Gently: Hold the heat gun a few inches from the floor.
Move it back and forth constantly. You don’t want to scorch the wood. You want the finish to bubble or soften.
Scrape Immediately: As soon as the finish softens, use a floor scraper or putty knife. Gently scrape it away. Work with the wood grain.
Collect Debris: Scrape the softened material into a dustpan or container. * Repeat: Move to the next small section. Continue this process across the floor.
I tried this on an old room that had been painted years ago. The paint was thick and cracked. A heat gun made it bubble up like popcorn.
It was kind of gross but effective. I had to be super careful not to burn the wood. It took a lot of passes.
But I didn’t have any dust flying around, which was a huge win. For painted floors, this can be a lifesaver if you want to avoid sanding.
This method is very slow. It requires a lot of physical effort. It’s usually best for small areas or specific problem spots, like dried paint drips.
It’s also a good option if you’re highly sensitive to chemicals.
The Scraper/Chisel Method (Manual Effort)
This is the most labor-intensive method. It’s basically scraping off the finish by hand. It’s only really practical for small areas or very thin finishes.
You’ll need good quality tools and a lot of elbow grease.
You can use a floor scraper. It has a long handle and a sharp blade. You hold it at a low angle and push it under the finish.
A sharp chisel can also work for edges or tight spots. This method is very slow and can be tough on your back and knees.
Manual Scraping Tool Tips
Sharp Blades: Always use very sharp blades. They cut better and are less likely to gouge the wood.
Low Angle: Hold the scraper at a shallow angle. This helps lift the finish without digging into the wood.
Work With Grain: Always scrape in the direction of the wood grain.
Take Breaks: This is very tiring. Plan to take frequent breaks to avoid injury.
I remember trying to scrape off some old wax. I didn’t have the right stripper, and I was in a hurry. I used a putty knife.
It took hours. My hands were aching. My back felt like it was going to snap.
The wax came off in little bits. It looked like I had shaved the floor. It taught me that some jobs just need the right tool or method.
Manual scraping is rarely the best way to strip a whole floor.
This method is best reserved for removing small patches of stubborn finish, or for working in corners where other tools can’t reach after using a chemical stripper. It’s not a primary method for stripping an entire room.
Dealing with Wax and Oil Finishes
Wax and oil finishes are different from polyurethane. They soak into the wood rather than sitting on top. This makes them harder to strip completely without sanding.
Wax: For wax, you can often use a wax stripper. These products are designed to dissolve wax. You apply them, let them sit, and then wipe away the dissolved wax.
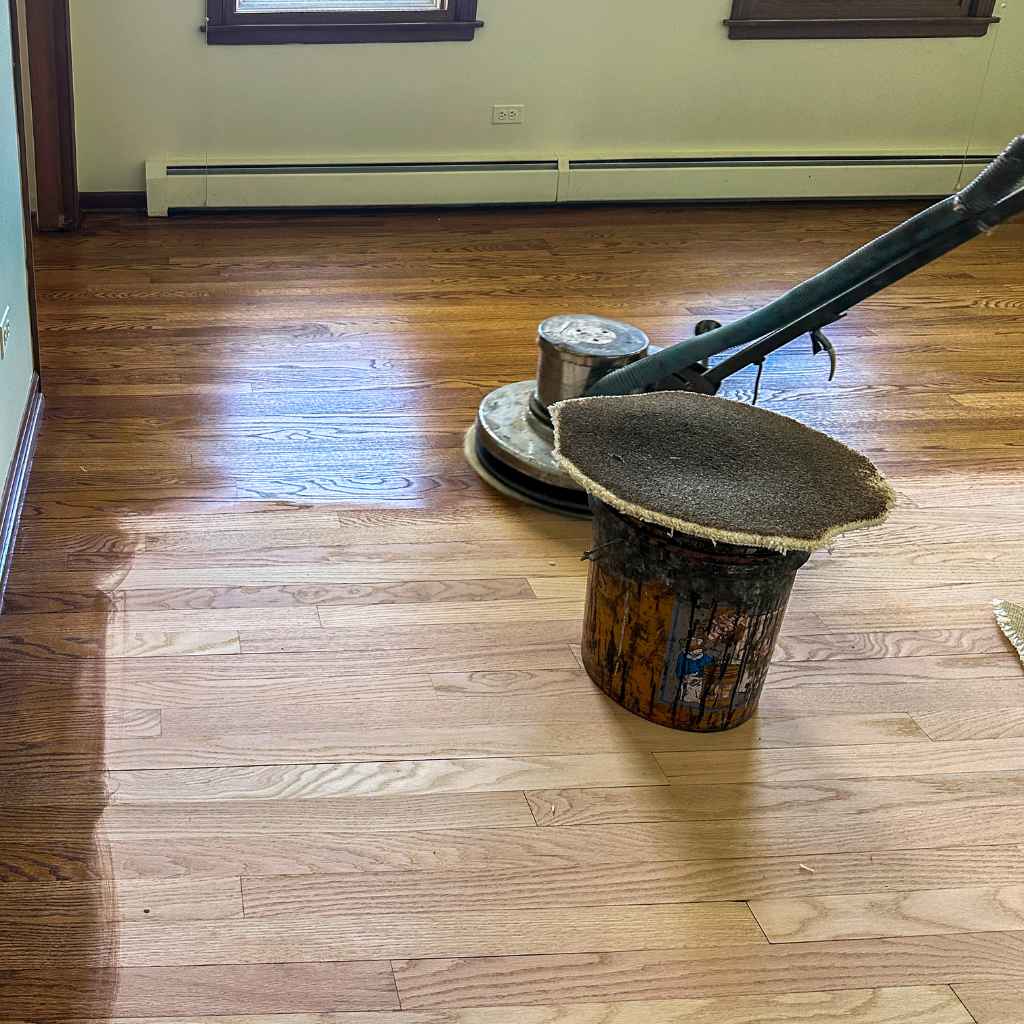
Sometimes, a good buffing with a steel wool pad (0000 grade) can also help remove excess wax. Mineral spirits can also help cut through wax. After stripping, you’ll need to wipe the floor down thoroughly to remove all residue.
It’s important to get as much of the old wax out as possible so the new finish adheres properly.
Oil: Oil finishes penetrate the wood. They don’t form a hard layer to scrape off. To remove an oil finish without sanding, you often need to “re-oil” over it.
This essentially saturates the old oil with new oil. However, if you want to switch to a film-forming finish like polyurethane, removing oil can be very difficult. You might need to use strong chemical strippers.
But even then, some oil will likely remain in the wood. This can affect how a new finish bonds. In many cases, a floor with an old oil finish will need sanding if you want a polyurethane topcoat.
Contrast Matrix: Wax vs. Polyurethane
| Feature | Wax Finish | Polyurethane Finish |
|---|---|---|
| Feel | Soft, matte, warm | Hard, smooth, sometimes glossy |
| Durability | Low; needs frequent reapplication | High; very durable and protective |
| Repair | Easy to re-wax or touch up | Difficult to spot repair; often requires recoating |
| Stripping without Sanding | Possible with wax strippers or mineral spirits | Challenging; chemical strippers are best but may require multiple passes |
So, if you have a wax floor, you have better luck with non-sanding methods. For oil, it’s trickier if you want a totally different finish. Always test your stripper in an inconspicuous spot first.
Preparing for the New Finish
Once you’ve stripped the floor, the work isn’t quite done. You need to make sure it’s perfectly ready for its new coat. This means cleaning up any lingering stripper residue and ensuring the wood is completely dry.
Thorough Cleaning: After scraping, there will be a film of old finish and stripper. You need to wipe this away completely. Use clean cloths and the recommended cleaning solution.
You might need to go over the floor multiple times. The wood should feel clean to the touch, not greasy or sticky.
Neutralizing: As mentioned before, some chemical strippers leave a residue that can interfere with new finishes. Neutralizing them is key. Follow the product instructions.
A common method is to wipe the floor down with a solution of 1 cup of white vinegar to 1 gallon of water. Let this dry completely.
Allow to Dry: This is absolutely critical. Wood needs to be bone dry before you apply any new finish. This can take 24 to 48 hours, or even longer depending on humidity and how much liquid you used for cleaning.
Use fans to help the drying process. You can also use a dehumidifier if the air is very humid.
Final Inspection: Before applying any new product, do one last check. Get down on your hands and knees. Look for any missed spots, leftover residue, or dust.
A quick vacuum with a brush attachment is a good idea.
If you’ve done a good job stripping, you should see nice, clean wood. It might look a little dull or lighter than you expect, but that’s okay. It’s ready for its makeover.
Skipping this prep work is a common mistake. It means your new finish might not stick. It could lead to peeling or an uneven look later on.
Real-World Scenarios and Considerations
Let’s think about when and where this non-sanding method makes the most sense. It’s not always a perfect solution for every floor.
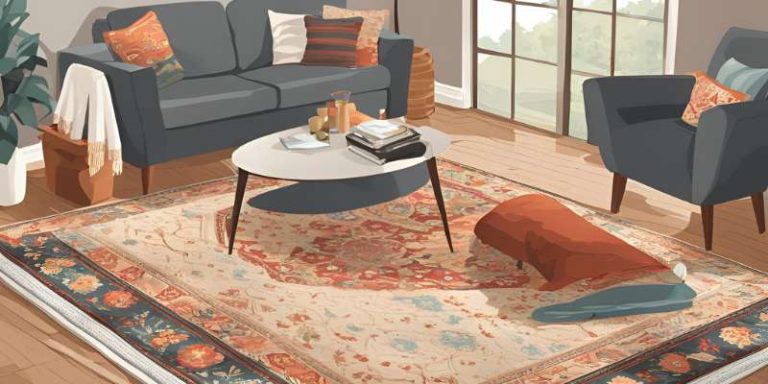
Scenario 1: The Rental Apartment Floor
Imagine you’re renting a place. The hardwood floors are beat up. They have scuffs and maybe some faded paint.
You want to make it look better, but you can’t do major renovations. Or you can’t afford to pay for professional sanding. Using a chemical stripper on a small section, or in high-traffic areas, can make a huge visual improvement.
You can revive the look without altering the floor too much. You’d focus on spot treatments to remove the worst damage.
Scenario 2: The Antique Wood Floor
You might have a very old, delicate wood floor. Perhaps it has intricate details or is made of a softer wood. Sanding could easily damage it.
In this case, gentle chemical stripping might be the only safe option. You’d use the mildest stripper possible and proceed with extreme care. The goal here is preservation, not a flawless factory finish.
You might accept a few imperfections.
Scenario 3: The DIY Enthusiast on a Budget
Sanding equipment rental and supplies can add up. If you’re on a tight budget, learning how to strip a hardwood floor without sanding can save a lot of money. You might already own some of the tools needed, like scrapers and brushes.
Chemical strippers are relatively inexpensive. This makes it a much more accessible project for someone doing it themselves.
However, it’s important to be realistic. If your floors have deep scratches, gouges, or severe unevenness, sanding is often the only way to truly flatten and smooth them. Non-sanding methods won’t fix structural issues with the wood itself.
When Non-Sanding Might NOT Be Best
Deep Gouges: If the wood is physically damaged, only sanding can level it.
Uneven Wear: Severe wear that creates dips and valleys is hard to fix without sanding.
Multiple Old Finishes: Layers and layers of different finishes can be very tough to remove completely without sanding.
Desire for a Perfect Surface: If you want an absolutely flawless, factory-smooth finish, sanding is usually required.
What This Means for You: When It’s Normal vs. When to Worry
It’s good to know what to expect after you try to strip your floor. When is the result normal, and when should you pause and rethink?
When the Results are Normal
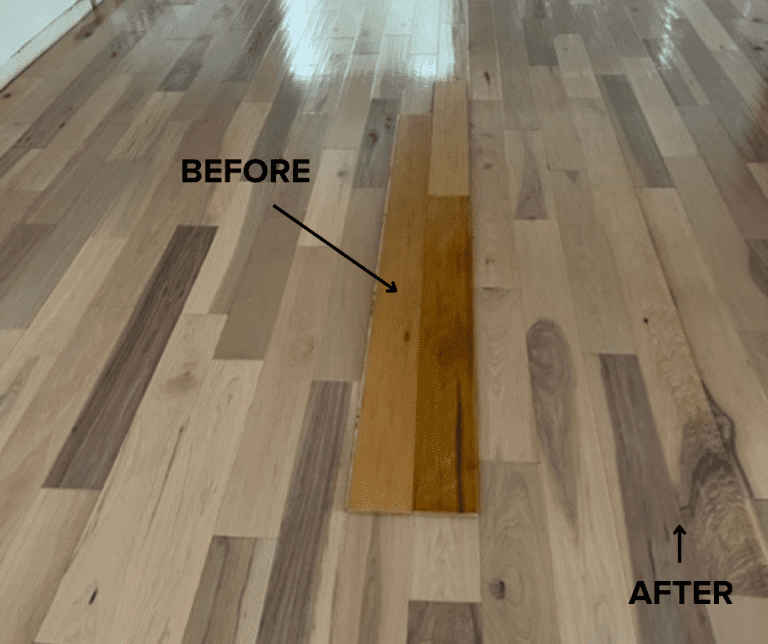
It’s normal to see a floor that looks much better. The dull, old finish is gone. The wood might look lighter than you remember.
There might be slight variations in color or grain. These are natural wood characteristics showing through. You might see faint lines from where you scraped.
This is usually fine, as the new finish will cover them. The wood should feel smooth and clean.
If you used a chemical stripper and the wood feels a bit raised or textured, that’s often okay. It’s the wood grain absorbing some moisture. Once completely dry and the new finish is applied, it should smooth out.
When to Worry
You should worry if you see:
- Deep Scratches: If your scraping tool dug deep into the wood and left permanent marks. This means you used too much force or a dull tool.
- Uneven Color: If some areas are significantly darker or lighter than others, it might mean the stripper didn’t work evenly. Or, there’s still old finish in some spots.
- Sticky Residue: If the floor feels tacky or sticky after it should be dry, there’s likely stripper or finish residue left.
- Wood Damage: If you see any signs of wood rot, warping, or significant splintering that wasn’t there before.
- Chemical Smell Lingering: A faint smell right after cleaning might be normal. A strong chemical odor after several days of drying means it wasn’t properly neutralized or aired out.
If you’re worried, the best approach is to do a small test patch first. See how the stripper works. Then, clean and dry it.
Check the results. This way, you can catch problems before tackling the whole room. If you’re unsure about the condition of your floor, it’s always wise to consult a flooring professional.
Quick Fixes and Tips for Success
Here are some extra tips to make the process smoother and get better results when you strip your hardwood floor without sanding.
- Test, Test, Test: Always test your chosen stripper on an inconspicuous area first. This could be in a closet or under a rug. See how it interacts with your floor’s finish.
- Work in Good Light: Make sure you have plenty of light. This helps you see exactly where the old finish is and where you might have missed a spot.
- Keep Your Tools Clean: Rags, brushes, and scrapers can get gunked up quickly. Clean or replace them often.
- Don’t Rush: Patience is your best friend here. Rushing leads to mistakes. It can result in uneven stripping or damage to the wood.
- Scrape Gently: Remember, you’re removing a finish, not the wood itself. Use gentle, steady pressure when scraping.
- Have Plenty of Rags: You will go through a lot of rags. Buy more than you think you’ll need.
- Proper Disposal: Dispose of the scraped-off finish and used chemicals safely. Check your local regulations for hazardous waste disposal.
- Follow Manufacturer Instructions: This is the golden rule. Every stripper product is a little different. Read and follow their directions precisely.
I learned the hard way about having enough rags. I ran out mid-way through. I had to stop and go to the store.
It broke my rhythm. It also meant the stripper was sitting on the floor longer than I wanted. Having everything ready beforehand saves so much hassle.
Quick Scan Checklist
Before You Start:
- Ventilation? Yes/No
- Drop cloths/protection? Yes/No
- Safety gear (gloves, glasses, mask)? Yes/No
- Test patch done? Yes/No
During Stripping:
- Working in small sections? Yes/No
- Scraping gently? Yes/No
- Frequent tool cleaning? Yes/No
After Stripping:
- Thoroughly cleaned? Yes/No
- Neutralized (if needed)? Yes/No
- Completely dry? Yes/No
- Final inspection done? Yes/No
Frequently Asked Questions
Can I really strip a hardwood floor without any sanding at all?
Yes, for many finishes like paint, wax, and older varnishes, you can effectively strip a hardwood floor using chemical strippers, heat guns, or manual scraping. However, extremely tough finishes like multiple layers of polyurethane can be very difficult to remove completely without some level of abrasion. Deep scratches or significant unevenness in the wood will likely require sanding.
Is the chemical stripper method safe for my pets and children?
Chemical strippers often contain strong solvents and fumes. It is crucial to ensure excellent ventilation by opening windows and using fans. Keep pets and children completely out of the area during the stripping process and until the floor is thoroughly cleaned, neutralized, and completely dry.
Always wear appropriate safety gear, including a respirator mask, when using these products.
How long does it take to strip a hardwood floor without sanding?
The time it takes varies greatly. It depends on the size of the room, the type and number of old finishes, and the method you use. Chemical stripping might take a full day for a medium-sized room, including prep and cleanup.
Using a heat gun is much slower and can take several days for a large area. Manual scraping is the slowest and most labor-intensive.
What kind of stripper should I use for my floor?
The best stripper depends on the finish you are trying to remove. For most modern finishes like polyurethane and varnish, a strong solvent-based or a heavy-duty citrus-based stripper is recommended. For wax finishes, a specific wax stripper or mineral spirits can work.
Always check the product label to ensure it is designed for your specific type of old finish.
Will stripping my floor remove deep scratches?
No, stripping the finish will not remove deep scratches or gouges in the wood itself. It only removes the old coating. If your floor has significant physical damage to the wood, sanding is the only way to level the surface and repair those imperfections.
Non-sanding methods are for removing the coating, not repairing the wood.
How do I know if I got all the old finish off?
After cleaning and drying, run your hand over the floor. It should feel smooth and clean. If it feels sticky, gummy, or rough in spots, there is likely still residue.
You can also test a small area with a bit of denatured alcohol (for shellac) or a solvent recommended for the stripper you used. If it softens or lifts anything, more cleaning is needed. The wood should look like bare wood, not dull or shiny in patches.
Conclusion
Stripping a hardwood floor without sanding is definitely achievable. It can save you time, money, and a whole lot of dust. By choosing the right method and products for your floor’s finish, and by taking the necessary safety precautions, you can prepare your wood for a beautiful new look.
Remember to be patient, work in small sections, and clean thoroughly. You’ll be amazed at the difference you can make. Your refreshed floors will be a source of pride, and you’ll have done it without the heavy machinery.
It’s a very rewarding project when you know how to approach it.