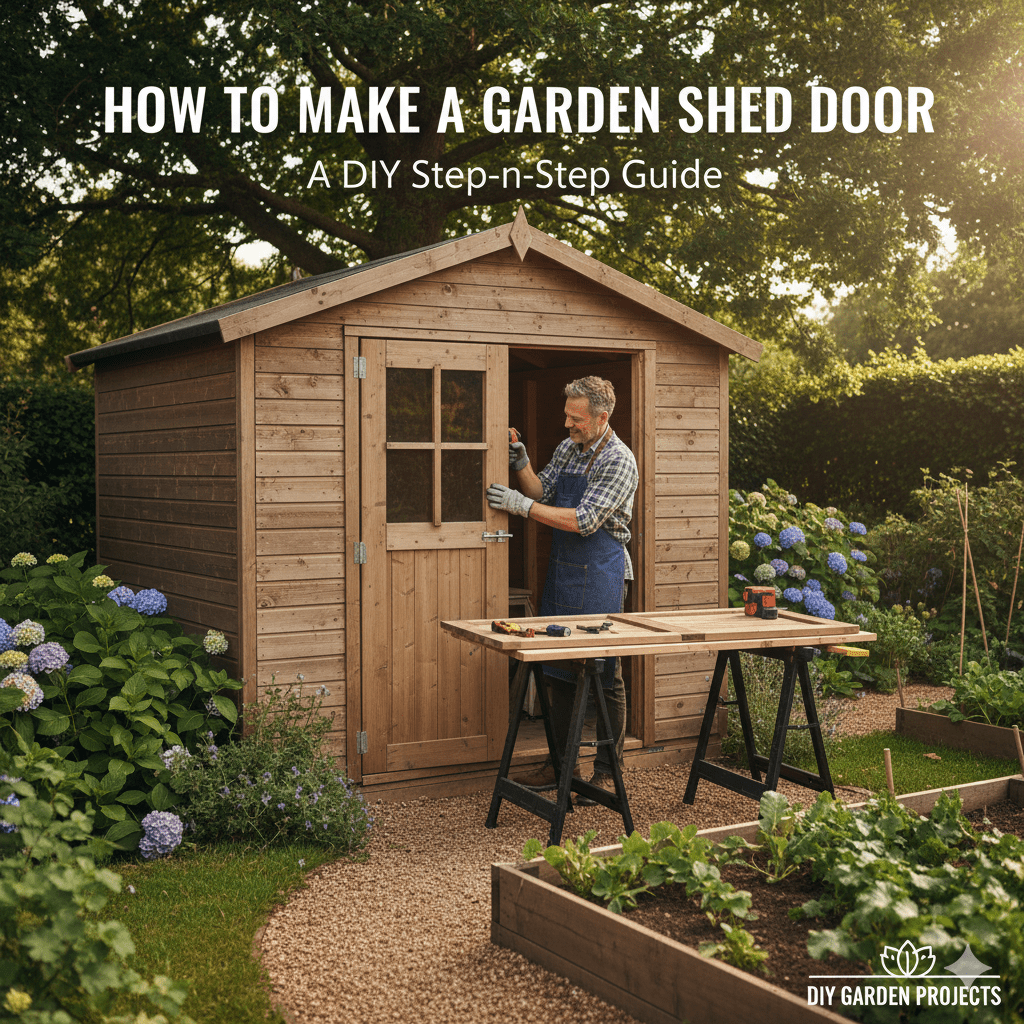
How To Make A Garden Shed Door: Genius Effortless Guide
Quick Summary:
Learn how to build a sturdy, attractive garden shed door with this easy-to-follow guide. We break down each step, from choosing materials to adding the finishing touches, making it a simple DIY project for any homeowner. Get ready to secure and enhance your shed with confidence!
Is your garden shed door looking a little worse for wear, or perhaps it’s missing altogether? A wobbly, ill-fitting, or absent door can be a real headache. It compromises security, lets in pests, and just doesn’t look great. But don’t worry, building a new shed door doesn’t have to be a daunting task. With the right plan and a few simple steps, you can create a functional and good-looking door that fits perfectly. We’ll guide you through everything, from gathering your supplies to hanging your brand-new door, so you can tackle this project with ease and feel proud of your handiwork.
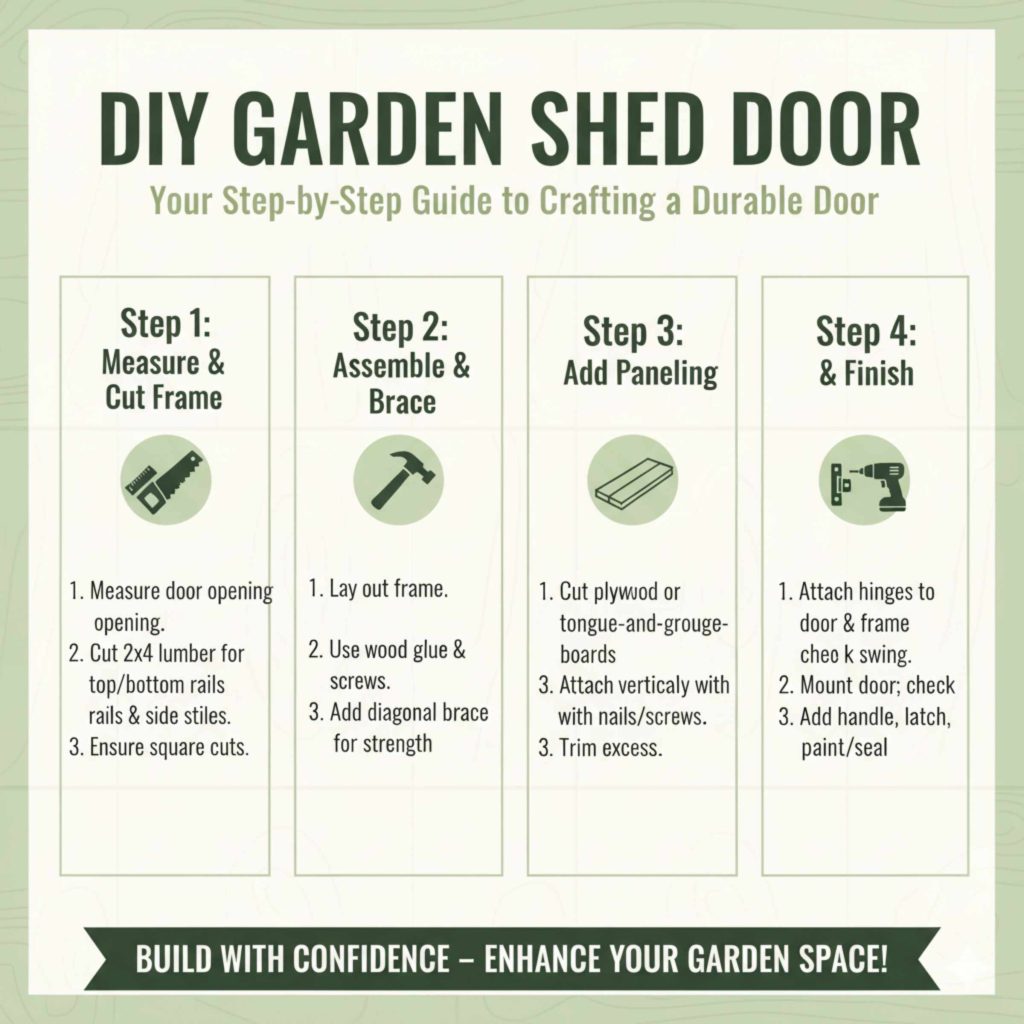
Your Step-by-Step Guide to Crafting a Garden Shed Door
Building your own garden shed door is a rewarding project that adds a personal touch and significant value to your outdoor space. It’s more achievable than you might think, and by following these steps, you’ll have a durable and attractive door in no time. We’ll cover everything from measuring and cutting to assembly and installation.
Step 1: Measure Twice, Cut Once – Precision is Key
The most crucial part of building any door is getting the measurements right. A door that’s too big or too small will cause all sorts of problems. Here’s how to get it perfect:
- Measure the Door Opening: With your shed door frame exposed, measure the height and width of the opening. Measure at the top, middle, and bottom for width, and at the left, center, and right for height. Use the smallest measurement for each to ensure a snug fit.
- Account for Clearance: You need a small gap around the door so it opens and closes smoothly. A gap of about 1/8 inch (around 3mm) on the sides and top is usually sufficient. For the bottom, consider a slightly larger gap (around 1/4 inch or 6mm) to prevent it from dragging on the ground, especially if your shed is on uneven terrain.
- Subtract for Clearance: Subtract the desired clearance from your smallest opening measurements. For example, if your opening is 70 inches high and 68 inches wide, and you want 1/8 inch clearance on the sides and top, your door should be 69.75 inches high (70 – 0.125 – 0.125) and 67.75 inches wide (68 – 0.125 – 0.125). Always double-check your math!
Step 2: Choosing Your Materials – Strength and Style
The materials you choose will affect the look, durability, and cost of your shed door. For a beginner-friendly project, common and easy-to-work-with options are best.
Wood Types
Plywood: Exterior-grade plywood, like CDX or marine-grade, is a popular choice. It’s strong, stable, and relatively inexpensive. For a more finished look, you can use a sanded plywood or even a T1-11 siding panel for a textured appearance.
Solid Wood: Pine or cedar are good options. Cedar is naturally resistant to rot and insects, making it excellent for outdoor use, though it’s more expensive. Pine is affordable and easy to work with but will require more diligent sealing and painting to protect it from the elements.
Hardware
You’ll need hinges, a latch or handle, and screws. Opt for galvanized or stainless steel hardware to prevent rust.
Step 3: Essential Tools You’ll Need
Having the right tools makes the job much easier and safer. Here’s a list of what you’ll likely need:
- Tape Measure
- Pencil
- Circular Saw or Miter Saw (for straight cuts)
- Jigsaw (optional, for any curved cuts or if you don’t have a miter saw)
- Drill/Driver with drill bits and driver bits
- Clamps (at least two)
- Safety Glasses
- Work Gloves
- Sandpaper or Orbital Sander
- Wood Glue (exterior grade)
- Screws (exterior grade, appropriate length)
- Paintbrush or Roller
- Primer and Exterior Paint or Stain
Step 4: Designing Your Shed Door
For a simple shed door, a basic plank-style or a braced panel design is ideal for beginners. A common and effective design involves a few horizontal or diagonal braces connecting vertical planks.
Option 1: Simple Plank Door
This is the easiest. You’ll cut several planks of wood to your desired door width and assemble them side-by-side. To add strength and prevent warping, you’ll attach one or two cross braces on the inside.
Option 2: Braced Panel Door
This design uses a frame with panels inserted. For a beginner, you can simplify this by creating a basic frame and then attaching plywood to the front, adding braces on the back for stability.
For this guide, we’ll focus on a simple, robust plank-style door with bracing, as it’s very achievable for DIYers.
Step 5: Cutting Your Wood
Now, let’s get cutting! Based on your measurements from Step 1, you’ll cut your materials.
- Planks: Cut your chosen wood planks to the determined door height. Ensure all your planks are exactly the same length for a neat finish.
- Braces: Cut two or three pieces for the back braces. These should be cut to fit horizontally across the back of your planks, or diagonally for added strength. Measure the distance between the outer edges of your door assembly and cut your braces to fit snugly. For a typical shed door, you might have one longer horizontal brace across the top and another across the bottom, or one long diagonal brace from corner to corner.
Safety Tip: Always wear safety glasses when cutting wood. Ensure your work area is clear and stable. If using a circular saw, use a straight edge or guide to ensure accurate cuts.
Step 6: Assembling the Door
This is where your door starts to take shape. We’ll assemble the plank door with braces.
- Lay Out Planks: Lay your cut planks side-by-side on a flat surface. Make sure the edges are butted up tightly against each other.
- Position Braces: Place your cut braces across the back of the planks. If you’re using horizontal braces, position one near the top and one near the bottom, making sure they are perpendicular to the planks. If using a diagonal brace, position it from one top corner to the opposite bottom corner.
- Mark and Glue: Mark the positions of the braces on the planks. Apply a generous bead of exterior wood glue along the lines where the braces will meet the planks.
- Secure Braces: Carefully position the braces back onto the glued lines. Use clamps to hold the planks and braces firmly together.
- Pre-drill and Screw: Pre-drill pilot holes through the braces and into each plank. This prevents the wood from splitting. Then, drive exterior-grade screws through the braces into each plank. Use at least two screws per plank per brace.
Tip: For extra strength, you can also glue the edges of the planks where they meet each other, though this is more critical for wider doors or if you’re not using a plywood panel.
Step 7: Sanding and Finishing Touches
A little sanding goes a long way in making your door look professional and protecting the wood.
- Sand Smooth: Once the glue is dry, use sandpaper or an orbital sander to smooth out any rough edges or surfaces. Pay attention to the edges and corners.
- Clean Off Dust: Wipe the entire door down with a damp cloth or tack cloth to remove all sawdust.
- Prime: Apply a good quality exterior primer to all surfaces of the door, including edges and the back. This is crucial for paint adhesion and wood protection.
- Paint or Stain: Once the primer is dry, apply two coats of exterior-grade paint or stain. Choose a color that complements your shed and your home. Make sure to paint the edges thoroughly to seal them from moisture.
A well-sealed door will last much longer outdoors. For more information on protecting wood outdoors, check out the U.S. Forest Service‘s resources on wood preservation.
Step 8: Installing the Hardware
Now it’s time to add the hardware that will allow you to hang and operate your door.
Hinges
For a shed door, strap hinges or T-hinges are common. They are sturdy and provide good support.
- Position Hinges: Decide where you want your hinges. Typically, two hinges are sufficient for a shed door. Position them so they are evenly spaced along the edge of the door that will attach to the frame.
- Mark and Pre-drill: Hold the door in place (you might need someone to help, or use shims) and mark the screw locations for the hinges on both the door and the frame. Remove the door and pre-drill pilot holes.
- Attach Hinges: Screw the hinges securely to the door. Then, re-position the door and screw the hinges to the shed frame.
Latch and Handle
Choose a simple latch mechanism suitable for outdoor use. A gate latch or a barrel bolt works well.
- Install Latch: Position the latch on the opposite side of the hinges. Follow the manufacturer’s instructions for your chosen latch to install it securely. This usually involves marking, pre-drilling, and screwing.
- Add Handle (Optional): If your latch doesn’t have a built-in handle, you can add a simple wooden pull or a metal handle.
Step 9: Hanging the Door
This is the moment of truth! With the hardware in place, you’re ready to hang your new door.
- Position the Door: Carefully lift the door and position it within the frame. Use shims to hold it in place and ensure your desired clearance is maintained on all sides.
- Secure Hinges to Frame: With the door held steady and properly aligned, use your pre-drilled holes to screw the hinges securely into the shed’s door frame.
- Test the Swing: Gently open and close the door to ensure it swings freely without binding or rubbing. Make any necessary adjustments to the hinges or shims.
- Install Latch: Once the door hangs correctly, install the strike plate for your latch on the door frame, ensuring it aligns perfectly with the latch mechanism on the door.
Troubleshooting Common Shed Door Issues
Even with the best planning, you might encounter a few hiccups. Here are some common issues and how to fix them:
| Problem | Possible Cause | Solution |
|---|---|---|
| Door won’t close properly | Door is warped, or frame is out of square. | Check for warping. If warped, you may need to add more bracing or consider replacing the wood. If the frame is out of square, you might need to adjust the hinges or reinforce the frame. |
| Door scrapes the floor | Door is too long, or the ground is uneven. | Carefully trim the bottom of the door. If the ground is uneven, you may need to add a threshold or a small ramp. |
| Hinges squeak | Lack of lubrication. | Apply a lubricant like WD-40 or graphite powder to the hinge pins. |
| Latch doesn’t catch | Misaligned strike plate or latch mechanism. | Adjust the position of the strike plate on the frame or the latch on the door. |
| Door feels flimsy | Insufficient bracing or thin material. | Add more bracing on the back of the door. Consider using thicker wood or reinforcing with a plywood panel. |
Enhancing Your Shed Door’s Durability and Appearance
Once your door is functional, you can think about making it even better. Here are some ideas:
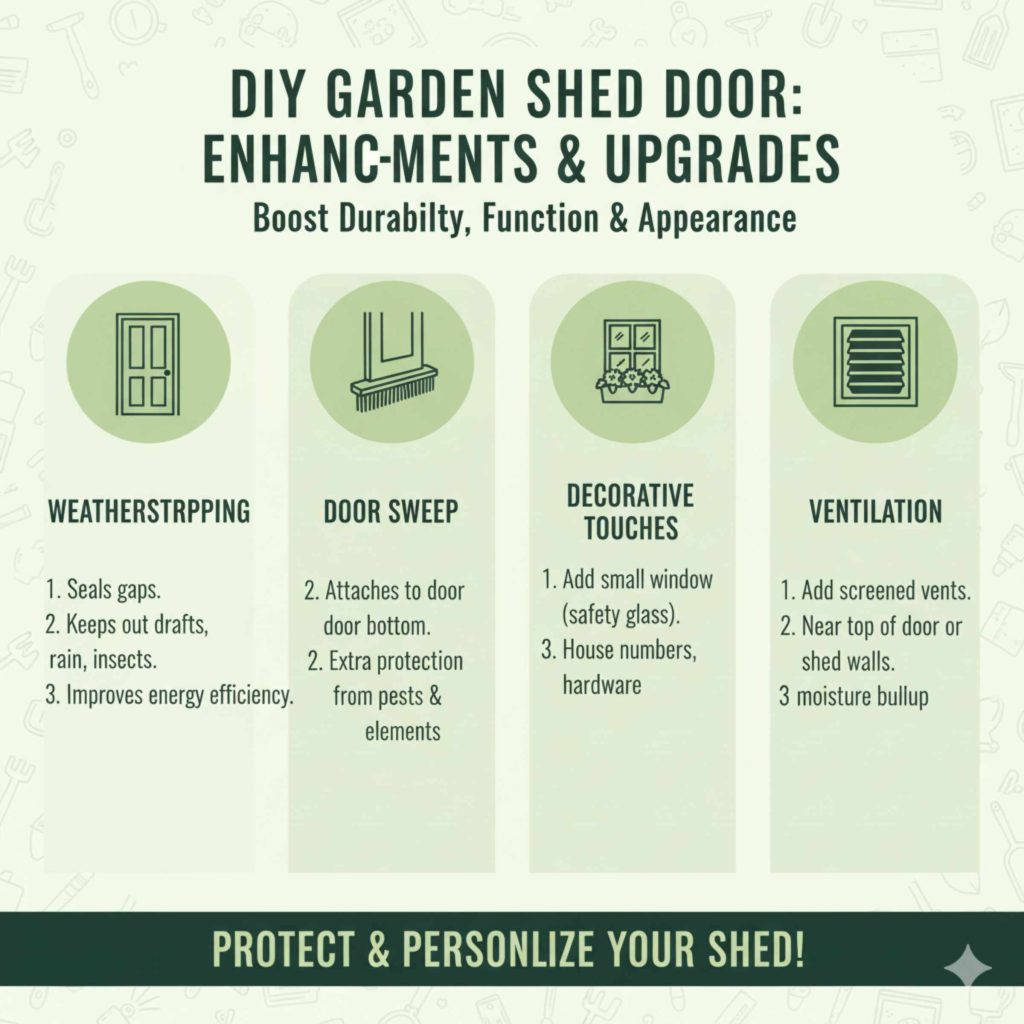
- Weatherstripping: Adding weatherstripping around the edges of the door can help keep out drafts, rain, and insects, improving your shed’s energy efficiency and cleanliness. You can find various types at most hardware stores. For guidance on application, consult resources from organizations like Energy.gov.
- Door Sweep: A door sweep attached to the bottom of the door can provide an extra layer of protection against pests and the elements.
- Decorative Touches: You can add decorative elements like a small window (ensure it’s safety glass), a house number, or decorative hardware to give your shed door more character.
- Ventilation: If your shed needs ventilation, consider adding small, screened vents near the top of the door or in the shed walls.
Frequently Asked Questions About Making a Shed Door
Q1: What’s the easiest way to make a shed door?
The easiest way for beginners is to create a simple plank door. Cut several pieces of wood to your desired door height, butt them together, and secure them with horizontal or diagonal braces on the back using glue and screws.
Q2: What type of wood is best for an outdoor shed door?
Exterior-grade plywood is a good, affordable option. For natural durability, cedar is excellent but pricier. Pine is budget-friendly but requires thorough sealing and painting to withstand the weather.
Q3: How much clearance should I leave around a shed door?
A general rule is to leave about 1/8 inch (around 3mm) of clearance on the sides and top of the door for smooth operation. The bottom can have a slightly larger gap, around 1/4 inch (6mm), to prevent dragging.
Q4: What kind of hinges should I use for a shed door?
Sturdy strap hinges or T-hinges are recommended for shed doors. Ensure they are made of galvanized or stainless steel to resist rust.
Q5: Do I need to paint or seal my shed door?
Yes, absolutely. Painting or staining with an exterior-grade finish is crucial for protecting the wood from moisture, UV rays, and pests, significantly extending the life of your door.
Q6: Can I build a shed door without fancy tools?
You can build a basic shed door with a handsaw, a drill, a tape measure, and a hammer. However, tools like a circular saw or miter saw will make cutting much faster and more accurate, leading to a better result.
Q7: How do I prevent my shed door from warping?
Using stable wood like exterior-grade plywood or cedar helps. Adding sturdy braces on the back of the door is essential. Ensuring the door is properly sealed with paint or stain on all surfaces, especially the edges, also prevents moisture absorption that leads to warping.
Conclusion: Your Shed, Secured and Stylish
There you have it – a complete, step-by-step guide to crafting your very own garden shed door. We’ve covered everything from precise measurements and material selection to assembly, finishing, and installation. Remember, the key to success is careful planning, accurate cuts, and using the right materials and techniques. By following these instructions, you’ve not only built a functional door but also added a touch of personal craftsmanship to your outdoor space. This project is a fantastic way to boost your DIY confidence and improve the security and appearance of your shed. So, grab your tools, take your time, and enjoy the satisfaction of a job well done!