How To Paint Pine Cones To Look Like Lilacs (Step-By-Step)
This guide teaches you how to paint pine cones to resemble beautiful lilac flowers. You will learn about the materials needed and follow simple steps to achieve a realistic look. This is perfect for adding a unique, handmade touch to your home decor.
Understanding the Transformation
Pine cones are amazing. They come in so many shapes and sizes. The way they open up can sometimes look like petals.
Lilacs are clusters of small, delicate flowers. They grow in beautiful, soft bunches. Our goal is to use the shape of the pine cone and some clever painting to make them look like these flowers.
It’s about seeing the potential in nature. We’re giving a second life to something found on the ground.
This painting project is a fun way to get creative. It’s also a great activity for many ages. You don’t need to be a professional artist.
Just a little patience and the right colors will do the trick. We’ll break down the process so it’s easy to follow. You’ll be surprised at the results you can get with just a few supplies.
Let’s start by gathering what we need.
Gathering Your Supplies
Before we start painting, we need to get our materials ready. Having everything in one place makes the process smooth. It avoids interruptions.
Think of it like preparing ingredients before cooking. You need a few key items for this project.
Essential Materials
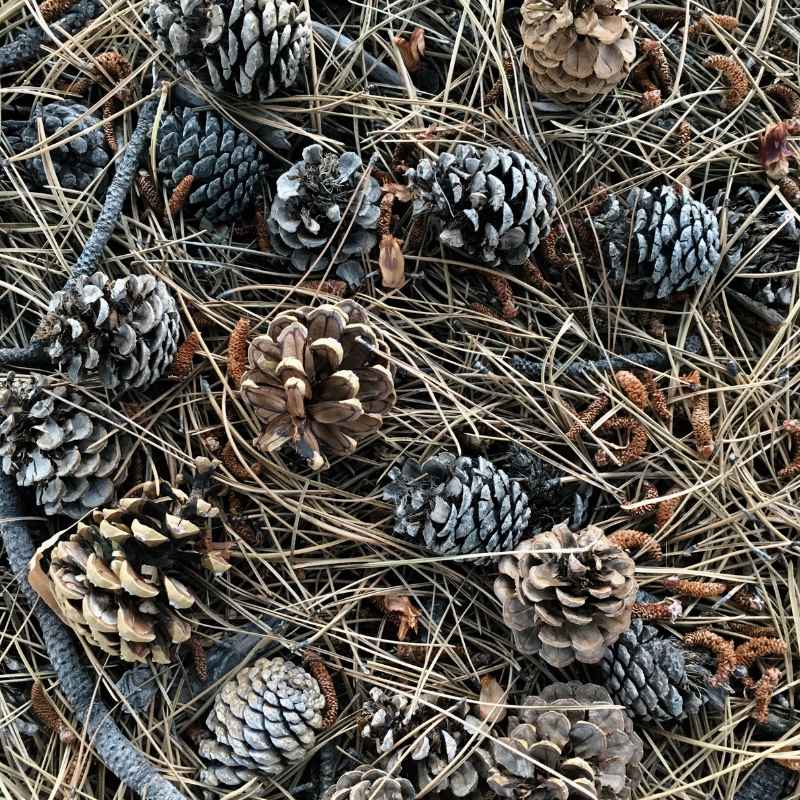
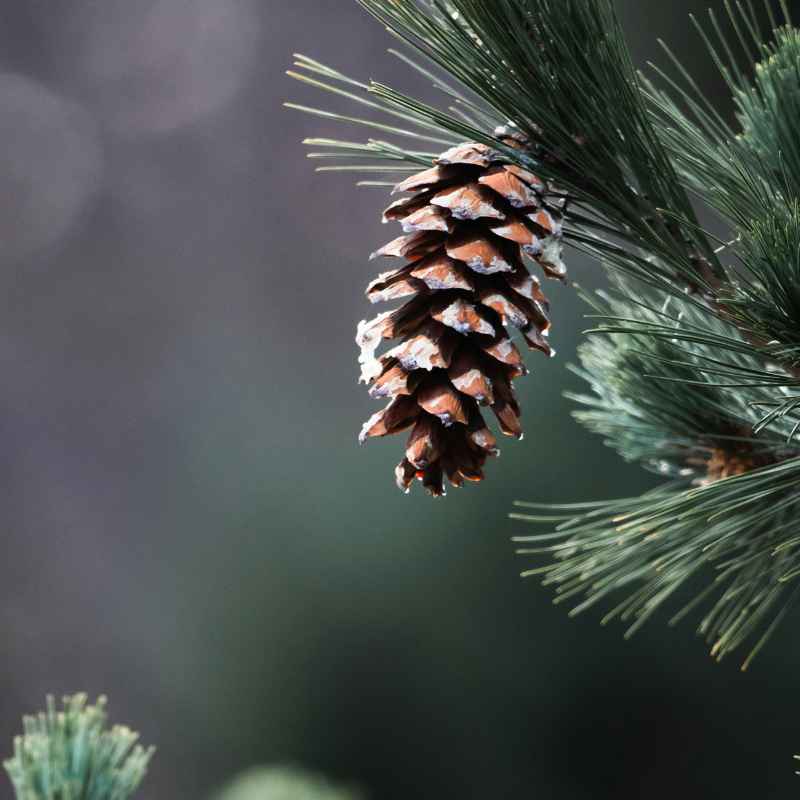
Pine Cones: Look for pine cones that are open. Wider cones work best. They should have scales that can mimic petals.
Clean them gently. You can brush off dirt or debris. Some people even bake them to kill bugs.
Bake at a low temperature, around 200°F (93°C), for about 30-45 minutes. Let them cool completely.
Acrylic Paints: You’ll need a few colors. For lilacs, think about shades of purple. A light lavender, a deeper violet, and maybe some pink or a touch of white are good.
You can also use a bit of green for any added leaves.
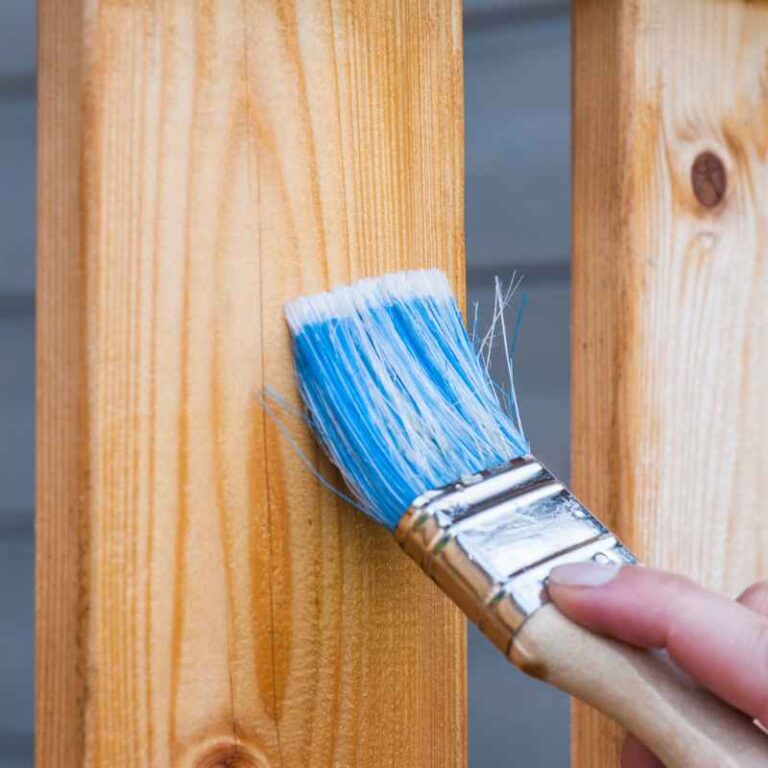
Paint Brushes: A few different sizes are helpful. A medium-sized brush for base coats. A smaller, finer brush for details.
A very small brush can be useful for tiny dots.
Water Cup: For rinsing brushes between colors.
Paper Towels or Cloth: For drying brushes and wiping excess paint.
Sealant (Optional): A clear spray sealant can protect the paint. It also gives a nice finish. Matte or satin finishes work well.
Gloves (Optional): To keep your hands clean.
Newspaper or Drop Cloth: To protect your work surface.
Choosing the right pine cones is important. The shape matters a lot. If your pine cones are closed tightly, they might not work as well.
You can try to open them by leaving them in a warm, dry place. Or, as mentioned, a gentle bake can help them unfurl. Make sure they are completely dry before painting.
Preparing Your Workspace
Painting can get messy. It’s smart to prepare your area. Lay down old newspapers or a drop cloth.
This protects your table or floor. If you’re doing this with kids, this step is extra important! Ensure good ventilation if you plan to use a spray sealant later.
Have all your supplies within reach. This makes the painting process smooth. You won’t have to stop and search for something.
This preparation step is key to a stress-free craft time. It sets you up for success.
Step-by-Step Painting Guide
Step 1: Base Coat
The first layer of paint is important. It covers the natural color of the pine cone. It also gives a good surface for other colors.
For lilacs, we want a light, soft color as the base. A very light lavender or even a pale pink is a good start.
Dip your medium brush into the paint. Don’t overload the brush. Lightly coat the scales of the pine cone.
You don’t need thick layers. A thin, even coat is best. Make sure to get paint down between the scales.
This will help hide the brown pine cone color better.
Quick Paint Tip
Color Mixing: If you don’t have a light lavender, mix white with a bit of purple. Add a tiny drop of pink too. Test the color on a scrap piece of paper.
Get the shade just right before you paint the pine cone.
Drying Time: Let the base coat dry completely. This might take 15-30 minutes depending on humidity. Rushing this step can make your paint job messy.
Sometimes, one coat isn’t enough. If the brown of the pine cone still shows through, apply a second thin coat. Wait for the first coat to dry before adding the second.
This ensures a smooth, even finish.
Step 2: Adding Depth with Deeper Colors
Now, we add the magic. Lilacs have darker shades within the cluster. This gives them dimension.
Take your deeper purple or violet paint. Use your smaller brush for this.
Lightly dab the deeper color onto the tips of some scales. You can also brush it into the creases between the scales. The goal isn’t to cover everything.
It’s to add hints of darker color. This makes the pine cone look more like a bunch of flowers.
Think about where shadows would naturally fall. The insides of the scales, or where scales overlap, are good places for darker shades. Don’t go overboard.
A little goes a long way. We want a natural look, not a painted-on look.
Contrast Matrix: Lilac vs. Painted Pine Cone
Normal Lilac: Soft, velvety petals. Many tiny blooms form a cluster. Colors blend naturally.
Subtle shadows and highlights.
Painted Pine Cone: Stiff, woody scales. One “bloom” formed by the cone shape. Colors applied to mimic bloom.
Highlights and shadows painted on.
Keep your brush strokes light. You can even use a dry-brush technique. This means putting very little paint on your brush.
Then, lightly brush it over the scales. This picks up the texture and adds subtle color.
Step 3: Highlights and Fine Details
Lilac flowers have bright spots where light hits them. To mimic this, use a lighter color. You can use a pale lavender, a touch of pink, or even a tiny bit of white.
Use your smallest brush for this.
Gently dab a tiny bit of highlight color on the very tips of some scales. Focus on scales that would naturally catch the light. This adds a sense of realism.
It makes the painted pine cone “pop.”
If you want to go the extra mile, you can add tiny dots. Use your finest brush and a slightly darker color. Dot these between the “petals” (scales) to suggest more tiny blooms.
This is optional, but it adds a lot of detail.
Remember to step back and look at your work often. This helps you see what it needs. Is one side too dark?
Does it need more highlights? Adjust as you go. The goal is a soft, floral appearance.
Step 4: Adding a Touch of Green (Optional)
Sometimes, a hint of green can make the painted pine cone look more like a natural floral arrangement. You can paint a small area at the very base of the pine cone. This can suggest a stem or leaves.
Use a medium green color. Lightly brush it around the bottom part of the cone. You don’t need much.
Just a little bit to ground the “flower.” Make sure it looks natural. Don’t paint it too brightly or it might look out of place.
You could also add a small painted leaf shape. Use your fine brush for this. Paint one or two simple leaf shapes near the base.
This is purely for decoration and artistic effect. It’s not essential but can enhance the final look.
Step 5: Sealing Your Creation (Optional)
Once all the paint is completely dry, you can apply a sealant. A clear spray sealant will protect the paint. It will also give the pine cone a finished look.
Matte or satin finishes are usually best. They look more natural.
Spray the sealant in a well-ventilated area. Hold the can about 10-12 inches away from the pine cone. Apply a light, even coat.
Let it dry completely. You might need a second coat for extra protection.
Quick Scan Table: Painting Stages
| Stage | Color Focus | Brush Size | Goal |
|---|---|---|---|
| Base Coat | Light Lavender/Pink | Medium | Uniform coverage |
| Depth | Deep Purple/Violet | Small | Add shadows/dimension |
| Highlights | Pale Lavender/White | Fine | Create light reflection |
| Green (Optional) | Medium Green | Medium/Fine | Suggest stem/leaves |
The sealant helps the paint last longer. It also makes the pine cone easier to clean. If you plan to use these for outdoor decor, a sealant is highly recommended.
It provides some protection from the elements.
Real-World Context: Where to Use Your Lilac Pine Cones
Now that you have your beautiful lilac pine cones, what can you do with them? There are so many wonderful ways to display your handmade treasures.
Home Decor: Place them in a decorative bowl on a coffee table or mantelpiece. They look lovely in a vase. You can group several together.
They add a touch of natural elegance to any room. The soft colors blend well with many interior styles.
Seasonal Displays: These are perfect for spring or early summer decor. They capture the essence of lilac season. You can combine them with other floral crafts.
Or use them in a centerpiece for a special occasion.
Craft Projects: Glue them onto greeting cards or gift tags. They can be part of a larger wreath or garland. Imagine a handmade wreath with these as accents.
It would be stunning.
Wreaths and Garlands: A simple string can turn them into a garland. You can also hot glue them onto a plain wreath form. They offer a unique alternative to traditional decorations.
The natural texture of the pine cone combined with the soft painted colors creates a unique visual. They are a conversation starter. People will ask how you made them!
What This Means for You: When is it “Normal”?
This project is all about artistic interpretation. There’s no strict “right” or “wrong” way to paint them. What’s “normal” is that the final result should evoke the feeling of lilacs.
When it’s Normal:
The colors you choose are in the purple, pink, or white family. The painting looks soft and floral, not harsh or artificial. You can see some of the pine cone’s natural texture showing through.
The painted pine cone resembles a cluster of small flowers. * You are happy with the way it looks!
When to Re-evaluate:
The pine cone looks more like a painted object than a flower. The colors are too bright or jarring. The paint is applied too thickly, hiding the pine cone’s structure.
You’re not enjoying the process!
This is a craft. The most important thing is to have fun. If your pine cones don’t look exactly like real lilacs, that’s okay.
The goal is to create something beautiful that inspires you.
Tips for Different Pine Cone Shapes
Not all pine cones are the same. The shape of the cone you pick will affect the final look.
Observational Flow: Pine Cone to Lilac
1. Select Cone: Choose an open pine cone. Wider is better.
2. Clean Cone: Brush off dirt. Bake gently if needed.
3. Base Coat: Apply a light, soft color.
4. Add Depth: Dab darker colors into crevices.
5. Add Highlights: Lightly brush lighter colors on tips.
6. Add Green (Optional): Base or small leaf details.
7. Seal (Optional): Protect the paint.
8. Display: Enjoy your creation!
Wider, flatter cones: These might look more like a single, large bloom. Focus on creating soft edges and a rounded shape. You can paint the tips of the scales to create a fuller look.
Blending colors well is key here.
Taller, more conical cones: These can mimic a more elongated cluster of lilacs. Paint the scales at the top more densely. Use lighter colors towards the top and darker colors towards the base.
This can create a sense of depth and shape.
Don’t be afraid to experiment. Try different color combinations. Look at pictures of real lilacs for inspiration.
Notice how the colors blend. See where the shadows and highlights fall. You can adapt the painting technique to suit the pine cone’s unique shape.
Making Different Shades of Lilac
Lilacs come in a range of beautiful colors. You can recreate this variety with your paints.
Stacked Micro-sections: Color Blends
Classic Lavender: White + Purple. Start with more white. Add purple slowly.
Deep Violet: Purple + a tiny touch of blue. Or purple + a very small amount of black.
Soft Pink Lilac: White + Pink. Add a hint of purple or lavender.
White Lilac: Pure White. Add a tiny touch of grey for shadow. Or a very, very pale lilac.
Blue Lilac: White + Blue. Add a small amount of purple to get the lilac tone.
Mixing your own colors is part of the fun. It allows you to create custom shades. Always mix enough of a color before you start painting a whole pine cone.
It can be hard to match an exact shade later. Test your mixed colors on paper first.
When painting, you can blend colors directly on the pine cone. Apply a bit of your base color. While it’s still wet, add a touch of darker color.
Use your brush to gently blend the edges. This creates a softer, more natural look than just slapping colors on.
Troubleshooting Common Issues
Even with the best intentions, sometimes things don’t go as planned. Here are a few common issues and how to fix them.
Quick Fixes & Tips
Problem: Paint is too thick and lumpy.
Fix: Use less paint on your brush. Try thinning your paint slightly with water. Apply thinner coats.
Problem: The brown pine cone color shows through too much.
Fix: Apply another thin coat of your base color. Ensure you get paint down between the scales.
Problem: The colors look too flat or one-dimensional.
Fix: Add more depth. Dab darker colors into the crevices. Add more highlights to the tips of scales.
Problem: My pine cone doesn’t look like a lilac at all.
Fix: Take a break and look at photos of real lilacs. What are they missing? More subtle color blending?
Softer edges? Adjust your technique.
Problem: Paint is drying too fast.
Fix: Work in smaller sections. Have your water and brushes ready. You can also use a paint retarder, but that’s usually for more advanced work.
Don’t get discouraged if your first attempt isn’t perfect. Every craft is a learning process. The more you practice, the better you’ll become.
The imperfect ones can still be charming! They have character.
Frequently Asked Questions
Can I use spray paint instead of acrylics?
You can use spray paint, but acrylics offer more control. Spray paint can be tricky to apply evenly to the nooks and crannies of a pine cone. It can also be harder to get subtle color blending.
If you use spray paint, do so in very light coats and in a well-ventilated area.
How do I make the painted pine cones last longer?
Using a clear sealant like a matte or satin spray finish is the best way to protect your painted pine cones. It helps prevent chipping and fading. Store them away from direct sunlight and high humidity for best results.
What is the best type of pine cone to use?
Pine cones that are already open and have well-defined scales work best. The scales act like petals. If your pine cones are closed, you can try to open them by leaving them in a warm, dry place for a few days, or baking them at a low temperature (around 200°F or 93°C) for 30-45 minutes.
Do I need to clean the pine cones before painting?
Yes, it’s a good idea. Brush off any loose dirt, needles, or debris. You can also bake them as mentioned above.
This helps ensure the paint adheres well and removes any unwanted little critters.
Can I use other types of natural items?
Absolutely! This painting technique can be adapted for other natural items like acorns, seed pods, or even small branches. The key is to look for shapes that can be interpreted as floral elements.
Experimentation is encouraged!
How long does it take to paint one pine cone?
Painting one pine cone can take about 30 minutes to an hour of active painting time. However, you need to factor in drying time between coats and for the sealant. So, a single pine cone might take a few hours from start to finish, spread out.
Conclusion
Transforming ordinary pine cones into beautiful lilac blooms is a rewarding craft. It taps into your creativity. It also lets you appreciate nature in a new way.
You’ve learned about the supplies, the steps, and how to troubleshoot. Now you can create your own unique floral decor. Enjoy the process and the lovely results!
Sponsored / affiliate links. As an Amazon Associate I earn from qualifying purchases. I may earn additional commission from eligible campaigns.