How To Tone Down Orange Wood Without Sanding (Easy Ways)
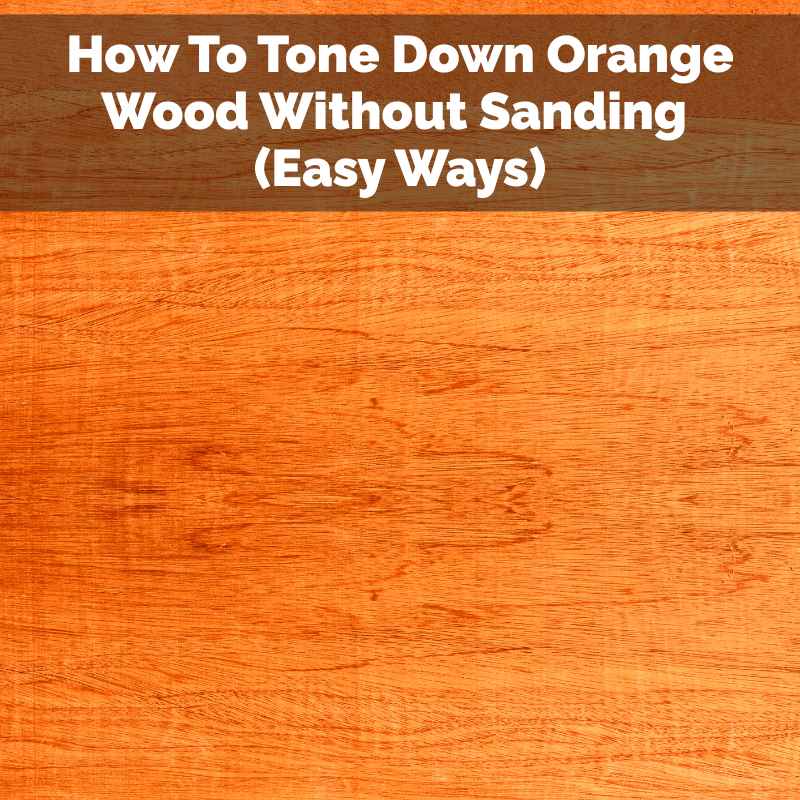
You can tone down orange wood without heavy sanding by using specific wood stains, glazes, or tints. These products add a new color layer over the existing finish. They alter the wood’s appearance, reducing the orange tone to a more neutral or desired shade.
This process is less labor-intensive than sanding. It works best on wood that already has a clear or light finish.
Understanding Wood Tones
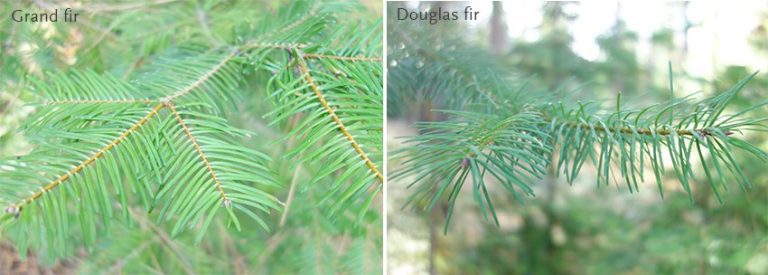
Wood is a natural material. Its color can vary a lot. Many popular wood types, like pine, oak, and even some fir, have a natural undertone that leans towards orange or red.
This is just how the tree grew. The way wood is finished also plays a big part. Clear coats can make these natural orange tones look even stronger.
Stains add color, but sometimes a stain might bring out more orange than you wanted. Understanding these natural colors helps you pick the right way to change them.
Think about how different woods look. Cherry wood often has reddish tones. Maple can be quite pale.
Walnut is darker and richer. Pine is known for its knots and its lighter, often orangey, color. When you want to change a wood’s look, you’re essentially adding a new layer of color.
This new color needs to work with or cover the original color underneath.
Why Wood Looks Orange
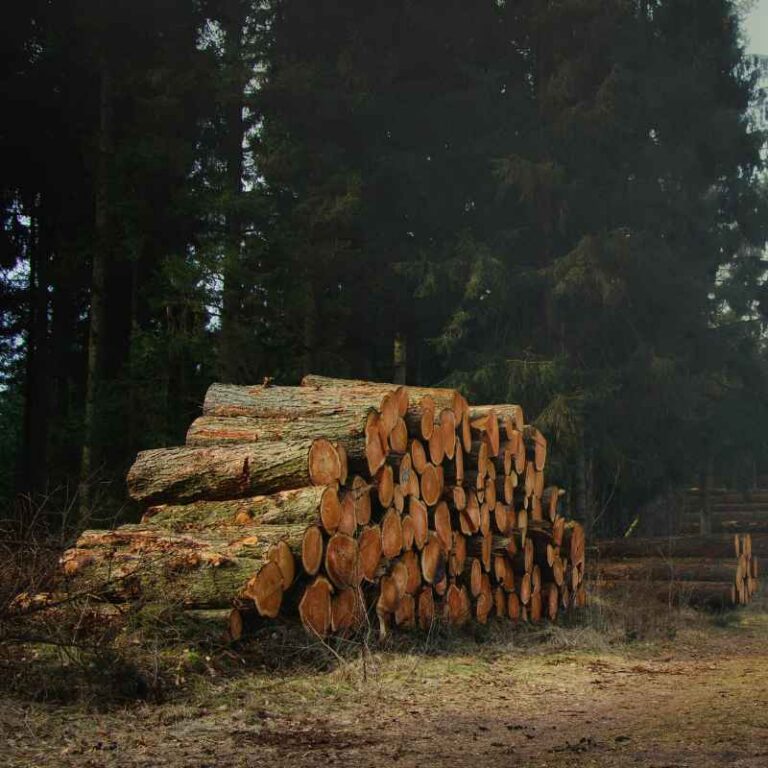
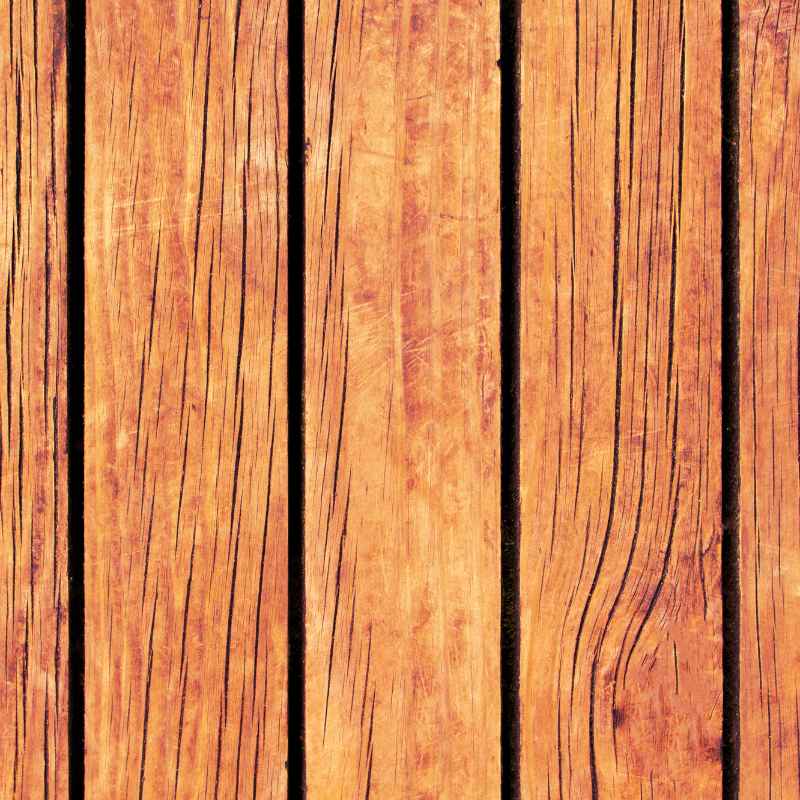
Wood gets its color from natural pigments called tannins and extractives. These pigments vary depending on the tree species, where it grew, and even the soil. Some trees just naturally have more reddish-brown or orangey pigments.
Pine, for example, often has resin canals that can make it look very orange when stained or finished.
The age of the wood can also matter. Over time, wood exposed to light and air can oxidize. This process can deepen or change its color.
Sometimes, a previous finish or stain was applied incorrectly or was just the wrong shade. This can leave the wood with an unwanted orange cast. Even the type of finish used can make orange tones pop.
A glossy polyurethane, for instance, can reflect light in a way that amplifies warm tones.
Many people find that the original color of their wood furniture or floors is just a bit too bright. They desire a more subdued, sophisticated look. This is where toning down the orange comes in.
It’s about balance. You want to keep the beauty of the wood but make it fit your home’s overall aesthetic better.
The Challenge of Orange Wood
Having too much orange in your wood can make a room feel dated. It might clash with your wall colors or other decor. You might have a piece of furniture you love for its style, but its orange hue feels out of place.
Or perhaps you’ve refinished a floor, and the new stain came out more orange than you expected. It happens to many of us, and it can be quite frustrating.
The instinct is often to reach for the sandpaper. Sanding wood is effective. It removes the old finish and the top layer of wood.
This lets you start fresh with a new stain or finish. However, sanding is a lot of work. It creates a mess of dust that gets everywhere.
It also requires careful technique to avoid damaging the wood or creating an uneven surface. For many, this is a barrier to getting the look they want. They are searching for solutions that are easier and cleaner.
This search leads people to wonder if there are ways to achieve a toned-down look without the heavy lifting of sanding. Can you paint over it? Can you use a different kind of stain?
The good news is, yes, you often can. There are several techniques that can alter the color of wood without removing the existing finish completely.
Personal Experience: That Awkward Orange Table
I remember this one time, about five years ago. I’d found this amazing vintage pine coffee table at a flea market. It had such a great shape, solid wood, and the price was incredible.
I envisioned it fitting perfectly in my living room. I brought it home, cleaned it up, and decided to give it a new coat of sealant to protect it and give it a nice sheen. I used a common water-based polyurethane.
I thought, “What could go wrong?”
Well, the moment it dried, I stared at it in horror. The “nice sheen” had turned the light pine into a glaring, almost neon, orange. It looked like something from a 1980s furniture catalog.
My carefully curated living room suddenly had this bright, jarring orange centerpiece. I felt a pang of panic. All that money saved on the table felt wasted if it was going to be an eyesore.
My first thought was, “Sand it. I have to sand it all off.” I pictured the dust, the fumes, the sheer exhaustion. I almost gave up and decided to just cover it with a big runner.
But I loved the table’s shape too much. That’s when I started researching ways to fix it without going full renovation mode. It was a frustrating evening, staring at that table and feeling stuck.
Option 1: Using Wood Glazes
Wood glazes are fantastic for this. A glaze is a translucent colorant. It’s thinner than paint.
You apply it over an existing finish. It settles into the wood grain and any texture. It adds a new layer of color without hiding the wood’s natural beauty completely.
For orange wood, you’d want a glaze with a cooler tone. Think of a gray, a cooler brown, or even a subtle green.
The process is usually quite simple. First, make sure the wood surface is clean and dry. You might want to lightly scuff sand it.
This helps the glaze adhere better. But you don’t need to sand down to bare wood. Then, you apply the glaze with a brush or cloth.
Work in small sections. You wipe off the excess glaze with a clean cloth. The longer you leave it, the darker the tone will be.
You can build up the color slowly. This gives you a lot of control. It’s perfect for dialing in just the right amount of color correction.
Glazes are great because they allow the wood grain to show through. This keeps the wood looking natural. They are also very forgiving.
If you make a mistake, you can often wipe it off with a solvent before it dries. This method is less dusty and much faster than sanding. It’s a real game-changer for unwanted orange tones.
Wood Glaze Quick Guide
What it is: A thin, translucent colorant for wood.
How it works: Adds a new color layer over existing finish.
Best for: Toning down orange, enhancing grain.
Steps:
- Clean the surface.
- Lightly scuff sand (optional but helps).
- Apply glaze with a brush or cloth.
- Wipe off excess with a clean cloth.
- Let it dry.
- Apply a top coat (polyurethane, etc.) for protection.
Key Benefit: Easy to control color, less mess.
Option 2: Using Tinted Polyurethane or Varnish
Many brands offer polyurethane or varnish that already has color added. These are sometimes called “toners” or “tinted finishes.” They work much like a glaze but are often a bit thicker. They can be a very efficient way to change the wood’s color.
You’re essentially staining and sealing in one step. This saves time and effort.
For orange wood, you’d look for a tinted finish that has a cooler tone. A gray-brown or a cool beige would be a good choice. These colors can cancel out the red and orange tones.
You apply them just like regular polyurethane. You’ll want to use thin coats. Apply one coat, let it dry, and then assess the color.
If you need more color correction, apply another thin coat.
It’s important to test this on a hidden area first. The color can look different on your specific wood than it does on the can. The key here is thin coats.
Thick coats can look uneven or cakey. They might hide the wood grain too much. This method is great for a faster makeover.
It provides protection and color in one product.
Tinted Finish Tips
- Choose the Right Color: Look for cool browns, grays, or beiges.
- Test First: Always test on an inconspicuous area.
- Apply Thin Coats: Build color gradually for a better look.
- Work Quickly: Spread evenly to avoid lap marks.
- Ventilate: Ensure good airflow during application and drying.
Option 3: Water-Based Stains or Dyes
Water-based stains and dyes offer a different approach. Unlike oil-based stains, water-based products often have a clearer base. This can mean less of their own yellow or orange tint.
They also tend to be more forgiving and easier to clean up. Dyes, in particular, are very concentrated. They add pure color without much opacity.
This means they add color but still let the wood grain show clearly.
To tone down orange wood, you’d choose a water-based stain or dye with a color that counteracts orange. Grays, cool browns, or even a touch of green can work well. You can often mix dyes to create custom colors.
This gives you a lot of freedom. The process is similar to regular staining. Apply the stain, let it penetrate, and wipe off the excess.
Because dyes are so potent, it’s crucial to test them. A little goes a long way. You can apply a dye, let it dry, and then apply a glaze or tinted finish over it.
This layered approach can give you very precise color control. It’s a powerful combination for achieving specific looks.
Dye vs. Stain for Color Correction
Wood Dye:
- Penetration: Dyes soak deep into wood fibers.
- Clarity: They add pure color, letting grain show.
- Potency: Very concentrated, use sparingly.
- Best for: Deep color change, natural look.
Water-Based Stain:
- Penetration: Soaks in, but can be less intense than dye.
- Opacity: May contain pigments that add a bit of color.
- Ease of Use: Generally easier to control than oil-based.
- Best for: Moderate color change, easier application.
Option 4: White or Gray Washes
A whitewash or gray wash is a very popular technique for achieving a lighter, more rustic look. It’s also excellent for subduing strong orange tones. A wash is essentially watered-down paint.
You mix white or gray latex paint with water. A common ratio is 1:1, but you can adjust it. More water means a more subtle effect.
You apply this watery paint mixture to the wood. Then, while it’s still wet, you wipe it off. This allows the white or gray color to settle into the wood grain and any crevices.
It lightens the overall color. It also adds a subtle layer of gray or white that can cancel out the orange. The result is a softer, more muted appearance.
The wood grain still shows through, but the harsh orange is gone.
You can vary the intensity by changing the paint-to-water ratio. For a strong orange, you might start with a 1:1 ratio. For a subtler effect, try 1:2 or even 1:3.
After the wash dries, you can apply a clear topcoat to seal it. This method is very beginner-friendly and doesn’t require perfect application.
White/Gray Wash Technique
- Mix: Combine latex paint (white or gray) with water.
- Ratio: Start with 1:1 (paint:water) and adjust as needed.
- Apply: Brush onto wood in small sections.
- Wipe: Immediately wipe off excess with a clean cloth.
- Repeat: Add more coats for a lighter look, or dilute more for less.
- Seal: Once dry, apply a protective topcoat.
Option 5: Liming Wax
Liming wax is another great option for a muted, textured look. It’s especially good for open-grained woods like oak. When you apply liming wax, it’s a white or off-white paste.
It’s designed to be pushed into the wood grain. It then dries, leaving the white color in the pores. This highlights the grain texture.
The white residue left in the grain acts as a brightener. It can effectively tone down strong orange or red undertones. It gives the wood a bleached or whitewashed appearance but with more depth.
The process involves applying the wax liberally with a brush or cloth. Then, you use a clean cloth to wipe away the excess. This leaves the white filler in the grain.
You typically need to apply a protective topcoat over the wax for durability.
Liming wax works best on raw or stripped wood. However, you can sometimes use it over a very thin, clear coat. The key is that it needs to get into the grain.
If your wood has a thick, glossy finish, it might not adhere well. You may need to lightly scuff sand it first. It gives a very unique, natural, and soft look.
Liming Wax: A Closer Look
Purpose: To fill grain with white, subduing undertones.
Appearance: Creates a light, textured, often “beachwood” look.
Application:
- Ensure wood is clean and scuffed (if sealed).
- Apply wax generously with a brush or cloth.
- Work it into the grain.
- Wipe off excess with a clean, lint-free cloth.
- Let it dry completely.
- Apply a clear protective topcoat (e.g., wax or poly).
Real-World Context: When to Use Which Method
The best method for toning down orange wood depends on a few factors. First, consider the existing finish. Is it sealed, stained, or bare wood?
For sealed wood with a finish you don’t want to remove, glazes, tinted finishes, or washes are your best bet. These work on top of the existing layer.
If you have bare wood or have stripped it down, you have more options. You can use water-based stains or dyes for a deep color change. Liming wax is excellent for adding texture and a lightened look.
The type of wood also matters. Open-grained woods like oak or ash really benefit from glazes or washes that settle into the pores.
Think about the final look you want. Do you want a subtle shift? A glaze or a tinted finish applied thinly might be enough.
Do you want a more dramatic change, like a weathered or grayed look? A wash or liming wax could be perfect. Your personal comfort level with DIY projects is also key.
Washes and glazes are generally quite forgiving. Dyes require a bit more care.
Choosing Your Method
| Method | Best For | Existing Finish | Difficulty | Typical Look |
|---|---|---|---|---|
| Glaze | Subtle color change, enhancing grain | Sealed or finished wood | Easy | Natural, richer tone |
| Tinted Finish | Faster color change, protection | Sealed or finished wood | Easy | More uniform color, can obscure grain |
| Wash (White/Gray) | Lightening, softening color | Sealed or bare wood | Very Easy | Weathered, muted, rustic |
| Liming Wax | Highlighting grain, bleached look | Bare or lightly scuffed wood | Medium | Textured, brightened, rustic |
| Water-Based Dye | Deep color change, natural look | Bare wood | Medium | Rich, deep color with visible grain |
What This Means For You
Knowing these methods means you don’t have to live with wood that looks too orange. You have control over the final appearance of your furniture and floors. It’s empowering to know you can make changes without a massive renovation.
These techniques can revive old pieces. They can help new wood fit seamlessly into your home’s style.
When is it normal to have some orange tones? Many woods naturally have warm undertones. A little bit of warmth is often desirable.
It makes a space feel cozy. The concern arises when the orange is overpowering. It might make the wood look cheap or clash with your decor.
Or if the orange is a result of an unwanted stain application.
You can do a simple check. Take a photo of the wood with your phone. Look at it on a neutral background.
Sometimes, seeing it in a photo helps you assess the color more objectively. Also, consider the lighting in your room. Natural light can make colors look different than artificial light.
If the orange tone is still bothering you after considering these factors, it’s time to try one of the toning methods.
Quick Fixes and Tips
Always start with a clean surface. Any dust, grease, or grime will affect how the new product adheres and looks. If the wood has a very glossy finish, a light sanding with fine-grit sandpaper (like 220-grit) can help.
This creates a dull surface for better adhesion. But you don’t need to sand off the old finish.
Work in good lighting. This helps you see your progress and catch any mistakes early. Use a good quality brush or lint-free cloths.
These make a big difference in the final finish. Don’t rush the drying process. Allow each coat to dry completely as per the product’s instructions.
This is crucial for durability and the final look.
If you’re unsure about a color, always err on the side of caution. You can always add more color. It’s much harder to take it away.
Test your chosen method on a scrap piece of wood or an inconspicuous area. This is the golden rule of DIY finishing. It will save you a lot of heartache.
DIY Finishing Tips
- Cleanliness is Key: Always start with a dust-free, clean surface.
- Scuff Sand (If Needed): Lightly sand glossy finishes for better grip.
- Test Area: Always test your product and technique first.
- Thin Coats: Build color gradually for control and a smooth finish.
- Good Tools: Use quality brushes and lint-free cloths.
- Patience: Allow adequate drying time between coats.

Frequently Asked Questions
Can I use a regular wood stain to tone down orange wood?
You can use a regular wood stain, but it requires careful selection. You’d need a stain with a cooler undertone, like a gray or a cool brown. Apply it thinly over the existing finish.
However, stains often add more pigment, so they can sometimes look more opaque than glazes or dyes.
Will sanding always be necessary for a good result?
No, sanding down to bare wood is often not necessary. For methods like glazes, washes, or tinted finishes, a light scuff sanding is usually enough to help the new product adhere. If you want a completely new color that completely covers the old, then sanding is more important.
How do I prevent my new finish from looking too gray or too brown?
The key is gradual application and testing. Start with a diluted product or a very thin coat. Allow it to dry.
Then, assess the color. You can add more coats or a more concentrated layer if needed. Testing on a scrap piece of wood is the best way to get the color just right before applying it to your project.
Can these methods work on painted wood?
These methods are primarily for stained or natural wood. If you have painted wood, you would typically need to remove the paint first to get to the wood. However, some washes or glazes could potentially be used over a very specific type of painted finish if you’re aiming for a layered, distressed look, but it’s not their intended use.
How long do these toned-down finishes typically last?
When applied correctly and sealed with a durable topcoat (like polyurethane or varnish), these finishes can last for many years. The durability depends on the type of wood, how it’s used (e.g., high-traffic floor vs. decorative item), and the quality of the topcoat applied.
Regular maintenance, like dusting, will help preserve the finish.
What’s the difference between a glaze and a stain toner?
A glaze is typically a translucent colorant that is applied and then partially wiped off, leaving color in the grain and texture. A stain toner is usually a pre-mixed product that is more like a colored varnish. It adds color and protection in one step.
Glazes offer more control for artistic effects, while toners are often quicker for uniform color changes.
Conclusion
Dealing with unwanted orange tones in wood doesn’t have to mean a mountain of dust and effort. You have many effective, less labor-intensive options available. From subtle glazes to creative washes, you can gently tone down that orange.
You can achieve a more pleasing, natural look for your furniture and home. With a little patience and the right technique, you can transform your wood and make it a beautiful part of your decor.
Sponsored / affiliate links. As an Amazon Associate I earn from qualifying purchases. I may earn additional commission from eligible campaigns.