Why Is My Door Rubbing? Hinge, Frame, and Humidity Checks
A door that rubs is usually telling you where its alignment changed. The quickest safe path is to identify the contact point, check the hinges and fasteners, and rule out seasonal swelling before sanding or moving hardware.
Start by locating the exact rub point
Close the door slowly and watch the gap around all four sides. A door that catches at the top latch-side corner often points to hinge sag, while contact along a long edge can point to swelling, paint buildup, or a frame that has shifted. A strip of painter’s tape or a soft pencil mark makes the contact area easier to confirm without guessing.
Test the door in more than one condition. Try it open, nearly closed, latched, and on a day after rain or high humidity. If the rubbing appears only during damp weather and clears when the air is drier, do not immediately plane the edge: removing wood for a temporary condition can leave a permanent oversized gap later.
Check hinge screws before trimming anything
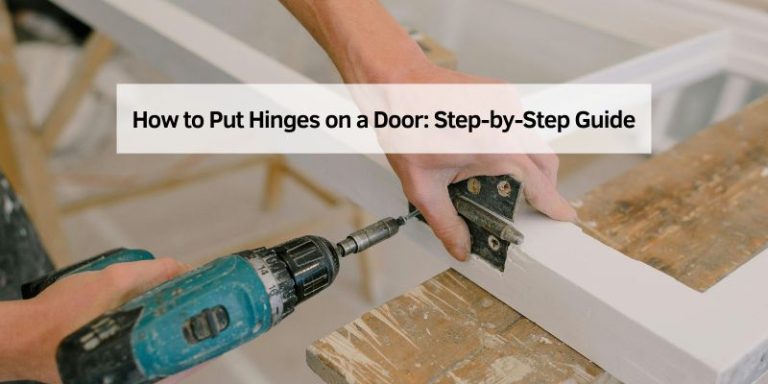
Open the door and gently lift the latch side. Any visible movement at a hinge is useful evidence. Tighten loose screws by hand first; overtightening a stripped hole does not restore holding power. Inspect the top hinge especially, because it carries a large share of the door’s leverage when the door begins to sag.
If a screw simply spins, the repair is not to keep tightening it. The hole needs a sound repair before the hinge can hold alignment again. For an exterior or heavy door, a longer screw can be appropriate only when it reaches solid framing and does not create another problem such as hitting wiring or plumbing.
Separate seasonal swelling from a frame problem
Wood doors and jambs can take on moisture, and a painted surface can also become tight after repeated coats. Look for a pattern: a door that sticks only in humid months, but has even gaps at other times, is different from a door that suddenly rubs all year after a foundation, floor, or framing change.
Check nearby doors and windows too. One stubborn interior door is commonly a local hinge, paint, or humidity problem. Several doors that began sticking at the same time can justify a closer look at broader movement around the opening rather than repeated hardware adjustments.
When paint buildup is the real obstruction
Paint is often overlooked because the door still looks normal from the room. Examine the hinge edge, latch edge, and jamb stop for ridges, drips, or several paint layers closing the clearance. A finish buildup problem is usually localized and visible, unlike a hinge-sag problem that changes the gap shape.
Use the smallest correction that solves the confirmed problem. Cleaning a paint ridge or lightly smoothing a proven high spot is safer than removing a wide strip. Protect unfinished wood immediately afterward with the appropriate primer and finish so the repair does not invite moisture movement.
A practical decision order
Use this order: identify the contact point, tighten and inspect hinges, check seasonal conditions, inspect paint buildup, then reassess the gap. This sequence prevents the common mistake of trimming the door before discovering that one loose hinge screw was the actual cause.
Stop and call a qualified carpenter or building professional when the door binds after a sudden structural change, the jamb is visibly split, the door is fire-rated, or several openings in the home changed at once. Safety and weather performance matter more than making a door close quickly.
Common mistakes that make rubbing worse
Do not force the door repeatedly until the latch catches. That can loosen hinges further, damage the strike area, or chip the finish. Avoid bending hinges or enlarging screw holes without first confirming the door is otherwise square and supported.
Also avoid shaving a door edge in a humid spell without checking it again in drier conditions. The information gain in this approach is the contact-point map: it tells you whether to repair support, clearance, finish, or the surrounding opening instead of treating every rubbing door as a sanding job.
Document the fit before making a permanent change
Take a few photos of the gap, hinge position, and contact point before sanding wood, moving a strike, or replacing hardware. A simple before-and-after record helps show whether the correction changed the door support, the latch engagement, or only the visible symptom.
Make one controlled adjustment at a time and retest the full door operation: open, close, latch, lock, and unlock. That method is slower than changing several parts together, but it keeps a small repair reversible and makes a recurring issue easier to diagnose.
Use normal force during the test. A door that closes only when pushed hard, lifted, or pulled toward the jamb is not fully corrected even if the latch finally clicks. Recheck the gaps and hardware rather than accepting a repair that hides a continuing alignment or security problem.
For an exterior opening, test the weather seal and deadbolt after the latch works. A correction that changes the door’s position can affect both. The finished result should close smoothly, latch without force, lock fully, and maintain a consistent reveal around the opening. Repeat the check the following day before considering the repair complete.
Frequently asked questions
Why does my door rub only after rain?
Humidity can swell a wood door or jamb enough to reduce clearance. Check hinge tightness and the contact point first, then wait for drier conditions before removing material.
Can loose hinges make a door rub the frame?
Yes. Loose or worn hinges can let the latch side sag and change the gap around the door. Correct hinge support before altering the strike plate or trimming the edge.
Should I sand a rubbing door?
Sand only after you have identified a stable high spot and ruled out loose hinges, temporary moisture swelling, and paint buildup. Reseal any bare wood after the adjustment.
The practical next step
A rubbing door is easier to repair when you treat the gap as a clue. Confirm where it touches, stabilize the hinges and frame, and make only the smallest permanent adjustment the evidence supports.
Sponsored / affiliate links. As an Amazon Associate I earn from qualifying purchases. I may earn additional commission from eligible campaigns.