How To Charge A Drill Battery: Essential Genius
To charge your drill battery correctly, always use the charger that came with your tool, ensuring it’s plugged into a stable outlet. Align the battery contacts perfectly with the charger slots, watch for the indicator light, and disconnect it promptly when fully charged to maximize battery life and ensure safe operation.
It’s a common scene: you’re ready to finally hang that shelf or build that birdhouse, and your cordless drill sputters out. That dead battery can stop a DIY project cold! It feels frustrating when you just want to get things done. But charging these modern batteries—whether they are Lithium-Ion or older Nickel-Cadmium types—is usually very simple once you know the right steps.
Don’t worry about complicated settings or special knowledge. We are going to walk through the easiest, safest ways to power up your tools so you can get back to building with confidence. Next, we will break down the entire charging process, step-by-step, so you never have to guess again.
Understanding Your Cordless Drill Battery Types
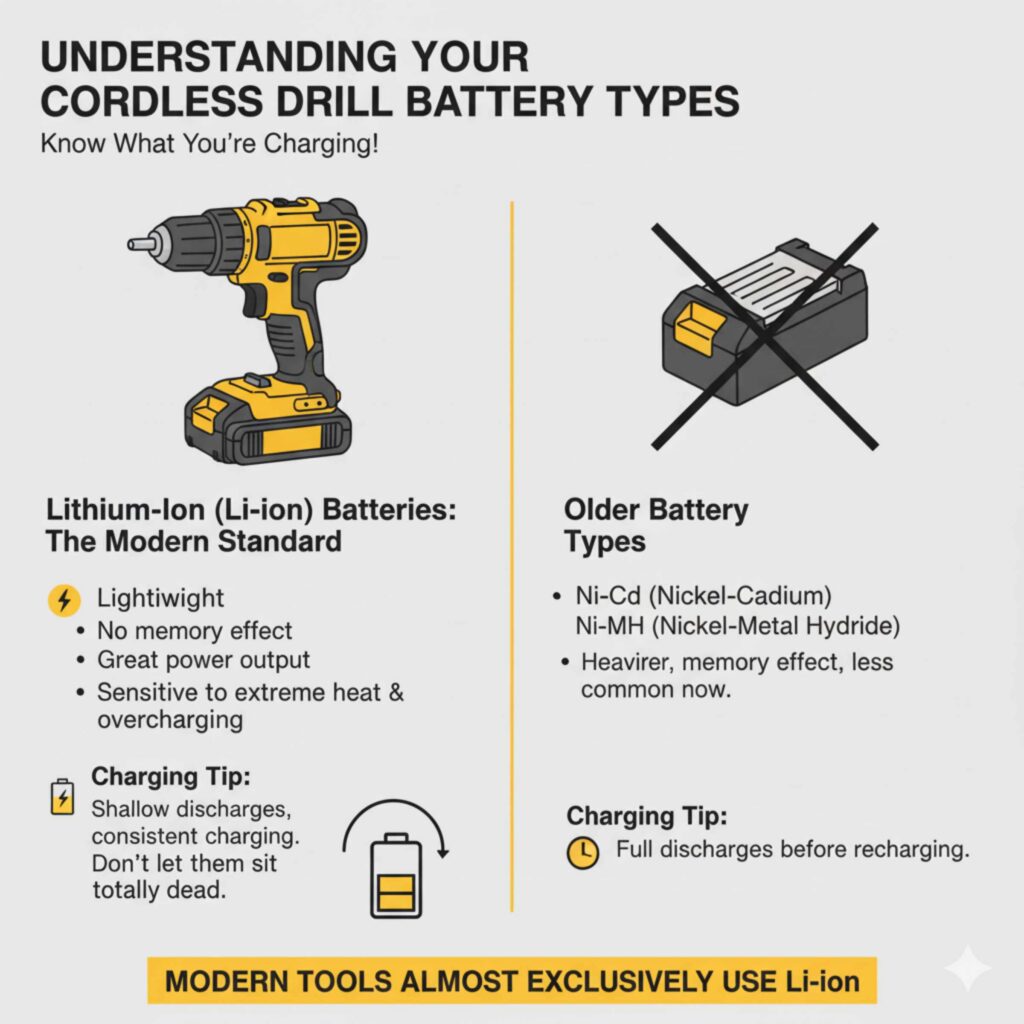
Before we charge, we need to know what we are charging! Not all batteries are created equal. Using the wrong charging habits for your specific battery type can shorten its lifespan or even cause damage. Modern tools almost exclusively use Lithium-Ion, but you might still have older tools floating around.
Lithium-Ion (Li-ion) Batteries: The Modern Standard
These are the batteries you see in most new drills today. They are lightweight, hold a charge for a long time, and don’t suffer from the “memory effect” (a problem older batteries had). They charge relatively quickly.
- Pros: Lightweight, no memory effect, great power output.
- Cons: Sensitive to extreme heat and overcharging.
- Charging Tip: They like shallow discharges and consistent charging—don’t let them sit totally dead for long periods.
Nickel-Cadmium (NiCd) Batteries: The Older Workhorses
If your drill is older, it likely uses NiCd batteries. These are heavier and more durable in some ways, but they require more careful charging.
- Pros: Very durable against physical bumps.
- Cons: Suffer from memory effect, heavier, hold less charge than Li-ion.
- Charging Tip: They benefit from being fully drained before a full recharge, but modern chargers often manage this automatically.
Nickel-Metal Hydride (NiMH) Batteries
These are less common now but sit between NiCd and Li-ion. They are slightly more environmentally friendly than NiCd.
The Essential Genius: Using the Right Charger
The absolute most important rule in charging any cordless tool battery is this: Always use the charger that came with the battery or one specifically approved by the tool manufacturer for that battery model. Think of it like plugging a TV into a light socket—the voltage, amperage, and charging curve are specifically designed for the battery chemistry.
Why Using the Original Charger Matters
Tool manufacturers design their chargers to “talk” to their batteries. For Li-ion batteries, the charger monitors the temperature, cell voltage, and overall state of charge. Using a random charger can lead to:
- Overheating: This is dangerous and damages the internal cells.
- Undercharging: The battery never reaches full capacity.
- Premature Failure: The battery wears out much faster than it should.
If you have lost your original charger, never substitute it with one intended for a different brand or voltage, even if the battery shape seems to fit. Always purchase a genuine replacement from the tool brand’s authorized dealer. For more technical details on battery safety, organizations like the National Electrical Manufacturers Association (NEMA) often provide guidelines on safe power usage.
Step-by-Step Guide: How To Charge Your Drill Battery Like a Pro
This process is designed to be simple, safe, and effective, ensuring you get the longest life out of your power investment. Follow these straightforward steps every time.
Step 1: Inspect the Battery and Charger
Before plugging anything in, take a quick look at both components. Safety first, always!
- Check for Damage: Look for cracks, dents, or signs of melting on the battery casing or charger housing. If you see significant damage, do not use it.
- Clean the Contacts: Gently wipe the metal connection points (the terminals) on both the battery and the charger using a dry, lint-free cloth. Dust or grime can block a good connection.
- Ensure Dryness: Make absolutely sure both the battery and the charger are completely dry. Water and electricity do not mix!
Step 2: Prepare the Charging Station
Where you charge matters just as much as how you charge.
- Choose a Safe Outlet: Plug the charger directly into a standard, grounded wall outlet. Avoid using extension cords if possible, especially cheap, thin ones, as they can sometimes cause voltage drops.
- Select a Good Location: Place the charger on a flat, hard, non-flammable surface (like a concrete floor or wooden workbench). Never charge batteries on carpets, bedding, or near flammable materials.
- Ensure Ventilation: Chargers generate some heat. Make sure there is space around the charger for air to circulate.
Step 3: Connect the Battery to the Charger
This is the moment of connection. Be gentle but firm.
- Slide the battery into the charger slot. You should feel or hear a satisfying click or firm seating.
- Wiggle it gently to confirm it is locked in place. A poor connection means no charging!
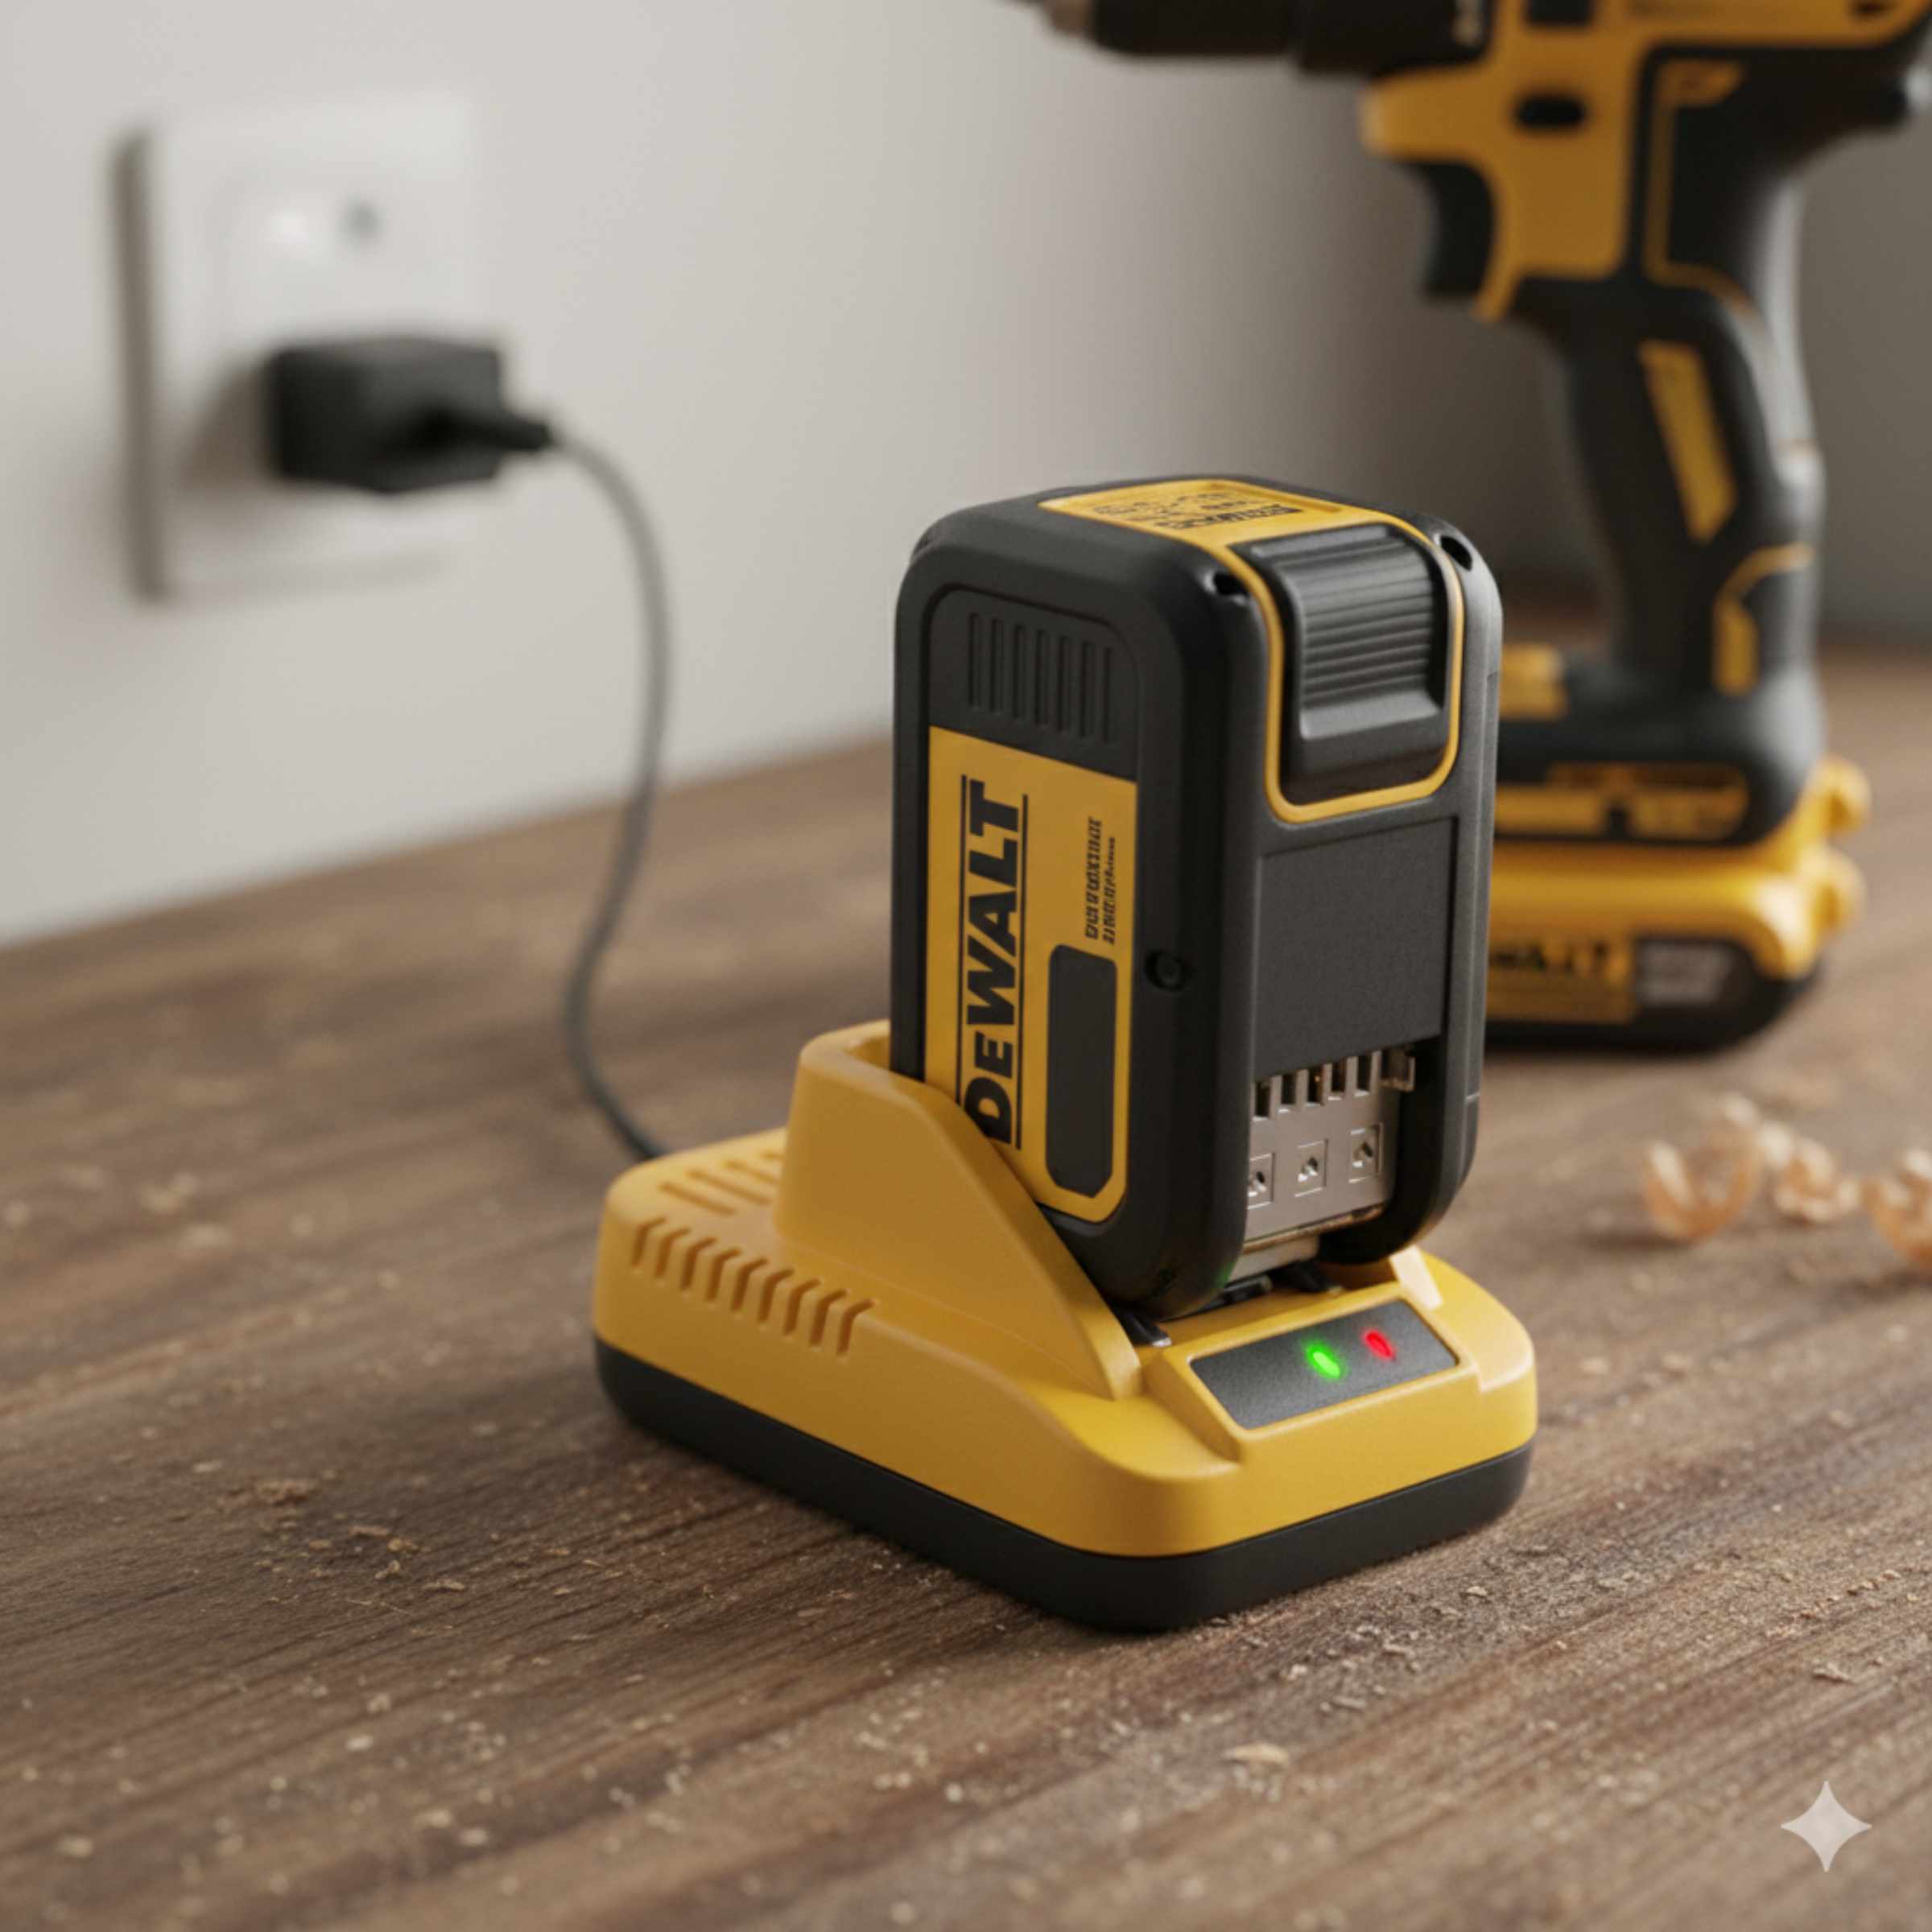
Step 4: Monitor the Charging Indicator Light
The light tells you everything you need to know. While indicator lights vary by brand (e.g., green flashing, solid red, etc.), they all follow a basic pattern:
| Light Status | Meaning | Action Needed |
|---|---|---|
| No Light / Off | Charger is not receiving power OR battery isn’t seated correctly. | Check outlet connection and battery seating. |
| Flashing Slowly | Battery is charging (State of Charge < 80%). | Wait patiently. |
| Solid Color (Often Green or Blue) | Battery is fully charged (State of Charge 100%). | Disconnect the battery promptly. |
| Flashing Rapidly / Error Color (Often Red) | Battery is too hot, too cold, or damaged. | Disconnect immediately and let the battery rest in a room-temperature spot for 30 minutes before trying again. |
Step 5: Disconnect and Store Properly
This final step is crucial for Li-ion longevity. Once the light indicates a full charge, take the battery off the charger.
Do not leave fully charged batteries plugged in for days on end. While modern chargers are smart, leaving them trickling at 100% capacity stresses the chemistry over time. When done charging, slide the battery off and store it in a cool, dry place, away from direct sunlight or extreme cold.
The Genius Trick: Charging Batteries for Long-Term Storage
If you are putting your tools away for the winter or a long break (more than a month), how you store the battery makes a huge difference in how much juice it has when you need it next.
Storage Guidelines by Chemistry
The ideal storage charge level is different for different chemistries:
- Lithium-Ion (Li-ion): Store them at about 40% to 60% charge. If you store them fully charged (100%), they lose capacity faster. If you store them totally dead, they might not wake up again.
- Nickel-Cadmium (NiCd): It’s best to store these batteries completely discharged (or nearly empty) to prevent the memory effect from setting in while they sit idle.
Always store the battery pack away from the tool itself, as some tools can slowly draw a tiny amount of power even when “off,” slowly draining the battery.
Troubleshooting Common Charging Problems
Even with the best intentions, things can go wrong. Here are quick fixes for the most common beginner snags.
Problem 1: The Charger Light Never Turns On
This usually means a power issue:
- Check the wall outlet. Plug something else (like a lamp) into that same spot to ensure it has power.
- Check the charger’s cord connection to the wall. Make sure it’s firmly seated.
- If the charger itself seems dead (no lights when plugged in with no battery attached), the charger unit might have failed and needs replacing.
Problem 2: The Battery Charges Very Slowly
Slow charging is often related to temperature:
- Too Cold or Too Hot: Li-ion batteries refuse to charge quickly (or at all) if they are below 32°F (0°C) or above 104°F (40°C). Bring the battery inside to room temperature and let it acclimate for an hour before trying again.
- Old Battery: Batteries naturally hold less charge and charge slower as they age.
Problem 3: The Battery Gets Hot During Charging
This is the most serious issue.
If the battery casing feels hot to the touch (not just warm), disconnect it immediately. A hot battery usually indicates an internal fault or a severe mismatch with the charger. Let it cool completely, then try charging it once more with the correct charger. If it gets hot again, the battery is likely defective and should be retired safely.
The Advanced Question: How To Charge A Drill Battery With A Different Charger
This is a question I get asked all the time in the workshop: “I have a Makita charger, but my DeWalt battery is dead. Can I use the Makita charger?
The short, safe answer is: No, you generally cannot and should not use a different brand’s charger.
However, there are very rare, specific exceptions and workarounds for the dedicated hobbyist, which require technical know-how and come with inherent risks. Since we are focusing on beginner safety and reliability, here is the breakdown:
Why Mixing Brands is Dangerous
Every major brand uses proprietary technology in its charging circuits. Even if two batteries are both 18V Li-ion, the communication protocol (the “language” the charger and battery use to agree on charging speed and voltage) is different.
| Charger Aspect | Why It Must Match |
|---|---|
| Voltage Output | Needs to match the battery’s nominal voltage (e.g., 12V, 20V). |
| Charging Curve | The exact profile of voltage increase over time is brand-specific for optimal cell health. |
| Communication Pins | Modern batteries have extra pins that tell the charger if it’s an ‘X’ series battery or a standard one, preventing incorrect current delivery. |
The Rare Exception: Universal Chargers (Buyer Beware)
The only time using a “different” charger is acceptable is if you buy a specific Universal Multi-Chemistry Charger made by a third-party manufacturer (like those sometimes used for RC hobby batteries, though these are complex) that explicitly states compatibility with your exact battery voltage and chemistry (e.g., “Compatible with all 18V/20V Li-ion brands X, Y, and Z”).
For the average DIYer, do not attempt this. The risk of fire or permanent battery damage far outweighs the convenience of borrowing a neighbor’s charger.
The Best “Different Charger” Solution
If you need a backup charger urgently, the smartest approach is to buy a second, compatible charger from the original manufacturer. They are usually affordable, and having two chargers means you can always keep one battery charging while the other is in use—the real key to uninterrupted DIY work!
Maximizing Battery Health: Charging Habits That Last
A battery’s life isn’t just about the charge cycle; it’s about the habits you build around it. By adopting these simple routines, you can dramatically extend the useful life of your expensive battery packs.
1. Avoid Deep Discharges
For Li-ion batteries, think of them like a gas tank you don’t want to run completely empty. If your drill starts to slow down significantly, stop using it and charge it up. Letting Li-ion cells hit zero volts too often is what kills them the fastest.
2. Manage Heat Exposure
Heat is the number one enemy of battery longevity. Remember that charging generates heat, and hot weather exacerbates it:
- Never leave batteries charging in a hot car trunk or direct summer sunlight.
- If you have been using the drill hard in hot weather (like drilling lots of holes into concrete), let the battery cool down for 20 minutes before placing it on the charger.
3. Keep Them Topped Off (But Not Always Plugged In)
For day-to-day use, it’s fine to charge your battery as soon as you finish a task, even if it only used 30% of its power. Just remember the key rule: unplug it once the charge cycle is complete (solid green/blue light).
4. Periodic Refreshing (For Older NiCd Batteries Only)
If you happen to have older NiCd batteries, you must occasionally run them down completely before recharging to “train” them and prevent the memory effect. Modern Li-ion batteries do not need this exercise.
Safety First: Essential Battery Charging Precautions
Cordless tool batteries are generally safe when used correctly, but they store a significant amount of energy. Treat them with respect to prevent accidents.
Power Tool Battery Safety Checklist
- Never Attempt to Open the Casing: If the plastic shell of the battery cracks open, the internal cells are exposed. Do not try to fix it; safely dispose of it according to local guidelines.
- Keep Metal Objects Away: Never place metal tools, keys, or scrap metal on top of a charged battery or near the charging contacts. A short circuit can happen instantly, causing sparks or fire.
- Use Manufacturer-Approved Chargers Only: We covered this, but it bears repeating. Using cheap, uncertified chargers is a major fire risk. Reputable brands adhere to strict safety standards, like those outlined by Underwriters Laboratories (UL).
- Use Indoors Only (Unless specified): Most chargers are designed for dry, indoor use. Exposing them to rain or high humidity is dangerous.

Frequently Asked Questions (FAQ)
Q1: How long should a new Li-ion drill battery take to charge the first time?
A: Most new Li-ion batteries take between 30 minutes to 2 hours for the initial full charge. Check the manual, but usually, the first charge is just like any other—wait for the indicator light to turn solid green or blue.
Q2: Can I leave my drill battery on the charger overnight?
A. Modern chargers usually stop charging once the battery is full, but leaving it plugged in overnight isn’t recommended. Keeping batteries at 100% for long periods can reduce long-term capacity, especially for Li-ion batteries.
Q3: Why is my drill battery not charging even though the charger is plugged in?
A. Common reasons include dirty battery contacts, incorrect battery placement, extreme temperatures, or a faulty charger. Clean the contacts, reseat the battery, and try charging at room temperature.
Q4: Is it bad to charge a drill battery before it’s completely dead?
A. No. In fact, Lithium-Ion batteries perform best when charged before they are fully drained. Deep discharges can shorten their lifespan.
Q5: Can a drill battery be overcharged?
A. With manufacturer-approved chargers, overcharging is unlikely because smart chargers shut off automatically. However, using non-approved or cheap chargers increases the risk of overheating and battery damage.
Conclusion
Charging a drill battery doesn’t have to be confusing or risky. By understanding your battery type, using the correct manufacturer-approved charger, and following safe charging habits, you can dramatically extend battery life and avoid common problems. Modern Lithium-Ion batteries are designed for convenience, but they still require proper care—especially when it comes to heat, storage, and overcharging.
Whether you’re a casual DIYer or a regular workshop user, adopting smart charging routines ensures your drill is always ready when you need it. Treat your batteries with care, store them correctly, and avoid shortcuts with incompatible chargers. Do that, and your cordless tools will stay powerful, reliable, and safe for years to come!