How to Remove a Deadbolt (Interior and Exterior Plates)
Removing a deadbolt only takes a screwdriver in most cases, not a locksmith, whether you are replacing a worn lock or swapping in a new finish. Skipping the interior plate first, or forcing a stuck bolt, is what strips screws and scratches the door. This guide covers removing the interior and exterior plates, freeing a stuck deadbolt, and identifying single versus double cylinder types before you start.
Insert your Affiliate Disclosure reusable block here.
Tools Needed
Removing a deadbolt needs only a few common tools:
- Phillips screwdriver — removes the mounting screws on both plates
- Drill — only needed if screws are painted over or badly rusted
- Pliers — helps grip a stuck cylinder or a stripped screw head
- Silicone or graphite lubricant — frees a bolt that will not slide out cleanly
- Small container or tape — keeps screws and parts organized for reassembly
Identify Your Deadbolt Type First
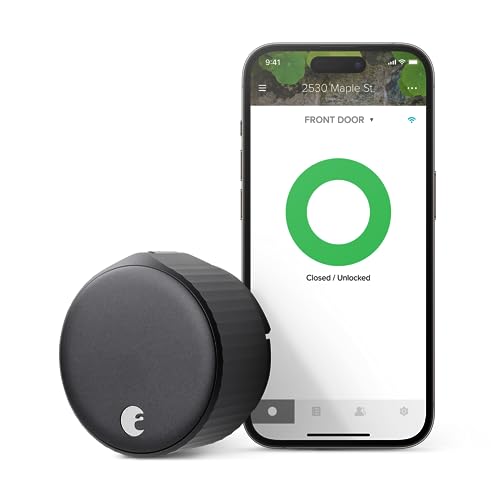
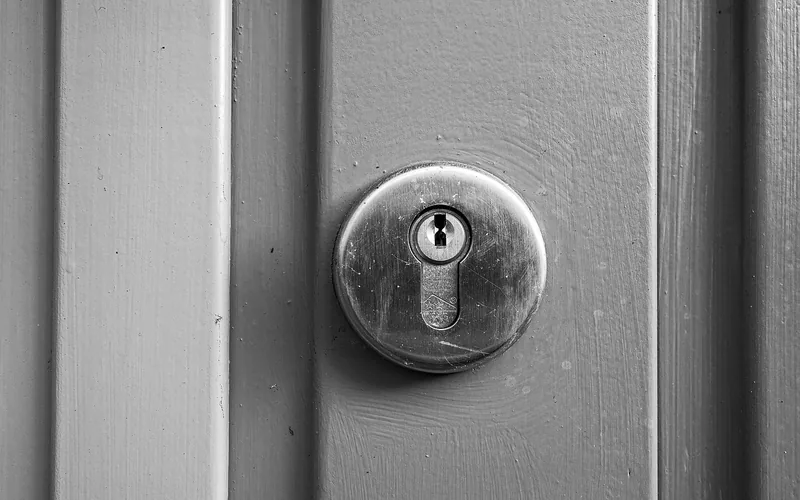
Before removing anything, check which type of deadbolt you have. A single cylinder deadbolt has a keyhole on the exterior side and a turn piece on the interior — this is the most common residential type. A double cylinder deadbolt has a keyhole on both sides and requires a key to lock or unlock from the inside as well. A keyless or smart deadbolt uses a keypad or app instead of a physical key, and usually needs its battery cover removed before the mounting screws are visible.
The removal steps below work for all three types — the difference is only in what the interior side looks like. Most residential deadbolts also use one of two standard backset sizes, which matters if you are buying a replacement rather than reinstalling the same lock.
📊 Residential deadbolts typically use a 2-3/8″ or 2-3/4″ backset, while commercial doors usually use 2-3/4″ — measure yours before buying a replacement lock so it fits the existing bore holes. Source: Master Locksmith, backset sizing guide
Best Replacement Deadbolt Pick
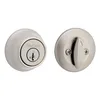
Kwikset 660 Single Cylinder Deadbolt – $19.97
Once the old deadbolt is out, this single cylinder lock fits the same standard bore holes and adjustable 2-3/8″/2-3/4″ backset covered above, with Microban to resist bacterial odor and staining on the finish.
- Best for: Standard exterior door replacement after removal
- Why we picked it: Adjustable backset matches most residential doors without extra drilling
- Main drawback: Single cylinder only — not for doors requiring a double-key deadbolt
Compare more deadbolt removal and replacement options
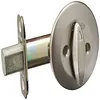 Option 1 Kwikset 663 Interior Turn Piece – $8.39
|
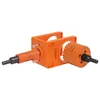 Option 2 Universal Lock Installation Kit – $15.99
|
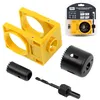 Option 3 Deadbolt Install Kit with Hole Saw – $9.99
|
As an Amazon Associate we earn from qualifying purchases.
Safety Precautions
Wear safety glasses if you need to drill out a painted-over or rusted screw, since fragments can flick back toward your face. Keep the door open and propped while you work so it cannot swing shut and lock you out mid-repair, and set screws aside in a labeled container so reassembly, if needed, goes quickly.
Removing the Interior Plate
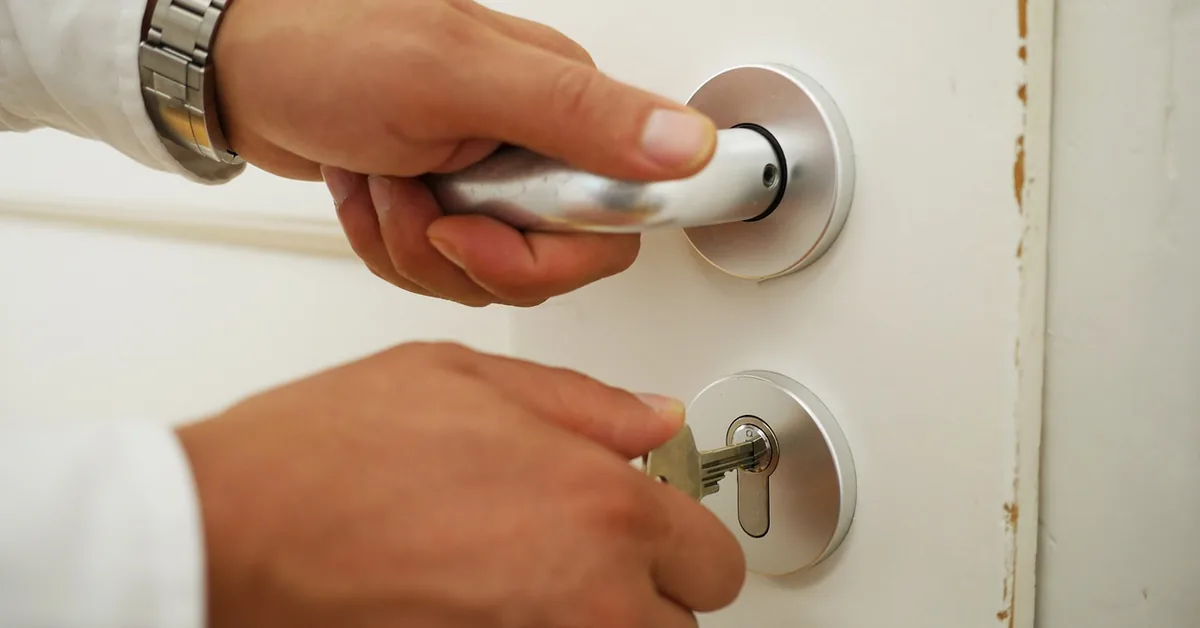
Start on the interior side, not the exterior — it is almost always the easier side and confirms you have the right screws before you touch the outside of the door. Some interior plates have a decorative cover; gently pry it off with a flathead screwdriver first if one is present.
Turn the two mounting screws counter-clockwise with a Phillips screwdriver and set them aside. The interior plate should lift straight off once both screws are out. If it resists, check the edges for a third hidden screw before prying.
Detaching the Exterior Plate
With the interior plate off, the exterior side usually detaches from the same connecting screws or simply pulls free once the interior mounting hardware is gone. If it does not, look for its own set of screws, often hidden under a decorative rose cover on the outside.
Hold the exterior cylinder steady as you remove the last screw so it does not drop and scratch the door or the step below. Set it down carefully — if you are reinstalling the same lock later, keep the interior and exterior pieces together so you do not mix up parts between two different deadbolts.
Extracting the Deadbolt Mechanism
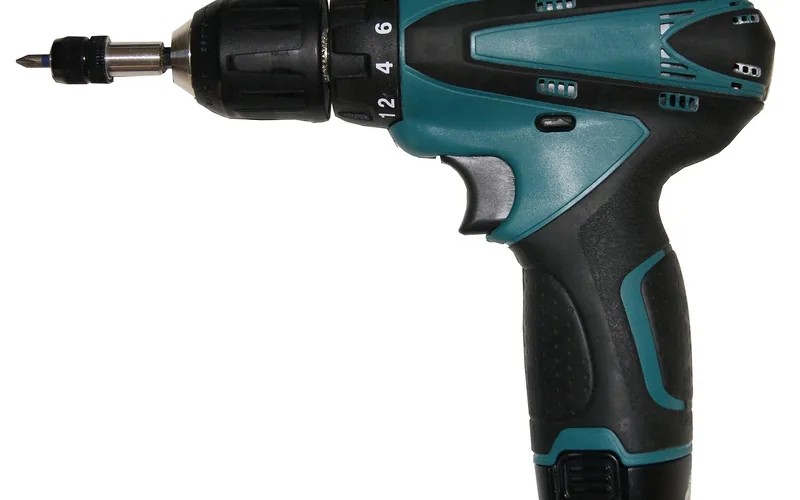
With both plates off, the deadbolt mechanism itself — the bolt and its faceplate on the door edge — is the last piece. Open the door fully first so you are not fighting gravity and the door frame at the same time. Remove the two faceplate screws with a Phillips screwdriver, turning counter-clockwise.
Once the faceplate screws are out, pull the bolt mechanism straight out of the edge of the door. Hold it firmly as it comes free so it does not drop, and keep every part together if you plan to reinstall the same lock rather than a replacement.
Freeing a Stuck Deadbolt
If the mechanism will not slide out even after every screw is removed, do not force it — spray a little silicone or graphite lubricant into the bolt housing, wait a few minutes, and try again. A screw with a stripped head can usually be gripped with pliers or a rubber band wrapped around the screwdriver tip for extra bite.
“Turn the screwdriver toward the door hinges to manually unlock the bolt.”
If your deadbolt is jammed in the locked position specifically and standard removal will not budge it at all, our dedicated guide to removing a deadbolt stuck in the locked position covers that case step by step.
Quick Removal Steps
- Identify the deadbolt type: Confirm single cylinder, double cylinder, or keyless before starting.
- Remove the interior plate: Take out the two mounting screws and lift the plate off.
- Detach the exterior plate: Remove its screws or cover, then pull it free.
- Extract the bolt mechanism: Open the door, remove the faceplate screws, and pull the bolt out.
- Lubricate if stuck: Apply silicone or graphite spray rather than forcing a jammed bolt.
Cleaning and Maintenance
Wipe down the bore hole and surrounding area with a soft brush before installing a replacement, since leftover dust and debris is a common cause of a new deadbolt sticking right away. Check the door frame and strike plate for damage while everything is exposed, and tighten any loose frame screws so the new lock has a solid, sturdy surface to engage.
Common Mistakes to Avoid
- Starting on the exterior side first — the interior plate is almost always easier and often holds the exterior in place.
- Forcing a stuck bolt — this can bend the bolt or crack the strike plate instead of freeing it.
- Losing track of small screws — keep them in a labeled container, especially if reinstalling the same lock.
- Not measuring the backset before buying a replacement — a 2-3/8″ lock will not sit flush in a 2-3/4″ bore hole.
- Skipping the door-prop step — a door that swings shut mid-removal can lock you out with no exterior hardware installed.
Frequently Asked Questions
How do I take off a deadbolt lock?
Remove the screws from the deadbolt’s interior plate first using a Phillips screwdriver, then pull off the plate and slide out the bolt mechanism. Finally, unscrew and remove the exterior cylinder from the outside of the door.
How do I remove an old deadbolt with no visible screws?
Look for a hidden set screw or clip under the interior faceplate or thumbturn base. Gently pry off the decorative cover with a flathead screwdriver to expose it, then loosen the hidden screw and pull the deadbolt free from both sides of the door.
Why is my deadbolt not coming out?
A deadbolt that will not come out after the screws are removed is usually misaligned, dirty, or corroded inside the bore hole. Check for obstructions, apply a silicone or graphite lubricant, and gently wiggle the mechanism rather than pulling straight out with force.
How do I remove deadbolt screw caps?
Use a flathead screwdriver or a thin plastic card to gently pry off the decorative screw caps. Apply steady, even pressure at one edge rather than prying from the center, which can crack the cap. Work slowly to avoid scratching the surrounding finish.
Do you need a key to remove a deadbolt from the inside?
No, not on a standard single cylinder deadbolt. The interior side uses a turn piece, not a keyhole, so removal starts with a screwdriver on the interior mounting screws. A key is only needed if you have a double cylinder deadbolt with a keyhole on both sides.
How do you remove a deadbolt without damaging the door?
Work from the interior plate first, never force a stuck bolt, and support the exterior cylinder with your hand as the last screw comes out so it does not drop and scratch the door or step. Lubricating a stuck mechanism instead of prying it is what most often prevents gouges around the bore hole.
Conclusion
Removing a deadbolt comes down to working the interior plate first, then the exterior, then the bolt mechanism itself — in that order, with a screwdriver and some patience. Identify your cylinder type before you start, and lubricate rather than force anything that resists. Once the old lock is out, see our guide to handling other door hardware or browse our Door Hardware & Locks hub for installing a replacement.
Sponsored / affiliate links. As an Amazon Associate I earn from qualifying purchases. I may earn additional commission from eligible campaigns.