How to Clean Portable Heaters Safely & Effectively
How to clean portable heater units is essential for ensuring they operate efficiently and safely throughout the colder months.
A well-maintained heater not only provides optimal warmth but also reduces the risk of fire hazards and improves air quality by removing accumulated dust and debris. This guide will walk you through the straightforward steps to properly clean your portable heater, keeping it in top condition.
Simply put, cleaning your portable heater involves unplugging it, dusting the exterior and interior components like vents and fans, and ensuring no debris obstructs airflow. Regular cleaning boosts efficiency, extends lifespan, and prevents safety risks like overheating or fires.
Key Takeaways
- How to clean portable heater units thoroughly by unplugging them and allowing them to cool completely.
- Regularly dust exterior surfaces and interior vents to prevent dust buildup.
- Check and clean the fan and heating elements for optimal performance and safety.
- Ensure all components are dry before plugging the heater back in.
- Proper maintenance of your portable heater contributes to energy efficiency and safety.
Why Cleaning Your Portable Heater Matters
Portable heaters are invaluable for providing targeted warmth in specific rooms or areas, offering convenience and flexibility. However, their essential function of drawing in air and expelling heat means they inevitably collect dust, lint, pet hair, and other airborne particles. This accumulation can have significant repercussions on the heater’s performance, safety, and the air quality in your home.
A layer of dust on heating elements can burn off, creating unpleasant odors and potentially releasing fine particulate matter into the air you breathe. Furthermore, clogged vents and fans restrict airflow, forcing the heater to work harder, consume more energy, and risk overheating. Over time, this reduced efficiency translates to higher electricity bills and a shorter lifespan for the appliance.
Neglecting regular cleaning can also pose serious safety hazards. Excessive dust buildup on heating elements or near electrical components can act as an insulator, leading to overheating and increasing the risk of fire. Ensuring your portable heater is clean is not just about aesthetics; it’s a critical step in maintaining a safe and healthy living environment.
Preparing Your Portable Heater for Cleaning
Before you begin any cleaning process, the most critical first step is safety. Always ensure the portable heater is completely unplugged from the power outlet. Never attempt to clean a heater while it is plugged in, as this poses a severe risk of electric shock.
Once unplugged, give the heater ample time to cool down. Many heaters, especially those with ceramic or radiant elements, retain heat for a considerable period after being switched off. Attempting to clean warm or hot components can lead to burns and potential damage to the heater’s parts.
Having the right tools and materials ready will make the cleaning process smoother and more effective. Gather a soft-bristled brush, a vacuum cleaner with a brush or crevice attachment, a dry microfiber cloth, and possibly a can of compressed air for those hard-to-reach areas. Avoid using water or liquid cleaning solutions directly on the heater’s internal components, as moisture can cause corrosion or electrical malfunctions.
Step-by-Step Guide: How to Clean Portable Heater Vents and Exterior
Cleaning the exterior and vents is the most accessible part of the maintenance process and should be done regularly. Start by using a dry microfiber cloth to wipe down all external surfaces. This removes surface dust and grime, preventing it from being drawn into the unit.
For the vents, which are crucial for airflow, a soft-bristled brush is your best friend. Gently brush away dust and debris from the grille openings. You can also use a vacuum cleaner with a brush attachment to suck up loosened dust, making the process more efficient.
Pay close attention to any air intake and outlet vents. These are prime spots for dust to accumulate, which can significantly impede airflow. If the vents are particularly stubborn or deeply clogged, a can of compressed air can be used to blow out trapped particles.
Hold the can upright and use short bursts, directing the air away from the heater.
| Exterior Cleaning Checklist | Tools Needed | Frequency |
|---|---|---|
| Wipe down casing | Microfiber cloth | Weekly |
| Clean air intake vents | Soft brush, vacuum with brush attachment | Bi-weekly |
| Clear air outlet grilles | Soft brush, compressed air | Bi-weekly |
Following this simple checklist ensures the exterior and airflow paths of your heater remain clear for optimal function.
Cleaning the Fan and Heating Elements
The internal components, specifically the fan and heating elements, require a bit more care. For most portable heaters, the fan is crucial for circulating warm air. Dust and lint can accumulate on the fan blades, reducing their effectiveness and potentially causing imbalance or noise.
Accessing the fan often involves removing a casing panel. Consult your heater’s manual to see if this is possible and how to do it safely. Once accessed, use a soft brush or a vacuum cleaner with a crevice tool to gently remove dust from the fan blades and motor housing.
Ensure the fan spins freely after cleaning.
The heating elements themselves are delicate. For electric resistance heaters, these are typically coils. For ceramic heaters, it’s a ceramic plate with resistive wires.
Generally, these should only be cleaned with a very light dusting. A soft brush or compressed air is usually sufficient. Avoid touching the elements directly, as oils from your skin can cause hotspots and damage.
Warning: Never use water or abrasive cleaners on the heating elements. Moisture can cause short circuits, and abrasive materials can damage the delicate coils or surfaces. Always ensure the heater is completely cool and unplugged before attempting any internal cleaning.
How to Clean Specific Portable Heater Types
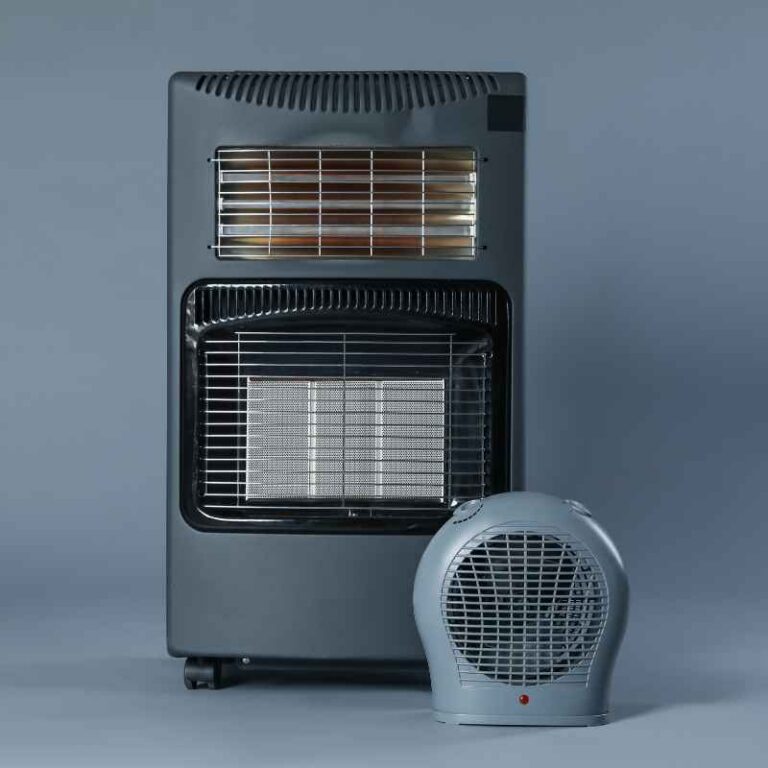
Different types of portable heaters may require slightly varied cleaning approaches. Understanding the specific components of your unit is key to effective maintenance. For instance, convection heaters and radiant heaters have distinct heating mechanisms that dictate how they should be cleaned.
Convection heaters often use a fan to circulate air over a heating element. Their vents and fan mechanisms are critical, as discussed. Radiant heaters, which emit heat directly from a glowing element, may require more careful dusting of the reflector and element itself, but generally have fewer moving parts to clean internally.
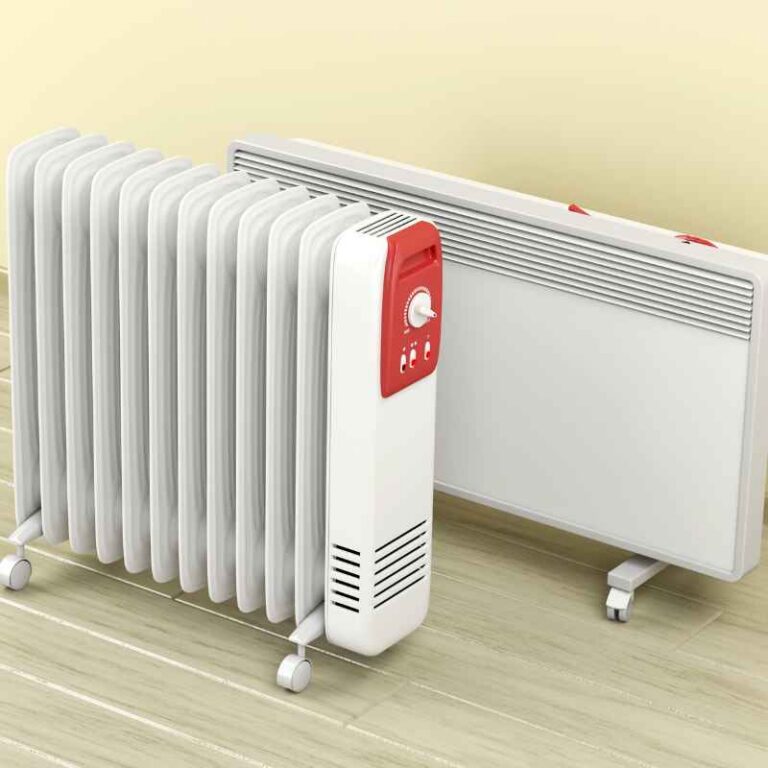
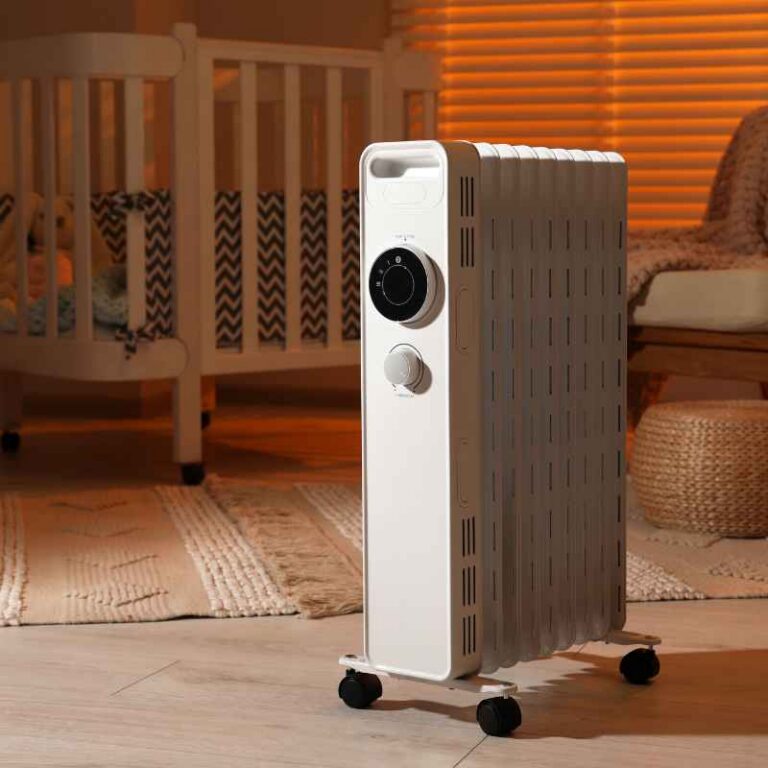
Oil-filled radiators are another common type. These heaters contain a sealed oil reservoir and a heating element submerged within it. The exterior of these units can be wiped down with a damp cloth, but their internal components do not require user cleaning and are designed to be maintenance-free in that regard.
The primary focus for these should be on keeping the exterior grilles and base free of dust.
| Heater Type | Primary Cleaning Focus | Tools | Caution |
|---|---|---|---|
| Fan Heaters (Ceramic, Resistance) | Vents, fan blades, heating elements | Soft brush, vacuum, compressed air | Avoid water on elements; ensure fan is dry |
| Radiant Heaters | Exterior, reflector, visible elements | Microfiber cloth, soft brush | Gentle dusting only; do not touch elements |
| Oil-Filled Radiators | Exterior casing, grilles, base | Damp cloth, microfiber cloth | No internal cleaning required; ensure plug is dry |
This comparison helps tailor your cleaning routine to the specific needs of your heater model.
Dealing with Stubborn Dust and Debris
Sometimes, dust and debris can become quite stubborn, clinging to internal parts or accumulating in tight corners. For these situations, a bit of persistence and the right technique can make all the difference. Compressed air is often overlooked but is highly effective for dislodging dust from intricate areas.
When using compressed air, remember to hold the can upright to prevent propellant from escaping and to use short, controlled bursts. Aim the nozzle at angles to effectively blow debris out of vents and away from sensitive components. You might need to repeat this process a few times for stubborn clogs.
In cases where dust has clumped due to static electricity or slight moisture exposure (which should be avoided!), a very slightly dampened microfiber cloth or a cotton swab can be used carefully on accessible exterior parts. However, for internal components, rely on dry methods like brushes and vacuums. If a component is too inaccessible, it might be a sign that professional servicing is needed.
What to Do After Cleaning Your Portable Heater
Once you have finished cleaning all accessible parts of your portable heater, it’s crucial to ensure everything is thoroughly dry before reassembly or plugging it back in. Even residual moisture from a slightly damp cloth on an exterior surface can be problematic if it gets into electrical pathways.
Allow all components, especially the heating elements and fan blades, to air dry completely. This might take a few hours, depending on humidity levels. You can place the heater components in a well-ventilated area.
Never use a hairdryer or other heat sources to speed up the drying process, as this could damage plastic parts or sensitive electronics.
After confirming everything is dry, carefully reassemble any panels you removed. Then, before plugging the heater back into the wall outlet, inspect the power cord and plug for any signs of damage. A damaged cord is a serious fire hazard.
If everything looks good, you can now plug your clean and refreshed portable heater back in and enjoy efficient, safe warmth.
Tip: For optimal safety and performance, consider cleaning your portable heater at the beginning of the heating season and again midway through, especially if you live in a dusty environment or have pets.
Common Mistakes to Avoid When Cleaning a Portable Heater
Several common mistakes can be made during the cleaning process that can either be ineffective or, worse, damage your heater or create a safety hazard. Being aware of these pitfalls can help you clean your appliance correctly and safely.
One of the most significant mistakes is attempting to clean the heater while it’s still plugged in or warm. This is a recipe for electric shock or burns. Always prioritize safety by unplugging the unit and letting it cool down completely.
Another common error is using liquid cleaners or excessive moisture on internal components. Water and electricity are a dangerous combination. Unless the manufacturer specifically states otherwise for a particular part (which is rare for internal components), stick to dry cleaning methods.
Using harsh chemicals or abrasive materials can also damage finishes and internal parts.
Important: Always refer to your portable heater’s owner’s manual for specific cleaning instructions. Manufacturers often provide detailed guidance tailored to their specific models, which can help prevent damage and ensure safe operation.
Frequently Asked Questions
What is the best way to clean dust from portable heater vents?
The best way to clean dust from portable heater vents is by using a soft-bristled brush or a vacuum cleaner with a brush attachment. For more stubborn dust, a can of compressed air can effectively blow debris out of the vents. Always ensure the heater is unplugged and cool before starting.
Can I use water to clean my portable heater?
Generally, you should avoid using water on the internal components of a portable heater, especially the heating elements and electrical parts, as this can cause damage or electrical hazards. Exterior surfaces can often be wiped with a slightly damp cloth, but ensure the unit is completely dry afterward.
How often should I clean my portable heater?
It’s recommended to clean your portable heater at least once at the beginning of the heating season. For optimal performance and safety, a light dusting of the exterior and vents every few weeks during use is beneficial, with a more thorough internal cleaning done annually or bi-annually, depending on usage and environmental conditions.
What are the risks of not cleaning a portable heater?
Not cleaning your portable heater can lead to reduced efficiency, increased energy consumption, potential overheating, and a significantly higher risk of fire due to dust buildup on heating elements. It can also lead to poor air quality from burned dust particles.
Should I remove the casing to clean my portable heater?
Removing the casing for internal cleaning is only recommended if your owner’s manual explicitly permits it and provides instructions. Attempting to remove panels without proper guidance can damage the unit or void your warranty. Focus on accessible areas like vents and exterior surfaces first.
Final Thoughts
Effectively cleaning your portable heater is a simple yet crucial maintenance task that ensures both your comfort and safety. By following these steps, you can prevent common issues like reduced efficiency, unpleasant odors, and dangerous overheating. Regular cleaning keeps your appliance running smoothly, saves energy, and safeguards your home.
Sponsored / affiliate links. As an Amazon Associate I earn from qualifying purchases. I may earn additional commission from eligible campaigns.