How to Install a Hinge Pin Door Stopper (No Drilling Needed)
A hinge pin door stopper replaces the pin in your door’s top hinge with a spring-loaded pin and a rubber-tipped arm that stops the door before it hits the wall — no drilling required. Skip the bottom hinge on heavy doors, and support the door’s weight while the pin is out so it doesn’t strain the remaining hinge or crack the jamb. This guide covers removing the old pin, seating the new one, adjusting the stop distance, and the mistakes that jam a hinge or crack trim.
Quick Answer
A hinge pin door stopper installs on the top hinge of a standard door in about 10–15 minutes: tap out the existing hinge pin with a flathead screwdriver and hammer, slide in the new pin with its attached rubber-tipped stop arm, then turn the adjustment screw until the door stops before it hits the wall. No drilling, no wall anchors, and it works on rental units.
What Is a Hinge Pin Door Stopper?
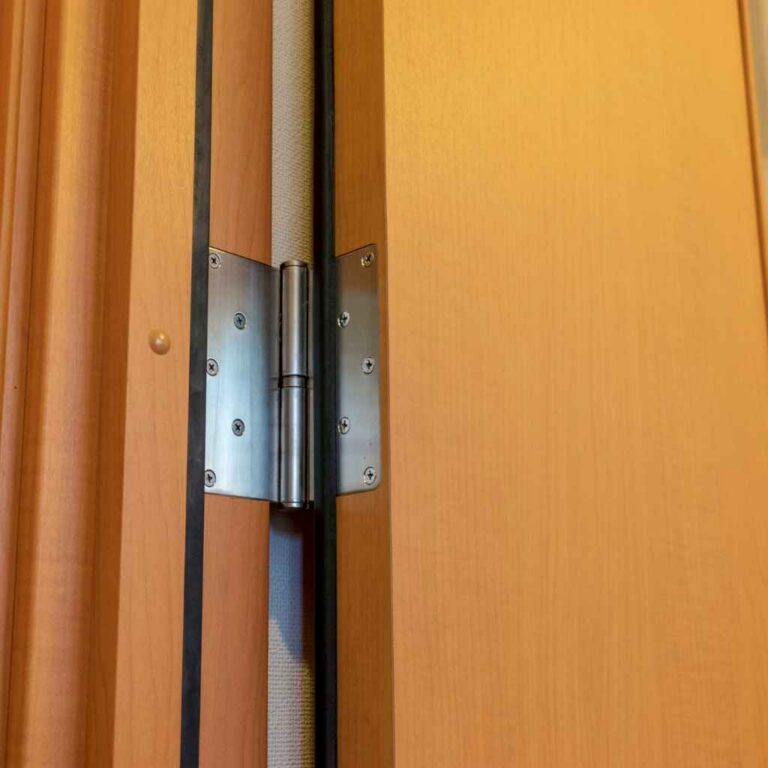
A hinge pin door stopper is a small hardware device that replaces the top hinge pin on an interior or exterior door. It pairs a spring-loaded pin with a rubber-tipped arm that swings out to block the door before it contacts the wall or furniture. Unlike floor or wall-mounted stops, it needs no drilling and leaves no visible hardware on your baseboard. It fits any door with a standard removable-pin butt hinge; it is not a fit for pivot hinges or continuous (piano) hinges, since neither has a pin to swap.
They’re discreet — the stopper blends right into the hinge instead of sitting on the floor or wall like a bulky traditional stop. The pin replaces the existing hinge pin, and a small adjustable arm stops the door at whatever angle you set.
Why Choose a Hinge Pin Door Stopper?
A hinge pin stopper beats a spring stopper or a wall-mounted one on three points. First, it’s space-saving — since it attaches to the hinge, it doesn’t take up floor space or require drilling into your walls. Second, it’s adjustable, so you can set the exact stopping point. Third, it’s durable, usually metal or reinforced plastic, and holds up for years of daily use.
Hinge pin stops work best in high-traffic areas like kids’ rooms and bathrooms — they’re less likely to get kicked or tripped over than a floor stop, and they leave no marks on the floor. If you want a low-maintenance, nearly invisible fix, this is it.
Tools and Materials You’ll Need
Gather everything before you start so you’re not scrambling mid-project:
| Item | Purpose |
|---|---|
| Hinge pin door stopper | The main component that stops the door from swinging too far. |
| Screwdriver (flathead) | To pry out the existing hinge pin. |
| Hammer | To gently tap the hinge pin out or back in. |
| Pliers | For gripping and pulling the hinge pin if it’s stubborn. |
| Shim, book, or a helper | To support the door’s weight while the pin is out. |
| Cleaning cloth | To wipe down the hinge for a clean installation. |
| Lubricant (optional) | To ease pin removal if it’s stuck. |
Hinge pin door stoppers typically run $4 to $12 at hardware stores or online, depending on finish and pack size — a name-brand single stop like a Schlage Ives runs around $8, while multi-packs in satin nickel cost more per set but less per door. Make sure the stopper matches your door’s hinge size; most are universal for standard residential hinges, but it’s worth double-checking before you buy.
Best Hinge Pin Door Stop Pick
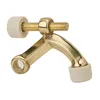
SCHLAGE Ives 70A4 Hinge Pin Door Stop – $7.95
A single brass-finish stop sized for standard residential butt hinges — the same top-hinge installation this guide walks through, with the threaded rubber bumper this guide’s Step 5 adjusts.
- Best for: A single interior door, top hinge installation
- Why we picked it: Reputable hardware brand with a threaded, adjustable rubber bumper
- Main drawback: Sold as a single unit, so multi-door jobs need several
Compare more hinge pin door stop options
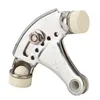
 Option 1 Nuk3y Satin Nickel Door Stop (6-Pack) – $8.99
|
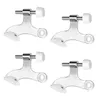
 Option 2 SCHLAGE Ives 69F26D – $4.29
|
 Option 3 Kare & Kind 4X Nickel – $10.49
|
As an Amazon Associate we earn from qualifying purchases.
Step-by-Step: How to Install a Hinge Pin Door Stopper
This is a quick project that takes about 10–15 minutes per door. Here’s the full process:
Step 1: Choose the Right Hinge
Not every hinge needs a stopper. Use the top hinge — it’s easier to access and provides solid support. The middle hinge works too, but avoid the bottom hinge since it’s closer to the floor and trickier to work with. If your door is heavy, like a solid wood or exterior door, the top hinge is your best bet.
Check your door’s hinges before you start — make sure they’re in good condition with no rust or loose screws. If a hinge looks worn out, tighten the screws or replace the hinge before installing the stopper.
Step 2: Support the Door and Remove the Existing Hinge Pin
Before you pull the pin, support the door’s weight — a shim under the bottom corner, a helper holding it steady, or a stack of books works fine. With only two hinges holding the door once the top pin is out, the full weight shifts onto the remaining hinge, which can strain the jamb if the door isn’t supported.
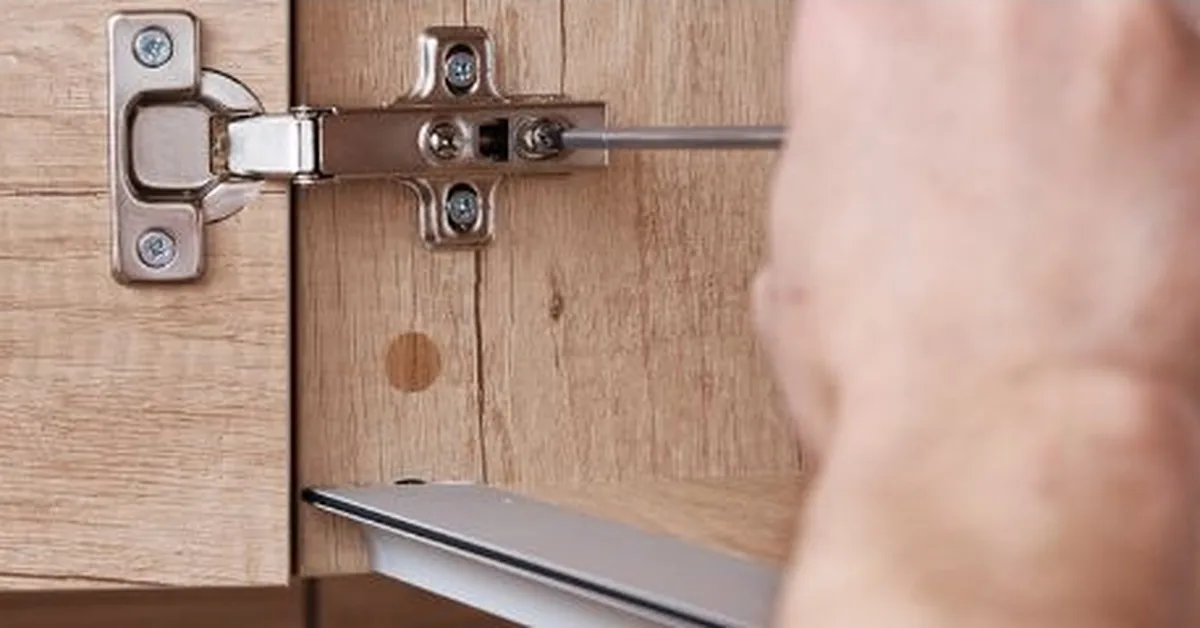
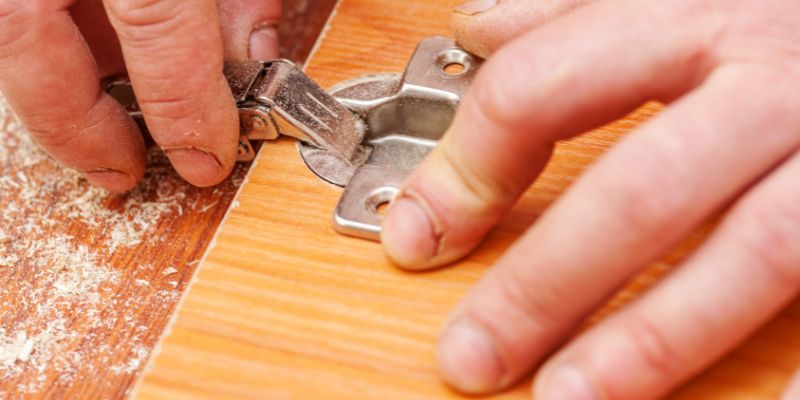
Place a flathead screwdriver under the head of the hinge pin (the round part sticking out at the top of the hinge) and gently tap it upward with a hammer. It should start to slide out. If the pin is stubborn, grip it with pliers and pull, or add a drop of penetrating lubricant to loosen it — details on that process are in our guide to removing a stuck door hinge pin. Set the old pin aside in case you need it later.
Step 3: Clean the Hinge
Wipe the hinge knuckle with a cleaning cloth before installing the new stopper. Hinges collect dust and grime over time, and a clean surface makes the new pin seat more smoothly. This step is optional but gives a more finished result.
Step 4: Insert the New Hinge Pin Door Stopper
Slide the new pin — the one attached to the stopper arm — into the hinge where the old pin was. Tap it gently with the hammer to seat it fully. Make sure the stopper arm faces the right direction (toward the door or the wall, depending on your model), then give it a gentle tug to confirm it’s secure. It should feel snug, not wobbly.
Step 5: Adjust the Stop Distance
Most hinge pin door stoppers have a threaded screw or knob on the stopper arm that sets how far the door opens. Swing the door to where you want it to stop — wide enough for comfortable access but short of the wall — then tighten the screw or knob to lock the stop in place.
Step 6: Test the Door Swing
Open and close the door several times to confirm the stopper works as expected. It should stop smoothly at the point you set, protecting your wall without any fuss. If it feels off, double-check the adjustment or make sure the pin is fully inserted.
Common Mistakes to Avoid
Don’t force the hinge pin out or in — it can damage the hinge or door frame. If it’s stuck, use lubricant and take your time. Don’t skip testing the door’s swing after installation; confirm the stopper actually stops the door before it hits anything. Double-check that you’re using the right size stopper for your hinge — a mismatch can make the pin loose or hard to seat, and don’t install the stopper arm backward, which forces you to redo the whole job.
Benefits of Using a Hinge Pin Door Stopper
A hinge pin stopper keeps walls dent-free, which saves you from patching and repainting. It’s subtle enough not to clash with your decor, and it’s durable — a properly installed one holds up for years. Because it’s adjustable, you can tweak the door’s swing anytime you rearrange furniture.
It’s also kid- and pet-friendly: no small parts on the floor for little ones to grab or a dog to chew, and it’s low-maintenance — there’s rarely a need to replace or adjust it once it’s set.
Where to Use Hinge Pin Door Stoppers in Your Home
Explore more door hardware and hinge guides if this project leads to other fixes. These stoppers work best in high-traffic areas — kids’ bedroom doors, the bathroom door, and the door to the garage are common spots. They’re a good fit for any door that gets flung open a lot or risks hitting something valuable, like a glass shower door or a piece of furniture, and they work on a front door to keep it from banging into an entryway table.
If a hinge pin stop isn’t the right fit for a particular door — a self-closing hinge, for example, or a door that needs to be held open rather than just limited — see our guide to other proven ways to stop a door from swinging for floor and wall-mounted alternatives. They’re also great for rental properties since they require no drilling or permanent changes.
Maintenance and Long-Term Care
Hinge pin door stoppers need very little upkeep. Check the adjustment screw every six months or so to make sure it’s still tight. If the door starts to feel loose or the stopper isn’t holding, a quick tweak usually fixes it. Wipe the hinge down occasionally to keep grit from building up around the pin.
If the stopper arm gets loose or the pin starts to wobble, tighten the hardware or replace the stopper — a properly installed unit typically lasts for years with no issues.
Where to Buy Hinge Pin Door Stoppers
You’ll find these at most hardware stores, including Home Depot and Lowe’s, and online through Amazon or Walmart. Look for established hardware brands like Schlage — they’re reliable and widely stocked, with prices from roughly $4 to $12 depending on finish and pack size. Check reviews to confirm the stopper fits standard hinges and includes clear instructions.
Pro tip: if you’re buying online, double-check the hinge size and whether the stopper is adjustable — some budget models aren’t, which is a hassle if you need flexibility in the stop distance.
A Quick Note on Safety
Don’t overtighten screws or force the pin — either can strip the hinge or damage the door. On a heavy door, have someone hold it steady while you swap the pin; it’s safer and easier with two sets of hands. If you’re using a hammer, tap gently to avoid dents or scratches on the hinge finish.
📊 Installing a hinge pin door stop typically takes less than 30 minutes total, and the entire door’s weight can shift onto a single remaining hinge once the top pin is pulled — which is why supporting the door before removing the pin matters. — Source: Angi, 2026
“We tested the stop distance by opening and closing the door a few times after installing it — if it wasn’t quite right, we loosened the screw and tweaked it until the door stopped exactly where we wanted, just short of the wall.”
Frequently Asked Questions
Can I install a hinge pin door stopper on any door?
Yes, on any door with a standard removable-pin butt hinge. Check that the stopper’s pin size matches your hinge size — older or custom hinges sometimes need a specific size, so measure first. It won’t work on pivot hinges or continuous piano hinges, since neither has a removable pin.
How long does it take to install a hinge pin door stopper?
About 10–15 minutes per door under normal conditions. If the existing hinge pin is stuck or rusted, it can take a bit longer, but it’s still a quick, single-tool project.
Do hinge pin door stoppers damage the door or hinge?
Not if you install them carefully. Avoid forcing the pin or overtightening the screws, and support the door’s weight while the pin is out so the remaining hinge doesn’t take unnecessary strain.
Can I adjust the stopper after installing it?
Yes. Most hinge pin door stoppers have an adjustable arm — loosen the screw or knob, move the arm to the stop point you want, and tighten it back up.
Are hinge pin door stoppers safe for homes with kids?
Yes. They sit high up on the hinge, so there’s nothing at floor or handle level for kids to grab or play with, and they help prevent doors from slamming into fingers or walls.
Will a hinge pin door stop work on a self-closing hinge?
Generally, no. A self-closing hinge already replaces the standard pin with a coiled spring mechanism built into the hinge barrel, so there’s no plain pin left to swap out. If you need both a self-closing action and a swing limit, look for a self-closing hinge model with a built-in stop feature instead of adding a separate hinge pin stopper.
What’s the difference between a hinge pin door stop and a floor or wall-mounted door stop?
A hinge pin stop mounts inside the hinge itself and needs no drilling, which makes it the better pick for light interior doors and rentals. Floor and wall-mounted stops anchor into the floor or baseboard and can handle heavier doors or higher-impact use, but they require drilling and leave visible hardware.
Conclusion
Installing a hinge pin door stopper is a fast, affordable fix — about 10–15 minutes and a few basic tools — that protects your walls and keeps doors from slamming. Choose the top hinge, support the door while the pin is out, seat the new pin, and adjust the stop distance until it’s right. It’s a small project with an outsized payoff: no more dents, no more bangs, and no drilling into your walls or floor.
Sponsored / affiliate links. As an Amazon Associate I earn from qualifying purchases. I may earn additional commission from eligible campaigns.