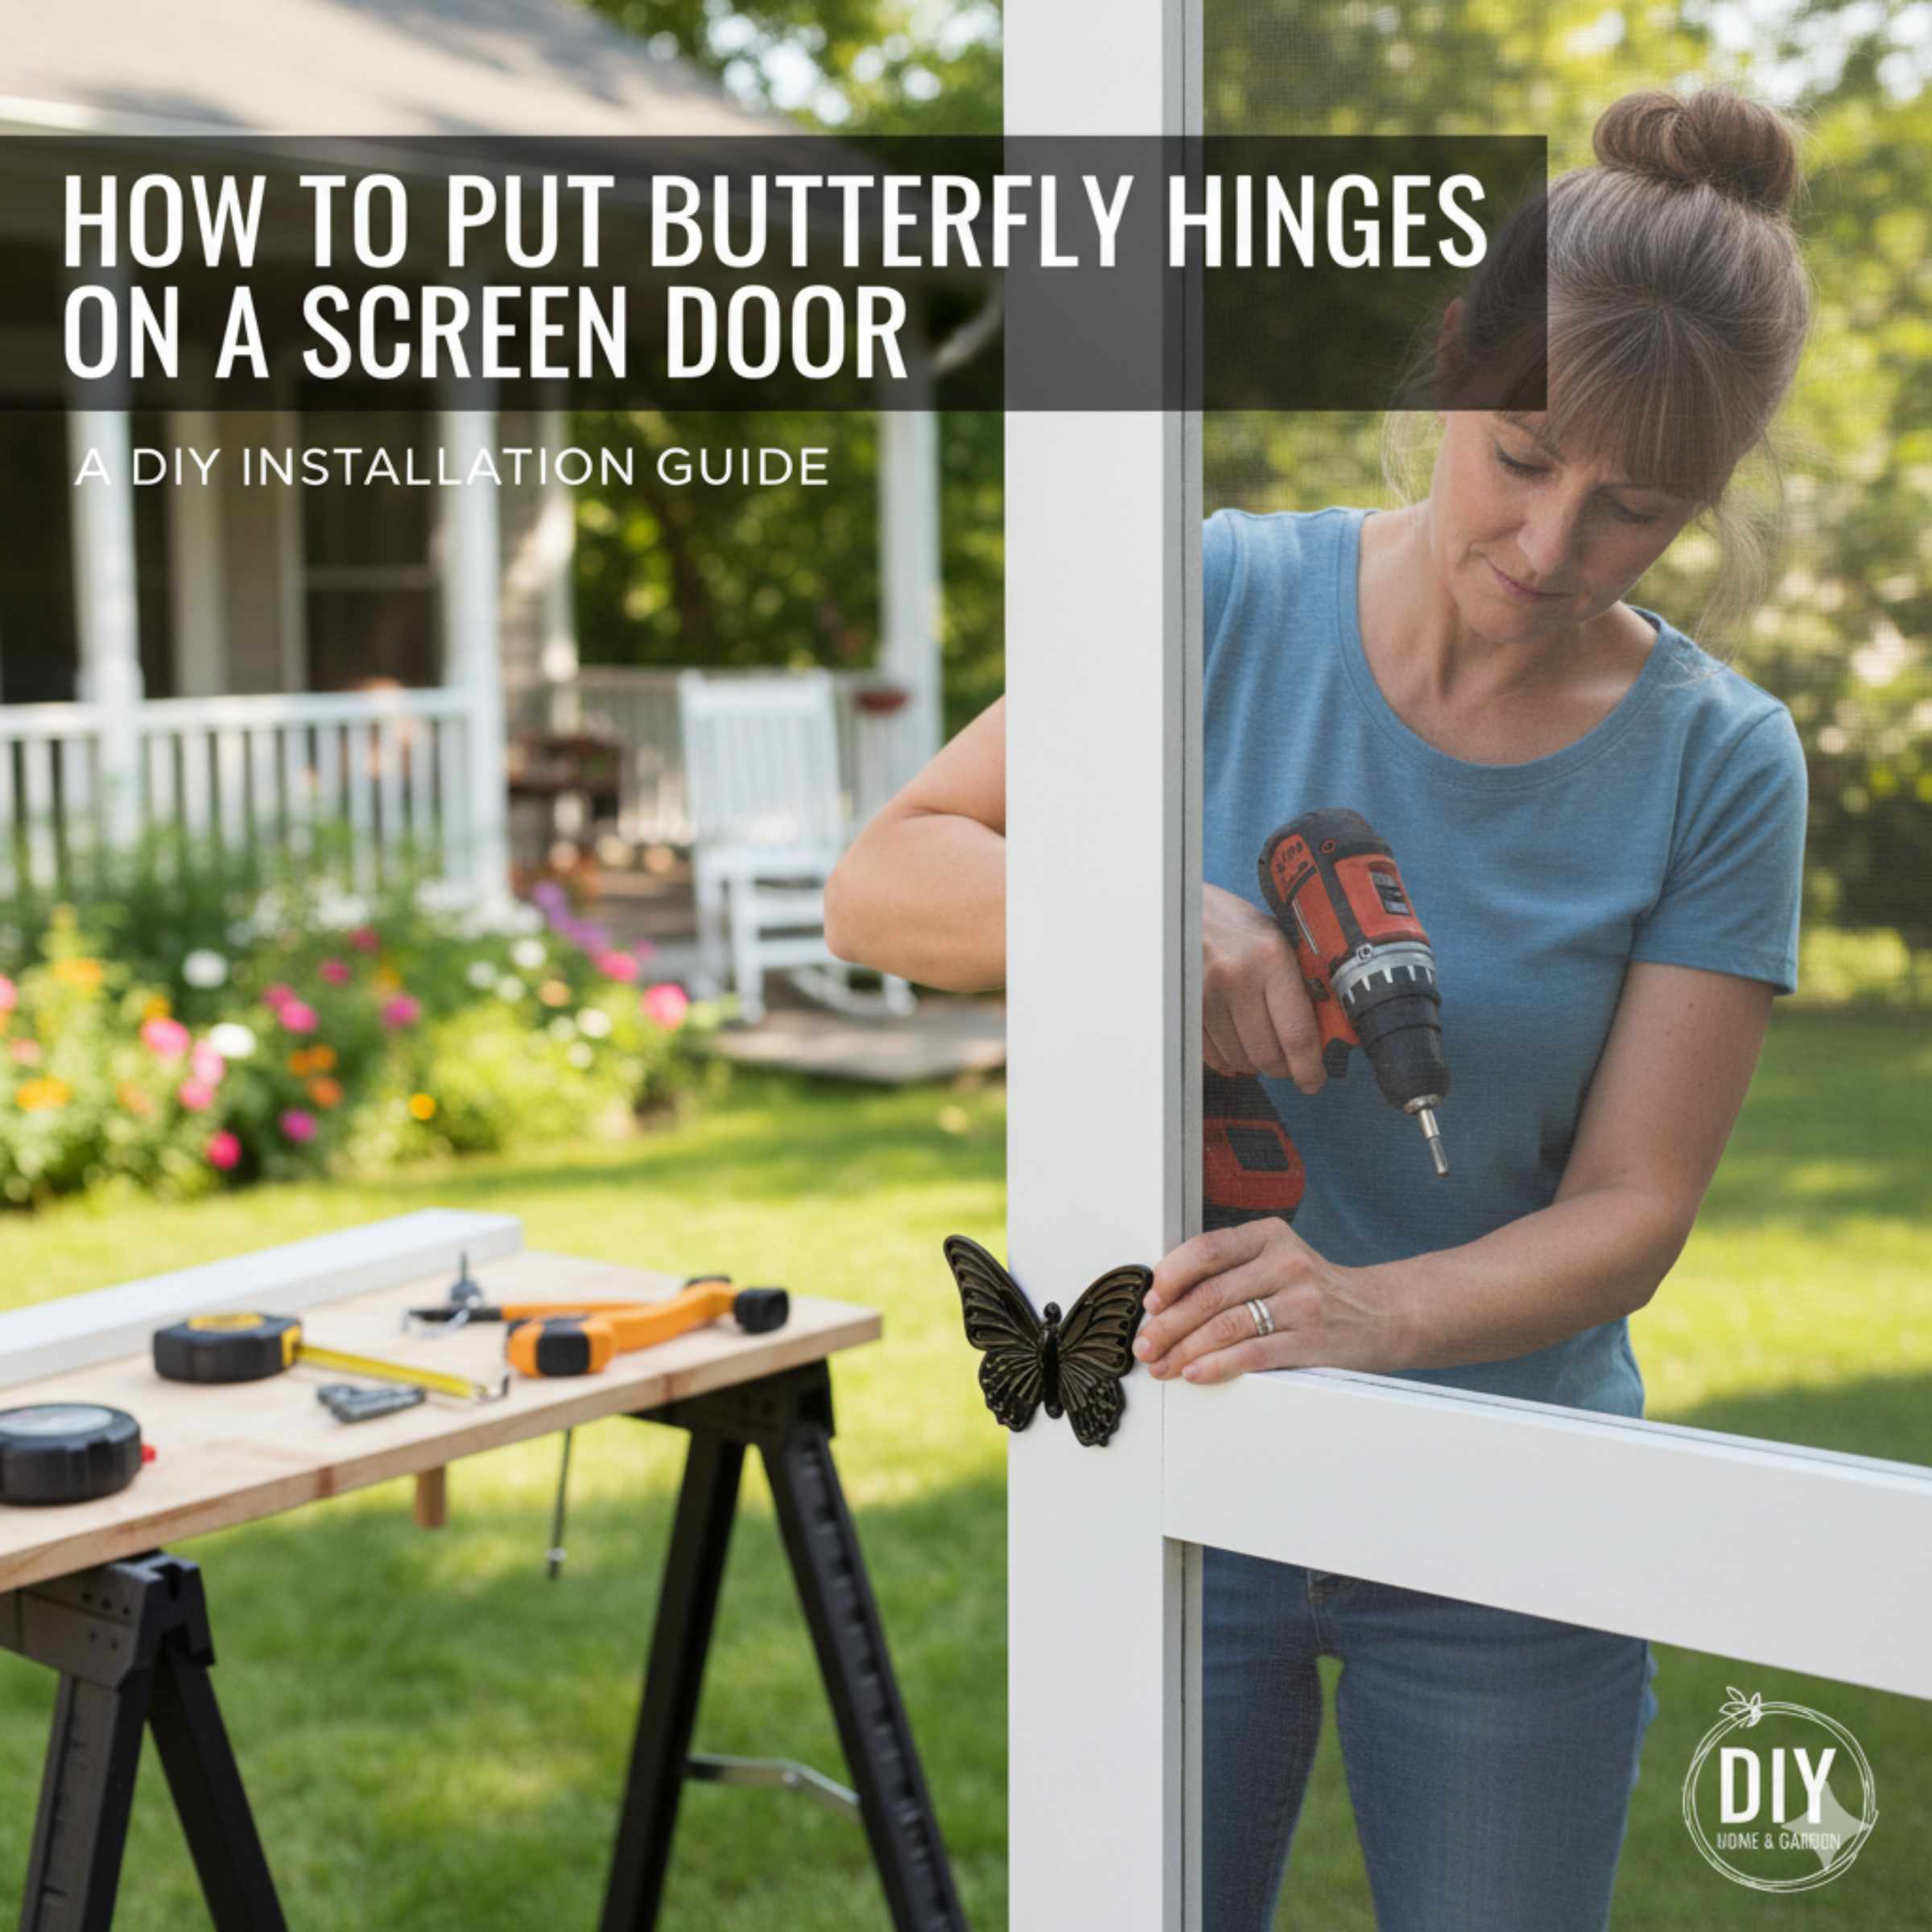
How to Put Butterfly Hinges on Screen Door: Proven Guide
Quick Summary:
Putting butterfly hinges on a screen door is a straightforward DIY project! This guide breaks down the process into simple, actionable steps, ensuring a perfect fit and smooth operation. You’ll learn about the right tools, precise measurements, and easy installation techniques to get your screen door working like new in no time.
Hey there, DIY enthusiasts! Md Meraj here. Ever found yourself wrestling with a screen door that just won’t cooperate? Maybe it sticks, squeaks, or just feels a bit wobbly. Often, the culprit is the hinges. But don’t worry! Replacing or installing new hinges, especially the charming butterfly kind, is totally doable, even if you’re new to this. These decorative and functional hinges can really spruce up your entryway. In this guide, I’ll walk you through exactly how to put butterfly hinges on your screen door, step by step. We’ll cover everything you need, from picking the right hinges to making sure they’re perfectly aligned for a door that swings freely and looks fantastic.
Why Butterfly Hinges for Your Screen Door?
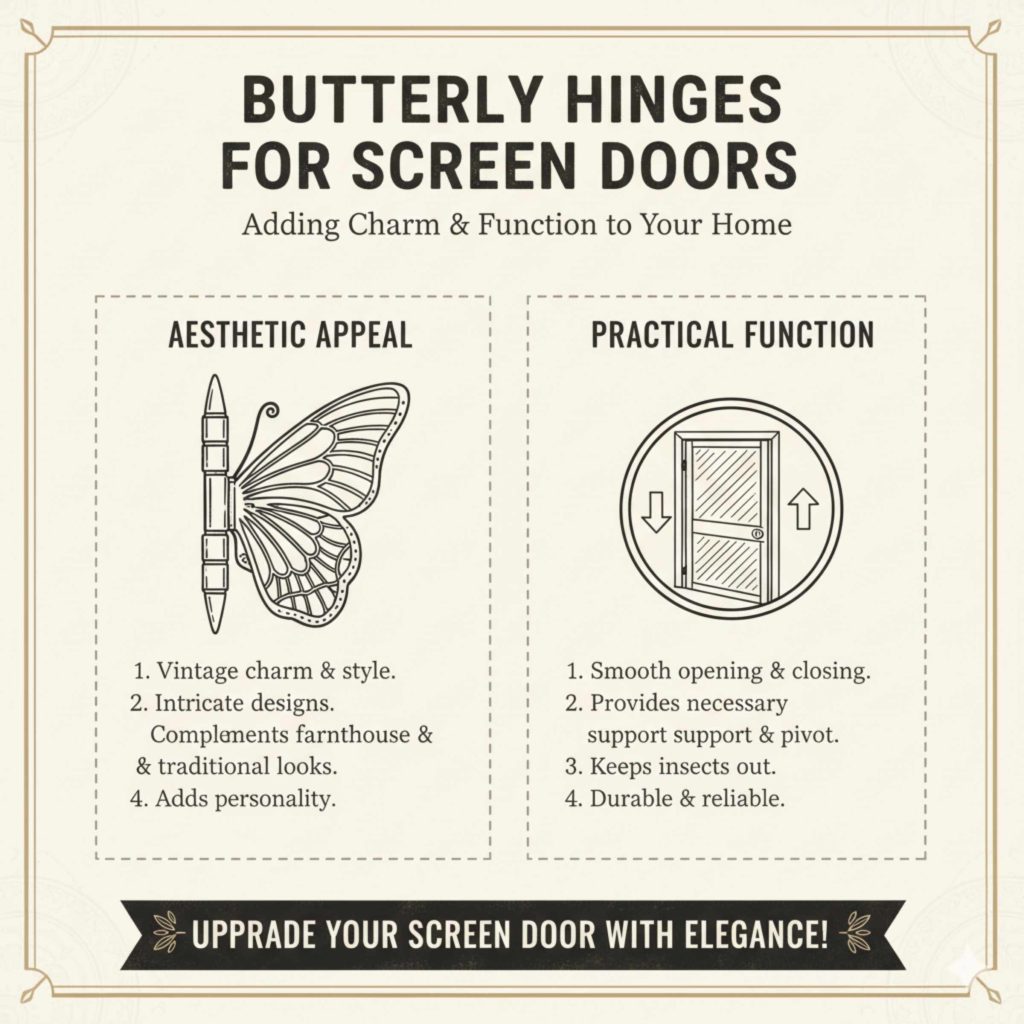
Butterfly hinges, also known as decorative or ornamental hinges, bring a touch of vintage charm and style to any door. Unlike standard, utilitarian hinges, butterfly hinges often feature intricate designs, like their namesake’s wings, adding visual interest. For screen doors, they offer a unique aesthetic that can complement rustic, farmhouse, or even more traditional home styles.
Beyond looks, they function just like regular hinges, providing the necessary support and pivot point for your door. When installed correctly, they ensure your screen door opens and closes smoothly, allowing for easy access to your outdoor spaces while keeping pesky insects at bay. They are a wonderful way to add personality to an often-overlooked part of your home.
Understanding Butterfly Hinges
Before we dive into the installation, let’s get acquainted with butterfly hinges. They are typically made of metal, often iron, brass, or aluminum, and come in various finishes to match your hardware. The defining characteristic is their design, which usually involves two leaf-like sections that spread apart, resembling butterfly wings, with a central pin or barrel connecting them.
These hinges are often surface-mounted, meaning they attach to the face of the door and the frame rather than being mortised (recessed) into the wood. This makes them ideal for DIYers as it requires less precision cutting compared to mortise hinges. However, careful measurement and alignment are still crucial for proper function.
Types of Butterfly Hinges
While the basic concept is the same, you might find a few variations:
- Standard Butterfly Hinges: These are the most common, with a simple, elegant wing design.
- Heavy-Duty Butterfly Hinges: For larger or heavier screen doors, these might be thicker and more robust.
- Ornate Butterfly Hinges: These feature more detailed carvings, patterns, or scrollwork, adding significant decorative flair.
- Self-Closing Butterfly Hinges: Some specialized butterfly hinges incorporate a spring mechanism to automatically close the door.
For most standard screen doors, the standard or ornate butterfly hinges will be perfect. Always check the weight rating if your screen door is unusually heavy.
Tools and Materials You’ll Need
Gathering your tools before you start makes the process much smoother. Here’s what you’ll likely need:
- Butterfly Hinges: Make sure you have enough for your door (usually two or three).
- Screwdriver: A Phillips head or flathead screwdriver that matches the screws provided with your hinges. A cordless drill with screwdriver bits can speed things up.
- Measuring Tape: For accurate placement.
- Pencil: To mark screw hole locations.
- Level: To ensure hinges are installed straight.
- Drill and Drill Bits: For pilot holes. A bit slightly smaller than your screws is ideal.
- Safety Glasses: Always protect your eyes!
- Chisel and Hammer (Optional): If you decide to slightly recess the hinges for a cleaner look or if the door frame is very thin.
- Wood Shims (Optional): To help hold the door in place during installation if you’re working alone.
Having a helper can also make this job much easier, especially when holding the door in place.
Step-by-Step Guide: How to Put Butterfly Hinges on a Screen Door
Let’s get started! Follow these steps carefully for a successful installation.
Step 1: Prepare the Door and Frame
First, remove the old hinges if you’re replacing them. If this is a new installation, ensure the door is ready to be hung. Clean any dirt or debris from the areas where the hinges will be mounted on both the door and the door frame. If your door has an existing door closer, you might need to temporarily remove it or adjust its position.
If you are installing on a new door or frame, or if the old hinge locations are no longer suitable, you’ll need to decide on the hinge placement. Typically, hinges are placed about 6-10 inches from the top and bottom of the door. For a standard door, two hinges are often sufficient, but a taller door might benefit from three.
Step 2: Position the First Hinge
This is where precision is key. Start with the top hinge. Hold the door up to the frame (or have your helper do it) in its intended closed position. Place the butterfly hinge against the edge of the door and the frame. The “wings” of the hinge should lie flat against the surfaces.
Important: Ensure the hinge is oriented correctly. The barrel (where the pin goes through) should be positioned so that when the door opens, the two halves of the hinge move apart smoothly. For most butterfly hinges, this means the barrel will be towards the outside edge of the door frame.
Use a level to make sure the hinge is perfectly vertical. Once you’re happy with the placement, use your pencil to lightly mark the outline of the hinge and the screw hole locations on both the door and the frame.
Step 3: Mark and Drill Pilot Holes
Remove the hinge and the door temporarily. Now, use your pencil marks to accurately mark the center of each screw hole. This is crucial for preventing the wood from splitting and ensuring the screws go in straight.
Select a drill bit that is slightly smaller in diameter than the screws you’ll be using. Drill pilot holes at each marked location. Drill to a depth that is slightly less than the length of the screws. If you’re drilling into a very hard wood, you might need to go a little deeper.
Tip: If you’re unsure about drill bit size, test it on a scrap piece of wood first. You want the screw to have something to grip, but not so tight that it’s impossible to drive or that it splits the wood.
Step 4: Attach the First Hinge
Align the first butterfly hinge with the pilot holes you just drilled. Start by inserting and hand-tightening one screw through the hinge leaf on the door. Then, do the same for the frame leaf. This helps keep the hinge in place while you add the rest of the screws.
Once all screws are started, use your screwdriver (or drill on a low torque setting) to drive them in fully. Make sure the hinge is snug against the surfaces but don’t overtighten, as this can strip the screw holes or damage the wood.
Step 5: Position and Attach the Second Hinge
Now, repeat the process for the second hinge. If you’re using three hinges, you’ll install the middle one now, then the bottom one. For two hinges, position the second hinge at the bottom of the door, again about 6-10 inches from the bottom edge.
Hold the door up (or have your helper assist) and align the second hinge with the door and frame. Ensure it’s parallel to the top hinge and vertical. Mark your screw locations, drill pilot holes, and then attach the hinge with screws. Again, make sure it’s secure but not overtightened.
For Three Hinges: If you’re using three hinges, place the bottom hinge about 6-10 inches from the bottom edge of the door. Ensure it’s aligned vertically with the other two hinges. The spacing between hinges should be relatively even.
Step 6: Test the Door Swing
Once all hinges are attached, it’s time for the moment of truth! Gently swing the door open and closed. It should move smoothly without binding, sticking, or excessive squeaking. Check that the gaps around the door are even.
If the door feels stiff or rubs against the frame, you might need to slightly adjust the hinge placement or loosen and re-tighten the screws. Sometimes, a tiny adjustment can make a big difference. If you notice any rubbing, check if the hinge is sitting flush or if the pilot holes were drilled perfectly straight.
Step 7: Final Touches and Adjustments
If the door swings well, you’re almost done! Ensure all screws are securely fastened. If you notice any minor squeaks, a drop of lubricating oil (like WD-40 or a silicone-based lubricant) on the hinge pin can help. Some butterfly hinges have removable pins; if so, you can remove the pin, lubricate it, and reinsert it.
If you opted for the chisel method to slightly recess the hinges, now would be the time to finish that up and ensure everything looks neat and professional. For most DIYers, surface-mounting is perfectly fine and achieves a great result.
Troubleshooting Common Issues
Even with careful work, you might run into a snag. Here are a few common problems and how to fix them:
- Door Squeaks: This is usually due to friction. Lubricate the hinge pin.
-
Door Sticks or Binds:
- Check if the hinges are installed perfectly straight and parallel.
- Ensure the door is hanging plumb. If not, you might need to adjust hinge placement slightly or add shims behind a hinge leaf.
- Make sure the door isn’t warped.
- Screws Won’t Tighten: The pilot hole might be too large, or the wood is soft. Try using slightly longer screws, or fill the hole with wood glue and toothpicks/golf tees, let it dry, then re-drill a pilot hole.
- Gap is Uneven: This often points to an issue with hinge alignment. Re-check that hinges are parallel and the door is hanging straight. Small adjustments can fix this.
Enhancing Your Screen Door with Butterfly Hinges
Once your butterfly hinges are installed and working perfectly, you can really appreciate the aesthetic upgrade they provide. These hinges are not just functional; they are decorative elements that can transform the look of your entryway.
Consider the finish of your hinges. Black iron can give a rustic or industrial feel, while brushed nickel or antique brass can offer a more refined look. Matching your hinge finish to your doorknob, house numbers, or other exterior hardware can create a cohesive and polished appearance.
For inspiration on screen door styles and hardware, you can explore resources like the This Old House guide to screen doors. They offer great ideas on how different styles can enhance your home’s curb appeal.
Butterfly Hinges vs. Standard Hinges: A Comparison
Choosing the right hinge involves weighing aesthetics against practicality. Here’s a quick look at how butterfly hinges stack up against standard door hinges:
| Feature | Butterfly Hinges | Standard Hinges (e.g., Butt Hinges) |
|---|---|---|
| Aesthetics | Decorative, often ornate, adds character. | Plain, utilitarian, designed for function. |
| Installation | Typically surface-mounted, easier for DIY. | Often mortised (recessed), requiring more precision. |
| Visibility | Visible and part of the door’s design. | Often hidden or less prominent. |
| Strength | Generally strong enough for screen doors; heavy-duty options available. | Very strong and reliable, suitable for all door types. |
| Cost | Can be slightly more expensive due to decorative design. | Generally more affordable. |
For screen doors where appearance is a priority, butterfly hinges are an excellent choice. Their surface-mount design makes them particularly appealing for DIYers who want a high-impact upgrade without complex woodworking.
Safety Considerations
Working with tools and doors always requires attention to safety. Here are a few key points to keep in mind:
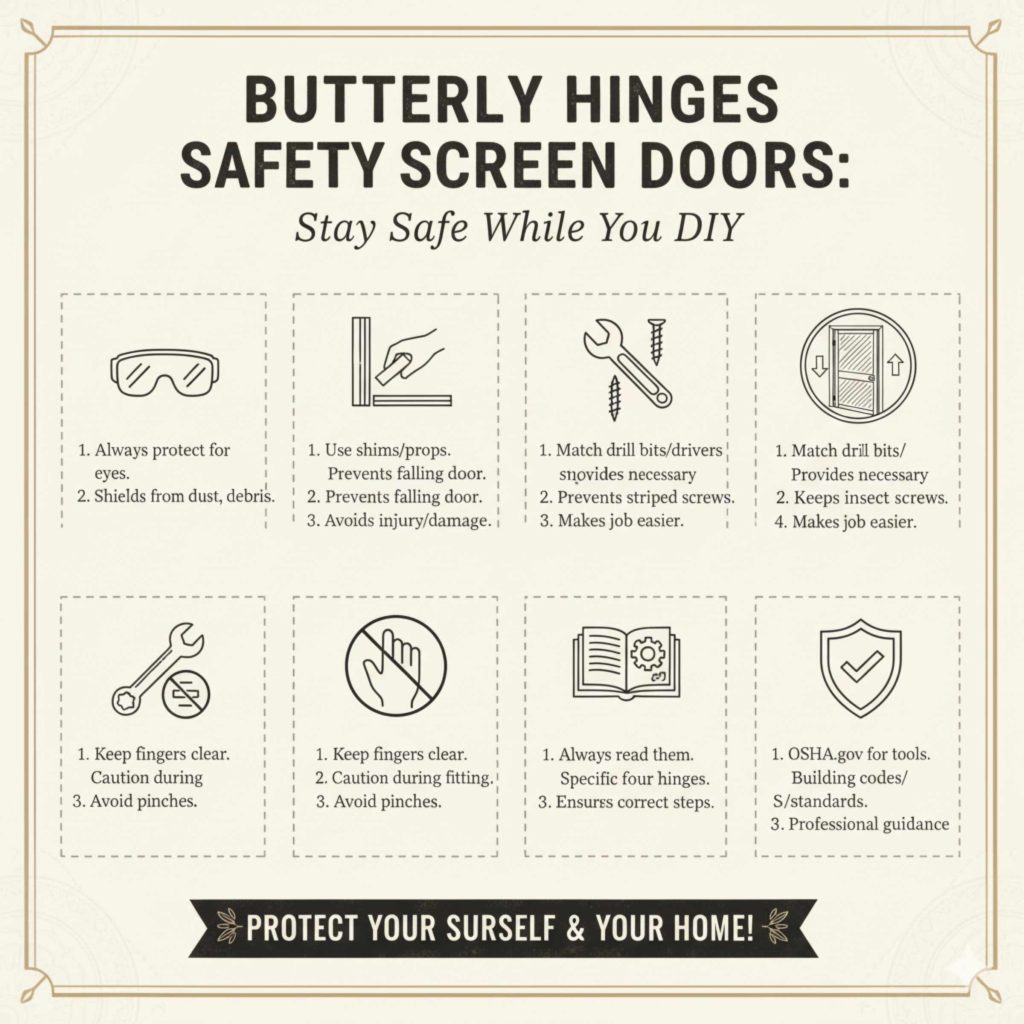
- Wear Safety Glasses: Always protect your eyes from dust, debris, or flying particles when drilling or screwing.
- Secure the Door: If working alone, use shims or props to hold the door securely in place while you position and attach hinges. A falling door can cause injury or damage.
- Use the Right Tools: Ensure your drill bits and screwdriver heads are the correct size for the screws and pilot holes. This prevents stripping screws and makes the job easier.
- Be Mindful of Fingers: Keep fingers clear of the hinge area when closing the door, especially during the initial fitting stages.
- Read Manufacturer Instructions: If your hinges came with specific instructions, always refer to them.
For more detailed safety guidelines on using power tools, the Occupational Safety and Health Administration (OSHA) offers helpful resources for homeowners.
Frequently Asked Questions (FAQ)
Q1: How many butterfly hinges do I need for a screen door?
For most standard-sized screen doors, two butterfly hinges are sufficient. If you have a particularly tall or heavy screen door, or if you want extra support, three hinges are recommended. Place them evenly spaced along the height of the door.
Q2: Can I install butterfly hinges on an existing screen door?
Yes, absolutely! If you’re replacing old hinges, you can often use the existing hinge mortises if they are for standard butt hinges, or simply mount the butterfly hinges in new locations if the old ones are too far apart or damaged. If you’re just upgrading the look, you’ll likely be drilling new pilot holes.
Q3: Do butterfly hinges need to be mortised?
No, butterfly hinges are typically surface-mounted. This means they are attached directly to the face of the door and the frame without needing to be cut into the wood. This makes them very beginner-friendly!
Q4: What is the best way to ensure my butterfly hinges are aligned?
Use a level to ensure each hinge is perfectly vertical when you mark your screw holes. Also, make sure the door is properly positioned in the frame and held steady while you mark. For multiple hinges, ensure they are parallel to each other.
Q5: My screen door is sticking after installing butterfly hinges. What should I do?
This usually means the hinges aren’t perfectly aligned, or the door itself might be slightly out of plumb. Double-check that the hinges are installed straight and parallel. You may need to loosen the screws slightly, make minor adjustments to the hinge position, and then re-tighten. Ensure there’s a consistent gap around the door.
Q6: Can I paint or finish my butterfly hinges?
Yes, most butterfly hinges can be painted or finished to match your decor. It’s best to do this before installation. Clean the hinges thoroughly, apply a suitable primer for metal, and then paint with your desired color. For a natural look, you might want to seal them with a clear coat to prevent rust.
Conclusion
There you have it! Putting butterfly hinges on your screen door is a rewarding project that combines practicality with a beautiful aesthetic touch. By following these clear, step-by-step instructions, you’ve learned how to prepare, measure, drill, and install your new hinges with confidence. Remember, precision in measuring and drilling pilot holes is your best friend for a smooth, professional-looking finish.
Don’t be afraid to take your time, double-check your work, and enlist a helper if possible. The result will be a screen door that not only functions flawlessly but also adds a unique charm to your home’s entrance. Enjoy the satisfaction of a job well done, and happy DIYing!