How to Remove a Stripped Screw Without Damaging the Material
Start with the gentlest fix that still fits the screw condition: use the correct driver bit with firm downward pressure, add a rubber band if the recess still has shape, move to a screw extractor only if the head still will not turn, and drill only as a last resort. A stripped screw usually means the drive recess is damaged, while stripped threads mean the screw spins without biting. Forcing the wrong method can scar finished wood, gouge metal, or crack plastic.
What you’ll need


- Correct-size screwdriver or driver bit for Phillips, slotted, Allen, or Torx heads
- Rubber band
- Locking pliers
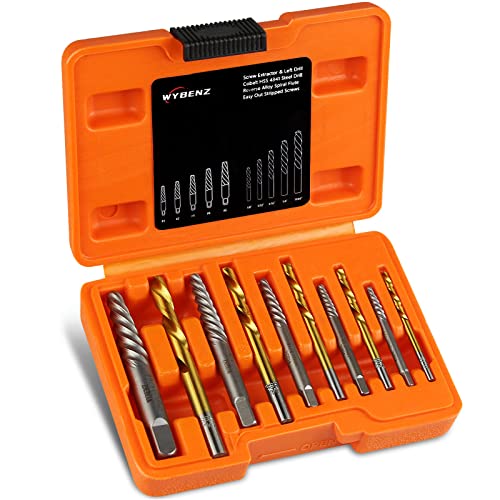
- Screw extractor and a drill bit made for metal
- Rotary tool and protective goggles
- Painter’s tape or a thin barrier for finished surfaces
- Manual screwdriver for better feel and control
Use the least aggressive method that still matches the head condition and the material around it. A rounded head in soft plastic needs a different approach than a recessed screw in finished wood or a fully exposed fastener in metal. Stop as soon as a method starts to widen the hole, heat the head, or mark the surface.
- Match the driver to the recess. Try the exact bit size first, then switch to a slightly smaller or larger head size only if the fit is visibly loose. Use a manual screwdriver or hand driver so you can feel cam-out before the recess worsens.
- Press straight down and turn slowly. Keep the driver centered on the screw axis and apply firm downward pressure. If the bit jumps or skates, stop before the head rounds farther.
- Add a rubber band if the recess is only partly stripped. Lay the band over the head, seat the properly sized driver into it, and turn with steady pressure. This works best when the drive still has some shape left.
- Grip the outside of the head if it sticks out. Clamp locking pliers tightly on the exposed head, then back it out the first few turns. Once the screw starts moving, switch to a safer tool if space or finish protection is tight.
- Cut a new slot only when a flathead path makes sense. Use a rotary tool to cut a straight slot deep enough for a flat screwdriver, then wear safety goggles and shield nearby finished surfaces. This helps when the head is too rounded for normal driver engagement.
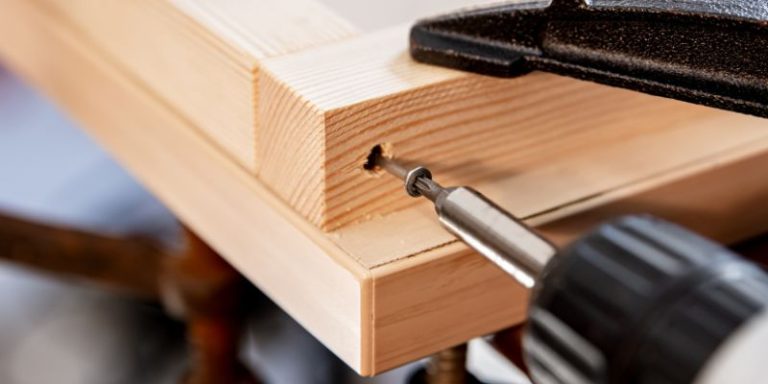
- Drill and extract only when the head is badly damaged. Center a small drill bit made for metal in the head, drill a pilot hole, then use the extractor’s matching size. Keep the bit centered so you do not enlarge the hole or snap the head off.
- Stop before damage spreads. If the bit slips again, the head heats up, or the hole starts widening, pause and reassess the screw condition and the surrounding material before continuing.
Stripped screw decision matrix
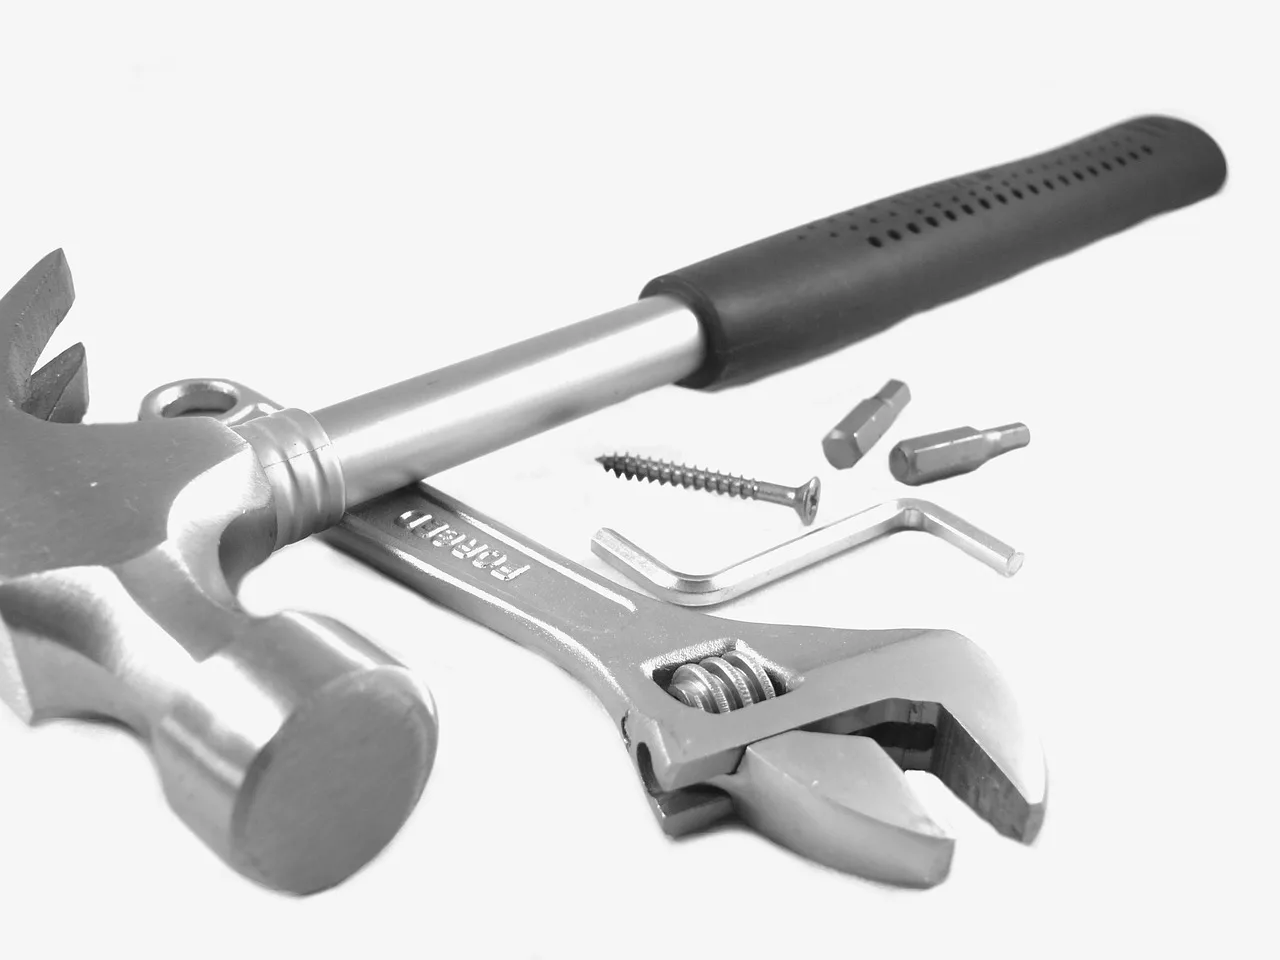
Use this table before you commit to a tool. It ranks the first move, the next step, and the last resort by screw condition and material type, with the damage risk you should expect and the point where you should stop and switch methods.
| Screw condition | Material | Safest first method | Second method | Last resort | Damage risk | Stop/go threshold |
|---|---|---|---|---|---|---|
| Slightly stripped | Wood | Correct bit + firm downward pressure | Rubber band with manual driver | Extractor after centered pilot hole | Low, unless the finish is soft or thin | Stop if the bit cam-outs twice or the recess widens |
| Slightly stripped | Metal | Correct bit + manual screwdriver | Rubber band or slightly different bit size | Locking pliers if any head edge is exposed | Low to moderate | Stop if the head starts rounding or heat builds |
| Slightly stripped | Plastic | Correct bit with light, straight pressure | Rubber band, then stop if slip continues | Extractor only if the hole can still stay usable | Moderate, because plastic can deform fast | Stop if the plastic begins to whiten, crack, or oval out |
| Rounded | Wood | Locking pliers if any head remains exposed | Cut a new slot with a rotary tool | Extractor after pilot hole | Moderate, especially on finished trim | Stop if the tool slips across the finish or the head tears |
| Rounded | Metal | Locking pliers on the exposed head | Rotary tool slot | Extractor with a metal-rated drill bit | Moderate to high | Stop if the head starts to shear or spin without bite |
| Rounded | Plastic | Correct bit or rubber band only if the recess still exists | Manual driver with added grip | Extractor only if hole enlargement is acceptable | High | Stop as soon as the hole grows or the plastic cracks |
| Buried | Wood | Correct bit with downward pressure | Rubber band or slightly different driver size | Extractor after careful centered drilling | Moderate, because access is limited | Stop if the driver cannot stay straight in the recess |
| Buried | Metal | Correct bit with manual screwdriver | Extractor with centered pilot hole | Cut slot only if there is safe access for the rotary tool | Moderate | Stop if the bit wanders and marks the surrounding surface |
| Buried | Plastic | Correct bit with very light pressure | Protect surface, then try rubber band once | Extractor only if the surrounding plastic can tolerate it | High | Stop if heat, whitening, or hole enlargement starts |
| Exposed head | Wood | Locking pliers on the head | Manual driver if the recess recovers after movement | Extractor if the head snaps or rounds more | Low to moderate | Stop if pliers mar the surface or crush the head |
| Exposed head | Metal | Locking pliers | Rotary tool slot if pliers slip | Extractor if the head is too rounded to grip | Moderate | Stop if the pliers slip twice or the head deforms |
| Exposed head | Plastic | Correct bit or locking pliers only with pad protection | Manual driver with added grip | Extractor only if the hole can be repaired later | High | Stop at the first sign of cracking or hole ovaling |
When should you switch methods?
Switch methods when the screw stops improving, not after it is badly damaged. A few failed turns are one thing; repeated cam-out, a hotter head, or a growing hole means the current method is making the next method harder. In wood and plastic, early stopping protects the surface more than extra force does.
- Stop the current tool after two slips with no progress.
- Inspect the recess for new rounding, chips, or a wider opening.
- Move up one step only: rubber band, pliers, slot cut, or extractor.
- Use the next method once, then reassess before adding more torque.
- Escalate to drilling only when the head shape no longer supports grip.
If a cabinet screw in finished wood is a Phillips head and the bit slips about twice even with firm pressure, that is a point to stop, protect the face frame with tape, and try a rubber band or a hand driver before the recess becomes too rounded for anything but extraction.
How do you know if the screw is stripped or the threads are stripped?
Look at what fails first. If the driver spins in the head, the drive recess is stripped. If the head turns but the screw does not back out, the threads may be stripped or the screw may be bound in the material. Those are different problems, and only the first one calls for grip fixes at the head.
What to check
- If the bit slips while the screw stays still, treat it as head damage.
- If the head turns but the fastener does not rise or back out, suspect thread failure.
- If a wood screw sits flush or below the surface, plan for extraction access rather than pliers.
What if the screw head is too rounded for a screwdriver?
Move to a tool that grips the outside of the head, or create a new driving surface. Locking pliers are best when the head is exposed. If the head is too rounded but still accessible, a rotary tool can cut a fresh slot for a flathead driver. Use goggles and shield nearby surfaces before cutting.
- Clamp locking pliers as low on the head as possible.
- Turn the screw a quarter-turn, then regrip if the jaws slip.
- If pliers cannot hold, cut one straight slot with a rotary tool.
- Drive the slot with a manual screwdriver and steady pressure.
- Stop if the metal starts to tear or the surrounding finish is threatened.
How do you remove a stripped screw without damaging the wood?
Use the softest working method first and protect the surface before you touch the head. In wood, stripped screws are often flush or below the surface, so pliers may not fit. A correct bit, then a rubber band, then a centered extractor gives you the best chance of saving the surrounding grain and finish.
- Cover the area with painter’s tape if the wood is finished.
- Try the exact driver size with firm downward pressure.
- Add a rubber band if the recess is only partly stripped.
- Use a screw extractor if the head will not turn.
- Stop if the bit starts chewing the edge of the recess or the finish.
What is the safest way to remove a stripped screw from metal?
Use locking pliers if the head is exposed, because they grip the outside instead of the damaged recess. If that fails, switch to a rotary tool slot or a screw extractor with a metal-rated drill bit. Metal tolerates more force than wood or plastic, but it still punishes off-center drilling and sloppy bites.
- Clamp locking pliers tightly onto the exposed head.
- Back the screw out a few turns before changing tools.
- If the head is too rounded, cut a new slot with a rotary tool.
- Drill a centered pilot hole and use the extractor if needed.
- Stop if the head begins to twist off or the hole wanders.
How do I remove a stripped screw from plastic without ruining the hole?
Use the lightest method that still gives the driver a chance to bite. Plastic can deform, crack, or lose hole usability after aggressive removal, so a rubber band and manual screwdriver come before extraction. Avoid heat and over-torque; both can enlarge the hole faster than the screw backs out.
- Protect the area with tape or a thin barrier.
- Use the correct driver with light, straight pressure.
- Try a rubber band once if the recess is only partly damaged.
- Stop if the plastic whitens, cracks, or the hole starts to oval out.
- Use extraction only if the hole can still be repaired after removal.
Common mistakes
- Using a loose bit size, which increases cam-out and rounds the head faster.
- Applying too much torque too soon, which can snap the head or tear the recess.
- Drilling off-center, which enlarges the hole and makes extraction less reliable.
- Skipping surface protection on finished wood, paint, or soft plastic.
- Forcing an extractor after the drill hole has wandered.
- Ignoring heat, which often means the method is grinding damage into the screw instead of turning it free.
Frequently asked questions
What tool works best for removing a stripped screw?
A dedicated screw extractor is the strongest all-around option when the head is too damaged for normal drivers. It uses a drill bit first, then the extractor bit, and it works across metal, wood, and plastic. If the head is still accessible, locking pliers are often less invasive and faster.
Can a rubber band really help remove a stripped screw?
Yes, when the recess is only partly stripped and you use a properly sized screwdriver. The rubber band fills small gaps and adds traction for one more try. If the bit still slips or the head rounds further, stop and move to a better-fitting tool or extraction.
When should I use a screw extractor instead of pliers?
Use an extractor when the head is deeply damaged, buried, or too rounded for pliers to grip safely. Use pliers when the head sticks out enough to clamp without slipping. On wood, a screw below the surface usually points toward extractor use rather than forceful gripping.
Should I drill a hole in a stripped screw head?
Only after the less aggressive methods fail. Drill a centered pilot hole when you are ready to use an extractor, and choose a drill bit made for metal. A small size helps avoid popping the head off or widening the hole beyond recovery.
How do I keep from stripping the screw head further while removing it?
Keep the driver straight, use the exact bit size, and press down hard enough that the bit stays seated. Turn slowly and stop at the first sign of cam-out. If the head starts to heat up or the recess widens, switch methods before the damage spreads.
Sponsored / affiliate links. As an Amazon Associate I earn from qualifying purchases. I may earn additional commission from eligible campaigns.