How to Remove a Tensioner Pulley with a Ratchet (15mm/16mm Bolt)
A ratchet alone removes most tensioner pulleys — insert it into the tensioner arm’s square hole to release belt tension, then unbolt the pulley itself, usually a 15mm or 16mm bolt, not a special tool. Skipping the tensioner when you replace a belt is why the new belt often wears out early. This guide covers releasing belt tension, removing the pulley bolt, and the mistakes that strip bolts or misalign the belt.
Quick Answer
Insert a ratchet into the square hole on the tensioner arm and rotate it to release belt tension, then slide the belt off the pulley. Remove the center bolt (usually 15mm or 16mm) with a socket and ratchet, and the pulley comes off by hand. Most removals take 15–30 minutes with basic hand tools.
What Is a Tensioner Pulley and Why Remove It?
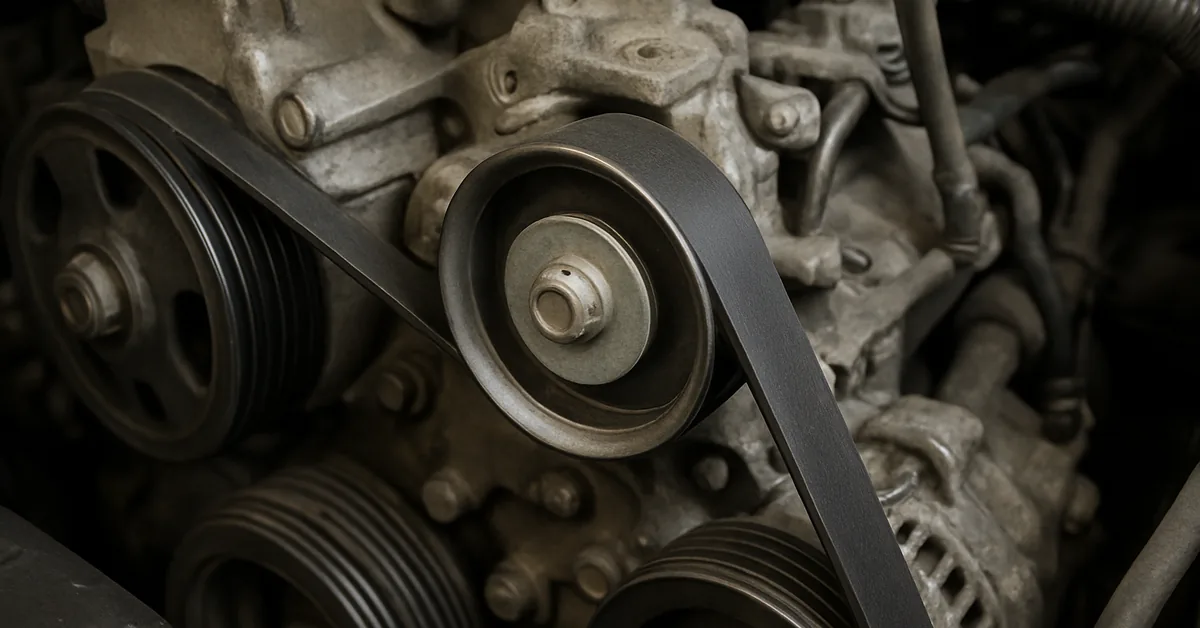
Let’s start with the basics. A tensioner pulley is a small but mighty part of your car’s engine system. It’s designed to keep the serpentine belt tight, ensuring it runs smoothly over all the pulleys that power things like your alternator, power steering pump, and air conditioning compressor. A slipping or snapped belt is also a common trigger for a dashboard alternator warning light, since the belt is what spins the alternator. Over time, though, the pulley can wear out. The bearings inside might start grinding, or it could get misaligned, causing that annoying squeal you hear when you start your car.
I’ve had to remove a tensioner pulley a few times—once because of a loud grinding noise and another time during a belt replacement. Removing it isn’t just about fixing a noise; it’s about keeping your engine running smoothly. If the pulley fails, your belt could slip or snap, and that’s a much bigger headache. Knowing how to remove it with a ratchet is handy because it’s a tool most of us already have, and it makes the job straightforward.
📊 Drive belt tensioners typically need replacement every 40,000–70,000 miles, often alongside the serpentine belt itself (60,000–100,000 miles or 5–6 years). Replacing just the belt without checking the tensioner is a common reason a new belt wears out early. — Source: Dayco, 2026
Tools You’ll Need for the Job
Before we dive in, let’s talk about what you’ll need. I learned the hard way that having the right tools makes all the difference. When I first tried this, I was scrambling around my garage, wishing I’d prepared better. Here’s what you should gather:
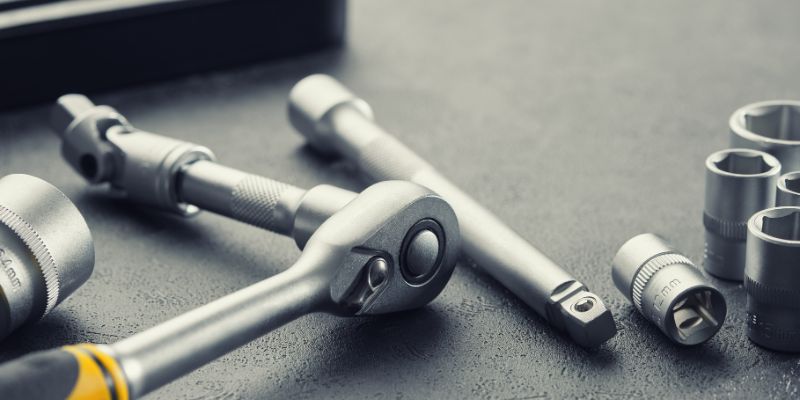
- Ratchet: A 3/8-inch drive ratchet is usually perfect for this job. Make sure it’s in good condition.
- Socket Set: You’ll need the right size socket for the bolts holding the tensioner. Common sizes are 13mm, 15mm, or 17mm, but check your vehicle’s manual.
- Breaker Bar (Optional): Sometimes bolts are stubborn, and a breaker bar gives extra leverage.
- Wrench: A combination wrench can help if you need to hold the pulley in place.
- Gloves and Safety Glasses: Protect your hands and eyes—grease and debris are no joke.
- Penetrating Oil: For rusty or stuck bolts, this is a lifesaver.
- Shop Towels: Things can get messy, so keep these handy.
- Flashlight or Work Light: Engine compartments can be dark, and you’ll need to see clearly.
I like to lay all my tools out on a clean towel before starting. It keeps things organized and saves you from digging through a toolbox mid-job.
Best Tensioner Tool Pick
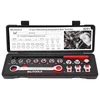
BILITOOLS Serpentine Belt Tensioner Tool Set — $30.99
Built specifically for the square-hole tensioner release this guide walks through — the low-profile sockets and extension reach tensioners a standard ratchet can’t always get a straight angle on.
- Best for: Tight engine bays where a standard ratchet can’t get a straight swing
- Why we picked it: Purpose-built for the exact square-hole release described in Step 1
- Main drawback: Overkill if you only ever work on one vehicle with easy tensioner access
Compare more tensioner tool options
 Option 1 DURATECH 15-Piece Set — $37.39
|
 Option 2 BILITOOLS Fold Wrench — $27.99
|
 Option 3 Yuesstloo 15pc Set — $37.50
|
As an Amazon Associate we earn from qualifying purchases.
Preparing Your Vehicle for the Task
Safety first—that’s my motto. Before you even touch the tensioner pulley, you need to prep your vehicle. I made the mistake once of diving in without disconnecting the battery, and let’s just say it wasn’t my proudest moment. Here’s how to set up properly:
Park your car on a flat surface and engage the parking brake. Pop the hood and let the engine cool down completely. A hot engine is no fun to work on, trust me. Next, disconnect the negative battery terminal. This prevents any accidental electrical issues, especially if you’re working near the alternator or other electrical components.
Find the tensioner pulley in your engine compartment. It’s usually a small pulley attached to a spring-loaded arm, and it’s the one keeping the serpentine belt tight. If you’re not sure where it is, your car’s manual or a quick online diagram for your make and model can help. I once spent 20 minutes staring at the wrong pulley, so double-check!
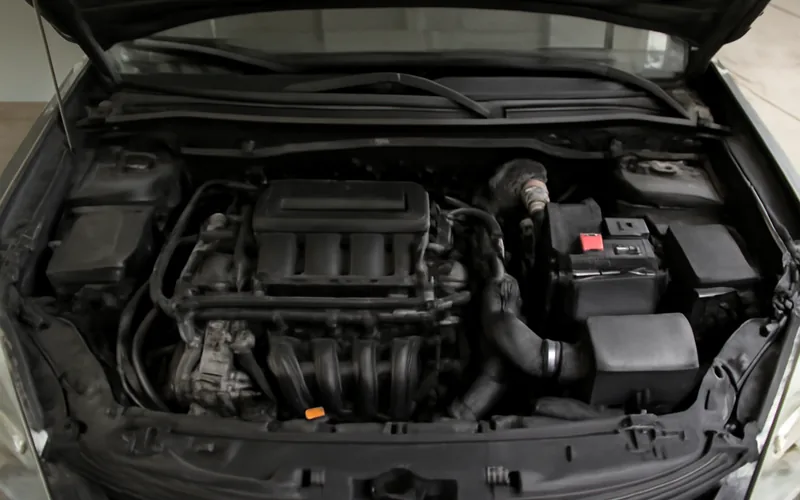
Step-by-Step Guide to Removing the Tensioner Pulley
Now, let’s get to the good stuff—actually removing the tensioner pulley. I’m going to break this down into clear steps based on what’s worked for me. Follow along, and you’ll be fine.
Step 1: Release Tension from the Serpentine Belt
The tensioner pulley is under constant pressure from the serpentine belt, so your first job is to take that tension off. Find the square hole on the tensioner arm—it’s usually 3/8-inch, perfect for your ratchet. Insert the ratchet into the square hole and slowly rotate it. This moves the tensioner arm and loosens the belt.
I remember my first time doing this; I was nervous about breaking something, but it’s easier than it looks. Move the arm until the belt is slack, then slip the belt off the tensioner pulley. You don’t need to remove the belt entirely—just get it off the pulley you’re working on. Pro tip: Take a quick photo of the belt’s routing before you move it. It’ll save you a headache when you’re putting things back together.
Step 2: Locate and Remove the Pulley Bolt
With the belt out of the way, focus on the pulley itself. Most tensioner pulleys are held in place by a single bolt in the center. Grab your socket set and find the right size for this bolt. In my experience, it’s often a 15mm or 17mm, but it varies by vehicle.
Attach the socket to your ratchet and start loosening the bolt. If it’s tight, spray some penetrating oil and let it sit for a few minutes. I’ve had bolts that were rusted in place, and a little penetrating oil made all the difference. If the bolt still won’t budge, see our guide on extracting a broken bolt without drilling it out before you resort to force. Turn the ratchet counterclockwise to loosen. If it’s really stubborn, a breaker bar can give you extra leverage, but be gentle—you don’t want to strip the bolt.
Step 3: Remove the Tensioner Pulley
Once the bolt is out, the pulley should come off easily. Sometimes, it’s a bit stuck due to grease or rust. If that happens, wiggle it gently or tap it with a rubber mallet. Don’t force it—I learned that lesson when I accidentally bent a bracket. If the pulley is part of a larger tensioner assembly, you might need to remove the entire assembly by unbolting it from the engine block. This usually involves one or two additional bolts.
When I did this on my old pickup, the pulley came off, but the tensioner arm stayed in place. Check your vehicle’s setup to see if you’re removing just the pulley or the whole assembly. Either way, keep track of all bolts and parts. I like to put them in a labeled plastic bag so nothing gets lost.
Step 4: Inspect and Clean the Area
With the pulley off, take a moment to inspect it. Spin it by hand to check for grinding or wobbling—signs the bearings are shot. If it’s damaged, you’ll need a replacement. Also, check the tensioner arm and the area where the pulley was mounted. Clean off any dirt or grease with a shop towel. A clean surface makes it easier to install the new pulley and ensures everything runs smoothly.
I once skipped this step and regretted it. Dirt got into the new pulley’s bearings, and I was back under the hood a month later. A little cleaning now saves you trouble later.
Installing a New Tensioner Pulley
If you’re replacing the pulley, now’s the time to install the new one. Line it up with the mounting point and hand-tighten the bolt to hold it in place. Then, use your ratchet to tighten it securely, but don’t overtighten—you could damage the threads. If you removed the entire tensioner assembly, bolt it back onto the engine block first.
Next, re-route the serpentine belt. Use that photo you took earlier to make sure it’s aligned correctly. Insert your ratchet back into the tensioner arm’s square hole, rotate it to create slack, and slip the belt back onto the pulley. Double-check that the belt is seated properly on all pulleys before letting go of the tensioner.
Testing Your Work
You’re almost done! Reconnect the battery and start the engine. Listen for any unusual noises and watch the belt to make sure it’s running smoothly. I always hold my breath during this part, but it’s so satisfying when everything works perfectly. If you hear squealing or notice the belt slipping, turn off the engine and check the belt’s alignment or the pulley’s installation.
Common Mistakes to Avoid
I’ve made my fair share of mistakes, so let me save you some trouble. Don’t rush the process—taking your time prevents stripped bolts or misaligned belts. Always double-check the socket size before cranking on a bolt; using the wrong size can round it off. And never work on a hot engine. I burned my hand once, and it wasn’t fun.
Another tip: Don’t lose track of your bolts. It sounds obvious, but I’ve spent way too long searching my garage floor for a tiny bolt that rolled away. Keep everything organized, and you’ll thank yourself later.
When to Seek Professional Help
Most of the time, removing a tensioner pulley with a ratchet is a DIY-friendly job. But if you run into issues like a seized bolt that won’t budge or a tensioner assembly that’s part of a more complex system, it might be time to call a mechanic. I had to do this once when I realized my car’s tensioner was integrated with a hydraulic system I wasn’t equipped to handle. There’s no shame in knowing your limits.
Maintenance Tips to Keep Your Tensioner Pulley in Top Shape
Once you’ve replaced the pulley, a little maintenance goes a long way. Check your serpentine belt regularly for cracks or wear—it’s easier to replace a belt than a pulley. Keep the engine compartment clean to prevent debris from getting into the pulley’s bearings. And if you hear any unusual noises, don’t ignore them. Catching problems early can save you a lot of hassle.
Here’s a quick table to help you keep track of maintenance:
| Component | Check Frequency | What to Look For |
|---|---|---|
| Serpentine Belt | Every 6 months | Cracks, fraying, or glazing |
| Tensioner Pulley | Every 12 months | Grinding, wobbling, or noise |
| Tensioner Arm | Every 12 months | Smooth movement, no rust |
My Personal Experience and Lessons Learned
I’ve done this job on a few cars now, and each time, I learn something new. The first time, I didn’t realize how tight the bolts could be, and I ended up snapping a cheap ratchet. Investing in a good-quality tool made all the difference. I also learned to always have a backup plan—if a bolt is stuck, don’t force it. Step back, apply some penetrating oil, and give it time.
The best part? That feeling when you start the engine and everything runs smoothly. It’s like a little victory every time. Whether you’re a seasoned DIYer or a first-timer, this is a job you can tackle with confidence.
“The first time I did this job I snapped a cheap ratchet trying to break a rusted tensioner bolt loose — a decent 3/8-inch drive ratchet and a few minutes of penetrating oil beats forcing a bargain tool every time.”
Frequently Asked Questions
What is a tensioner pulley, and what does it do?
A tensioner pulley keeps the serpentine belt tight in your car’s engine. It ensures the belt runs smoothly over other pulleys, powering components like the alternator and air conditioning. If it fails, you might hear squealing or grinding, or the belt could slip.
Can I remove a tensioner pulley without a ratchet?
It’s tough without a ratchet. A ratchet fits the square hole on the tensioner arm perfectly to release belt tension. You could try a wrench, but it’s less effective and harder to control. A ratchet is the way to go.
How do I know if my tensioner pulley needs replacing?
Listen for grinding or squealing noises from the engine. Spin the pulley by hand—if it wobbles or feels rough, the bearings are likely worn out. Also, check for visible damage like cracks or misalignment.
What happens if I don’t replace a bad tensioner pulley?
A faulty pulley can cause the serpentine belt to slip or break, which might stop your alternator, power steering, or air conditioning from working. In worst cases, it can leave you stranded or damage other engine components.
How long does it take to remove a tensioner pulley?
For most DIYers, it takes about 30 minutes to an hour, depending on experience and how stubborn the bolts are. If it’s your first time, give yourself a bit more time to avoid rushing.
Conclusion
Removing a tensioner pulley with a ratchet comes down to two things: release the belt tension at the square hole first, then unbolt the pulley itself (usually a 15mm or 16mm bolt). Do those in order and the job takes 15–30 minutes with basic hand tools. Grab your ratchet, follow the steps above, and check our hardware and tool guides for more ratchet, socket, and fastener how-tos.
Sponsored / affiliate links. As an Amazon Associate I earn from qualifying purchases. I may earn additional commission from eligible campaigns.