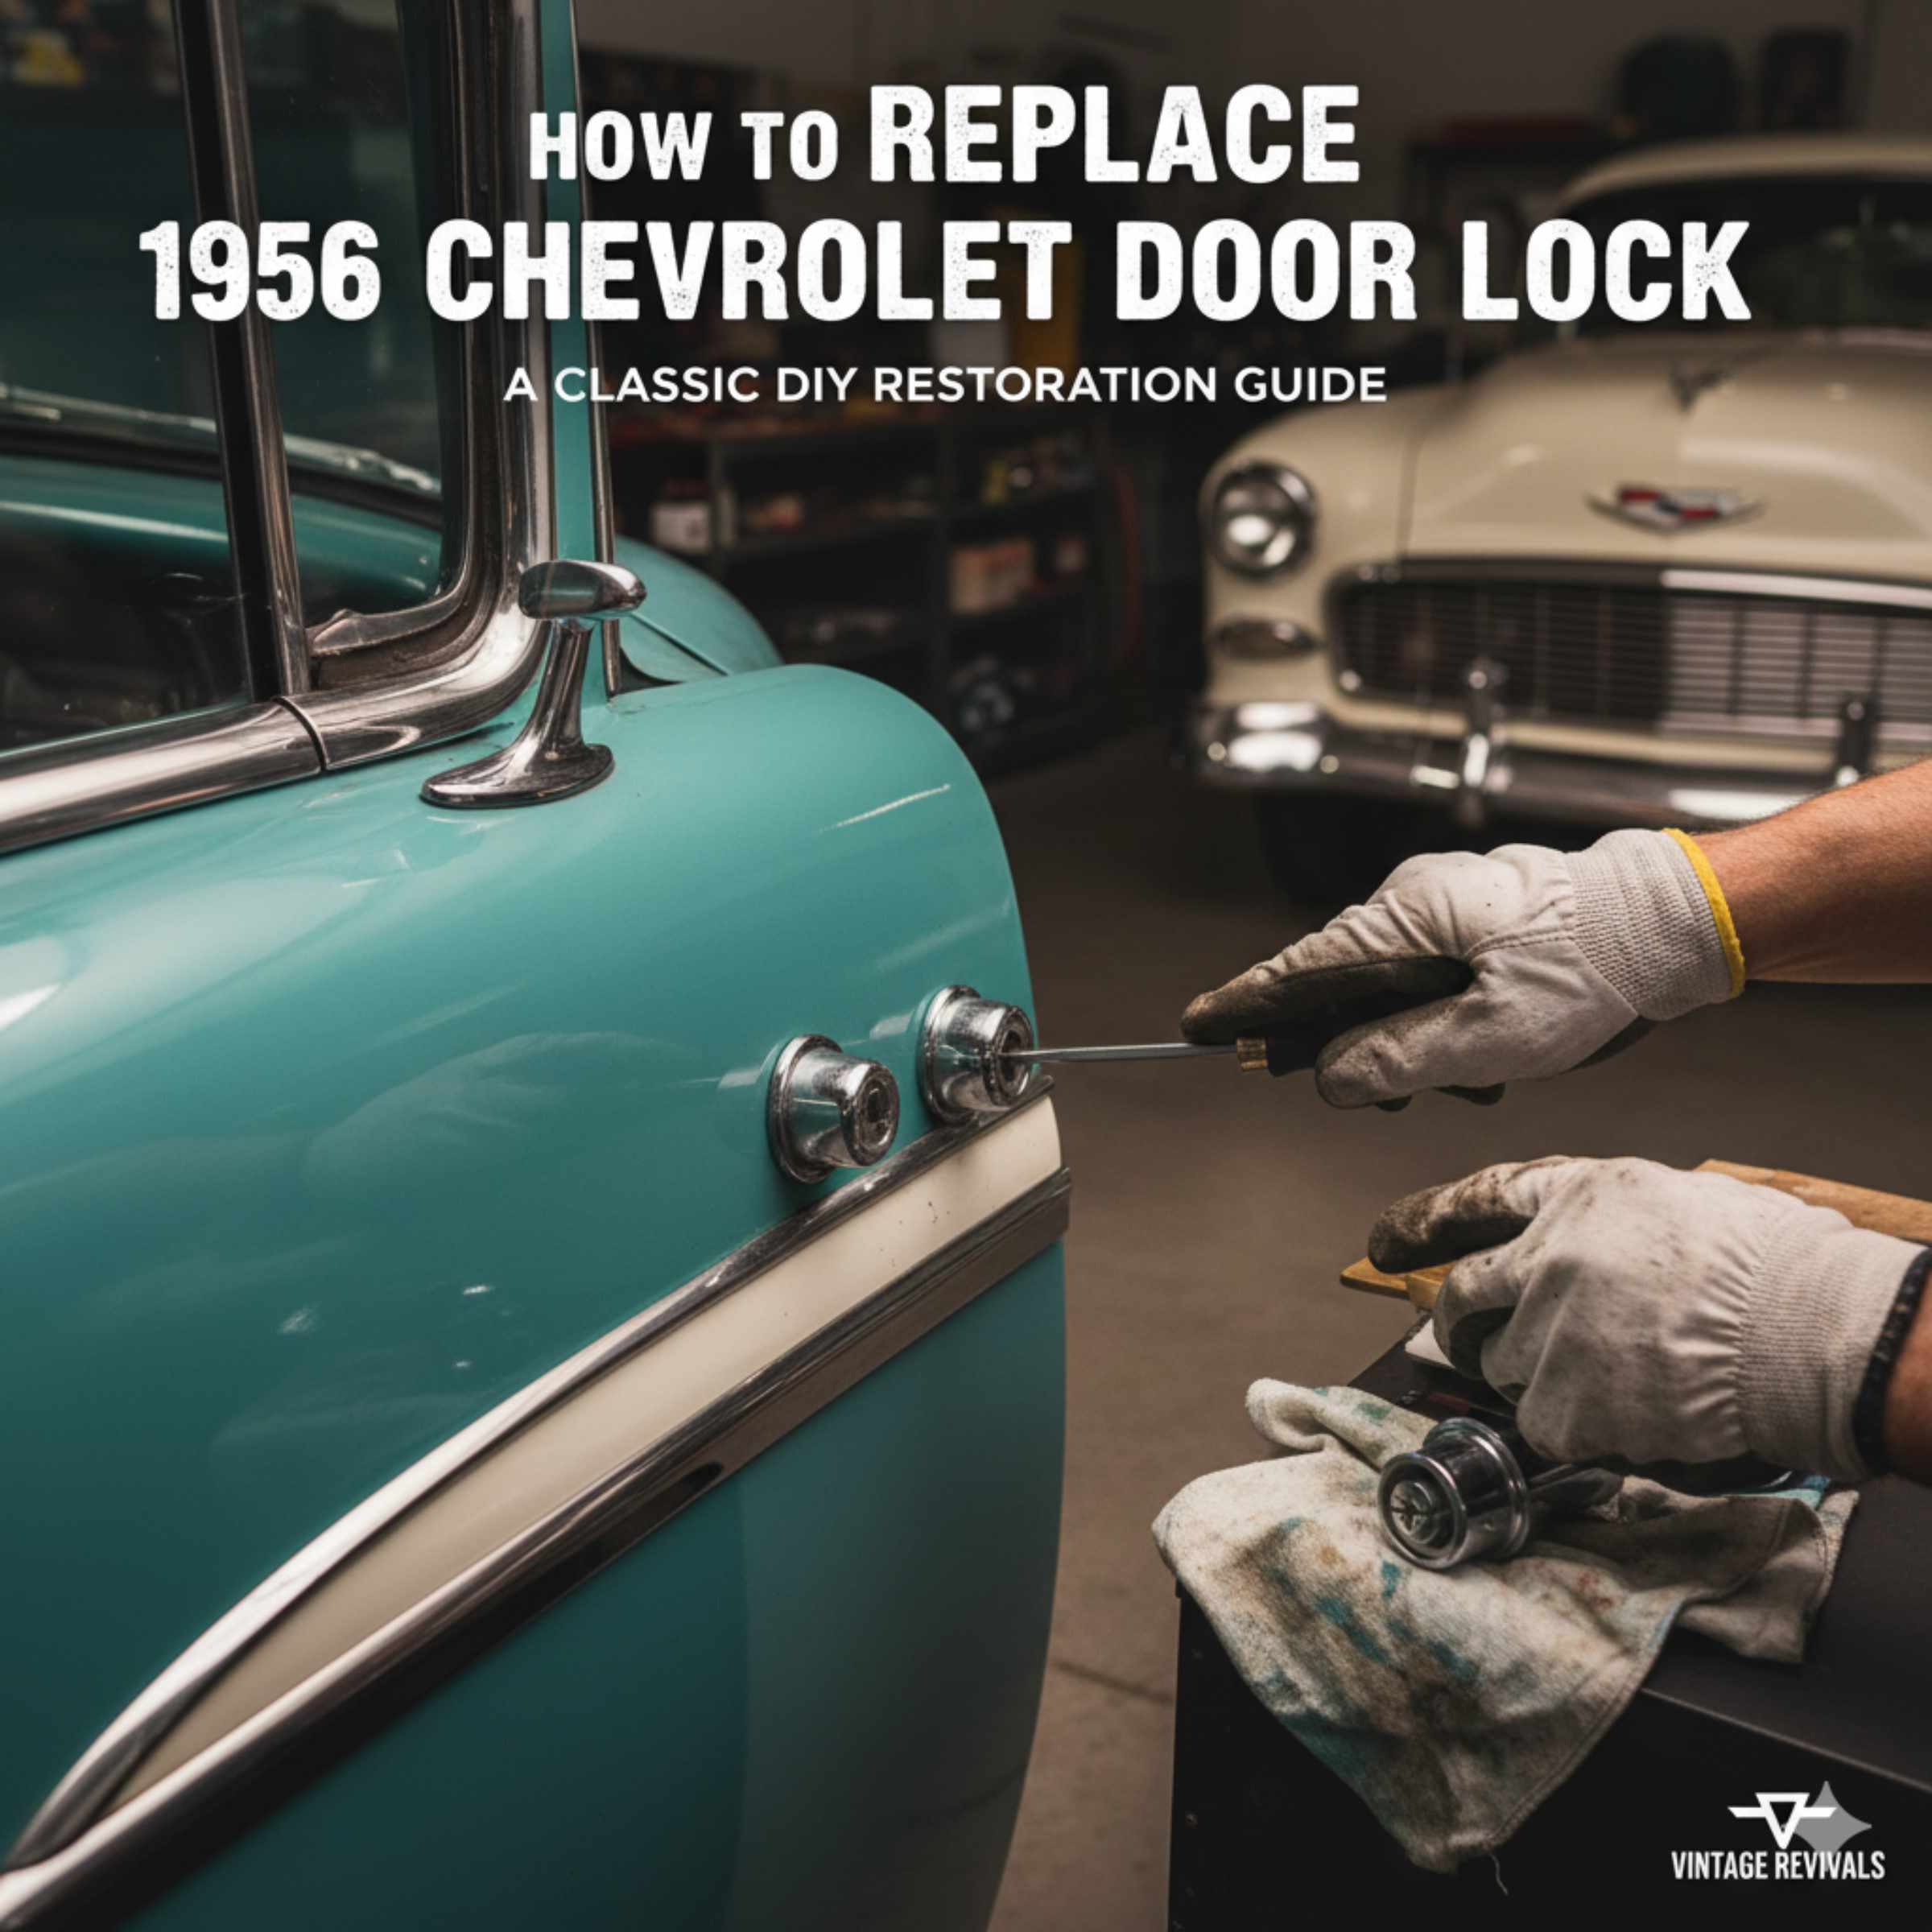
How to Replace 1956 Chevrolet Door Lock: Proven Guide
Quick Summary
Replacing a 1956 Chevrolet door lock is a manageable DIY task for homeowners. This guide provides clear, step-by-step instructions and tool recommendations to help you successfully replace your vintage Chevy’s door lock mechanism, ensuring security and functionality with confidence.
Ah, the classic lines of a 1956 Chevrolet! These beauties are more than just cars; they’re rolling pieces of history. But sometimes, age catches up, and a small but crucial part like a door lock can start giving you trouble. If your 1956 Chevy’s door lock is sticking, won’t turn, or just feels loose, don’t worry! Replacing it might seem daunting, but with the right approach and a little patience, you can get it working like new again. I’m here to walk you through it, step by step, just like we’d tackle a woodworking project. We’ll break down exactly what you need and how to do it safely and effectively.
This guide is designed for you, the homeowner who loves their classic car and prefers to get their hands dirty. We’ll skip the confusing jargon and focus on practical, actionable steps. By the end, you’ll have the knowledge and confidence to tackle this repair yourself, saving you time and money while keeping your ’56 Chevy secure and looking its best.
Why Your 1956 Chevrolet Door Lock Might Need Replacing
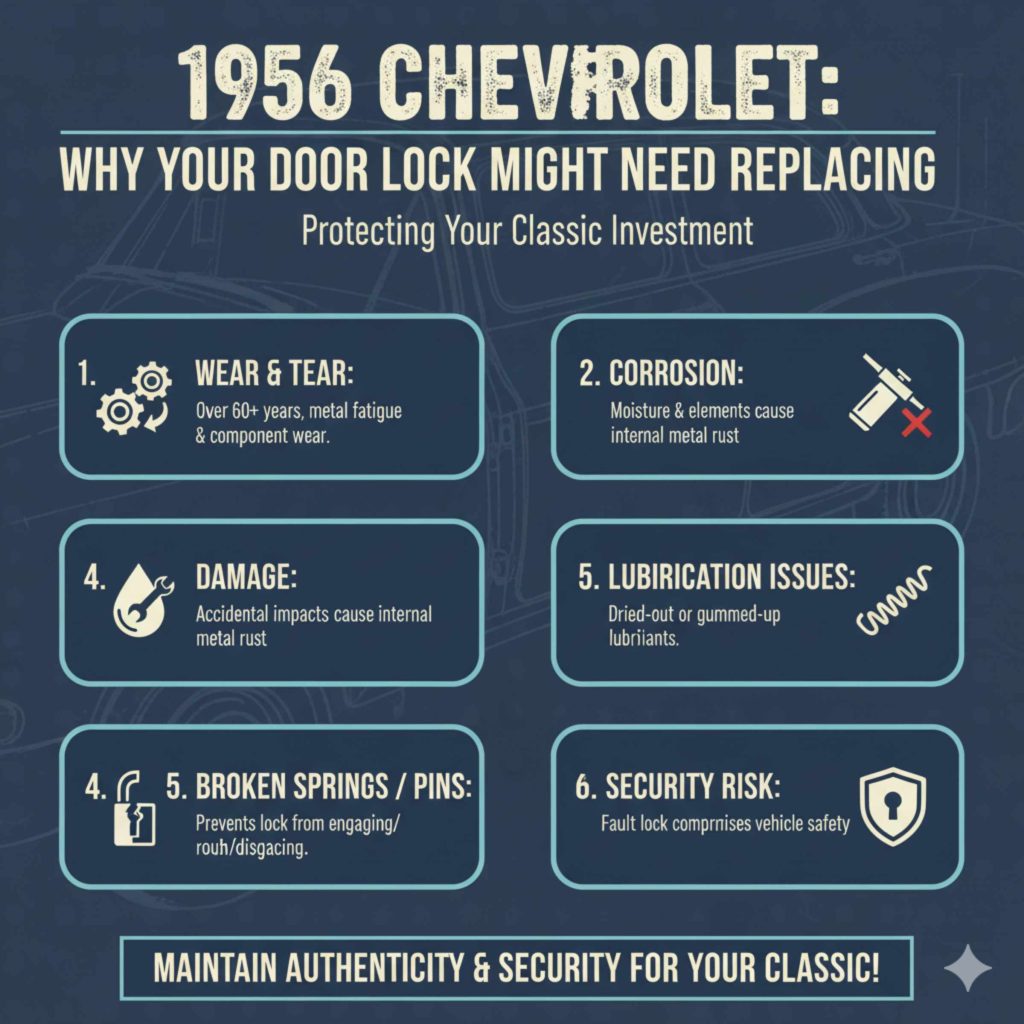
Over the decades, the door lock mechanisms in these iconic vehicles can wear out. Several factors can contribute to a failing lock:
- Wear and Tear: Constant use over 60+ years naturally leads to metal fatigue and component wear within the lock cylinder and mechanism.
- Corrosion: Exposure to moisture and the elements can cause internal metal parts to rust, hindering smooth operation.
- Lubrication Issues: Dried-out or gummed-up lubricants can make the lock stiff and difficult to turn.
- Damage: Accidental damage, attempted break-ins, or even just rough handling can compromise the lock’s integrity.
- Broken Springs or Pins: Inside the lock cylinder, small springs and pins can break, leading to a lock that won’t engage or disengage properly.
A faulty door lock isn’t just an inconvenience; it’s a security risk. Ensuring your doors lock and unlock smoothly is essential for protecting your classic investment.
Tools and Materials You’ll Need
Before we dive in, let’s gather our supplies. Having everything ready makes the process much smoother. Think of this like setting up your workbench before starting a fine furniture project.
Essential Tools:
- Screwdrivers: A set of Phillips head and flathead screwdrivers in various sizes. You’ll likely need a medium and a smaller Phillips for interior panels.
- Socket Set or Wrenches: You might need a few basic sizes, often around 7/16″ or 1/2″, for some of the retaining nuts.
- Pliers: A good pair of needle-nose pliers is invaluable for grabbing small clips and fasteners.
- Panel Removal Tools (Optional but Recommended): Plastic trim removal tools are fantastic for safely prying off interior door panels without scratching paint or damaging clips. You can find these affordably online.
- Penetrating Oil: A spray like WD-40 or PB Blaster can help loosen stubborn screws or bolts.
- Safety Glasses: Always protect your eyes, especially when working with old car parts that might have debris.
- Gloves: To keep your hands clean and provide a better grip.
- Container for Parts: A small tray or magnetic dish to keep track of screws and small parts.
Replacement Parts:
- 1956 Chevrolet Door Lock Cylinder: Ensure you get the correct one for your specific model (e.g., coupe, sedan, wagon) and side (driver or passenger). Many classic car parts suppliers offer reproduction or NOS (New Old Stock) parts.
- New Lock Set (Optional but Recommended): If your ignition cylinder is also worn, consider replacing the entire lock set so you have one key for everything.
- Door Lock Grease (Optional): A small amount of white lithium grease or silicone lubricant can help the new mechanism operate smoothly.
Step-by-Step Guide to Replacing Your 1956 Chevrolet Door Lock
Now, let’s get to work! We’ll take this one section at a time. Remember to work patiently and don’t force anything. If something feels stuck, reassess and see if there’s a hidden fastener or if a bit of penetrating oil is needed.
Step 1: Prepare the Door and Gather Your Parts
First things first, ensure the car is in a safe, well-lit area. Open the car door you’ll be working on. Lay out all your tools and your new lock cylinder. If you’re replacing the lock cylinder, make sure it comes with new keys.
Step 2: Remove the Interior Door Panel
This is often the most time-consuming part, as these panels are held on by a series of clips and screws. The exact method can vary slightly depending on your specific ’56 Chevy body style.
Typical Steps for Door Panel Removal:
- Locate and Remove Screws: Look for screws around the edges of the panel, often hidden under plastic caps or in the armrest area. On many ’56 Chevys, there might be screws near the door handle and along the bottom edge.
- Remove Window Crank and Door Handle Bezel: The window crank usually has a small clip behind it that needs to be pried off with a flathead screwdriver or a trim tool. The door handle bezel might also have clips or screws holding it in place. Gently pry these away.
- Pry Off the Panel: Once all screws and trim pieces are removed, carefully start prying the panel away from the door frame. Work your way around the edges, using your plastic trim tools to release the clips. You’ll hear popping sounds as they come loose. Be gentle to avoid breaking the clips or the panel itself.
- Disconnect Linkages: As you pull the panel away, you’ll see the internal workings. You’ll need to disconnect the rods connecting the door handle, lock knob, and window mechanism to the latch. Carefully unhook these rods from their retainers.
- Set Panel Aside: Once everything is disconnected, the door panel should be free. Carefully set it aside in a safe place to avoid scratching or damaging it.
Step 3: Access the Door Lock Mechanism
With the door panel removed, you’ll have a clear view of the lock assembly. You’ll see various rods, levers, and the main latch mechanism. The lock cylinder is typically mounted on the outside of the door, with a rod connecting it to the internal locking mechanism.
Key Components to Identify:
- Lock Cylinder: The part where you insert the key on the exterior of the door.
- Connecting Rod: A metal rod running from the back of the lock cylinder to the latch assembly.
- Latch Mechanism: The main assembly that secures the door closed.
- Lock Knob Rod: The rod connecting the interior lock knob to the latch.
- Door Handle Rod: The rod connecting the exterior door handle to the latch.
Step 4: Remove the Old Lock Cylinder
This step requires careful observation. The lock cylinder is usually held in place by a clip or a retaining nut from the inside of the door.
- Locate the Retainer: Look behind the lock cylinder on the inside of the door. You might find a small horseshoe clip, a spring clip, or a nut that secures the cylinder to the door frame.
-
Remove the Clip or Nut:
- Clip: If it’s a clip, use your needle-nose pliers to carefully pull it straight out.
- Nut: If it’s a nut, use your socket or wrench to unscrew it. You might need a helper to hold the cylinder from the outside while you do this, or vice versa.
- Disconnect the Rod: Once the retainer is removed, the lock cylinder should be loose. You’ll need to detach the connecting rod from the back of the cylinder. This is often done by pushing the cylinder forward and twisting it slightly, or by unhooking a clip holding the rod to the cylinder’s shaft.
- Extract the Cylinder: Gently pull the old lock cylinder out from the outside of the door.
Step 5: Install the New Lock Cylinder
This is essentially the reverse of removal. Take your time to ensure everything aligns correctly.
- Position the New Cylinder: Insert the new lock cylinder into the hole on the outside of the door.
- Reconnect the Rod: Align the shaft of the new lock cylinder with the connecting rod and secure it. This might involve pushing it into place, twisting it, or reattaching a clip.
- Secure the Cylinder: From the inside of the door, reattach the retaining clip or nut that holds the lock cylinder in place. Make sure it’s snug but don’t overtighten if it’s a nut.
Step 6: Test the New Lock Cylinder
Before reassembling everything, it’s crucial to test the new lock. Insert your new key into the cylinder and try locking and unlocking the door multiple times. Ensure the mechanism moves freely and engages properly.
- Key Operation: Does the key turn smoothly in both directions?
- Locking/Unlocking: Does the lock knob on the inside go up and down correctly when you turn the key? Does the exterior lock engage and disengage the latch?
- Door Latch: Does the door still open and close properly?
If everything works smoothly, you’re ready for the next step. If not, double-check that the rod is properly connected and that the cylinder is seated correctly.
Step 7: Reassemble the Interior Door Panel
Now, we’ll put the door back together, which is the reverse of how we took it apart.
- Reconnect Linkages: Carefully reconnect all the rods for the door handle, lock knob, and window crank to their respective points on the latch mechanism.
- Align the Panel: Position the door panel back onto the door, making sure the edges align with the door frame.
- Secure the Clips: Gently push the panel towards the door to re-engage the clips. You should hear them snap into place.
- Reinstall Screws and Trim: Reinstall all screws, the window crank, and the door handle bezel. Make sure any plastic caps are put back on.
Step 8: Final Testing
With the door panel fully reassembled, give everything one last check.
- Door Lock: Test the lock from both the inside and outside using the key.
- Door Handle: Ensure the exterior door handle opens the door smoothly.
- Window Crank: Verify that the window still operates correctly.
- Door Latch: Open and close the door several times to ensure it latches securely.
Congratulations! You’ve successfully replaced your 1956 Chevrolet door lock.
Understanding the 1956 Chevrolet Door Lock Diagram
While a detailed, exploded diagram for every specific ’56 Chevy model can be hard to find and often requires a factory service manual, understanding the general layout is key. Think of it as a puzzle where each piece has a specific job.
Here’s a simplified conceptual layout of what you’re dealing with inside the door:
Conceptual Door Lock Assembly (Simplified)
| Component | Function | Location (Relative) |
|---|---|---|
| Exterior Lock Cylinder | Where you insert the key to lock/unlock. | Outside of the door, in the designated hole. |
| Lock Cylinder Retainer (Clip/Nut) | Secures the lock cylinder to the door frame. | Inside the door, behind the lock cylinder. |
| Lock Cylinder Rod | Connects the lock cylinder’s rotation to the latch mechanism. | Runs from the back of the lock cylinder to the latch assembly. |
| Interior Lock Knob | Allows manual locking/unlocking from inside. | On the interior door panel. |
| Lock Knob Rod | Connects the interior lock knob to the latch mechanism. | Runs from the lock knob to the latch assembly. |
| Door Latch Mechanism | The primary component that latches the door shut and connects to all operating rods. | Mounted to the rear edge of the door, inside. |
| Exterior Door Handle Rod | Connects the exterior door handle to the latch mechanism. | Runs from the exterior door handle to the latch assembly. |
For a specific visual, searching for “1956 Chevrolet door lock mechanism diagram” or “1956 Chevy door internals” on automotive forums or classic car parts sites might yield helpful images from restoration guides or parts catalogs. These often show how the rods connect to the latch and the cylinder.
You can also find resources like the official Chevrolet history pages which sometimes offer insights into the engineering of their classic models, or look for detailed restoration guides on reputable classic car enthusiast websites.
Tips for Working with Vintage Car Parts
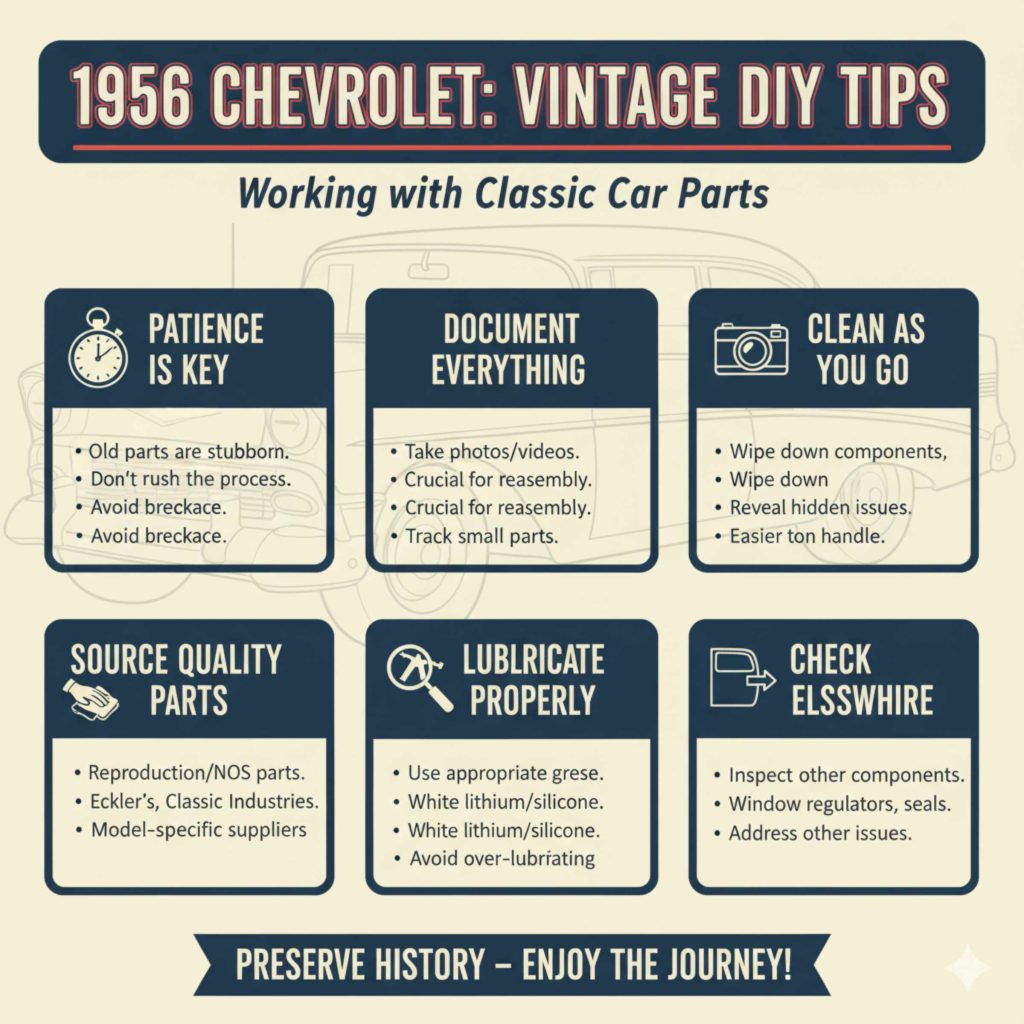
Working on a classic like your 1956 Chevrolet comes with its own set of joys and challenges. Here are a few tips to make the experience smoother:
- Patience is Key: Old parts can be brittle, rusted, or just plain stubborn. Don’t rush the process.
- Document Everything: Take photos as you disassemble. This is invaluable for reassembly, especially for the intricate rod linkages.
- Clean as You Go: Wipe down components as you remove them. This makes them easier to handle and can reveal hidden issues.
- Source Quality Parts: For classic cars, using reproduction parts designed for your specific model is crucial. Websites like Eckler’s, Classic Industries, or dedicated ’56 Chevy parts suppliers are good places to start.
- Lubricate Properly: Use appropriate lubricants. For metal-on-metal moving parts, a good quality white lithium grease or silicone spray is often recommended. Avoid over-lubricating, as this can attract dirt.
- Check for Wear Elsewhere: While you have the door panel off, take a moment to inspect other components like window regulators, weatherstripping, and door hinges. It’s a great opportunity to address other potential issues.
Frequently Asked Questions (FAQ)
Let’s address some common questions you might have.
Q1: How difficult is it to replace a 1956 Chevrolet door lock?
A: For someone comfortable with basic auto maintenance or DIY projects, it’s a moderately difficult task. The most challenging part is usually removing and reinstalling the interior door panel and correctly reconnecting the linkage rods.
Q2: Can I use a modern lock cylinder?
A: It’s best to use a lock cylinder specifically made for a 1956 Chevrolet. These are designed to fit the door and connect to the original linkage system. Modern universal cylinders won’t be a direct fit.
Q3: My key is stuck in the lock. What should I do?
A: First, try gently wiggling the steering wheel (if it’s the ignition) or the door itself while turning the key. If that doesn’t work, apply a small amount of graphite lubricant or a penetrating oil directly into the keyhole. Avoid forcing it, as you could break the key or damage the cylinder further.
Q4: How do I find the correct replacement lock cylinder?
A: You’ll need to know your specific 1956 Chevrolet model (e.g., Bel Air, Two-Ten, One-Fifty) and whether you need a driver’s side or passenger’s side lock. Reputable classic car parts suppliers will have catalogs or online listings where you can find the correct part by year, make, and model.
Q5: Do I need to replace the lock rods too?
A: Typically, no. The lock rods themselves are usually quite durable. You only need to replace the lock cylinder. However, if a rod is bent or a clip is broken, you might need to source those specific small parts.
Q6: What if my new lock cylinder doesn’t work smoothly?
A: Double-check that the connecting rod is properly attached to the back of the cylinder and that the cylinder is seated correctly in the door. Ensure there are no obstructions. Sometimes, a small amount of white lithium grease on the moving parts of the lock mechanism can help.
Conclusion
Taking on the task of replacing a door lock on your 1956 Chevrolet might seem like a big job, but by breaking it down into manageable steps, it becomes entirely achievable. We’ve covered everything from gathering the right tools to carefully removing the door panel, swapping out the old cylinder for a new one, and putting it all back together. Remember, patience and attention to detail are your best friends on a project like this. Your classic ’56 Chevy deserves to have all its parts functioning perfectly, and now you know how to make that happen for your door locks.
By following this guide, you’ve not only secured your beloved vehicle but also gained valuable experience and confidence in working on your classic car. Enjoy the smooth operation of your newly replaced door lock, and feel proud of the work you’ve done yourself!