Appliance Repair: Diagnose, Fix, and Maintain Safely
A practical way to diagnose appliances is to check the main systems in sequence: power, water, airflow, and controls; clean clogs, reseat connections, or replace only simple wear parts, and stop if a sealed system, gas line, or live-voltage test is involved. Guessing wastes money on wrong parts, misses leaks or overheating faults, and can turn a small problem into floor, food, or fire damage. This guide gives you a symptom-first workflow to isolate faults, try safe fixes, and decide when to call a technician.
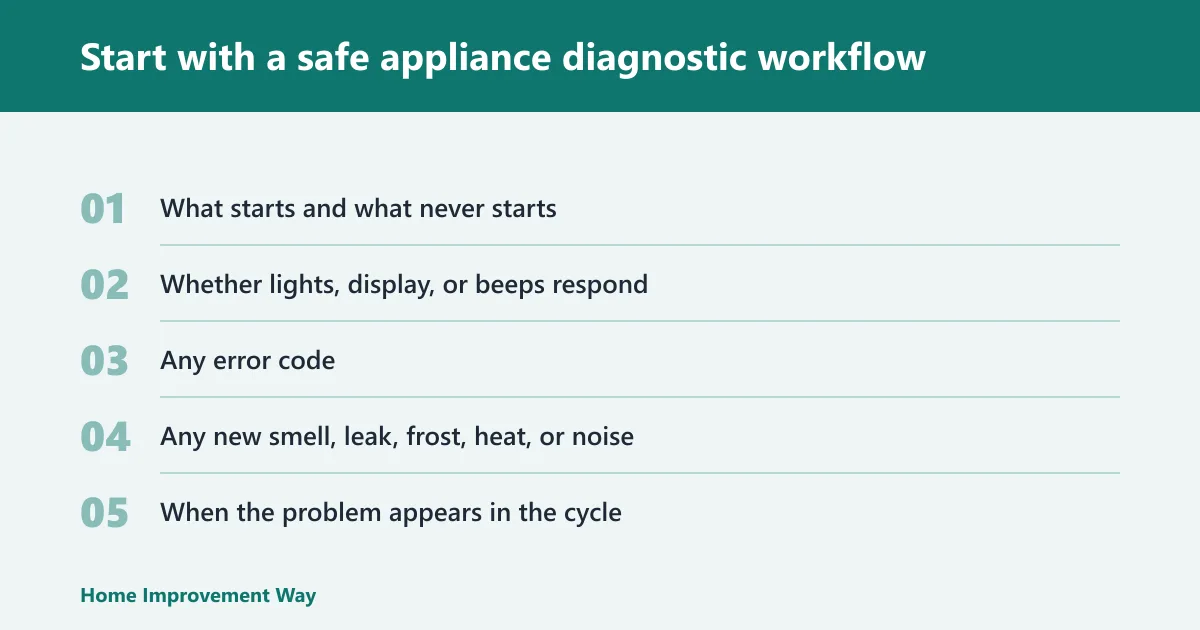
Start with a safe appliance diagnostic workflow


Use a safety shutoff before any hands-on check
Unplug the appliance, or switch off the correct breaker, before removing panels, reaching near moving parts, or touching internal wiring. That step helps prevent shock, limits moving-part injury, and keeps a routine inspection from turning into an electrical or mechanical hazard.
Do the shutoff first, not halfway through. If the appliance is hardwired, built in, gas-fired, or too heavy to move safely, that alone is a good reason to slow down and consider service instead of deeper DIY.
Confirm the exact symptom before you suspect a part
Write down what the machine is actually doing. “Doesn’t work” is too broad. “Dishwasher fills, hums, then stops and leaves water in the sump” points in a very different direction than “dishwasher has no lights and no response.”
Note these details before touching anything:
- What starts and what never starts
- Whether lights, display, or beeps respond
- Any error code
- Any new smell, leak, frost, heat, or noise
- When the problem appears in the cycle
Test systems in order
Run checks in a consistent sequence: power, water, airflow, heat, moving parts, then controls. That order keeps supply and installation faults from being mistaken for failed parts, which is where many wrong part orders begin.
Most major appliances use the same few systems. Refrigerators, dishwashers, ranges, dryers, washers, and microwaves all rely on incoming power, controls, seals, water paths, drains, fans, pumps, and heating parts. The appliance changes, but the diagnostic logic stays much the same.
Know the stop signs that end safe DIY
Stop and call a technician when diagnosis requires live-voltage testing on an opened machine, gas-line work, sealed refrigeration work, major disassembly, a hardwired junction box, or signs of burnt wiring. A leak into electrical areas, a breaker that trips repeatedly, or a melted connector also ends homeowner-safe troubleshooting.
Take an oven that trips the breaker only when Bake starts. That can point to a shorted element, damaged wiring, or a terminal problem. Checking the breaker position is safe; opening a 240V range and testing live power is not.
What should you check before opening an appliance?
Before opening any appliance, confirm outside-the-cabinet basics: outlet power, breaker or GFCI status, cord condition, water valves, drain path, filters, vents, error codes, door closure, and installation position. Many no-start, leak, and poor-performance complaints come from supply or setup issues, not failed internal parts.
Power at the outlet, breaker, and GFCI
Check whether the outlet is live with a lamp or another simple plug-in device if the appliance uses a cord. Reset a tripped GFCI if the circuit has one. A half-tripped breaker can look “on” until you switch it fully off and back on.
Inspect the cord for cuts, heat marks, or a loose plug. Do not tape over a damaged cord and keep using it.
Water supply, drain path, and shutoff valves
Dishwashers, refrigerators with ice makers, and washers depend on water supply first. Confirm the shutoff valve is open, the hose is not kinked, and the drain path is not blocked.
For a dishwasher that leaves dirty water in the tub, check the sink air gap if present, the knockout plug at a new garbage disposal connection, and the drain hose routing. Installation mistakes can look exactly like a bad pump.
Airflow, filters, coils, vents, and lint buildup
Airflow problems cause weak drying, overheating, frost buildup, and noisy operation. Check refrigerator condenser coils, dryer vents, dishwasher filters, and any accessible intake screens before you suspect a fan or heater.
Say your refrigerator freezer is cold but the fresh-food section is warm. A blocked return vent, frosted evaporator cover, or dirty condenser area can interrupt airflow long before a control board is the right suspect.
Door closure, gaskets, leveling, and installation basics
A poor door seal affects temperature, water control, and cycle behavior. Look for torn gaskets, items blocking the door, sagging hinges, or an appliance that is too far out of level.
A dishwasher that leaks only at the front can come down to loading pattern or leveling. An oven door that does not close evenly can cause slow preheat and uneven baking without any failed heating part.
What tools do you need for basic appliance repair at home?
Start with basic tools that let you inspect, clean, and reach the problem, such as screwdrivers, nut drivers, pliers, a flashlight, towels, a vacuum, and a small brush. Then add a multimeter for diagnosis, because it can check voltage, continuity, and resistance, as long as you keep its use within safe homeowner limits.
Core tools for inspection, cleaning, and access
- Flashlight or headlamp
- Phillips and flat screwdrivers
- Nut drivers or socket set for service panels
- Slip-joint pliers
- Towels and shallow tray for water
- Vacuum with crevice tool
- Soft brush for coils, vents, and lint
- Work gloves
- Painter’s tape and phone camera for labeling wires before reassembly
How to use a multimeter for voltage, continuity, and resistance
A multimeter can verify a few basic electrical checks. Voltage tells you whether power is arriving. Continuity shows whether a switch or fuse still has an unbroken path. Resistance helps identify an open heating element, thermistor problem, or failed coil when the service information gives a valid range.
Use continuity or resistance only when the appliance is unplugged or the breaker is off. Voltage checks are where many DIY attempts cross from safe diagnosis into advanced electrical work.
When a multimeter check is appropriate for homeowners
Reasonable homeowner uses include checking a detached power cord for continuity, testing a removable thermal fuse after disconnecting the machine from power, or confirming that an unplugged heating element is open. Testing energized control boards, relay outputs, or hardwired junction boxes is a stop point.
Tools and tasks to leave alone
Do not use piercing probes on sealed refrigerant tubing. Do not bypass safety devices to “see if it runs.” Gas-pressure tools, refrigerant gauges, and high-voltage microwave work require appliance-specific training and carry serious risk.
How do you diagnose an appliance problem before calling for repair?
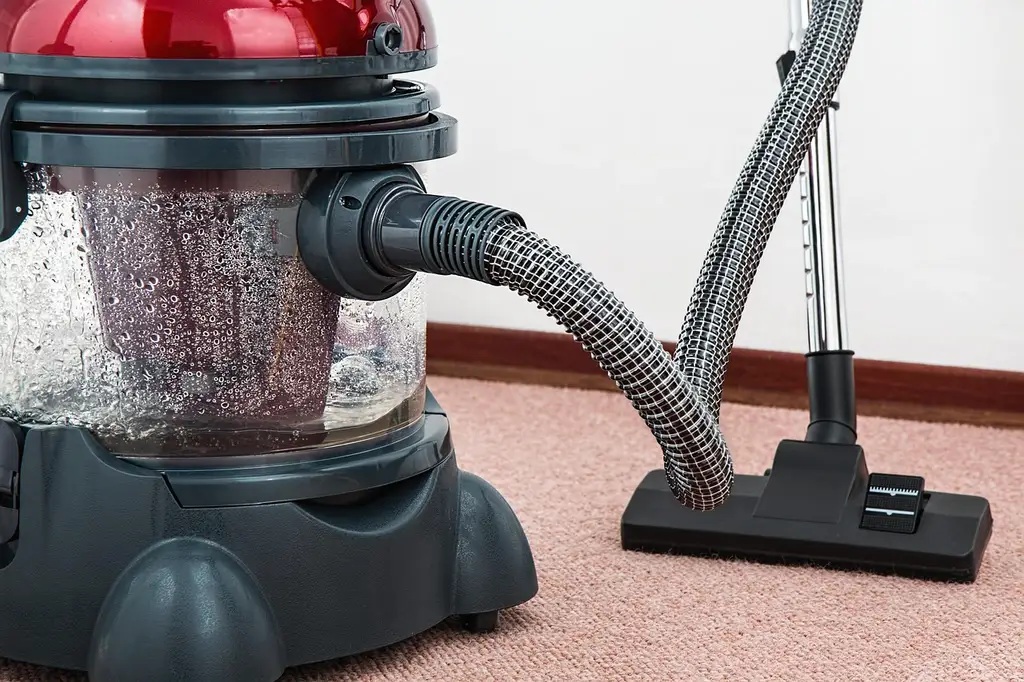
Diagnose by mapping the symptom to a system, not by ordering the first part named in a forum thread. Start with the appliance’s exact complaint, separate supply issues from internal failures, and then decide whether the likely cause is cleaning, a simple wear part, a control issue, or professional-only work.
Map the symptom to a system
Use the symptom to choose the first system to inspect:
- No lights, no display, no sound: start with power
- No fill or no ice: start with water supply
- Warm fridge, long dry times, poor heating performance: start with airflow
- No heat after normal startup: check heat system after power basics
- Humming, grinding, or no agitation or circulation: check moving parts
- Wrong cycle behavior, random resets, mismatched responses: check controls last
Separate supply problems from internal component failures
A supply problem sits outside the appliance: outlet, breaker, shutoff valve, clogged vent, blocked filter, poor leveling, kinked hose, or bad installation. An internal component failure is a pump, fan motor, heater, thermal fuse, latch, or control board.
That distinction matters. Replacing a dishwasher drain pump will not fix a blocked sink air gap. Replacing a refrigerator fan will not fix a condenser packed with dust.
Tell a control-board symptom from a mechanical failure
Mechanical failures usually create one direct loss: no drain, no spin, no fan, no heat. Control failures often create inconsistent behavior, partial cycle operation, dead buttons, wrong timing, or several unrelated symptoms at once.
Controls should still be late suspects. A dead display can be a power issue. A random reset can come from a poor connection. A board replacement should follow structured checks, not come before them.
Document error codes, noises, smells, and cycle behavior
Write down the code exactly, including letters and blinking patterns. Record where the cycle stops. Smell matters too: electrical burning, hot plastic, and gas odors each point to different stop points.
Suppose a dishwasher runs for 10 minutes, then stops heating, flashes an error, and leaves water clean but cold. That pattern points more toward a heater circuit, thermistor, or control path than a drain restriction.
Symptom-to-system diagnostic matrix
How to use the matrix
Start with the row that matches the strongest symptom. Do the first three checks in order. If the safe DIY step does not resolve the issue, use the stop point to decide whether the next step still belongs to a homeowner or to a professional.
| Appliance and symptom | First 3 checks | Likely failed component or cause | Safe DIY action | Stop and call a pro when |
|---|---|---|---|---|
| Refrigerator warm, lights on | 1) Temperature setting 2) Door seal and closure 3) Condenser coils and airflow around unit | Dirty coils, blocked airflow, failed evaporator fan, defrost issue, sealed-system fault | Clean coils, clear vents, check gasket contact, move food away from interior vents | Evaporator cover is iced solid, fan tests require panel removal, or compressor/sealed-system work is suspected |
| Refrigerator leaking water | 1) Leveling 2) Drain pan area 3) Defrost drain opening or water line | Clogged defrost drain, loose water fitting, cracked line, poor door seal causing excess frost | Clear accessible drain opening, tighten external connection, replace simple external tubing if exact match | Leak reaches wiring, line runs inside cabinet insulation, or source is unclear |
| Refrigerator heavy frost or ice maker stopped | 1) Door left ajar or gasket gap 2) Water supply valve 3) Freezer airflow path | Door seal issue, blocked fill tube, frozen airflow path, failed defrost component | Defrost removable ice blockage only if manual allows it, clear food from vents, verify valve open | Repeated frost returns quickly, internal heater or thermostat testing is needed, or fill tube freezing persists |
| Dishwasher will not start | 1) Breaker or GFCI 2) Door latch fully engages 3) Control lock or delayed-start setting | Latch switch, user setting, power supply, control board | Reset breaker, disable control lock, clean latch area, confirm proper door alignment | Unit is hardwired and needs junction-box access, or live-voltage diagnosis is required |
| Dishwasher not draining | 1) Filter and sump area 2) Drain hose kink or clog 3) Garbage disposal knockout or air gap | Blocked drain path, jammed impeller, failed drain pump | Clean filter, clear hose obstruction, remove disposal knockout if newly installed and applicable | Pump replacement needs major disassembly, leak appears underneath, or motor hums without pumping after path is clear |
| Dishwasher not cleaning well | 1) Spray arms spin freely 2) Filter clean 3) Water supply valve open and incoming hot water available | Blocked spray arm, restricted filter, low fill, weak circulation pump | Clean spray-arm ports and filter, correct loading that blocks arm movement | Circulation motor is noisy or weak, or access requires pulling the unit and opening the base |
| Dishwasher leaking at door | 1) Unit level 2) Door gasket condition 3) Overloading or wrong detergent sudsing | Bad gasket, poor leveling, spray deflection, cracked lower spray arm | Re-level unit, clean gasket, adjust loading, replace a simple press-fit gasket if model-specific match is confirmed | Leak comes from pump, sump, or inlet components under the tub |
| Oven or range dead | 1) Breaker fully reset 2) Clock/display response 3) Cord or terminal area signs of heat damage | Tripped breaker, failed terminal block, control failure, house power issue | Reset breaker, inspect visible cord condition only | Hardwired unit, 240V diagnosis, burnt terminal block, or repeated breaker trip |
| Oven no heat or uneven heat | 1) Correct mode selected 2) Door closes fully 3) Look for damaged bake or broil element | Open heating element, temperature sensor issue, igniter problem on gas, control relay fault | Replace a visibly split plug-in element only if power is off and model match is exact | Gas ignition issue, hidden element access, sensor or board diagnosis, or live testing is needed |
| Range trips breaker when heating | 1) Which function trips it 2) Visible element damage 3) Signs of melted wiring or burning smell | Shorted element, damaged wiring, terminal fault | Stop using the appliance and leave breaker off | Immediately, because internal electrical diagnosis on a 240V circuit is professional work |
How do you test if your refrigerator, dishwasher, or oven is getting power?
Check power in layers: verify the outlet or breaker first, then look for appliance response such as lights, display, fan sound, or control beeps. Stop when the appliance is hardwired, uses 240V power, or would require live-voltage testing with panels removed.
Refrigerators
Start with the outlet. If the interior light works, some power is present, but full operation still depends on controls, fans, and compressor circuits. Listen for condenser fan or compressor attempts after the temperature settings are confirmed.
No lights and no response point back to outlet, breaker, cord, or the appliance’s internal power path. Lights on with warming point away from basic house power and toward airflow, defrost, or sealed-system diagnosis.
Dishwashers
Portable units usually plug in; many built-in units are hardwired. Check the breaker and any nearby GFCI first. If the control panel is dark but the breaker is on, do not open a hardwired junction box unless you are qualified to work on that circuit.
A latch that does not engage can mimic a dead machine. So can an activated control lock.
Ovens and ranges
Electric ranges may have partial power. Surface lights or the clock may work while the oven will not heat, which can happen when one side of the supply is lost. That is why breaker checks come first on electric cooking appliances.
If the breaker trips again after reset, stop there. Repeated trips indicate a fault, not a button sequence problem.
When power diagnosis should stop
Power diagnosis ends at hardwired connections, burnt terminals, repeated breaker trips, or any step that requires live testing inside the chassis. A multimeter is useful, but energized appliance testing is not the place to learn as you go.
When can you fix it yourself, and when should you call a pro?
Safe DIY usually means cleaning, clearing a blockage, replacing a simple wear part, or correcting setup. Professional service starts when the repair involves gas, sealed refrigeration, live-voltage diagnosis, major leaks, heavy built-in removal, or deep disassembly that exposes wiring, moving parts, or pressurized systems.
Usually safe homeowner tasks
- Cleaning refrigerator condenser coils
- Cleaning dishwasher filters and spray arms
- Clearing an accessible drain hose clog
- Replacing a door gasket if the part is exact for the model
- Replacing a removable, visible oven element with power disconnected
- Cleaning dryer vents and lint paths that are user-accessible
Repairs that need a technician
- Gas igniters, valves, and gas-supply work
- Sealed-system refrigerator work such as compressor or refrigerant repairs
- Live-voltage board diagnosis
- Microwave high-voltage repairs
- Motor, transmission, tub, or major bearing work
- Persistent leaks into electrical compartments
How warranty terms affect the DIY decision
Check warranty before ordering anything. Parts coverage and labor coverage are not the same, and a brand warranty may differ from a store warranty. One published offer may state a one-year warranty, while another warranty may come from the manufacturer rather than the seller or installer.
Service terms also vary widely. One page may state a $0 diagnostic fee in one section, while another section lists a $99 diagnostic charge. Some companies credit the fee toward repair; some do not. Verify the current written terms before approving work.
Consumers should also read refund and service language carefully. Published claims can include a 48-hour functional refund on every unit, express delivery starts from $85, and even a 0-hour service call guarantee. Those statements affect expectations, but they do not change the need for a correct diagnosis.
How do you find the right part by model number?
Find the exact model number first, then confirm the serial number, and only then search for a replacement part. Appliance parts are often model-specific rather than universal, and serial details can affect revision changes, production age, service history, and warranty verification.
Where model numbers and serial numbers are commonly found
The appliance model number is often on a sticker or metal tag. Common locations include the refrigerator fresh-food wall, dishwasher door frame, oven door jamb, washer lid opening, or dryer door opening. Location varies by brand and unit type.
The serial number is usually on the same tag. Keep a photo of both before the label fades, peels, or becomes hidden by built-in installation.
Why exact model matching matters before ordering
The exact unit must match before ordering. A letter suffix, production revision, color code, or regional version can change the right heater, latch, shelf, pump, board, or gasket.
Replacement part fit is not universal. OEM parts are made to the original specification. Aftermarket parts may cost less, but compatibility still has to be confirmed against the exact model number, and sometimes the serial range too.
Use the serial number for age, service records, and warranty verification
Serial numbers help identify production age and are often needed for warranty verification. They also help a service company look up service records, updates, and part revisions tied to that specific unit.
If the appliance is still under brand or store coverage, opening it or installing a non-approved part may affect the claim. Check first.
Parts-lookup workflow
- Photograph the model and serial tag
- Confirm the full model string, including suffixes
- Check warranty status and whether labor, parts, or both are covered
- Look up the exact replacement part for that model
- Confirm whether OEM or aftermarket options fit that exact unit
- Compare the symptom again before buying, so a supply issue is not mistaken for a failed part
When is appliance repair not worth it?
Repair is usually harder to justify when the part is expensive, the appliance has repeat failures, hidden damage is likely, or the machine is near the end of its expected service life. The right call depends on repair cost, part availability, warranty status, condition, and failure type.
Compare repair cost with appliance value and failure type
A drain hose, gasket, filter, or surface element usually supports repair. A failed compressor, transmission, tub, or major control system on a worn machine often pushes the decision toward replacement instead.
Do not compare by part price alone. Include labor, access difficulty, and the chance that one failure exposed another.
If the exact part is discontinued, backordered, or only available as a large assembly, repair may stall. Water leaks can also damage flooring, insulation, or wiring beyond the visible problem.
A common first-timer mistake is replacing the same symptom twice. For example, a dishwasher gets a second drain pump, but the real issue is a blocked hose loop behind the cabinet. System-first diagnosis helps you avoid that trap.
Choose repair, replacement, or professional diagnosis
If the symptom points to a high-cost system but the source is still uncertain, professional diagnosis can still make sense before replacement. It provides a decision point: supply issue, simple wear part, or major failure.
For reference, repair businesses may advertise service across refrigerators, washers, dryers, ranges, dishwashers, and microwaves, and some booking forms say service covers every brand. That breadth can help with diagnosis, but the useful question is still whether the specific failure is economical to fix.
Maintenance that prevents repeat failures
Clean by system, not by memory
Preventive care works best when grouped by system. Clean refrigerator coils and door seals, dishwasher filters and spray arms, dryer vents and lint paths, washer inlet screens and drain areas, and oven door gaskets as needed.
Inspect hoses, drains, airflow paths, and leveling points
Look for slow leaks, rubbing hoses, crushed vents, blocked returns, and doors that no longer close squarely. Small changes in installation cause big changes in performance.
Keep service information ready
Store the model number, serial number, purchase record if available, and warranty terms in one note. If service is needed, that information shortens parts lookup and helps clarify whether the diagnostic fee is waived, flat, or credited toward repair.
Published service details may even mention technician arrival within 48 hours or list an address such as 5311 East Colonial Dr #102, but those details are secondary. Accurate unit identification matters more than fast scheduling if the wrong part gets ordered.
Frequently asked questions
How do I diagnose an appliance problem before I call for repair?
Start with the exact symptom, then test systems in order: power, water, airflow, heat, moving parts, and controls. Check outside-the-cabinet causes first, write down any error codes or cycle changes, and only suspect a part after supply and installation issues are ruled out.
What appliance issues can I safely fix myself?
Homeowners can usually handle cleaning coils, vents, filters, and spray arms; clearing accessible clogs; correcting leveling; and replacing simple wear parts like some gaskets or visible plug-in oven elements. Stop when the job reaches gas, sealed systems, live wiring, hardwiring, or major disassembly.
What should I check before opening an appliance?
Check outlet power, breaker or GFCI status, the cord, water supply valves, drain routing, filters, vents, door closure, error codes, and leveling before removing any panel. Those basics solve many complaints and prevent unnecessary part orders or risky internal inspection.
How do I know if an appliance needs a part replacement or a pro?
If the symptom stays tied to one failed function after basic checks, a simple part may be the answer. If the problem involves repeated breaker trips, gas, refrigerant, hidden leaks, burnt wiring, hardwired power, or multiple unrelated symptoms, it is time for professional diagnosis.
What tools do I need for basic appliance repair at home?
Keep a flashlight, screwdrivers, nut drivers, pliers, towels, a vacuum, a small brush, and a multimeter. The multimeter is useful for unplugged continuity and resistance checks and for basic voltage confirmation, but advanced energized testing inside the appliance should be left to a technician.
How do I find the right part by model number?
Use the exact model number from the appliance tag, then confirm the serial number before ordering. Parts are often non-universal, and suffixes or serial ranges can change compatibility. The serial number also helps with age, service records, and warranty verification before money is spent.
Sponsored / affiliate links. As an Amazon Associate I earn from qualifying purchases. I may earn additional commission from eligible campaigns.