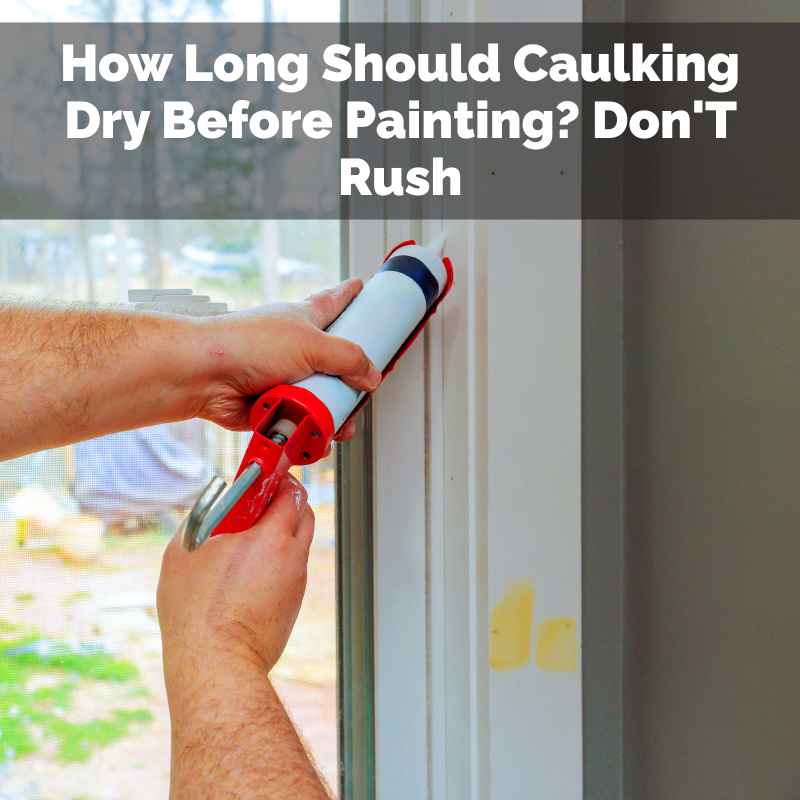
How Long Should Caulking Dry Before Painting? Don’T Rush
We’ve all been there. You’re deep into a home improvement project. You’ve smoothed out that last bit of caulk. Now, you’re ready to slap on some paint and call it a day. But a little voice in your head whispers, “Wait. Is it dry yet?” It’s a common worry. Rushing can lead to sticky messes or peeling paint. Let’s figure out the best way to know when your caulk is truly ready.
Caulking generally needs to dry for at least 1 to 2 hours before painting. However, this time can change based on caulk type, humidity, and temperature. Always check the product label for specific drying instructions. Painting too soon can cause paint to peel or the caulk to remain sticky.
Understanding Caulk Drying Times
Caulk is like a liquid glue. It seals gaps. It stops drafts and water. But it needs time to harden. This hardening process is called curing. Drying time is how long it takes to feel firm. Curing time is how long it takes to become fully waterproof and solid. For painting, we mostly care about the drying time. We want it dry to the touch. We want it firm enough to hold paint.
Think of it like baking a cake. You can take it out too early. It might be gooey inside. Or you can wait too long. It might get hard and dry. Caulk is similar. The outside dries first. The inside takes longer. The exact time changes a lot. It depends on what kind of caulk you used. It also depends on the weather in your home.
Different Types of Caulk and Their Drying Needs
Not all caulks are made the same. This is a big reason why drying times vary so much. Some dry fast. Others take their sweet time. Knowing your caulk type is super important. It helps you pick the right drying window. It stops you from making a mistake.
Let’s look at the most common types you’ll find at the store. Each has its own quirks. Understanding these differences will save you headaches later. It ensures your painting project goes smoothly from start to finish.
Latex-Based Caulk (Paintable Caulk)
This is the most common type. You’ll see it labeled “paintable caulk.” It’s usually made of acrylic latex. It’s easy to use. Cleanup is simple with water. These caulks dry pretty fast. The surface is often dry to the touch in about 1 to 2 hours. This makes them great for many home projects.
The full curing process for latex caulk can take a few days. But for painting, you don’t need full cure. You just need it dry enough not to smear. So, 1-2 hours is usually a good bet for latex-based caulk. Always check the tube. It will tell you what it expects. It might say “paintable in 2 hours.” Or it might suggest a bit longer.
Silicone Caulk
Silicone caulk is a different beast. It’s really good at sealing against water. You often find it in bathrooms and kitchens. It’s great for tubs, sinks, and showers. The problem is, most silicone caulk is NOT paintable. If you try to paint over it, the paint usually just slides off. It doesn’t stick well at all. Some special “paintable silicone” types exist, but they are rare. Most pros avoid them for painted areas.
When silicone caulk does dry, it takes longer. It can take 24 hours or more to be ready. But again, if it’s not paintable, this is less of a concern for your painting plan. If you need a flexible, waterproof seal that you want to paint, look for a siliconized acrylic latex caulk instead.
Other Specialty Caulks
There are other types too. Some are for windows. Some are for masonry. Many outdoor caulks are made to handle weather. They might need longer to dry. Some hybrid caulks blend silicone and latex. They offer good flexibility and are often paintable. Their drying times can be in the middle range, maybe 4-6 hours.
The bottom line with any caulk is to read the label. Manufacturers test their products. They know how they behave. The instructions on the tube are your best guide. They are specific to that exact formula of caulk. Don’t guess. Don’t assume. Just read the small print.
Factors Affecting Caulk Drying Time
Okay, so we know caulk types matter. But what else makes caulk dry faster or slower? It’s not just about what’s in the tube. It’s also about where you are using it. The environment plays a huge role. Think about it like laundry. It dries faster on a sunny, windy day than on a damp, cool one.
Paying attention to these outside forces can help you predict drying times. It can also help you speed things up. Or at least understand why it’s taking so long. This knowledge is power for your project.
Humidity Levels
Humidity is the amount of water vapor in the air. High humidity is a caulk’s enemy. It slows down drying. The caulk has to push moisture out. If the air is already full of moisture, this is harder. In a very humid bathroom or during a rainy spell, your caulk might take much longer to dry.
If you’re working in a damp area, try to improve air flow. Open windows. Use a fan. A dehumidifier can also help. It actively pulls moisture from the air. This makes the caulk dry faster. This is especially true for water-based caulks like latex. They release water as they dry.
Temperature
Temperature also affects how fast caulk dries. Warmer temperatures help caulk dry quicker. Colder temperatures slow it down. Most caulks have a recommended temperature range for application. This is usually somewhere between 50°F and 90°F. Applying caulk in very cold or very hot conditions can mess up the drying. It can also affect how well it seals.
If it’s cold, the caulk might stay sticky for ages. If it’s extremely hot, it might dry too fast on the surface. This can trap moisture inside. It can create a poor seal. Aim for moderate temperatures when you caulk. This gives you the best chance for even, timely drying.
Airflow and Ventilation
Good airflow is key for drying. When caulk dries, it releases water vapor. This vapor needs to escape. If the air is still, the vapor hangs around. It makes the drying process slower. This is why ventilation is so important.
Using fans can really help. Opening windows and doors lets fresh, drier air in. This helps move the moist air away from the caulk. This is true even in cooler weather. Better airflow means faster drying. It’s a simple trick that makes a big difference. Always try to ventilate the area where you’ve applied caulk.
Thickness of the Bead
This one is a bit like common sense. If you put down a really thick bead of caulk, it will take longer to dry. A thin, smooth bead has less material. More surface area is exposed to the air. This allows moisture to escape faster from all sides. A thick bead traps moisture inside.
When you apply caulk, try to aim for a consistent, relatively thin bead. You want enough to fill the gap properly. But you don’t need a huge rope of it. If you have a very wide or deep gap, you might need to fill it in layers. Let each layer dry a bit before adding the next. This ensures the whole thing cures properly.
Quick Caulk Drying Tips
- Read the Label: Always check the caulk tube.
- Ventilate: Open windows or use fans.
- Moderate Temp: Caulk in mild weather.
- Thin Beads: Apply caulk evenly and not too thick.
- Avoid Humidity: Try not to caulk on very damp days.
How to Tell When Caulk is Dry Enough to Paint
So, you’ve waited. You’ve watched. How do you really know if it’s ready? There are a few simple tests you can do. These aren’t complicated. They just require a little touch and observation.
The goal is to touch the caulk without leaving a mark. You want it to feel firm. It shouldn’t feel soft or squishy. It should also not leave any residue on your finger. If it passes these simple tests, it’s usually good to go for painting.
The Touch Test
This is the most common and effective test. Gently touch the bead of caulk with your finger. Use the side of your finger, not the tip, for a broader contact area. The caulk should feel dry and firm. It should not indent deeply. It should not feel sticky or tacky at all.
If your finger comes away with any caulk on it, it’s not dry enough. If the caulk feels soft or gummy, give it more time. It’s better to wait an extra hour than to ruin your paint job. You might need to test in a few spots. Sometimes, the edges dry faster than the center.
The “Smear” Test
This is similar to the touch test but with a bit more pressure. Gently try to smear a small section of the caulk bead. If it smears easily or rolls up like putty, it’s too wet. If it resists the smear and stays put, it’s likely ready.
This test helps you feel the texture. A dry caulk bead will feel solid. A wet one will feel pliable. Be gentle. You don’t want to damage the caulk. You just want to see how it holds up to a little pressure. This gives you confidence before you start painting.
Visual Cues
Sometimes, the appearance of the caulk tells a story. Many latex caulks change color slightly as they dry. They might go from a creamy white to a more solid, opaque white. Some might look slightly less glossy. However, color change isn’t always a reliable indicator for all types.
Look for signs of shrinking. Caulk may shrink slightly as it cures. It might pull away from the edges of the gap just a tiny bit. But the most important visual cue is consistency. If the entire bead looks uniformly dry, that’s a good sign.
Caulk Readiness Checklist
Is it dry to the touch? (No stickiness)
Does it indent easily? (Should feel firm)
Does it smear like putty? (Should resist smearing)
Has it changed color noticeably? (Often a sign it’s drying)
Are there any signs of cracking or pulling away? (Can indicate it’s ready or needs more time)
The Risks of Painting Over Wet Caulk
It can be tempting to just paint over it. You think, “It looks mostly dry.” But this is where many DIYers run into problems. Painting over caulk that isn’t fully dry can cause a few common issues. These can be frustrating to fix later.
Think of it like trying to put a sticker on a wet surface. It might stick for a bit, but it won’t hold well. Paint needs a solid surface to bond to. Wet caulk is not that surface. It’s still releasing moisture and changing. This creates problems for the paint layer.
Paint Peeling or Cracking
When you paint over wet caulk, the paint film sits on a flexible, wet surface. As the caulk continues to dry and cure, it shrinks slightly. This movement can pull the paint film with it. The paint might start to crack. Or it might peel away from the caulk. This looks really bad.
This is especially true for latex paints. They can dry quickly on the surface but remain flexible. The caulk underneath is still moving. It’s a recipe for paint failure. You’ll end up having to scrape off the bad paint. Then you have to re-caulk and re-paint. It’s a lot of extra work.
Sticky or Tacky Paint Finish
This is a very common problem. If the caulk is still a bit tacky, the paint can get stuck to it. The paint won’t dry to a smooth finish. Instead, it will feel gummy. Or it might remain slightly sticky to the touch. This is frustrating. You can’t use the painted surface properly.
This stickiness can also attract dirt and dust. The painted area will look messy. It will be hard to clean. Sometimes, this stickiness can persist for a long time. It might even continue to be an issue after you think the paint has dried.
Poor Adhesion and Durability
Paint adhesion is how well the paint sticks to the surface. When you paint over wet caulk, adhesion suffers. The paint doesn’t have a solid bond. It’s basically stuck to a soft, moving base. Over time, this weak bond breaks. The paint will lift or flake off. This reduces the durability of your paint job.
A well-done paint job should last for years. If you compromise the foundation by painting too soon, you shorten its life. You’ll be doing touch-ups much more often. It’s always better to do it right the first time. Waiting for the caulk to dry is a critical step in that process.
My Own Experience: The Sticky Mess Incident
I remember one time, I was helping my friend Sarah paint her kitchen trim. We had just finished installing new baseboards. The gaps between the wood and the wall were small but noticeable. I grabbed my trusty tube of paintable latex caulk. I applied a nice, smooth bead along each piece of trim. It looked perfect. The gaps disappeared.
Sarah was eager to get started with painting. She had picked out a beautiful pale blue. She grabbed her roller. I said, “Hold on, let’s give this caulk a bit more time.” She looked at it. It looked dry. “It looks fine to me,” she said. “It’s been an hour. Let’s just do it.” I hesitated. But she was really excited. She just wanted to see the finished room. So, I relented.
She started rolling the paint. It went on okay at first. But as she rolled over the caulked areas, something strange happened. The paint didn’t glide smoothly. It felt like it was sticking. It pulled and dragged. Some areas started to look bumpy. Then, she tried to smooth a section. She accidentally smeared the caulk. It looked like a sticky, white mess.
We both looked at it. Our faces fell. “Oh no,” Sarah whispered. The paint wasn’t sticking properly. It was gummy. The caulk underneath was definitely not dry enough. We had to stop. We ended up having to carefully scrape off the botched paint. Then we had to wipe down the caulk. We waited another couple of hours. Then we re-painted. It was a frustrating lesson. It taught us both to always, always wait for the caulk to dry completely before painting.
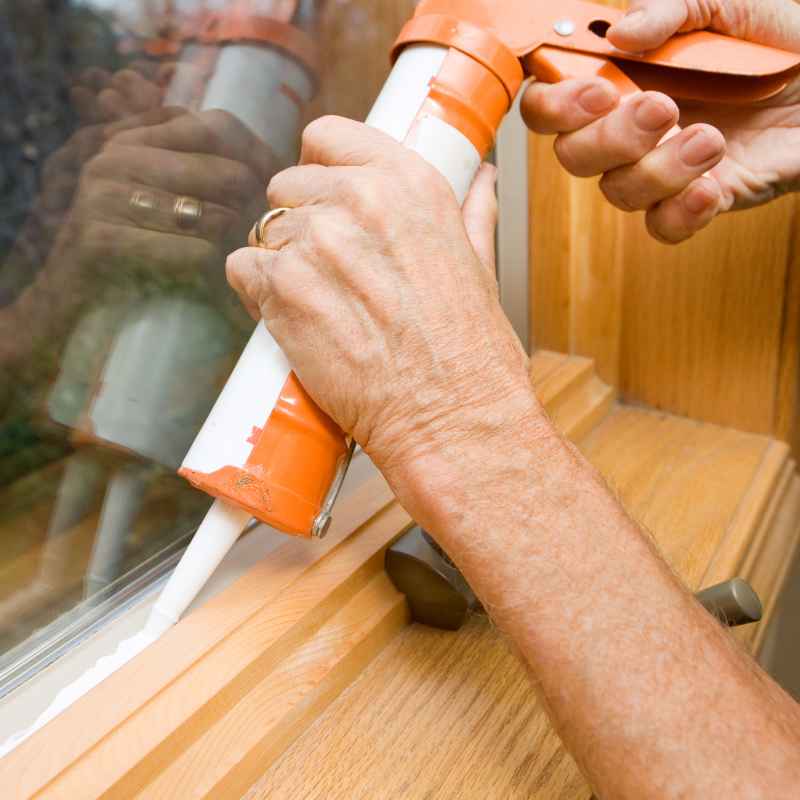
Real-World Context: Caulking Around Windows and Doors
Windows and doors are prime spots for caulking. They are where air leaks happen. They are also seen parts of your home. Making them look good is important. The type of caulk you use here can depend on if it’s inside or outside.
Inside, you’ll likely use paintable latex caulk. This is common around window frames and door casings. The goal is a seamless look. You want the paint to flow over the caulk. This makes the trim look like one solid piece. You need that caulk to be dry before painting. This ensures the paint job lasts.
Outside, caulking is also very important. It seals against rain and wind. It protects your home’s structure. You’ll use exterior-grade caulk. These are often made to be more flexible and durable. They need to withstand sun and weather changes. Some exterior caulks can take longer to dry, sometimes 24 hours. Always check the label for outdoor applications. Ensure it’s dry enough before you apply exterior paint. This protects your home.
Window & Door Caulking Snapshot
Location: Frames, sills, and trim.
Purpose: Seal drafts, prevent water damage, improve appearance.
Caulk Type: Usually paintable latex or siliconized acrylic for interiors. Exterior grade for outside.
Drying Time Focus: Must be dry to touch and firm before painting for a smooth, lasting finish.
Common Issues: Paint peeling, cracking, or stickiness if painted too soon.
When Is Caulk “Normal” and When Should You Worry?
Most of the time, caulk drying is straightforward. You apply it, you wait, you paint. But sometimes, things can seem a bit off. Knowing what’s normal helps you decide if you need to take action.
For most common latex paints, a drying time of 1-2 hours is usually enough to paint. This is when it’s dry to the touch. It feels firm. It doesn’t leave residue. If it meets these conditions, it’s usually ready. This is normal.
Normal Drying Signs
You’ll see the caulk change from a wet look to a more solid, matte look. It will feel firm when you press it gently. Your finger won’t stick to it. It won’t smear. It will resist a gentle poke. If you can paint over it without the paint sticking or smearing, that’s a great sign.
This happens in moderate temperatures and average humidity. Good airflow helps a lot. When you see these things, you can usually proceed with confidence. The caulk has done its job for now. It’s ready for the paint layer.
Signs You Should Worry (or Wait Longer)
If the caulk stays sticky for more than a few hours, that’s a concern. If it feels soft and squishy after 4-6 hours, something might be wrong. This could be due to high humidity. It could be applying too thick a bead. Or it could be very cold temperatures.
If the caulk starts to crack or pull away from the edges significantly, it might not have bonded well. This is less common for standard drying issues. It’s more about improper application or the wrong type of caulk for the material. In these cases, you might need to remove the caulk. Then, reapply it properly. Always trust your touch. If it feels wet, it needs more time.
Caulk Check: Normal vs. Concerning
Normal: Firm, dry to the touch, no residue, slight color change.
Concerning: Sticky, soft, gummy, smearing easily, significant cracking or pulling away.
Quick Fixes and Tips for Better Caulking and Painting
While we can’t magically speed up caulk drying time beyond what’s natural, we can do things to make the process smoother. Good preparation and smart application lead to less waiting and better results.
Think of it as setting yourself up for success. If you do things right from the start, you’ll have fewer problems. You’ll also have a better-looking finish that lasts longer.
- Clean Surfaces: Always clean the area before caulking. Dust and grease stop caulk from sticking well. This can make it peel later.
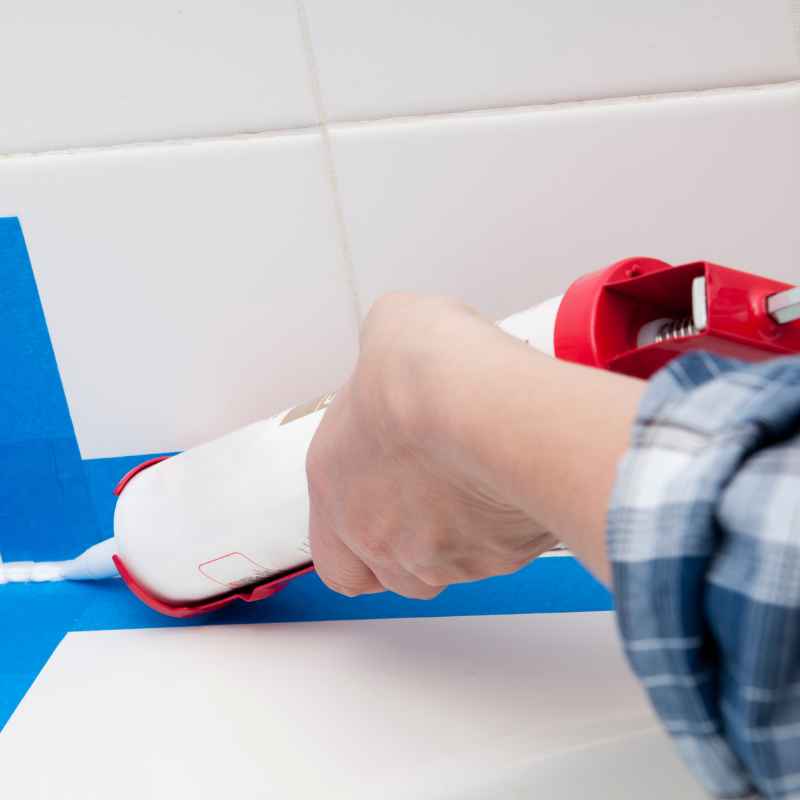
- Use the Right Tool: A caulk gun makes application easier. It helps you control the flow. It lets you apply a neater bead.
- Smooth It Out: Use a damp finger or a caulk tool to smooth the bead. This pushes the caulk into the gap. It also creates a nice, clean line.
- Don’t Overwork It: Smooth the caulk once. Trying to smooth it too much can pull it out of the gap. It can also make it look messy.
- Ventilate Well: As we’ve said, fans and open windows are your friends. They help the caulk dry faster.
- Wait Patiently: This is the most important tip. Resist the urge to paint too soon. It’s worth the wait.
These small steps can make a big difference. They help ensure your caulk dries properly. They prepare it for a smooth, durable paint finish. This saves you time and frustration in the long run.
Frequently Asked Questions About Caulk Drying
People often have specific questions about caulk and painting. Here are some common ones I get asked.
How long does caulk need to dry before painting in a bathroom?
Bathrooms are often humid. For paintable latex caulk, wait at least 1-2 hours. If humidity is high, you might need 3-4 hours. Always test for tackiness. Ensure good ventilation.
Can I paint over caulk that is still slightly tacky?
No, it’s not recommended. Painting over tacky caulk can lead to paint peeling, cracking, or a sticky finish. The paint won’t adhere properly. It’s best to wait until it’s fully dry to the touch.
What happens if I paint over wet caulk?
You risk paint peeling, cracking, or a gummy, sticky finish. The paint will not bond well to the wet caulk. As the caulk cures and shrinks, it can pull the paint with it.
Does temperature affect caulk drying time for painting?
Yes, it does. Warmer temperatures help caulk dry faster. Colder temperatures slow down the drying process significantly. Ensure you are working within the recommended temperature range for your caulk product.
How can I speed up caulk drying time?
Improve ventilation by opening windows or using fans. Reduce humidity with a dehumidifier. Ensure moderate temperatures. Apply thinner beads of caulk. These methods help the caulk release moisture more quickly.
Is there a difference between drying time and curing time for caulk?
Yes. Drying time is when the caulk is dry to the touch and firm enough to paint. Curing time is when the caulk reaches its maximum hardness, flexibility, and water resistance. For painting, drying time is the main concern.
Can I use a hair dryer to speed up caulk drying?
Using a hair dryer on a low or cool setting can help slightly. However, be careful not to overheat the caulk. Excessive heat can sometimes damage it or cause it to dry unevenly. Gentle airflow from a fan is usually safer and more effective.
Final Thoughts on Patient Painting
Figuring out when caulk is ready for paint is simple, but requires patience. The wait is usually short, often just an hour or two for common types. Checking for dryness with a gentle touch is key. Don’t let the desire to finish quickly lead to a messy paint job. A little patience now saves a lot of work later. Your finished project will look much better for it.