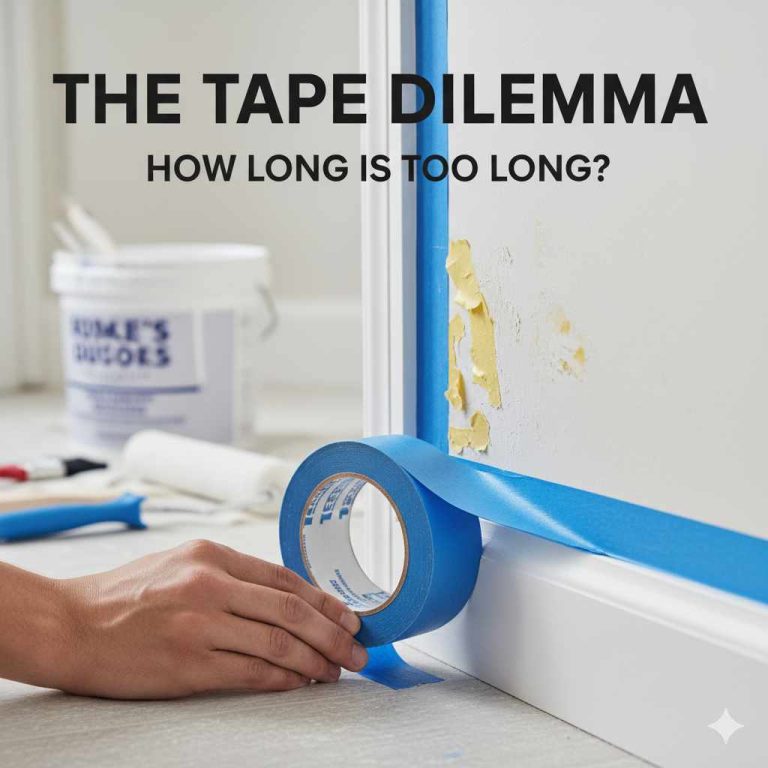
How Soon After Painting Can You Remove Tape? Answered
The best time to remove painter’s tape is typically when the last coat of paint is still wet or slightly tacky. If you wait until the paint is fully dry, it can bond with the tape, leading to peeling and uneven edges when removed.
The Timing is Everything: When to Pull the Tape
Knowing the exact moment to remove painter’s tape can feel like a guessing game. It depends a lot on the type of paint you used and the humidity in your home. But there’s a general rule that works most of the time.
Paint’s Journey: From Wet to Dry
When you paint, the paint goes through stages. It starts very wet, like soup. Then it gets thicker, sort of like pudding. This is the sticky or tacky stage. Eventually, it becomes hard and dry. This dry stage is when the paint is fully set.
The Tacky Sweet Spot
The best time to remove tape is during that sticky, tacky stage. Think of it like removing a sticker from a surface. If you pull it off right after you put it on, it comes off clean. If you wait too long, the sticker’s glue might dry and damage the surface when you pull.
With paint, it’s similar. When the paint is just a little bit sticky, it’s not fully stuck to the tape yet. This means you can pull the tape away. It leaves a clean, sharp line. The paint also has enough body to not run or drip after the tape is gone.
What About Humidity and Temperature?
Your home’s environment plays a big role. In warm, dry conditions, paint dries faster. This means you might have a shorter window to remove the tape. In cool, humid places, paint takes longer to dry. This gives you more time.
Always check the paint can. It usually has drying times listed. But these are often for ideal conditions. Your home might be different. It’s good to test a small spot first.
A Personal Tale of Tape Trouble
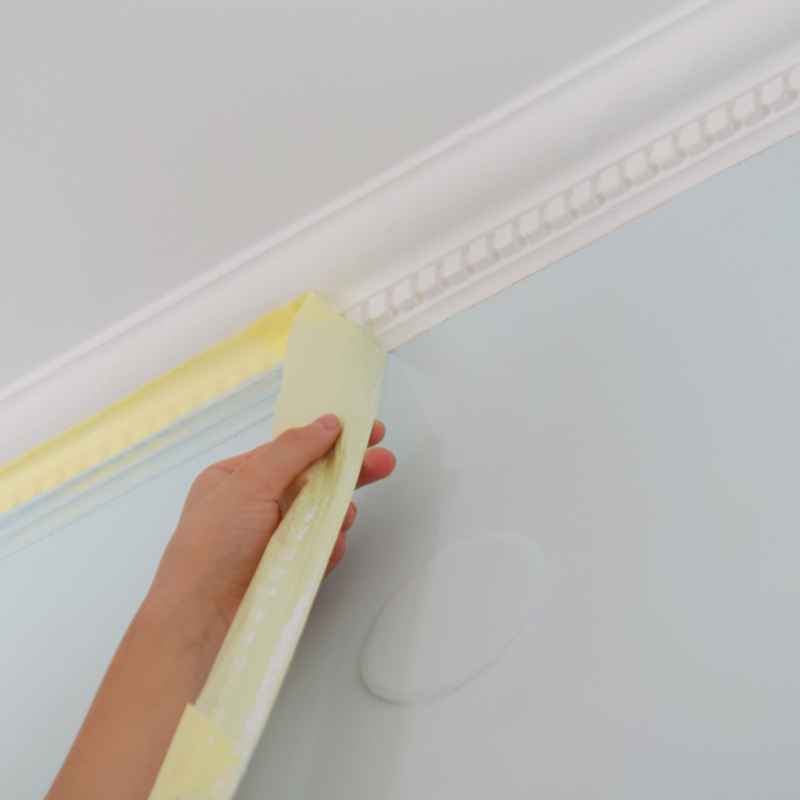
I remember painting my old kitchen cabinets. I wanted a crisp, clean look between the cabinet fronts and the ceiling. I used a beautiful deep blue for the cabinets and a crisp white for the ceiling. I carefully applied painter’s tape along the top edge of the cabinets.
I painted one coat, then a second. I was so proud of how smooth it looked. I was eager to see the final result. It was late, and I was tired. I thought, “I’ll just pull the tape now and see it all finished.” Big mistake.
As I pulled the tape, I heard a faint tearing sound. I looked down, and my heart sank. The blue paint had slightly lifted with the tape. It wasn’t a disaster, but it wasn’t the sharp line I’d dreamed of. There were tiny jagged edges. I had to go back with a tiny brush and fix them all. That night taught me a valuable lesson: patience with paint and tape is a must.
Understanding Different Paint Types
Not all paints are the same. Their formulas affect how they dry. This, in turn, affects when you should remove the tape.
Latex vs. Oil-Based Paints
Latex paints are water-based. They dry much faster than oil-based paints. You can usually remove tape from latex paint when it’s still a bit tacky.
Oil-based paints dry slower. They form a harder film. You might need to wait a bit longer for oil-based paint to be ready for tape removal. Always follow the manufacturer’s advice for these paints.
Sheen Matters Too
Paint sheens (like matte, satin, semi-gloss) can also affect drying. Glossier paints often dry to a harder finish. This might mean they are more prone to lifting with the tape if removed too early. Matte finishes are more forgiving.
Common Mistakes and How to Avoid Them
We’ve all made mistakes when painting. Knowing what to watch out for helps avoid them next time.
Mistake 1: Waiting Too Long
The biggest mistake is letting the paint dry completely. When paint cures, it forms a strong bond. If it bonds with the tape, it will peel off when you remove the tape. This gives you rough, uneven lines. It can also pull off layers of paint.
To avoid this, always try to remove tape when the paint is still a little bit sticky. This might be just a few hours after painting. It’s better to check it.
Mistake 2: Pulling Too Fast
Even if the paint is tacky, pulling the tape too quickly can still cause problems. A fast pull can snag the wet paint. This can lead to drips or uneven lines. It might also tear the paint film.
Always pull the tape slowly and at a steady angle. A 45-degree angle is usually good. This helps the tape lift away cleanly.
Mistake 3: Not Cutting the Tape Edge
Sometimes, paint can seep under the tape. This creates a slight ridge of paint along the tape line. If you try to pull the tape straight off, this ridge can catch and rip the paint.
Before you pull, you can gently run a sharp utility knife or a putty knife along the edge of the tape. This scores the paint. It breaks the seal between the paint and the tape. Do this carefully so you don’t cut into the surface below.
Quick Tape Removal Checklist
- Check Paint Dryness: Touch a small, hidden spot. Is it slightly sticky or tacky?
- Paint Type: Latex dries faster than oil.
- Humidity: High humidity slows drying. Low humidity speeds it up.
- Pull Angle: Aim for a 45-degree angle.
- Pull Speed: Slow and steady wins the race.
- Cut the Edge: If paint has dried over the tape edge, score it first.
The “Wet Edge” Technique Explained
There’s a method often used by pros. It involves working with the paint’s wetness. This is often called the “wet edge” technique.
What is the Wet Edge?
When painting, you try to paint into the “wet edge” of the previous stroke. This helps blend the paint. It means the paint is always wet next to where you are painting.
How it Applies to Tape
For tape removal, this idea means you want to remove the tape while the paint is still wet enough to blend back onto the wall. You don’t want the paint to have dried to the point where removing tape creates a harsh line.
The idea is to pull the tape away from the painted area. As you pull, the paint edge should remain with the wall, not the tape.
What If You Wait Too Long?
Sometimes, life happens. You might miss your window. Or you might have a project where you can’t remove the tape right away. Don’t panic. There are ways to fix it.
The Touch-Up Brush
If the paint has dried and lifted with the tape, you’ll likely have some rough edges. You can fix this with a small artist’s brush or a fine-tipped paint brush. Dip the brush in the paint color that was on the wall. Carefully paint along the edge. This will create a cleaner line.
It takes time and a steady hand. You might need a couple of passes. This is why getting the tape removal right the first time is so much easier.
Consider a Reveal Wheel
For very tricky edges or when you’ve waited too long, you might consider using a reveal wheel. This is a specialized tool that creates a clean channel. It’s often used by pros for trim work. However, for most home projects, careful touch-up is enough.
Myths vs. Reality: Tape Removal
Myth:
It’s always best to wait until the paint is completely dry.
Reality:
Waiting too long can cause paint to peel with the tape, creating rough lines.
Myth:
All painter’s tape is the same and can be removed at any time.
Reality:
Different tapes have different adhesion levels and are designed for various paint types and drying times.
Tips for a Perfect Paint Edge
Getting that sharp line where two colors meet is satisfying. Here are some tips to help you achieve it.
1. Choose the Right Tape
There are many types of painter’s tape. Some are for delicate surfaces. Others are for demanding jobs. For most interior painting, a standard blue or green painter’s tape is a good choice. If you’re painting over delicate wallpaper or have a freshly painted wall, use a tape for sensitive surfaces.
2. Apply Tape Correctly
Press the tape down firmly. Use a putty knife or your fingernail. Make sure there are no gaps. Gaps are where paint can creep underneath. Run your finger along the edge of the tape. You want it to be sealed tight against the wall.
3. Apply Paint Thinly
When painting up to the tape line, apply thin coats of paint. Thick coats are more likely to bleed under the tape. They also create a thicker edge that is more prone to peeling. Two thin coats are better than one thick coat.
4. Let Paint Dry (But Not Too Much!)
As we’ve discussed, find that sweet spot. The paint should be dry enough not to run, but still tacky enough not to lift with the tape. This usually means waiting at least an hour, but check the paint can and your home’s conditions.
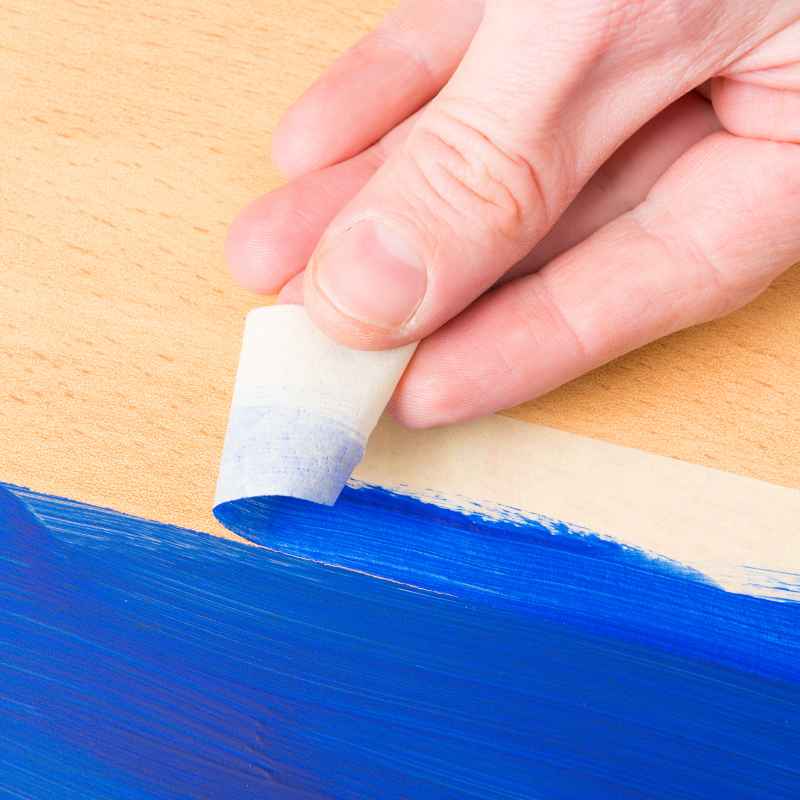
5. Remove Tape Carefully
Pull the tape slowly and at an angle. Pull it back onto itself, not away from the painted surface. This helps keep the tape flat. It reduces the chance of snagging the paint.
6. Remove Tape While Paint is Still Tacky
This is the golden rule. If you can still feel a slight tackiness when you touch the paint, it’s likely the right time. This prevents the paint from fully bonding with the tape.
7. Score the Edge (If Needed)
If you suspect the paint has dried over the tape edge, use a sharp utility knife. Gently run it along the seam. This breaks the dried paint seal. Be very careful not to cut into the underlying wall or the other painted color.
8. Clean Up Immediately
If any paint did bleed, wipe it up right away with a damp cloth. It’s much easier to clean wet paint than dried paint.
Tape Removal Quick Scan
| Scenario | When to Remove Tape | Tips |
|---|---|---|
| Latex Paint, Dry Climate | When paint is tacky (often 1-2 hours) | Pull slowly and at an angle. |
| Latex Paint, Humid Climate | When paint is tacky (might be 3-4 hours or more) | Test a small area. |
| Oil-Based Paint | When paint is firm but not fully dry (follow can instructions) | May need to wait longer, score edge if needed. |
| Mistake: Waited Too Long | N/A – Fix after it’s dry | Use a fine brush for touch-ups. |
When to Be Patient: Special Situations
Sometimes, you just have to wait. There are a few situations where rushing tape removal can lead to bigger problems.
Painting Over Old Paint
If you’re painting over many layers of old paint, especially if they are peeling or not well-adhered, the tape can pull off loose bits. In these cases, you might need to wait for the new paint to dry more thoroughly. Then, you can carefully score the tape edge to prevent lifting the old layers.
Textured Surfaces
Textured walls, like popcorn ceilings or heavily plastered areas, can be tricky. The tape might not seal perfectly against all the nooks and crannies. This can lead to bleed-through. It can also make tape removal more difficult. Be extra careful and consider scoring the edge.
High-Gloss Finishes
High-gloss paints dry to a very hard surface. They can sometimes be prone to lifting if the tape is removed too soon. It might be better to let these paints dry a bit longer, but still aim to remove the tape before it fully hardens.
The Role of Different Tapes
Not all painter’s tapes are created equal. The type of tape you use affects how soon you can remove it.
Blue Tape
This is a popular choice for many DIYers. It’s designed for multi-surface use. It offers good adhesion but is usually easy to remove without damaging paint. It’s a good all-rounder.
Green Tape
Often labeled as “delicate surface” tape. This tape has a lower tack adhesive. It’s ideal for freshly painted surfaces, wallpaper, or wood. You can often remove this tape sooner than blue tape.
Purple Tape
This is typically for more demanding jobs. It offers a stronger hold. It’s good for trim and long paint projects. You might need to wait a bit longer for this tape to come off cleanly.
What About Standard Masking Tape?
Standard brown masking tape is usually not recommended for painting. It’s too sticky. It can leave residue or even peel paint when removed, especially if left on for a long time.
How to Properly Remove Tape
The actual act of removing the tape matters. Here’s how to do it right.
Slow and Steady Wins
This cannot be stressed enough. Pull the tape slowly. Use a consistent motion. Imagine you are gently unrolling it.
Angle is Key
Hold the tape at about a 45-degree angle. Pull it back on itself. This helps the tape lift cleanly. It doesn’t rip or tear the paint.
Work in Sections
Don’t try to rip off a whole long strip at once. Work in shorter sections. This gives you more control. You can check the edge as you go.
If Paint Sticks, Stop and Assess
If you notice paint lifting with the tape, stop pulling. Try to gently pull the tape back in the opposite direction for a moment. This might help release the bond. If it continues to lift, you might need to score the edge.
What Does the Paint Can Say?
Always consult the paint can for specific drying and recoating times. These are your best guide. They are based on the paint’s formula.
Dry to Touch vs. Recoat Time
Paint cans will list a “dry to touch” time. This is when the surface feels dry. They will also list a “recoat time.” This is how long you should wait before applying another coat. The time for tape removal is usually somewhere between these two.
Often, you can remove tape when the paint is dry to the touch but not yet at its full recoat time.
Final Thoughts on Achieving Perfect Lines
Getting crisp, clean paint lines is a detail that makes a big difference. It shows care and professionalism. The key to removing painter’s tape is timing and technique.
Pay attention to how the paint feels. Choose the right tape for your job. Apply it well and remove it slowly. A little patience and care will go a long way. It will help you achieve those beautiful, sharp edges you’re aiming for.
Frequently Asked Questions
When is the best time to remove painter’s tape after painting?
The best time is when the last coat of paint is still wet or slightly tacky. This allows for clean removal without peeling paint. Waiting until the paint is fully dry can cause it to bond with the tape.
Can I remove painter’s tape immediately after painting?
It’s generally not recommended to remove tape immediately. The paint needs some time to set. Removing it while the paint is still very wet can cause smudges or drips. Aim for the tacky stage.
What if I waited too long to remove the tape?
If the paint has dried and is sticking to the tape, you can carefully score the edge of the tape with a sharp utility knife. Then, pull the tape slowly. You may need to do some touch-up painting with a fine brush afterward.
Does humidity affect when I can remove painter’s tape?
Yes, humidity plays a big role. In high humidity, paint dries slower, giving you more time. In low humidity, paint dries faster, shortening your window for tape removal. Always check the paint’s tackiness.
Should I use a special tape for delicate surfaces?
If you are painting over wallpaper, delicate finishes, or have very fresh paint, using a tape designed for delicate surfaces is a good idea. These tapes have lower adhesion and are less likely to damage the underlying paint or surface.
How do I ensure a clean line when removing tape?
Apply the tape firmly to create a good seal. Paint thin coats. Remove the tape slowly at a 45-degree angle while the paint is still tacky. Scoring the edge can help if the paint has dried over it.
The Takeaway on Tape Removal
Removing painter’s tape is a crucial step for a polished look. The ideal time is when paint is tacky, not fully dry. This balance prevents bleeding and peeling. Always check the paint’s feel. Slowly peel the tape at an angle. Patience here pays off with crisp, clean lines. For any lifting, a small touch-up brush can fix it.