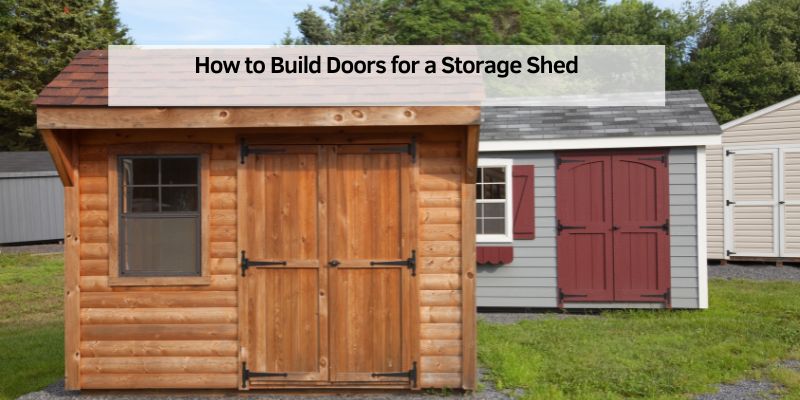
How to Build Doors for a Storage Shed
Hey there! If you’re like me, you’ve probably spent countless hours dreaming about the perfect storage shed to keep your tools, garden gear, or seasonal items neatly tucked away. But let’s be real—building the shed is only half the battle. The doors? They’re the real game-changer. A well-built shed door not only keeps your stuff secure but also adds a touch of style to your backyard. I’ve built a few shed doors in my time, and I’m excited to share everything I’ve learned about how to build doors for a storage shed. Whether you’re a seasoned DIYer or just picking up a hammer for the first time, this guide is for you. Let’s dive in and create something sturdy, functional, and good-looking!
Why Building Your Own Shed Doors Makes Sense
When I first started working on my storage shed, I thought about buying pre-made doors. But honestly, the cost was a shocker, and the sizes didn’t always fit my shed perfectly. Building your own shed doors gives you control over the design, size, and materials. Plus, it’s a rewarding project that saves you money. You get to customize the look to match your shed or even your home’s vibe. I’ve found that a custom door can make your shed feel like an extension of your property, not just a box in the backyard.
Another big reason to DIY? Durability. Store-bought doors can sometimes be flimsy, especially if you’re on a budget. When you build your own, you choose high-quality materials that stand up to weather and wear. I’ll walk you through the process step-by-step, so you can create doors that are tough, practical, and tailored to your needs.
Planning Your Shed Doors: Getting Started
Before you grab your tools, take a moment to plan. Trust me, I’ve learned the hard way that skipping this step leads to headaches later. First, measure your shed’s door opening carefully. I use a tape measure and jot down the height and width, double-checking to avoid mistakes. Most sheds have either a single door or double doors, so decide what works best for your space. Single doors are simpler and great for smaller sheds, while double doors make it easier to move large items like lawnmowers in and out.
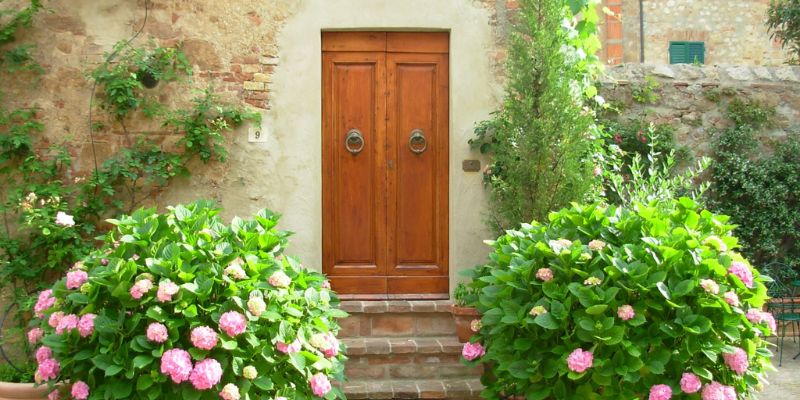
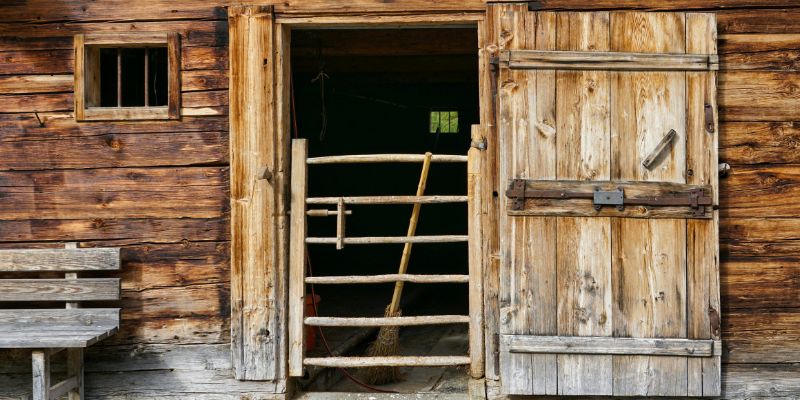
Next, think about the door style. I went with a classic panel door for my shed because it’s straightforward and looks timeless. But you could also try a board-and-batten design for a rustic feel or even a modern slab door if that’s your style. Sketch out your design on paper—it doesn’t have to be fancy, just clear enough to guide you. Finally, consider how the door will swing. Outward swings are common for sheds because they maximize interior space, but make sure there’s enough clearance outside.
Choosing the Right Materials
Picking the right materials is key to building a shed door that lasts. I’ve experimented with a few options, and here’s what I’ve found works best. For the frame, I recommend using pressure-treated lumber, like 2x4s or 2x6s. It’s strong and resists rot, which is crucial since your shed door will face rain, snow, and sun. For the door’s surface, exterior-grade plywood is my go-to. It’s affordable, easy to work with, and holds up well when sealed properly.
If you want a fancier look, you can use tongue-and-groove boards or cedar for a natural, weather-resistant finish. For hardware, don’t skimp—invest in heavy-duty hinges and a solid latch or lock. I once used cheap hinges, and they rusted within a year. Lesson learned! Stainless steel or galvanized hardware is worth the extra cost for longevity.
Here’s a quick table to help you choose materials based on your budget and style:
| Material | Pros | Cons | Best For |
|---|---|---|---|
| Pressure-Treated Lumber | Durable, rot-resistant, affordable | Can be heavy, less attractive | Budget-friendly, sturdy frames |
| Exterior-Grade Plywood | Easy to cut, cost-effective, smooth | Needs sealing to prevent warping | Simple panel doors |
| Cedar Boards | Naturally weather-resistant, stylish | More expensive, requires maintenance | Rustic or premium designs |
| Stainless Steel Hardware | Rust-proof, long-lasting | Higher cost | All door types |
Tools You’ll Need
I love the feeling of gathering my tools before a project—it’s like gearing up for an adventure. For building shed doors, you don’t need anything too fancy, but having the right tools makes the job smoother. Here’s what I keep handy:
- Tape measure and pencil: For precise measurements and marking.
- Circular saw or handsaw: To cut lumber and plywood to size.
- Drill and screwdriver: For securing screws and attaching hardware.
- Level: To ensure your door hangs straight.
- Clamps: To hold pieces together while you work.
- Square: To check that corners are perfectly aligned.
- Sandpaper or sander: For smoothing rough edges.
- Safety gear: Gloves, safety glasses, and ear protection are a must.
If you don’t own all these tools, don’t worry. I’ve borrowed from neighbors or rented from hardware stores when needed. It’s all about making it work!
Step-by-Step Guide to Building a Single Shed Door
Let’s get to the fun part—building the door! I’ll walk you through how I built a single shed door, but you can adapt these steps for double doors too. This design is a simple panel door, perfect for most sheds.
Step 1: Measure and Cut the Frame
Start by measuring your shed’s door opening again. Subtract about 1/4 inch from钮1/2 inch from the height and width to allow for clearance. For my shed, the opening was 36 inches wide and 72 inches tall, so I cut two vertical 2x4s to 71.5 inches and two horizontal 2x4s to 35.5 inches. Use a circular saw for clean, straight cuts. Lay the pieces out on a flat surface to form a rectangular frame, and check the corners with a square to ensure they’re 90 degrees.
Step 2: Assemble the Frame
I like to add a diagonal brace to the frame for extra strength. Cut a 2×4 at a 45-degree angle on both ends to fit from the top corner to the bottom corner of the frame. Secure the frame and brace with wood screws. I use 3-inch exterior-grade screws to make sure everything holds tight. Clamp the pieces together before drilling to keep them steady.
Step 3: Attach the Plywood
Cut a sheet of exterior-grade plywood to match the frame’s dimensions (35.5 x 71.5 inches in my case). Lay it over the frame and secure it with 1.5-inch screws every 6-8 inches along the edges. I also add screws into the diagonal brace for extra stability. Sand any rough edges to give it a polished look.
Step 4: Add Weatherproofing
To protect the door from moisture, I apply a high-quality exterior primer and paint. Before painting, seal all edges of the plywood with a waterproof sealant—I learned this the hard way after my first door warped in a rainy season. You can also add weatherstripping around the edges to keep out drafts and water.
Step 5: Install Hardware
Attach three heavy-duty hinges to one side of the door, spacing them evenly. I place them about 6 inches from the top and bottom, with the third in the middle. Then, install a latch or lock on the opposite side. I prefer a barrel bolt for simplicity, but a keyed lock adds extra security if you’re storing valuable items.
Step 6: Hang the Door
This part is easier with a helper, but I’ve done it solo too. Lift the door into the opening and use shims to hold it in place. Check that it’s level and plumb, then screw the hinges into the shed’s frame. Test the door’s swing to make sure it opens and closes smoothly. If it sticks, you may need to adjust the hinges or sand down tight spots.
Building Double Doors: What’s Different?
Double doors follow a similar process, but you’ll build two smaller doors that meet in the middle. For my double-door shed, I made each door about 18 inches wide for a 36-inch opening. The key difference is ensuring the doors align perfectly when closed. I add a small lip or stop on one door so they overlap slightly, creating a tight seal. You’ll also need a latch that secures both doors together, like a slide bolt at the top and bottom of one door.
Adding Style to Your Shed Doors
Once the door is built, you can get creative. I’ve added trim pieces to create a panel effect or painted my doors to match my house’s exterior. If you’re feeling fancy, consider adding a small window for light—just make sure to seal it well to prevent leaks. I once installed a decorative handle on my shed door, and it gave the whole shed a high-end look for just a few bucks.
Maintenance Tips for Long-Lasting Doors
To keep your doors looking and working great, check them every year. I repaint mine every few years to refresh the finish and inspect the hardware for rust. Tighten any loose screws and replace weatherstripping if it’s worn out. If you notice warping, you might need to add more bracing or reseal the plywood.
Common Mistakes to Avoid
I’ve made my share of mistakes, so let me save you some trouble. Don’t skip the diagonal brace—it’s crucial for preventing sagging. Always double-check measurements before cutting, and don’t use interior-grade materials; they won’t hold up outdoors. Also, make sure your hinges are aligned properly, or the door won’t swing right.
Cost Breakdown
Building your own shed door is budget-friendly. Here’s what I spent on my last single door:
| Item | Cost (Approx.) |
|---|---|
| Pressure-treated 2x4s | $15–$20 |
| Exterior-grade plywood | $25–$35 |
| Hinges (3) | $10–$15 |
| Latch/lock | $5–$15 |
| Screws and sealant | $10–$15 |
| Paint/primer | $15–$25 |
| Total | $80–$125 |
Double doors might cost $120–$200, depending on size and materials. Compare that to $300+ for a pre-made door, and you’re saving big!
Why I Love This Project
Building shed doors has been one of my favorite DIY projects. There’s something so satisfying about crafting something with your own hands that’s both practical and good-looking. Every time I open my shed, I’m reminded of the effort I put in, and it feels great. Plus, I’ve saved hundreds of dollars over the years by doing it myself.
Conclusion
Building doors for your storage shed is a project that’s totally doable, even if you’re new to woodworking. With a bit of planning, the right materials, and some elbow grease, you can create doors that are sturdy, stylish, and perfectly suited to your shed. I’ve shared the steps that have worked for me, from measuring and cutting to adding those final touches that make the door your own.
The best part? You’ll end up with a custom door that’s tougher than most store-bought options and costs a fraction of the price. So grab your tools, take it one step at a time, and enjoy the process. I promise, when you step back and see your shed with its new doors, you’ll feel like a pro. Happy building!
Frequently Asked Questions
What type of wood is best for shed doors?
I recommend pressure-treated lumber for the frame because it resists rot and lasts for years. For the door’s surface, exterior-grade plywood is affordable and reliable. If you want a premium look, cedar boards are naturally weather-resistant and add a rustic charm.
How do I prevent my shed door from warping?
Warping is a pain, but you can avoid it. Always use exterior-grade materials and seal all edges of the plywood with a waterproof sealant before painting. Adding a diagonal brace to the frame also helps keep the door stable over time.
Can I build shed doors without power tools?
Yes, you can! A handsaw can replace a circular saw, though it takes more effort. You’ll also need a manual screwdriver or drill for assembly. It’s slower, but I’ve done it when power tools weren’t available, and the results were just as good.
How long does it take to build a shed door?
For a single door, I usually spend about 4–6 hours, including measuring, cutting, assembling, and painting. Double doors might take 6–8 hours. If you’re new to this, add a couple of hours for learning as you go.
Do I need a helper to hang the shed door?
It’s nice to have a helper to hold the door while you attach the hinges, but I’ve managed alone using shims to prop it up. Just take your time to ensure it’s level and swings smoothly.