How to Drill a Pilot Hole for Wood Screws
Drill a pilot hole that matches the screw’s root diameter in softwood and a slightly larger one in hardwood. For most wood screws, start with a bit near the screw’s solid core, not the outside threads. Too small, and the board can split or the screw can bind and snap. This guide shows how to size the hole, mark depth, drill straight, and avoid the mistakes that lead to loose or crooked screws.
Why pilot holes matter
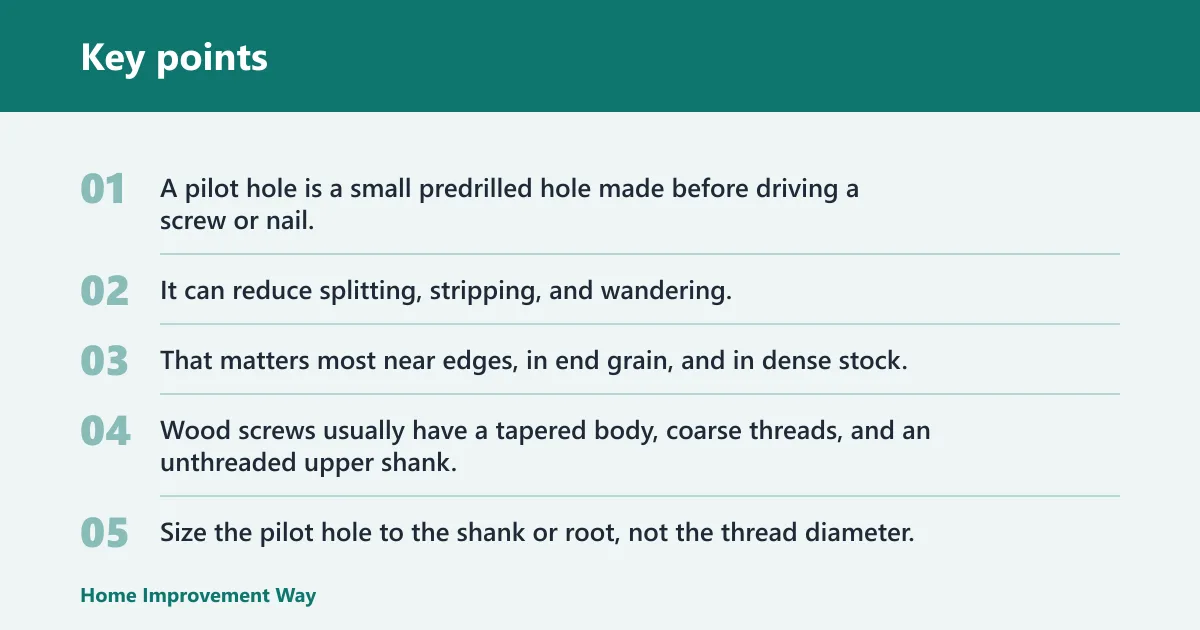


A pilot hole is a small predrilled hole made before driving a screw or nail. It can reduce splitting, stripping, and wandering, and it can help the screw start where you marked it instead of skating across the surface. That matters most near edges, in end grain, and in dense stock.
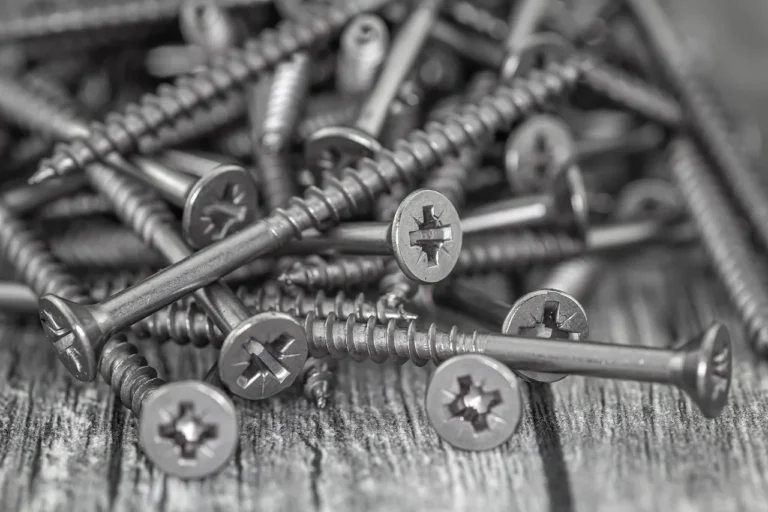
Wood screws usually have a tapered body, coarse threads, and an unthreaded upper shank. Size the pilot hole to the shank or root, not the thread diameter. Threads need wood to bite into; the hole should clear the body enough for that bite without forcing the board apart.
What changes the size
Wood type, screw gauge, and edge distance all matter. Softwood such as pine or spruce usually takes a smaller pilot hole than hardwood such as maple or oak. If the screw is close to an edge, near end grain, or going into unknown or dense material, choose the safer side and drill a little larger than you would in the center of a wide board.
What you’ll need
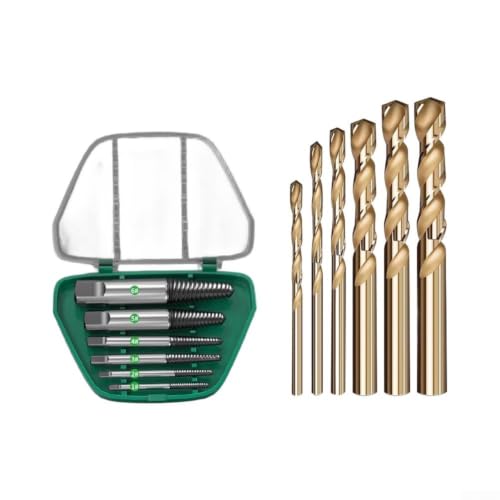
- Drill bits in common sizes, including the reference sizes for #6, #8, #10, and #12 screws
- Drill or drill/driver with a clutch
- Center punch or scratch awl for a starting dimple
- Clamps to hold the workpiece
- Countersink bit if the screw head needs to sit flush
- Tape or a depth stop for repeatable drilling depth
- Square or straightedge for aligning the mark
How do you choose the right bit?
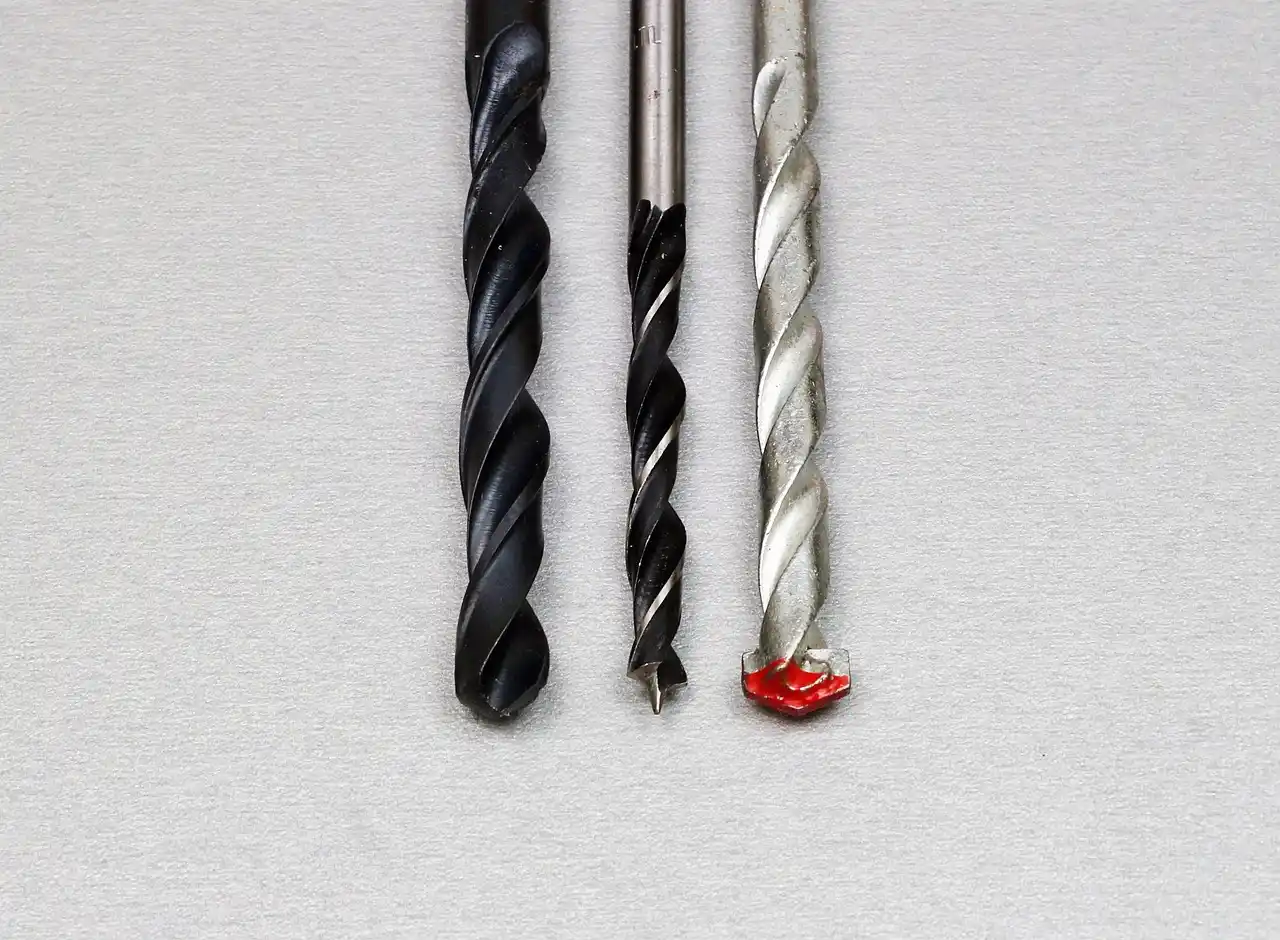
Choose by screw gauge first, then adjust for wood type and placement. For most softwood, the bit should be slightly smaller than the screw body so the threads can bite. In hardwood, some guidance uses a bit that is closer to shank size, because the dense fibers resist the screw more strongly.
Match the bit to the screw body, not the threads
The threads are wider than the core. If you size the hole to the thread diameter, the screw can turn without gripping. If you size it too small, the screw has to force its way through the wood and may split the board or stall before the head seats.
Adjust for softwood, hardwood, and sheet goods
Softwood usually needs the smaller option. Hardwood often needs the larger option. MDF, plywood, and laminated sheet goods sit between those two cases: they can split at the face veneer or crush at the edge, so a pilot hole plus a countersink often gives cleaner results than forcing a screw in cold.
Go one size up or down with edge distance and screw length
If the hole is close to an edge or into end grain, move one step larger in the reference range. If the screw is short and the board is thick enough to hold, staying one step smaller can give a firmer bite. For treated lumber, start on the larger side because moisture and density can vary across the board.
Wood screw pilot table
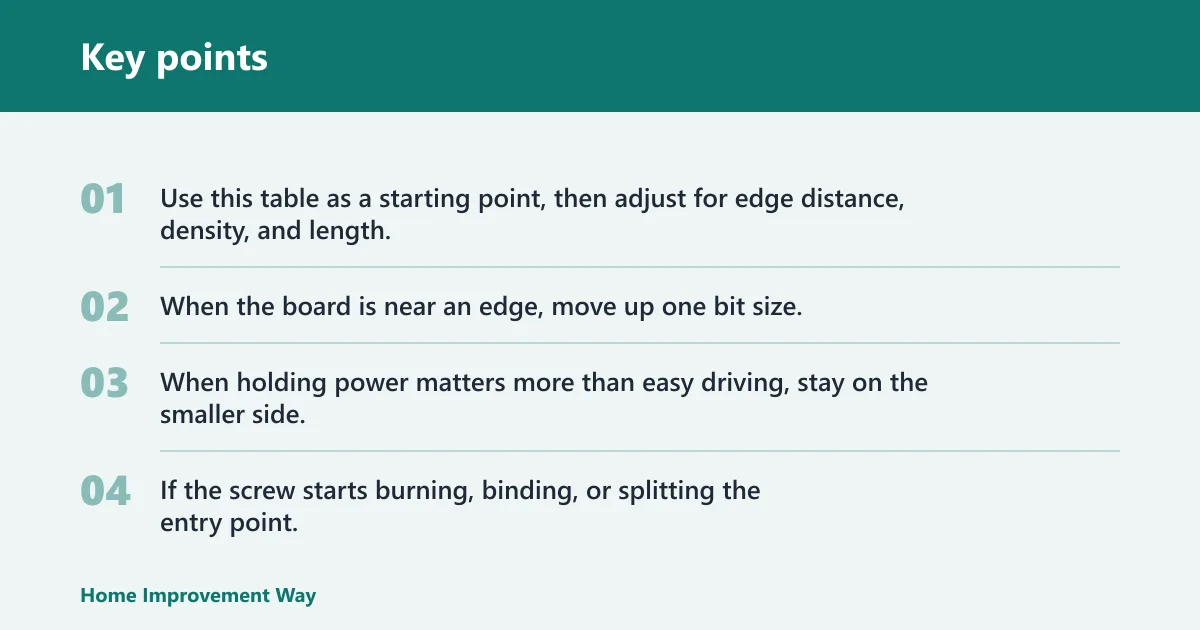
Use this table as a starting point, then adjust for edge distance, density, and length. When the board is near an edge, move up one bit size. When holding power matters more than easy driving, stay on the smaller side. If the screw starts burning, binding, or splitting the entry point, change size before you force it farther.
| Screw gauge | Softwood bit size | Hardwood bit size | When to go one size up or down |
|---|---|---|---|
| #4 | 1/16 inch | 5/64 inch | Go up near edges, in end grain, or in treated lumber; go down only in thick, soft stock with plenty of edge distance. Trouble signs: splitting at the entry or a screw that drags hard before the head seats. |
| #5 | 5/64 inch | 3/32 inch | Move up for laminated sheet goods, unknown species, or short edge distance; move down when maximum holding power matters and the board is wide. Trouble signs: wandering start, smoke or burning smell, or a screw that feels jammed halfway in. |
| #6 | 5/64 inch | 3/32 inch | Use the larger choice for hardwood, edge work, or longer screws; use the smaller choice for softwood center runs. Trouble signs: split fibers, stripped threads, or a screw that turns but never pulls tight. A common reference size is 3/32 inch in hardwood and 5/64 inch in softwood. |
| #8 | 3/32 inch | 7/64 inch to 1/8 inch | Go up for dense hardwood, narrow rails, or fasteners within about one screw diameter of an edge; go down for softer pine or spruce when the screw needs a firmer bite. Trouble signs: crack lines at the surface, a hot bit, or a screw that bottoms out before the head sits flat. |
| #10 | 7/64 inch | 1/8 inch | Use the larger bit for hardwood, long screws, or hardware holes that need clean alignment; use the smaller bit when the board is thick and the screw must hold hard. Trouble signs: wandering, blackened wood from heat, or a screw that pulls the piece sideways as it enters. Common reference sizes are 1/8 inch in hardwood and 7/64 inch in softwood. |
| #12 | 1/8 inch | 9/64 inch to 5/32 inch | Go up for edge work, end grain, or very dense stock; go down only if the board is thick, soft, and the screw is far from any edge. Trouble signs: visible splitting, a screw that stops short, or a head that seats crooked. Common reference sizes are 9/64 inch to 5/32 inch in hardwood and 1/8 inch in softwood. |
How do you drill the pilot hole?
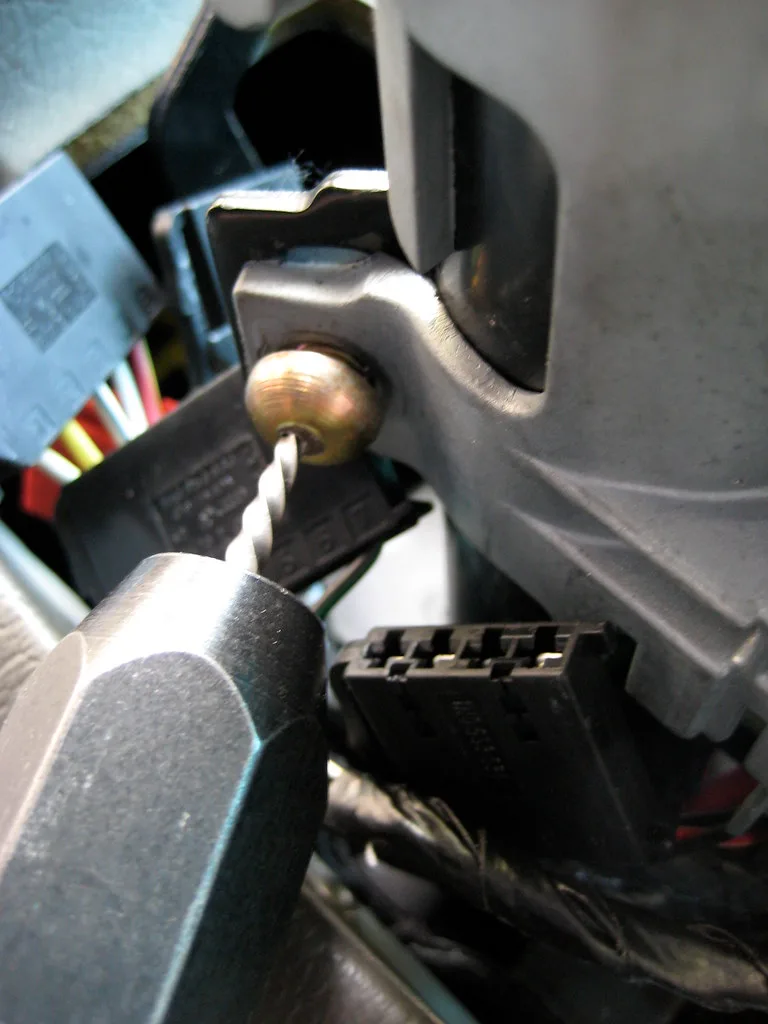
Set the mark with a pencil, then press a center punch or scratch awl into the spot so the bit starts in one place. Drill straight at low speed, keeping the bit square to the face, and clear chips as you go so the bit does not bind or heat the wood. That keeps the screw from wandering and helps the head seat cleanly.
- Mark the location with a pencil and confirm the layout with a square or straightedge.
- Use a center punch or scratch awl to make a small dimple at the mark.
- Clamp the workpiece so it cannot move while you drill.
- Set the bit to the chosen size from the table.
- Start the drill at low speed and keep it perpendicular to the face.
- Drill to the needed depth, then back the bit out once or twice to clear chips.
- Test-fit the screw. If it binds hard, step up one size; if it feels loose, step down only when the wood is thick enough to allow it.
Say your #8 screw is going into pine near the end of a shelf rail. Start with 3/32 inch, not 1/8 inch, because the goal is enough bite without splitting the rail. If the first screw still feels tight after 1/2 inch of travel, stop and check the depth before forcing it farther.
How to keep the bit from wandering
The indentation does most of the work. A scratch awl or center punch gives the bit a place to start, and a clamp keeps the board from shifting as the bit bites. If the bit still skates, begin with a shorter brad-point bit or start with a very light trigger pull before increasing speed.
How deep should it be?
Drill the pilot hole at least as deep as the screw’s threaded portion, and a little deeper if dust is likely to collect at the bottom. The unthreaded tip of a wood screw does not need full clearance, but the threaded section does. If the hole stops short, the screw can bottom out before the head seats.
Handle countersinks and clearance holes
If the head must sit flush, drill the pilot hole first, then add a countersink for the head shape. For hardware with a smooth shank section, use a clearance hole through the top piece and a pilot hole in the lower piece. That keeps the screw from jacking the joint apart while still giving the threads something to grip.
Use screw length as the depth guide
A practical rule is to mark the bit to the thread length with tape, then stop at that mark. For paired parts, the pilot hole should reach the full thread engagement depth in the receiving piece. If the screw is long or the material is dusty, add a little extra depth so chips do not pack at the bottom.
Common mistakes
Most pilot-hole problems come from three things: the wrong diameter, the wrong angle, or the wrong depth. A hole that is too small causes splitting and hard driving. A hole that is too large leaves a loose screw. A hole that is crooked can pull the work out of alignment.
Using the wrong diameter
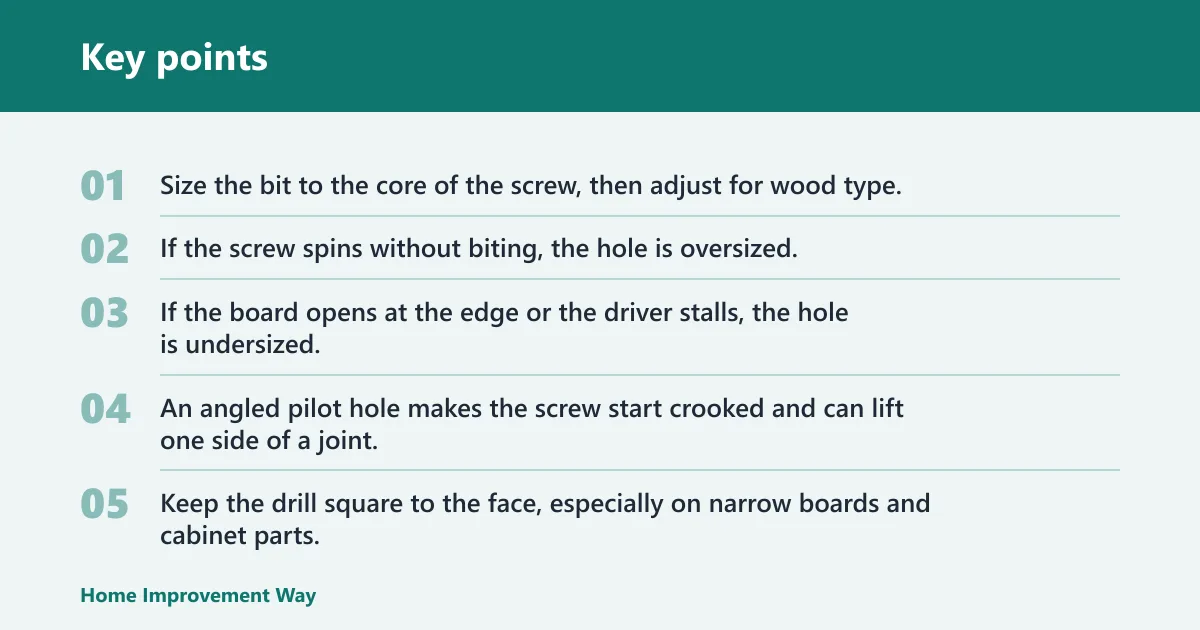
Do not guess from the outer thread width. Size the bit to the core of the screw, then adjust for wood type. If the screw spins without biting, the hole is oversized. If the board opens at the edge or the driver stalls, the hole is undersized.
Drilling at an angle
An angled pilot hole makes the screw start crooked and can lift one side of a joint. Keep the drill square to the face, especially on narrow boards and cabinet parts. If access is tight, clamp a scrap block with a square edge next to the mark and use it as a visual guide.
Skipping the mark before drilling
Without an awl or punch, the bit can walk across smooth wood, laminate, or finish. That is common on hard, slick surfaces. Make the dimple first, then drill at low speed. A clean start matters more than speed on the first second of the cut.
Choosing the wrong setup for MDF, treated lumber, or laminate
MDF and laminate can crumble at the face. Treated lumber can feel denser and more variable from one section to the next. In both cases, start with the larger size in the range, clamp the board, and use a countersink if the screw head needs to sit flush. If the screw still binds, increase the pilot hole one step and recheck.
A common first-timer mistake is putting a #10 screw into a hardwood leg with a softwood-size hole. The screw may begin straight, then bind halfway down and leave a shiny burn mark. The fix is to stop, enlarge the hole to the hardwood size, and restart cleanly rather than forcing the screw home.
Prevention: keep one labeled set of bits for the common screw gauges you use most. That avoids measuring every time and cuts down on mix-ups between 5/64, 3/32, 7/64, 1/8, and the larger hardwood sizes.
Frequently asked questions
How do I drill a pilot hole for wood screws?
Mark the spot, punch a small dimple, and drill straight at low speed with a bit sized to the screw’s core. For most softwood, use the smaller side of the range; for hardwood, use the larger side. Stop when you reach the threaded length, then test the screw before driving fully.
What size pilot hole do I need for a #6 wood screw?
Use 5/64 inch in softwood and 3/32 inch in hardwood. Those are common reference sizes. If the screw is close to an edge or going into end grain, favor the larger size in that range to reduce splitting and make the start cleaner.
What size pilot hole do I need for a #8 wood screw?
Use 3/32 inch in softwood and 7/64 inch to 1/8 inch in hardwood. If the board is thin, dense, or close to an edge, move to the larger end of the range. If the screw feels loose in test-fit, do not widen it further unless the joint still has enough holding area.
What size pilot hole do I need for a #10 wood screw?
Use 7/64 inch in softwood and 1/8 inch in hardwood. Those sizes suit the screw body better than the thread width. For treated lumber or laminated sheet goods, start with the larger size if the fastener is near an edge or the wood shows signs of splitting at the entry point.
When should I drill a pilot hole in wood?
Drill one when the screw goes near an edge, into end grain, into hardwood, or into dense sheet goods such as MDF or laminate-faced panels. It is also worth using one when screw placement must be precise. Softwoods may not need one in open, central locations, but edge work still benefits from it.
How do I keep a drill bit from wandering when starting a pilot hole?
Make a small indentation with a center punch or scratch awl before drilling. Clamp the work so it cannot shift, then start at low speed with the bit square to the surface. If the surface is slick or finished, deepen the dimple slightly and begin with a light trigger pull.
Sponsored / affiliate links. As an Amazon Associate I earn from qualifying purchases. I may earn additional commission from eligible campaigns.