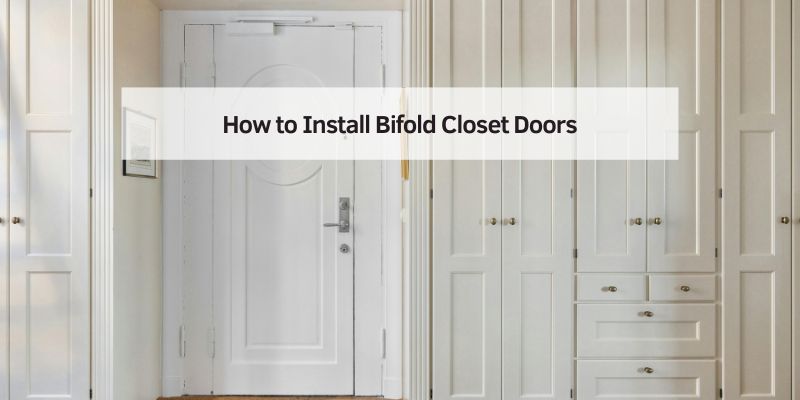
How to Install Bifold Closet Doors
Hey there! If you’re looking to spruce up your home with a fresh, functional upgrade, installing bifold closet doors is a fantastic project to tackle. I’ve done this a few times myself, and let me tell you, it’s rewarding to see those sleek doors slide open and closed, giving your space a polished look. Bifold doors are perfect for closets because they save space, look modern, and are easier to install than you might think. Whether you’re a DIY newbie or a seasoned home improver, this guide will walk you through every step of the process. I’ll share my experiences, tips, and tricks to make sure your installation goes smoothly. Let’s dive in and get those doors up!
Why Choose Bifold Closet Doors?
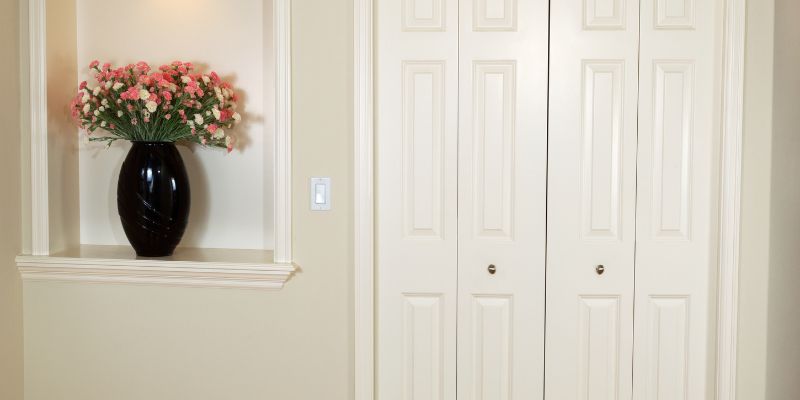
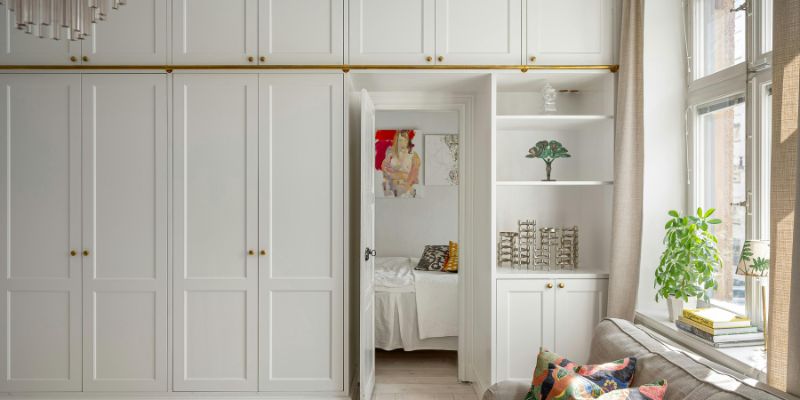
I remember the first time I decided to swap out my old sliding closet doors for bifold ones. The difference was night and day! Bifold doors fold in half as they open, so they don’t take up much space. This makes them ideal for small rooms or tight spaces where a swinging door just won’t work. They’re also super versatile—available in wood, MDF, or even mirrored finishes, so you can match them to your home’s vibe.
Another reason I love bifold doors is how easy they are to access. Unlike sliding doors, which only let you see half the closet at a time, bifold doors open wide, giving you full access to everything inside. Plus, they’re budget-friendly and add a touch of elegance to any room. Before we get to the nitty-gritty, let’s talk about what you’ll need to make this project a success.
Tools and Materials You’ll Need
When I started my first bifold door installation, I learned the hard way that having the right tools makes all the difference. Here’s a rundown of what you’ll need to get started. I’ve included a table to keep things organized, so you can check off each item before you begin.
| Item | Purpose |
|---|---|
| Bifold door kit | Includes doors, track, hardware, and pivot brackets for installation. |
| Measuring tape | To measure the door opening accurately. |
| Level | Ensures the track and doors are perfectly aligned. |
| Drill and drill bits | For drilling pilot holes and securing screws. |
| Screwdriver | To tighten screws and adjust hardware. |
| Saw (optional) | To trim doors if they don’t fit the opening. |
| Shims | To level the track or adjust door alignment. |
| Pencil | For marking measurements and screw placements. |
| Stud finder | To locate studs for secure track installation. |
| Safety glasses and gloves | To protect yourself while cutting or drilling. |
| Step ladder | For reaching the top of the closet opening. |
Before you head to the hardware store, double-check that your bifold door kit includes all the necessary hardware, like the track, pivots, and knobs. Some kits come with everything, but others might require you to buy extra screws or brackets. I once bought a kit that was missing a pivot pin, and it held up my project for a day—trust me, it’s worth checking!
Measuring Your Closet Opening
Let’s talk about measuring, because this step is critical. I can’t stress enough how important it is to get this right. A wrong measurement can lead to doors that don’t fit, and that’s a headache you don’t want. Here’s how I do it.
First, grab your measuring tape and measure the width of the closet opening at the top, middle, and bottom. Closet openings aren’t always perfectly square, so take the smallest measurement to ensure the doors fit. Next, measure the height from the floor to the top of the opening. Most bifold doors are designed for standard openings (around 80 inches tall and 24 to 36 inches wide per door), but custom sizes are available if your closet is unique.
When I installed bifold doors in my guest room, I found the opening was slightly off-square. I had to trim the doors a bit, which we’ll cover later. For now, write down your measurements and double-check them. If you’re installing multiple sets of bifold doors (like for a wide closet), make sure each set is measured separately.
Preparing the Closet Opening
Before you start installing, you need to prep the closet opening. I’ve made the mistake of skipping this step, thinking it wasn’t a big deal, only to regret it later. A clean, level opening makes the installation process so much smoother.
Start by removing any old doors, tracks, or hardware. If you have sliding doors, unscrew the track and carefully lift the doors out. For hinged doors, remove the hinges and pull the door off. Next, check the opening for any damage, like cracked drywall or uneven floors. Patch up any holes with spackle and sand them smooth.
Use your level to check if the top of the opening (where the track will go) is even. If it’s not, you can use shims to level it out. I had to shim the top of my closet in my last project because the house had settled over time. Also, make sure the floor is level. If it’s carpeted, you might need to install a small wooden strip to create a flat surface for the bottom pivot.
Installing the Track
Now we’re getting to the fun part—installing the track! This is where your closet starts to look like it’s coming together. The track is what allows the bifold doors to slide and fold, so it needs to be secure and level.
Most bifold door kits come with a pre-cut track, but you may need to trim it to fit your opening. Measure the width of the opening again and cut the track to size using a hacksaw if needed. Be sure to wear safety glasses while cutting—I learned that lesson after getting a metal shaving in my eye!
Next, use your stud finder to locate the studs along the top of the closet opening. Mark these spots with a pencil. Hold the track up to the opening and use your level to ensure it’s perfectly horizontal. If it’s not, add shims behind the track to level it out. Once it’s level, mark the screw holes on the track, drill pilot holes into the studs, and secure the track with the provided screws. I like to double-check the level after screwing it in, just to be safe.
Some kits include a bottom track or pivot bracket for the floor. If yours does, follow the same process to install it directly below the top track. Use your level to make sure everything is aligned vertically.
Hanging the Bifold Doors
This is the moment of truth—hanging the doors! When I first did this, I was nervous about getting the doors to sit right, but it’s easier than it looks if you follow the steps.
Start by attaching the pivot brackets to the top and bottom of each door. These brackets are what connect the doors to the track and allow them to pivot. Your kit should include instructions on where to place them—usually about an inch from the edge of the door. Use a drill to secure the brackets with screws, but don’t overtighten, as this can strip the wood.
Next, insert the top pivot pin into the track’s pivot socket. Most tracks have a spring-loaded socket that holds the pin securely. Then, align the bottom pivot pin with the floor bracket and gently push the door into place. You might need to lift the door slightly to get the pin to fit. Once the first door is in, repeat the process for the other door in the set.
If you’re installing multiple sets of bifold doors (like for a wide closet), you’ll repeat this process for each pair. Make sure the doors are aligned so they meet evenly in the middle when closed. I had to adjust the pivot pins a few times on my first try to get the doors to close flush.
Adjusting the Doors for a Perfect Fit
After hanging the doors, you’ll likely need to make some adjustments. Trust me, this step is normal, and it’s what makes your doors glide smoothly. Most bifold door kits have adjustable pivot pins or brackets that let you tweak the height and alignment.
First, check if the doors are level. Open and close them to see if they rub against the track or floor. If they’re not moving smoothly, use a screwdriver to adjust the top or bottom pivot brackets. Turning the screws clockwise usually raises the door, while counterclockwise lowers it. I spent about 10 minutes tweaking the adjustments on my last project, and it made a huge difference.
If the doors don’t close flush or there’s a gap between them, you can adjust the alignment by moving the top pivot pin slightly left or right in the track. Keep testing until the doors meet perfectly in the middle. If your doors are still dragging on the floor, you might need to trim them slightly with a saw. Measure carefully, mark the cut line, and sand the edge smooth to avoid splinters.
Adding the Door Knobs
Once your doors are hung and adjusted, it’s time to add the knobs. This is a small step, but it makes a big difference in how the doors function and look. Most bifold door kits include knobs, but you can buy custom ones to match your style.
The knobs typically go on the non-pivoting side of the door, about 36 inches from the floor (or at a comfortable height for you). Mark the spot with a pencil, drill a pilot hole, and screw the knob in place. If your kit includes a pull for the folding section, attach it to the middle of the door where the panels meet.
I like to give the knobs a quick tug to make sure they’re secure. You don’t want them coming loose after a few uses. If you’re feeling fancy, you can paint or stain the knobs to match the doors for a cohesive look.
Painting or Staining Your Bifold Doors
If your bifold doors are unfinished, painting or staining them is a great way to personalize your space. I’ve done both, and each has its charm. Painting gives a clean, modern look, while staining highlights the wood’s natural grain.
Before painting or staining, remove the doors from the track to avoid getting paint on the hardware. Lay them flat on a drop cloth or sawhorses. Sand the doors lightly to smooth out any rough spots, then wipe them down with a damp cloth to remove dust. If you’re painting, apply a primer first to help the paint stick. I used a foam roller for a smooth finish and did two coats of paint, letting each coat dry completely.
For staining, apply the stain with a brush or cloth, working in small sections to avoid streaks. Wipe off excess stain with a clean cloth and let it dry for at least 24 hours. Finish with a clear polyurethane sealant to protect the wood. I stained my bedroom closet doors a warm walnut color, and it added such a cozy vibe to the room.
Once the doors are dry, rehang them and admire your handiwork. You’re almost done!
Maintaining Your Bifold Doors
To keep your bifold doors looking and working great, a little maintenance goes a long way. I check mine every few months to make sure everything’s in order. Lubricate the track and pivot pins with a silicone-based spray to keep them sliding smoothly. Avoid oil-based lubricants, as they can attract dust and gunk.
If the doors start to sag over time, tighten the screws on the pivot brackets or adjust the pins again. Clean the doors with a damp cloth and mild soap to remove fingerprints or dirt. If you have wooden doors, check for scratches or wear and touch them up with paint or stain as needed.
One tip I learned the hard way: don’t hang heavy items on the doors, like mirrors or organizers. It can throw off the alignment and make them harder to open. Keep them light and functional, and they’ll last for years.
Troubleshooting Common Issues
Even with careful installation, you might run into a few hiccups. Here are some common problems I’ve faced and how to fix them.
If the doors stick or won’t slide smoothly, check the track for debris. A quick wipe with a cloth usually does the trick. If the doors are still sticky, adjust the pivot pins to raise or lower them slightly.
If there’s a gap between the doors when closed, tweak the top pivot pin to bring the doors closer together. If the doors are rubbing against each other, move the pivot pin in the opposite direction.
For uneven floors, you might need to add a shim under the bottom bracket to keep the doors level. I had this issue in an older home, and a small wooden shim solved it perfectly.
Cost and Time Considerations
When I first started installing bifold doors, I was surprised at how affordable they can be. A basic bifold door kit costs between $50 and $150, depending on the material and size. Custom or high-end doors (like mirrored or solid wood) can run $200 or more. If you already have the tools, your only cost will be the door kit and maybe some paint or stain.
Time-wise, expect to spend about 2 to 4 hours on the project, depending on your experience and the size of the closet. My first installation took closer to 4 hours because I was learning, but now I can do it in about 2.5 hours. If you need to trim the doors or fix an uneven opening, add an extra hour.
Safety Tips for a Smooth Installation
Safety is key when working on any home improvement project. I always wear safety glasses when drilling or cutting, and gloves are a must if you’re handling rough wood or metal tracks. Keep your workspace clear to avoid tripping, and use a sturdy step ladder when working at height.
If you’re trimming doors, do it in a well-ventilated area and wear a dust mask to avoid inhaling sawdust. Double-check that your drill and other tools are in good condition before starting. I once used a dull drill bit and ended up with uneven holes—not fun!
Conclusion
Installing bifold closet doors is one of those projects that feels so satisfying when it’s done. I still smile every time I open my closet and see those smooth, space-saving doors in action. From measuring and prepping to hanging and adjusting, each step builds your confidence as a DIYer. With the right tools, a bit of patience, and the tips I’ve shared, you can transform your closet into a stylish, functional space. Whether you’re upgrading a bedroom, guest room, or even a pantry, bifold doors are a game-changer. So grab your tools, pick out a door style you love, and get started. You’ve got this! If you have any questions, check out the FAQs below or drop a comment—I’d love to hear how your project goes.
Frequently Asked Questions
Can I install bifold closet doors by myself?
Absolutely, you can! I’ve done it solo, and it’s manageable if you follow the steps carefully. Having a helper makes hanging the doors easier, especially for larger closets, but it’s not necessary. Just take your time with measurements and adjustments.
Do bifold doors work for all closet sizes?
Most bifold doors are designed for standard closet openings, but you can find or order custom sizes for non-standard spaces. Measure your opening carefully and check the door kit specifications before buying. I had to trim mine slightly for a perfect fit.
How do I know if my closet opening is level?
Use a level to check both the top and bottom of the opening. If the bubble isn’t centered, the opening isn’t level. You can use shims to correct minor unevenness, which I’ve done in older homes with settled floors.
Can I paint or stain bifold doors after installation?
It’s better to paint or stain before hanging the doors to avoid getting paint on the track or hardware. I’ve done it both ways, and pre-painting saves time and mess. If you must paint after, remove the doors and lay them flat.
What if my bifold doors don’t close properly?
Check the alignment of the pivot pins and adjust them to bring the doors closer together. Also, make sure the track is level and free of debris. I had this issue once, and a quick tweak to the top pivot fixed it.