How to Adjust Glass Shower Door Hinges (Clockwise Raises It)
Glass shower door hinges adjust with quarter-turns of the hinge’s own screw: clockwise raises a sagging door, counterclockwise lowers it, except wall-mount clamp hinges, which shift the panel sideways. Skipping the support step before loosening screws risks dropping glass that can weigh over 100 lbs. This guide covers pivot vs. wall-mount vs. continuous hinges, the exact turn direction for sagging doors, and when a worn hinge needs replacing.
This post contains Amazon affiliate links. As an Amazon Associate we earn from qualifying purchases at no extra cost to you. See our affiliate disclosure for details.
Tools And Materials Needed
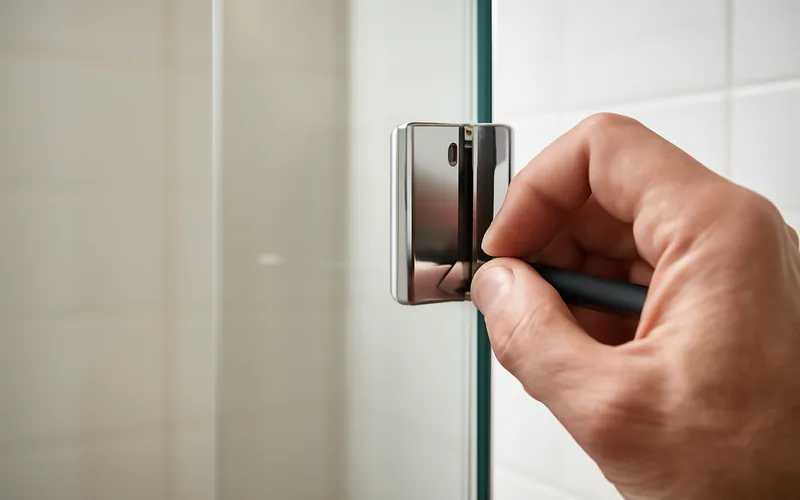
Adjusting a shower door hinge takes a handful of basic tools: a Phillips or hex screwdriver to loosen and tighten the hinge screws, a small wrench for hinges that use nuts instead of screws, a tape measure and a torpedo level to check the door gap and alignment, and work gloves to protect your hands. Keep a cloth nearby to wipe away dust, and have a few rust-resistant replacement screws on hand in case the originals are corroded from shower moisture.
Preparing The Work Area
Clear the shower area first: move shampoo bottles, soap, and towels out of the way, and make sure the floor is dry so you are not slipping while you work. Wear gloves and safety goggles, use a sturdy step stool if the top hinge is out of easy reach, and check for any loose parts before you start turning screws.
Best Shower Door Hinge Lubricant Pick
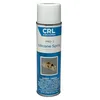
CRL PR03 Silicone Spray – $18.99
Made by C.R. Laurence specifically for glass shower door hardware — the silicone formula in this guide's Maintenance Tips section won't attack the rubber door seal the way petroleum-based sprays can.
- Best for: quieting squeaky pivot and continuous hinges without harming rubber seals
- Why we picked it: purpose-built for glass shower door hardware, not a repurposed garage-door spray
- Main drawback: smaller can than general-purpose lubricants, so it costs more per ounce
Compare more hinge-adjustment essentials
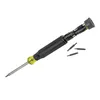 Option 1 Klein Tools 32327 Precision Screwdriver Set, 27-in-1 Multi-B… – $20.98
|
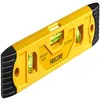 Option 2 Torpedo Level Magnetic, Firecore 9 Inch Shockproof Small Lev… – $5.99
|
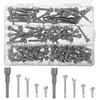 Option 3 Ciieeo 100pcs Hex Head Screw Assortment Kit with 410 Stainle… – $28.69
|
As an Amazon Associate we earn from qualifying purchases.
Identifying The Hinge Type
Pivot hinges mount at the top and bottom of the door and let it rotate smoothly; they support heavy glass well, and adjusting one is usually a matter of loosening its screws, shifting the door into position, then tightening again and checking that it swings freely.
Continuous (piano) hinges run the full length of the door instead of two separate points, which spreads the load for wider doors. Loosen the screws along the length, align the door evenly, then retighten and confirm it opens and closes smoothly with no binding along the hinge.
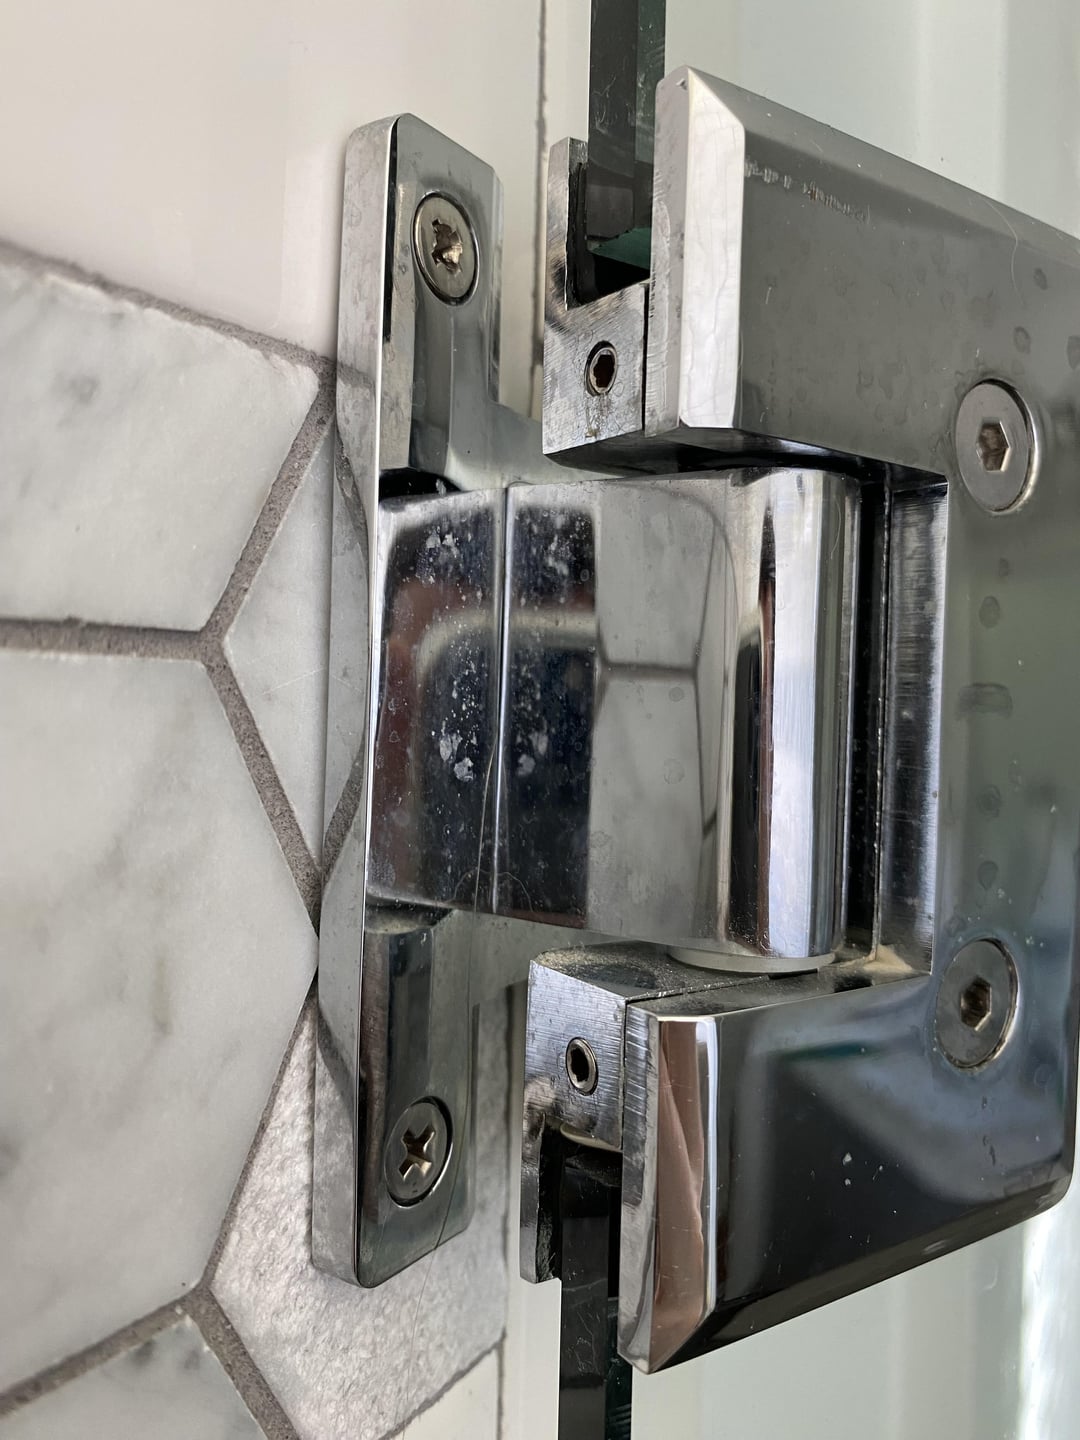
A third type, the wall-mount (glass clamp) hinge, clamps the panel directly to a tiled wall instead of a frame. Its adjustment screws move the whole panel side to side and in and out from the wall, which is what gives frameless doors their multi-directional adjustability.
| Hinge Type | How It Adjusts | Best For |
|---|---|---|
| Pivot hinge | Top screw = lateral (side-to-side); bottom screw = vertical (up-down), quarter-turns only | Framed and semi-frameless doors needing floor-clearance fixes |
| Wall-mount / glass clamp hinge | Multi-directional clamp screws shift the entire panel against the wall | Frameless doors clamped directly to a tiled wall |
| Continuous (piano) hinge | Loosen full-length screws, reposition the door, retighten evenly along the run | Wide or heavy doors needing support along the whole edge |
📊 A standard 30×72-inch shower door panel weighs about 37 lbs at 3/8″ glass thickness and can top 100 lbs at 1/2″ — federal law requires all of it to be tempered safety glazing. — Source: U.S. CPSC, eCFR Title 16 Part 1201
Adjusting The Hinge
Use a screwdriver to loosen the hinge screws. Turn them slowly. This makes adjusting easier. Do not remove the screws completely. Just make them loose enough to move the door.
Gently move the door. Align it with the shower frame. Make sure it is straight. Check the gap between the door and frame. The gap should be even all around. Adjust until the door sits right.
Once aligned, tighten the screws. Use the screwdriver carefully. Do not over-tighten. This can break the hinge. Tightening should hold the door in place. Check if the door swings smoothly.
Which Way Do You Turn the Screw — And Should You Support the Door First?
Before you start turning anything, add these steps: they cover the direction of the turn and the one safety step most guides skip.
- Support the door: wedge a folded towel or soft block under the bottom edge before loosening any screw — glass panels weigh 24 to over 100 lbs and can drop suddenly once the hinge is loose.
- Diagnose the direction: hold a level against the door's closed edge; a gap that's wider at the bottom means the door needs raising, wider at the top means it needs lowering.
- Turn clockwise to raise: find the vertical adjustment screw, usually on the bottom pivot, and turn it clockwise in quarter-turns to lift a sagging door.
- Turn counterclockwise to lower: reverse the same screw counterclockwise in quarter-turns if the door needs to sit lower or catches at the top.
- Match both hinges: repeat the same number of quarter-turns on the opposite hinge so the door stays level instead of raised on only one side.
- Remove the support and test: pull away the towel or block and swing the door fully open and closed before final tightening.
“Our Prism Plus hinges allow up to 1/4 inch of adjustment per side to correct an out-of-plumb wall — beyond that range, the wall needs shimming before the hinge, not just more turning.”
— DreamLine, Prism Plus installation manual (manufacturer spec)
Testing The Door Alignment
Checking door movement: open the shower door gently and see whether it swings smoothly. If it catches, drags, or makes a scraping sound, the hinge still needs adjustment.
Ensuring seal integrity: look at the rubber seal around the door edge. A visible gap means the seal is not making contact and water can leak past it. If the door still doesn’t close flush against the seal, or the handle itself feels loose, see our guide on how to tighten a shower door handle before adjusting the hinge further.
Troubleshooting Common Issues
Adjusting a shower door hinge resolves most alignment issues: loosen the screws on the hinge, reposition the door, and tighten the screws securely.
Door Misalignment
Shower doors often get misaligned because loose screws let the hinge shift over time. Tighten all the screws on the hinge with a screwdriver until they are snug, but don’t overtighten — that can damage the hinge. Check the door’s position after tightening; if it still doesn’t close smoothly, move the hinge slightly and test again, repeating until it’s aligned.
Hinge Squeaking
Squeaking usually means the hinge needs lubrication. Apply a few drops of a silicone-based lubricant directly to the hinge, then open and close the door several times to spread it evenly and wipe off any excess with a cloth. If the squeak doesn’t stop, the hinge itself may be worn and due for replacement.
Maintenance Tips
Wipe hinges with a soft cloth to keep water spots from building up, and use a mix of vinegar and water to remove mineral stains — dry the hardware afterward, since trapped moisture is what causes rust. Cleaning weekly keeps hinges looking good.
Lubricate hinges roughly twice a year with a small amount of silicone spray, moving the door to work it in. Avoid over-oiling, since excess oil just attracts more dust and grime.
Frequently Asked Questions
Can You Adjust Glass Shower Door Hinges?
Yes, you can adjust glass shower door hinges. Use a screwdriver to tighten or loosen the screws for alignment, and make sure the door swings smoothly and seals properly afterward. Regular maintenance helps prevent issues, and you should always check the manufacturer’s instructions for model-specific adjustments.
Why Is My Glass Shower Door Not Closing Properly?
Your glass shower door may not close due to misalignment or worn-out hinges. Check for debris in the tracks, tighten any loose screws, and clean the hinges. If the problem persists after adjusting, consider professional help, since a worn hinge may need replacing rather than adjusting.
How Do You Adjust Frameless Door Hinges?
To adjust frameless door hinges, use a screwdriver to tighten or loosen the clamp screws. Adjust horizontally, vertically, and depth-wise in small increments until the door is aligned, then confirm it swings smoothly and closes securely before final tightening.
How Do You Adjust A Pivot Glass Shower Door?
To adjust a pivot glass shower door, loosen the hinge screws slightly, gently move the door into position, then tighten the screws once it’s aligned. Check for gaps around the edge and adjust the bottom seal if needed, then test the door to confirm it operates smoothly.
Which Way Do You Turn A Shower Door Hinge To Fix A Sagging Door?
Turn the hinge’s vertical adjustment screw clockwise to raise a sagging door and counterclockwise to lower it, using quarter-turns only. Adjust both hinges the same amount so the door stays level. If the screw turns freely without changing the door’s height, the hinge itself is likely worn and needs replacing rather than adjusting.
Why Is My Shower Door Dragging Or Scraping The Threshold?
A door that drags on the threshold is usually sagging on its lower hinge. Locate the vertical adjustment screw on the bottom pivot and turn it clockwise in quarter-turns until the door clears the threshold evenly. If it still drags after the full adjustment range, the hinge pin or clamp is likely worn and needs replacing.
Conclusion
Most sagging or squeaking shower doors come down to one thing: loose or dry hinge screws. Support the door, turn the vertical screw clockwise to raise it or counterclockwise to lower it in quarter-turn steps, match both hinges, and test before you tighten for good. If the door still won’t hold position after a full adjustment range, the hinge itself — not your technique — is what needs replacing.
Sponsored / affiliate links. As an Amazon Associate I earn from qualifying purchases. I may earn additional commission from eligible campaigns.