How To Install Laminate Flooring Door Threshold: Proven Guide
Installing a laminate flooring door threshold is simple when you use the right transition piece and follow clear steps. This guide breaks down measuring, cutting, and securing the threshold perfectly, ensuring a professional, safe, and smooth transition between your new laminate floor and the adjacent room or flooring type.
Hello there! I’m Md Meraj, and I know that finishing a new laminate floor can feel fantastic—until you hit that doorway. That gap where the new floor meets the old one (like carpet or tile) can look messy, let moisture in, and become a tripping hazard. Dealing with the door threshold, or transition strip, is often the part that trips up DIYers the most. You want it snug, level, and professional-looking. Don’t worry! We will walk through every step together, ensuring you get a beautiful, seamless finish that lasts. Get ready to conquer that doorway with confidence.
Why Door Thresholds Are Essential for Laminate Flooring
Door thresholds are more than just trim; they are crucial functional pieces for any floating floor system, including laminate. They bridge the gap between two different flooring materials or levels.
The Purpose of a Transition Strip
Laminate flooring is installed as a “floating floor,” meaning it isn’t glued or nailed to the subfloor. It needs room to expand and contract with changes in temperature and humidity. The transition strip serves several vital roles:
- Expansion Gap Coverage: It neatly hides the necessary expansion gap (usually about 1/4 inch) left around the edges of the laminate where it meets a door frame or another floor type.
- Aesthetic Finish: It provides a clean, professional look, blending the two surfaces together smoothly.
- Safety: It eliminates trip hazards caused by uneven floor heights.
- Protection: It prevents water or debris from getting underneath the laminate panels.

Understanding Different Threshold Types
Before we grab our tools, you must choose the right transition piece for your situation. Most standard laminate installations require one of three main types:
| Threshold Type | Best Used When… | Installation Complexity |
|---|---|---|
| Reducer | The laminate floor is lower than the adjacent floor (e.g., meeting thin tile or vinyl). | Moderate |
| End Cap/Edge Trim | The laminate meets a wall, fireplace hearth, or runs into a sliding door track where no other flooring exists. | Easy |
| Equal/Cover Plate (T-Molding) | The laminate meets another floor of the exact same height (e.g., matching existing laminate or hardwood). | Easy to Moderate |
If you are unsure about the height difference, consult the manufacturer’s installation guide for your specific laminate planks. For most standard doorways connecting two rooms with the same flooring height, the Equal/Cover Plate (T-Molding) is the one you’ll likely use.
Essential Tools and Materials Checklist
Gathering your supplies upfront makes the job faster and much less frustrating. Think of this as prepping your workstation! Here is what you’ll need to install that door threshold successfully.
Tools You Will Need
- Tape Measure and Pencil
- Miter Saw (highly recommended for clean angle cuts) or Hand Saw with a Miter Box
- Jigsaw (useful if you need to notch out material for door jambs)
- Utility Knife (for trimming underlayment or vapor barrier)
- Drill/Driver
- Safety Glasses and Gloves (Safety first, always!)
- Level or Straight Edge
- Caulk Gun (if using adhesive)
Materials Required
- The Correct Threshold Profile (Reducer, T-Molding, or End Cap)
- Threshold Track/Base (This often comes attached or separate, depending on the kit)
- Appropriate Fasteners (Small screws, nails, or specialized anchor plugs provided with the kit)
- Construction Adhesive or Strong Liquid Nails (Optional, for added stability)
- Wood Filler or Touch-up Paint (to cover screw heads)
Pro Tip on Cutting: While a hand saw works, a power miter saw makes achieving perfectly straight, square, or angled cuts much easier. If you are cutting a standard T-Molding, you will generally be cutting it perfectly square (90 degrees) at the transition point.
Step-by-Step Guide: Installing the Laminate Door Threshold
We are going to tackle this installation in clear stages. This method focuses on installing a standard T-Molding (Equal Transition) piece, as it is the most common scenario.
Step 1: Preparation – Clearing the Area
Before any cutting happens, you need a clean slate.
- Remove the Old Threshold: If there was an old transition strip, carefully pry it up. You might need a pry bar and some patience here.
- Check Subfloor Condition: Ensure the subfloor underneath the gap is clean, dry, and level. If there are loose nails or debris, remove them.
- Remove Obstructions: Use a utility knife or chisel to trim away any excess underlayment or vapor barrier sticking up into the transition area. The subfloor needs to be flat where the track will sit.
Step 2: Measuring and Marking the Cut Length
Accurate measurement is the secret to a professional finish. Do not guess!
- Measure the Gap: Measure the exact distance between the installed laminate flooring on one side and the adjacent flooring (carpet, tile, etc.) on the other side.
- Measure the Track Length: If your transition piece has a separate mounting track (the metal or plastic base that screws down first), measure the track to fit snugly between the door jambs or framing.
- Transfer Measurements: Transfer these precise measurements onto the threshold material and its track. Mark your cutting lines clearly with a pencil.
Step 3: Cutting the Track and Threshold Piece
This is where your miter saw earns its keep. Remember to wear your safety glasses!
- Cutting the Track: Place the metal or plastic mounting track onto your miter saw (or into the miter box if using a handsaw). Cut the track exactly to the measured length. Most standard transitions are cut straight across (90 degrees).
- Securing the Track: Position the cut track in the doorway, centered over the gap. Mark the locations for drilling pilot holes, usually every 8 to 12 inches. Drill small pilot holes, then screw the track down securely to the subfloor. If you hit wood studs, use wood screws. If you are going into concrete, you may need masonry anchors, though most indoor transitions only require screwing into the wood subfloor.
- Cutting the Top Threshold Piece: Now, cut the visible laminate-matching top piece. This piece usually needs to be slightly shorter than the track so that the end caps of the trim can slide underneath the door jambs neatly, or it might need to match the track length exactly, depending on your specific product design. Always check the manufacturer’s instructions here.
For the neatest fit against the door jambs, some installers prefer to notch the top piece slightly using a jigsaw to fit around the jamb trim rather than cutting the trim perfectly square. This technique requires more precision.
Step 4: Dealing with Door Jambs (The Tricky Part)
If you want the threshold to look truly professional, you must undercut the door jambs (the wood casing around the door opening) so the laminate and threshold can slide neatly underneath them. This makes the finished look seamless.
- Mark the Cut Line: Hold the installed laminate piece next to the door jamb. Mark where the bottom of the laminate ends. This is your target cut line on the jamb.
- Undercutting: Use an oscillating multi-tool (the best tool for this job) or an undercut saw to carefully cut horizontally along the jamb base, removing just enough material to slide the laminate underneath. You only need to remove material equal to the thickness of your laminate plus the underlayment.
- Test Fit: Slide the laminate piece into the opening under the jamb. It should sit flat without buckling. If you are having trouble, you may need to consult resources on using an undercut saw, as this is a skill that takes practice. For a beginner, sometimes simply butting the laminate right up against the jamb is an acceptable compromise if you plan to use a very thin trim piece later, though undercutting is preferred.
For more detailed guidance on cutting wood trim without damaging walls, you can reference established best practices from organizations like the Occupational Safety and Health Administration (OSHA) regarding safe cutting practices, though they focus on larger construction, the principles of accurate measuring apply universally.
Step 5: Final Assembly and Securing the Threshold
It’s time to lock everything into place.
- Insert the Laminate: Ensure the final piece of laminate flooring is properly seated against the track’s base, leaving the required expansion gap.
- Snap/Slide the Top Piece: Depending on your product, the top molding piece will either snap down onto the track or slide over it. Apply gentle, even pressure until it locks firmly into place. If it’s a slide-on type, you might need to lightly tap the ends with a rubber mallet.
- Fastening (If Required): Some heavy-duty transitions require you to drive small, often decorative, screws through pre-drilled holes in the top piece and into the track below. If screws are used, countersink them slightly.
- Finishing Touches: Use wood putty or color-matched caulk to fill any visible screw heads or small gaps where the threshold meets the door jambs. Wipe away any excess immediately.
Special Considerations for Different Threshold Scenarios
While the T-Molding is common, other gaps require slightly different approaches.
Installing a Reducer (Stepping Down)
If your laminate is lower than the existing floor, the reducer slopes down.
The process is similar: secure the track. However, the profile of the top piece means it covers the gap by sloping down. You often need to use adhesive (construction glue) along the length of the track to secure the sloping piece firmly to the subfloor, preventing rocking.
Installing an End Cap (Single Edge)
When laminate runs right up to a wall or patio door, you use an end cap.
This piece usually has a flange or base that is screwed down directly to the subfloor, hiding the expansion gap along the wall. Ensure the laminate floats freely and isn’t pinched against the wall—the end cap simply covers the edge where the laminate stops.
Transitioning Over Underfloor Heating Systems
If you have radiant heat installed beneath your floor, you must use transition pieces specifically rated for use with those systems. Heat expansion is more aggressive, and using the wrong trim can lead to warping or failure. Always check the compatibility documentation for both your laminate and your threshold with your heating system manufacturer.
Troubleshooting Common Threshold Installation Problems
Even the best plans hit small snags. Here are solutions to frequent beginner issues:
Problem 1: The Threshold Keeps Popping Up or Rocking
This almost always means the mounting track is not securely fastened or the subfloor is uneven.
- Solution: Remove the top piece. Check the track. If it’s loose, use longer or more numerous screws to secure it firmly to the subfloor. If the subfloor is uneven (common with older homes), you may need to slightly shim the track in low spots or sand down high spots before reattaching it.
Problem 2: The Laminate is Buckled Near the Threshold
This is a classic sign that the required expansion gap was not left, or the threshold is pushing against the flooring.
- Solution: Remove the threshold top piece. If the laminate is severely buckled, you may need to carefully remove the last row of laminate, trim about 1/8 inch off the edge to create the gap, and then re-install the flooring and threshold. Never let the floating floor touch any vertical surface.
Problem 3: The Cut Ends Look Rough and Unprofessional
If you used a handsaw, the edges might be jagged.
- Solution: If the rough edge is going to be covered by the door jamb or a wall, you can leave it, but cover it with caulk or wood filler. If it’s exposed, you must re-cut it using a sharp blade on a miter saw or use a file to smooth the rough edges down before snapping the piece into place.
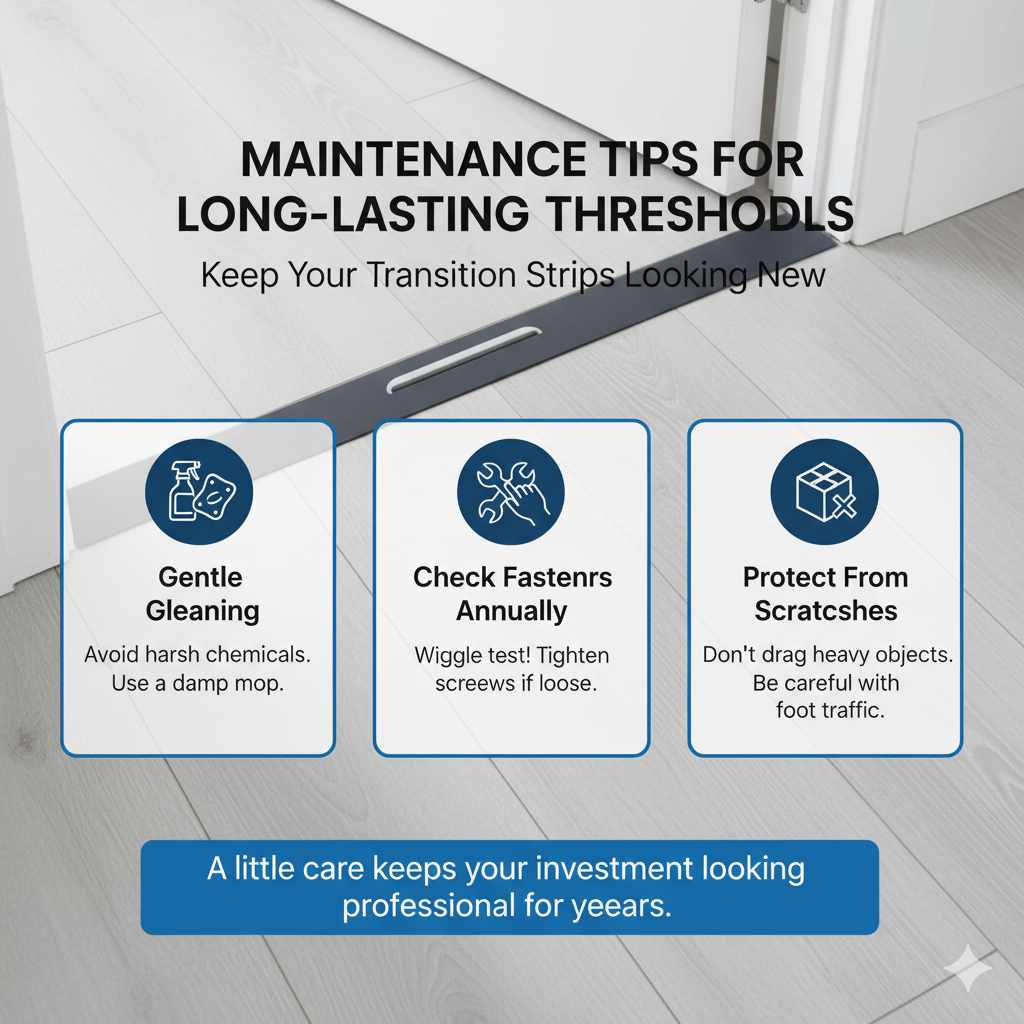
Maintenance Tips for Long-Lasting Thresholds
Once your threshold is perfectly installed, a little care goes a long way toward keeping that professional look.
- Gentle Cleaning: Avoid harsh chemical cleaners near transition strips, especially if they are plastic or have thin veneer. Use a slightly damp mop or cloth.
- Check Fasteners Annually: Give the transition a slight wiggle test once a year. If you feel movement, tighten the screws holding the base track down.
- Protect from Scratches: Keep heavy objects from being dragged across the threshold, as the thin material covering the track is prone to scratching or denting, especially where foot traffic is heaviest.
Frequently Asked Questions (FAQ) About Laminate Threshold Installation
Q1: Do I need to use glue on the threshold track?
A: For standard T-Molding that snaps onto a track, glue is usually unnecessary if the track is screwed down well. However, if you are installing a sloping reducer or an end cap where the track cannot be fully screwed down, a bead of construction adhesive under the track helps prevent movement.
Q2: How much space should I leave between the laminate and the door jamb?
A: Generally, you need an expansion gap of about 1/4 inch (6mm) for standard laminate flooring. This gap should be covered by the threshold strip.
Q3: Can I use a regular wood trim piece instead of a specialized threshold kit?
A: You can, but it is not recommended. Specialized kits include a base track that allows the top piece to float and move with the laminate floor. Standard trim pieces are often glued or nailed down directly, which restricts the laminate’s movement and often leads to buckling.
Q4: What tool is best for cutting the door jamb to fit the laminate underneath?
A: The oscillating multi-tool is the best and safest tool for undercutting door jambs. It allows you to cut horizontally right at the floor level without swinging a large blade, minimizing the risk of damaging the wall.
Q5: My new threshold doesn’t match my laminate color exactly. Is this okay?
A: It is always best to use the threshold material specifically designed for your laminate line, as they are color-matched. If you must use a generic piece, choose one that is very close in color, or select a metal threshold that provides a distinct, intentional break between the two rooms.
Q6: How do I know if I need a reducer or a T-Molding?
A: If the floor height on both sides of the door is exactly the same, use a T-Molding (Equal). If the adjacent floor is higher than your new laminate, you need a Reducer to create a gentle slope down to the laminate.
Conclusion: Finishing Strong with Confidence
Finishing your laminate installation with a perfectly installed door threshold moves your project from “almost done” to completely professional. We’ve covered everything from choosing the right transition piece for your specific gap to securing the track and making those final, satisfying clicks as the top cover snaps into place. Remember, the keys to success are accurate measuring, securing the track firmly to the subfloor, and always respecting that necessary expansion gap. You have the tools and the know-how now. Take your time with the measurements, cut safely, and enjoy the seamless, beautiful transition you’ve created in your dream!