How To Remove A Paint Roller From The Handle Easily
You’re deep into a painting project. The walls look great. But now it’s time to clean up, or maybe swap out a roller for a different finish.
Then you hit it – the paint roller is stuck fast to its handle. It feels like it’s glued on. You tug, you twist, you might even try a little prying.
Nothing seems to work. It’s a small thing, but it can really slow you down and cause a lot of frustration. We’ve all been there, right?
Staring at a roller that just won’t budge.
Removing a paint roller from its handle involves gentle persuasion, not brute force. Simple techniques using water, a bit of heat, or common household tools can free a stuck roller without damage, making cleanup or roller changes quick and easy.
Understanding Why Paint Rollers Get Stuck
Paint rollers get stuck on their handles for a few main reasons. Often, it’s because paint has dried and hardened. This dried paint acts like glue.
It seeps into the small spaces between the roller core and the handle. It can also happen if the roller core itself has swelled a bit. This happens when it absorbs water or solvents from the paint.
The handle might be metal or plastic. The roller core is usually a cardboard tube or a denser plastic. When paint dries in the tiny gaps, it creates a strong bond.
This bond can be surprisingly hard to break.
Sometimes, the handle might have a slight bend. Or the roller core might not be perfectly straight. These small issues can make it easier for paint to get trapped.
They create little spots where paint can grip tightly. The longer a roller sits with paint on it, the harder this bond becomes. That’s why cleaning rollers soon after use is a good idea.
But even with good habits, a roller can still get stuck. It’s a common painting nuisance.
The type of paint also plays a role. Latex paints, which are water-based, can swell cardboard cores. Oil-based paints, with their stronger solvents, can create a very rigid bond as they dry.
The finish of the roller core matters too. A rougher surface might hold paint more effectively. This makes it more likely to stick.
Understanding these little details helps us figure out the best way to get it off.
My Own Roller Nightmare
I remember one time, I was finishing up a bedroom. It was late. I was tired and just wanted to be done.
I had used a thick, textured paint. I thought I had cleaned the roller pretty well. I rinsed it under the tap.
I squeezed out the excess water. Then I set it aside to dry. The next morning, I went to swap it for a clean one to do some touch-ups.
To my dismay, the roller was completely fused to the handle. It looked like they were one piece. I tried twisting it.
I tried pulling. I even tried a bit of wiggling. Nothing.
Panic started to set in. This was a good handle. And I had a new roller sleeve ready.
I felt so annoyed with myself for not being more thorough. Or for not trying to take it off right away. I ended up having to use a different, less ideal handle.
It made the touch-ups harder. That whole experience taught me a valuable lesson. Never underestimate how much dried paint can stick.
And always have a backup plan.
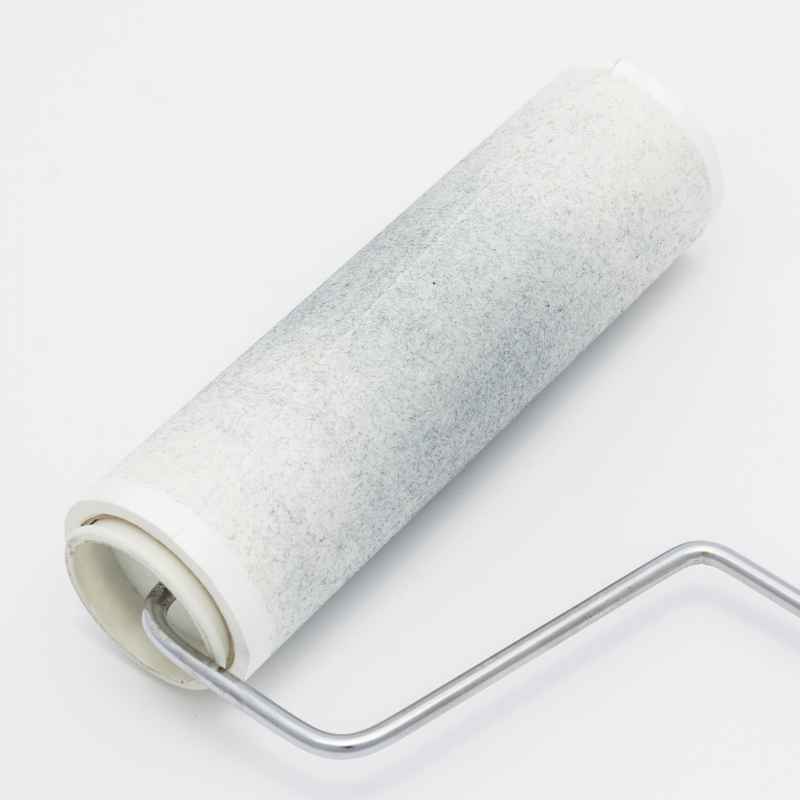
Common Roller Handle Types
Metal Handles: These are strong and durable. They often have a threaded end for extension poles. They are less likely to warp.
However, dried paint can stick firmly to the metal rod.
Plastic Handles: These are lighter and often have ergonomic grips. Some are solid plastic, others are hollow. Paint can adhere to the plastic rod or grip.
Wooden Handles: Less common now, but still found on older tools. Wood can absorb moisture, causing swelling. Paint can bond to the wood surface.
Gentle Methods for Roller Removal
Let’s talk about the easiest ways to get that roller off. You want to avoid breaking your handle or tearing the roller core. Patience is key here.
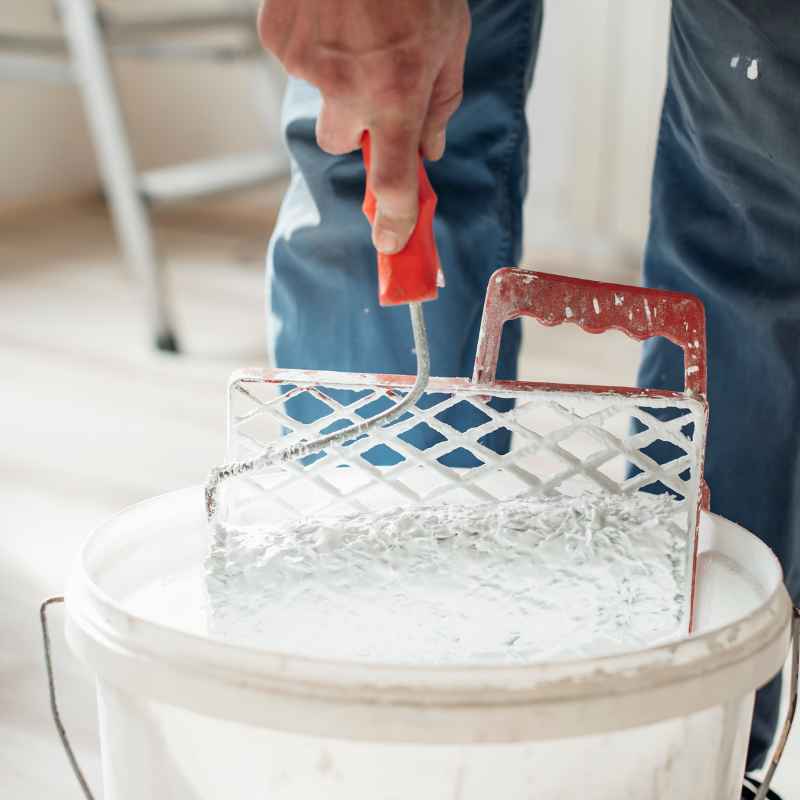
Warm Water Soak
This is often the first and best step. Fill a bucket or sink with warm water. Not hot, just warm.
Submerge the end of the roller handle that has the roller on it. Let it soak for about 15 to 30 minutes. The warm water helps to soften any dried latex paint.
It can also loosen the bond of oil-based paint a little. After soaking, try to twist the roller off. Use a gentle, steady motion.
If it still feels stuck, soak it a bit longer.
This method is great because it’s safe for most roller types. It doesn’t involve harsh chemicals. It’s especially effective for latex paints.
The water can seep into the core and around the handle. This breaks down the paint’s grip. Make sure the water level is high enough to cover the stuck part.
But don’t let it go up the handle too far if you want to reuse the handle.
Using a Solvent (With Caution)
For oil-based paints, water alone might not be enough. You might need a solvent. Paint thinner or mineral spirits are common choices.
You can also use rubbing alcohol. Always work in a well-ventilated area. Wear gloves.
Put a small amount of the solvent on a clean cloth. Dab it around the edges where the roller meets the handle. Let it sit for a few minutes.
The solvent will work to break down the oil-based paint.
After applying the solvent, try twisting the roller off again. Be gentle. If it starts to move, keep working it.
If it’s still tight, you can try applying a little more solvent. Avoid soaking the entire roller in solvent. This can damage the roller material or the handle.
The goal is to dissolve the dried paint bond, not to strip the whole roller. Remember, solvents can be harsh. They can irritate skin and fumes can be strong.
Always follow the product’s safety instructions.
Quick Solvent Guide
Latex Paint: Warm water is usually best. For stubborn spots, a little rubbing alcohol might help.
Oil-Based Paint: Paint thinner, mineral spirits, or turpentine are effective. Always use in a well-ventilated space.
Epoxy or Specialty Coatings: Check the paint can for recommended cleanup solvents. These can be trickier.
Gentle Heat Application
Sometimes, a little bit of heat can help. This works by slightly expanding the roller core. This expansion can break the dried paint seal.
You can use a hairdryer on a medium heat setting. Hold it a few inches away from the roller and handle connection. Move it around gently for a minute or two.
Don’t overheat it. You don’t want to melt plastic parts.
After applying a little heat, try to twist the roller off. The slight expansion might have loosened things up. This method is a good alternative if you don’t want to use solvents.
It’s also useful for stubborn latex paint. Be careful not to get the handle too hot, especially if it’s plastic. You don’t want to warp it.
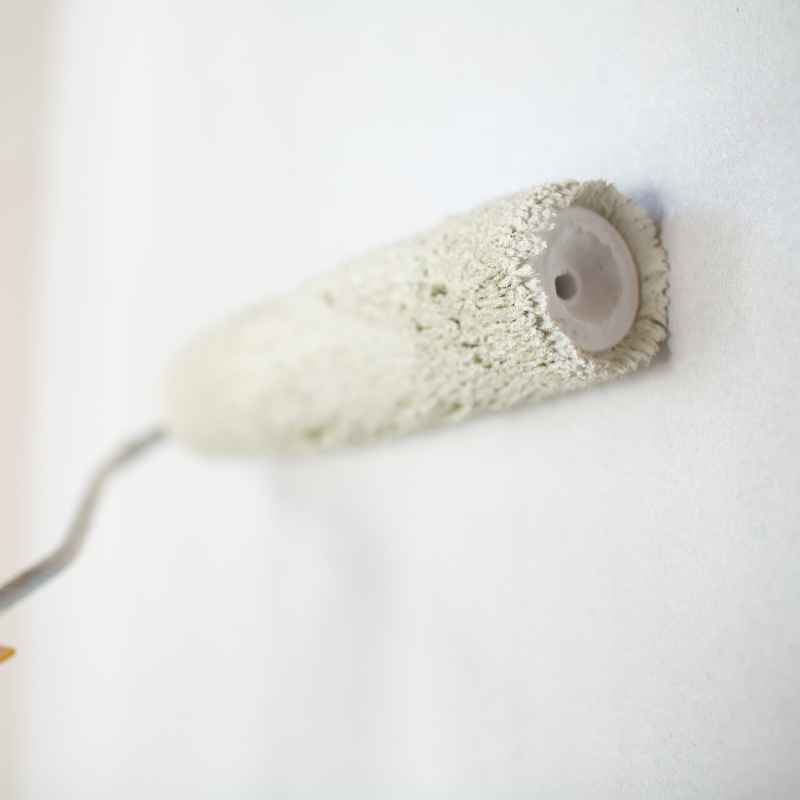
Using a Soft Brush or Scraper
Once the paint is softened by water or solvent, a soft brush can help. Use an old toothbrush or a small cleaning brush. Gently scrub around the edge where the roller meets the handle.
This can help remove softened paint. You can also use a plastic scraper or putty knife. Be very careful not to gouge the handle or the roller core.
The goal is to lift away the loosened paint.
This step is often done after a soak or solvent application. It’s about removing the material that’s causing the sticking. You’re manually helping to clear the path for the roller to slide off.
Don’t force it if the paint isn’t giving. You might need to soak or apply solvent again.
Essential Tools Checklist
- Bucket or sink for soaking
- Warm water
- Clean cloths
- Gloves
- Hairdryer (optional)
- Small brush (like a toothbrush)
- Plastic scraper or putty knife (use gently)
- Paint thinner or mineral spirits (for oil-based paint, if needed)
What NOT to Do
There are definitely some things you should avoid. These can damage your tools or even cause injury.
Don’t Use Excessive Force
This is the biggest mistake people make. Yanking and pulling hard can bend or break the handle. It can also tear the roller core.
This makes both unusable. Always start with gentle methods. If something isn’t moving, don’t just pull harder.
Reassess and try a different approach.
Avoid Sharp Metal Tools
While a putty knife can be used gently, avoid sharp knives or utility blades. These can easily cut into the roller core. They can also scratch or damage metal or plastic handles.
This damage can make it harder for paint to go on smoothly next time. It can also create sharp edges.
Don’t Immerse the Entire Handle
If you’re using water or solvent, only submerge the end with the roller. Letting the entire handle soak can damage wooden handles. It can also loosen parts on some metal handles.
Plus, you want the handle to be dry for a good grip when you twist it off.
Contrast Matrix: Stuck Roller Myths vs. Reality
| Myth | Reality |
| Brute force is the only way to get it off. | Gentle methods and patience usually work best. |
| If water doesn’t work, nothing will. | Solvents or mild heat can be effective for tougher paints. |
| A stuck roller is ruined and needs to be thrown away. | Most stuck rollers can be saved with the right technique. |
| Any tool can be used to pry it off. | Using the wrong tool can damage your roller handle. |
When It’s Time to Let Go
Sometimes, despite your best efforts, a roller core is just too far gone. This is especially true for cheaper, cardboard-cored rollers. If the core is badly swollen, torn, or disintegrating, it might be impossible to save.
If you’ve tried multiple methods and the roller won’t budge, or if it starts to fall apart during the process, it’s probably time to replace it.
Also, consider the cost. If you spend a lot of time and maybe a bit of money on solvents trying to save a very cheap roller, it might not be worth it. Your time and frustration have value too.
Look at the condition of the roller sleeve itself. If it’s worn out, or the fabric is peeling, it wasn’t going to give you a good paint finish anyway.
It’s okay to admit defeat sometimes. It’s better to buy a new roller sleeve and handle than to keep fighting with something that’s beyond repair. Think about the overall condition of your painting tools.
Are they generally well-maintained? If your tools are old and worn, a stuck roller might be a sign it’s time for an upgrade.
Signs Your Roller Core is Damaged
- Swelling: The cardboard core looks much larger than it should.
- Tearing: The cardboard is ripping or coming apart.
- Mold/Mildew: You see fuzzy growth, especially if it was left wet.
- Crushing: The core is flattened or misshapen.
- Disintegration: The cardboard is turning to mush.
Preventing Stuck Rollers in the Future
The best way to deal with stuck rollers is to avoid them in the first place. A few simple habits can make a big difference.
Clean Immediately After Use
This is the golden rule. As soon as you finish painting, clean your roller. Don’t let it sit there for hours.
For latex paints, this means rinsing under running water. Keep the water flowing until it runs clear. Then, squeeze out the excess water gently.
For oil-based paints, use the appropriate solvent. Again, clean until the paint is gone.
Clean rollers are easier to work with. They also last longer. And they are much less likely to get stuck.
A quick rinse might save you a lot of trouble later.
Proper Storage
After cleaning, let the roller dry completely. You can stand it on its end. Or hang it up.
If you need to store it wet for a short time, wrap it tightly in plastic wrap. Make sure there are no air gaps. This keeps it moist and prevents paint from hardening.
When you’re done with a project, let it dry fully before storing it away.
Some painters like to store their cleaned rollers in a plastic bag. This keeps them clean and prevents dust from settling on them. Make sure the roller is totally dry before sealing it in a bag.
Moisture trapped inside can lead to mold or mildew.
Inspect Your Rollers
Before you even start painting, take a quick look at your roller sleeve and core. Is the core damaged? Is the sleeve securely attached?
If you’re using a roller sleeve that’s already a bit worn, it might be more prone to issues. Using good quality rollers can also help. They are often made with sturdier materials.
This simple inspection can save you a headache. It’s like checking your tires before a long drive. A quick look can prevent bigger problems down the road.
Storage Tips for Longevity
Short-Term (Overnight): Wrap tightly in plastic wrap, ensuring no air can get in. This keeps the roller moist.
Long-Term (Cleaned): Allow the roller to dry completely. Store in a clean, dry place. A plastic bag can keep it dust-free.
Never store wet rollers in sealed containers without drying first. This can cause mold and damage the core.
When to Call It Quits on a Handle
Sometimes the problem isn’t the roller sleeve, but the handle itself. If the handle is bent, or the metal rod is warped, it can make removing rollers difficult. A bent rod can create an uneven pressure point.
This makes the roller stick. If the handle’s threading is damaged, it might also cause issues.
Check the handle’s condition. Is it clean and smooth? If it’s rusty or has burrs, those can snag the roller.
A good quality handle should be straight and smooth. If yours is damaged, it might be time to invest in a new one. A good handle is a painter’s best friend.
Frequently Asked Questions
How long should I soak a stuck paint roller in warm water?
Start with about 15 to 30 minutes. If it’s still tight, soak it for another 15 minutes. You might need to repeat the process if the paint is very dry.
Can I use my wife’s hairdryer on a stuck roller?
Yes, you can use a hairdryer, but use it on a medium heat setting. Hold it a few inches away from the roller and handle. Move it around for a minute or two.
Do not overheat it, especially if the handle is plastic.
What kind of solvent is safe for oil-based paint on a roller?
Common solvents like paint thinner, mineral spirits, or turpentine work well. Rubbing alcohol can also help. Always use these in a well-ventilated area and wear gloves.
My roller sleeve is torn. Can I still remove it?
If the sleeve is torn, it might be impossible to remove without further damage. If the tear is small and the paint is softened, you might get it off. But if the core is breaking apart, it’s likely time for a new roller.
How can I prevent paint from drying on my roller handle?
Clean your roller immediately after use. For latex paint, rinse with water until clear. For oil-based paint, use the correct solvent.
Proper cleaning is the best prevention.
Is it okay to use a metal scraper to get a roller off?
It’s best to avoid metal scrapers if possible. Use a plastic scraper or an old toothbrush instead. Metal tools can scratch or damage your handle and the roller core.
Conclusion
Dealing with a stuck paint roller can be a real nuisance. But with a little knowledge and patience, you can free it. Remember to start with gentle methods like warm water.
If that doesn’t work, carefully try solvents or mild heat. Always protect your hands and work in a safe area. And if all else fails, sometimes it’s better to just replace the roller.
By following these tips, you can make paint cleanup easier. You’ll save your tools and your sanity. Happy painting!