How to Vent a Range Hood Through the Roof Without Leaks
Vent a range hood through the roof with a short, straight duct run, a roof cap with proper flashing, and sealed duct joints. Treat leaks as three separate problems, not one. Poor sealing can stain ceilings, rot roof sheathing, and send greasy moisture into the attic. This guide covers duct sealing, roof flashing, and condensation control so you can keep the vent dry and leak-free. For sizing and installation limits, start with the hood manufacturer’s instructions and then check local range hood venting codes before you cut (for example, IRC/IMC mechanical-vent provisions, plus local amendments).
Why roof vent leaks happen
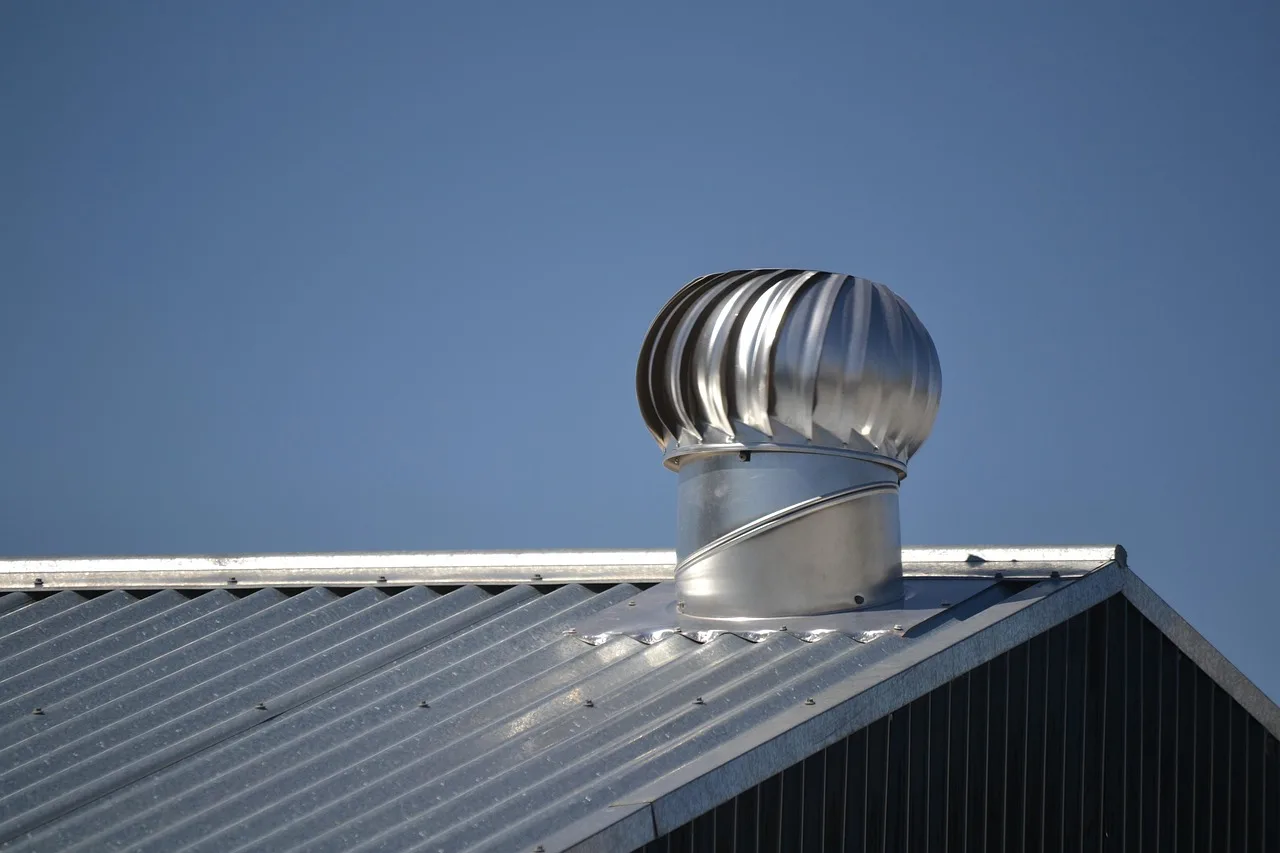


Most leaks come from three places: the duct joints, the roof penetration, or condensation inside the run. Fixing the wrong one wastes time. A greasy stain at a ceiling seam points to duct leakage; water marks around shingles point to flashing trouble; drips in cold weather often point to condensation in an uninsulated attic run. That split diagnosis is consistent with manufacturer venting guidance and code requirements that separate duct construction, roof penetration weatherproofing, and exhaust discharge details (IRC/IMC; major hood maker installation manuals).
Separate the three seal systems
Think of the job as duct sealing, roof sealing, and moisture control. Duct joints need mechanical fastening plus foil tape or mastic. Roof flashing needs a pre-fabricated flashing kit matched to the roof covering and pitch; do not assume every kitchen-exhaust roof cap uses an integrated storm collar, because some caps use a separate collar or a different weather-seal detail. Condensation control depends on insulation, slope, and run length, especially where the duct passes through unconditioned space. For the roof transition, compare a wall vent cap vs roof cap before choosing the termination so the cap style matches the route and roof assembly.
Check the hood manual first
Before you cut anything, verify the hood’s required duct diameter and maximum equivalent duct length. Many residential range hoods use 6-inch duct, while higher-output models commonly require 7- or 8-inch duct, but the manual always wins over general rules (Broan-NuTone, KitchenAid, Bosch, and other major hood manuals). If the manual calls for a different size, match that first. Local codes may also specify ventilation rates, duct diameters, termination clearances, and makeup-air requirements.
Plan for wind, rain, and condensation
A roof cap should be sized to the duct opening and should shed water and resist wind-driven rain. It should match the duct diameter and include a backdraft damper that moves freely and seals fully. In cold climates, any duct in an unconditioned attic should be insulated to reduce condensation. Roof venting also needs attention to slope and drainage. ENERGY STAR and DOE guidance on efficient, well-sealed duct systems also supports short, direct runs with sealed joints and insulation where the duct passes through unconditioned space.
What you’ll need
- Rigid metal duct sized to the hood manufacturer’s specs
- Roof cap matched to the duct diameter
- Pre-fabricated roof vent flashing kit for kitchen exhaust
- Roof cap or flashing assembly with the correct collar detail for the product
- Underlayment or ice-and-water membrane for the roof opening
- Foil tape or mastic for duct joints
- Roofing sealant or caulk for secondary weather sealing only
- Fasteners approved by the hood, cap, and roofing instructions
- Layout tools for finding the penetration from inside
- Cutting tools for the roof deck and shingles
- Driver, drill, and snips for fastening and trimming
- Flashlight and tape measure
How do you vent a range hood through the roof without leaks?
Use rigid metal ducting, keep the route short and straight, install a roof cap that matches the duct size, and flash the roof opening with a kit built for kitchen exhaust. Seal duct joints separately from the roof assembly. If the attic is cold, insulate the duct and keep the run pitched so moisture drains away from the hood. That approach aligns with common manufacturer limits on equivalent length and with IRC/IMC rules requiring smooth, approved exhaust paths and proper termination.
1. Verify the duct size and equivalent length
- Read the hood manual for duct diameter and maximum equivalent length.
- Keep the duct size matched to the hood, usually 6 inches or 7 to 8 inches for higher-output models.
- Count each bend against the equivalent length, and use the manufacturer’s published fitting tables rather than a universal airflow-loss rule.
2. Choose the straightest roof route
- Trace the path from the hood to the roof opening before cutting.
- Keep the run as straight as the framing allows.
- Use the fewest bends possible, and keep total equivalent length under the manual’s limit.
3. Cut and flash the roof opening
- Find the penetration from inside the attic or ceiling space first.
- Cut the roof opening only where the cap and flashing can sit flat on the roof pitch.
- Remove shingles only as needed for the flashing footprint.
- Tie the flashing into the underlayment or ice-and-water membrane before resetting the shingles.
4. Install the duct and cap
- Assemble rigid metal duct sections with mechanical fasteners.
- Seal each joint with foil tape or mastic approved for ductwork.
- Set the roof cap so it sheds water and the damper closes fully.
- Use roofing sealant only as a secondary weather seal around the flange edges.
5. Set the slope and insulation
- Keep the duct pitched toward the roof exit where the manual and local code allow it.
- Keep the pitch continuous so condensate can drain toward the roof exit.
- Insulate any run in unconditioned space in a cold climate.
What kind of roof cap should I use for a range hood?
Use a roof cap made for kitchen exhaust, not a generic plumbing cap. It should match the duct diameter, include a backdraft damper on many models, and be shaped to shed water in wind-driven rain. If the hood already has a damper, the roof cap still needs to close freely and seal fully. Major hood makers and accessory manufacturers typically call for a cap specifically rated for kitchen exhaust rather than a general-purpose vent.
Match the cap to the duct
A cap that is too small restricts airflow and can raise noise. A cap that is too large can complicate flashing and sealing. Match the cap to the hood’s duct size, and confirm whether the hood or the cap supplies the backdraft damper so the system does not bind. Use the manufacturer’s published equivalent-length tables to confirm the cap does not push the system beyond the allowable run.
Use the right flashing kit
Use a pre-fabricated roof vent flashing kit that matches the roof pitch and roofing material. The flashing should match the roof pitch and roofing material, and the cap should overlap the top flange in the direction water sheds so the upper edge stays under the shingle or roofing course above it. Fasteners should go only where the kit directs, typically high on the flange or in designated nail zones, not through the exposed water-shedding edges. Roof sealant is typically used at the edges and fastener points, not as the main water barrier. For an asphalt-shingle roof, a formed flange detail should lap correctly with the shingle courses so water is directed over, not behind, the metal.
Range hood leak checklist
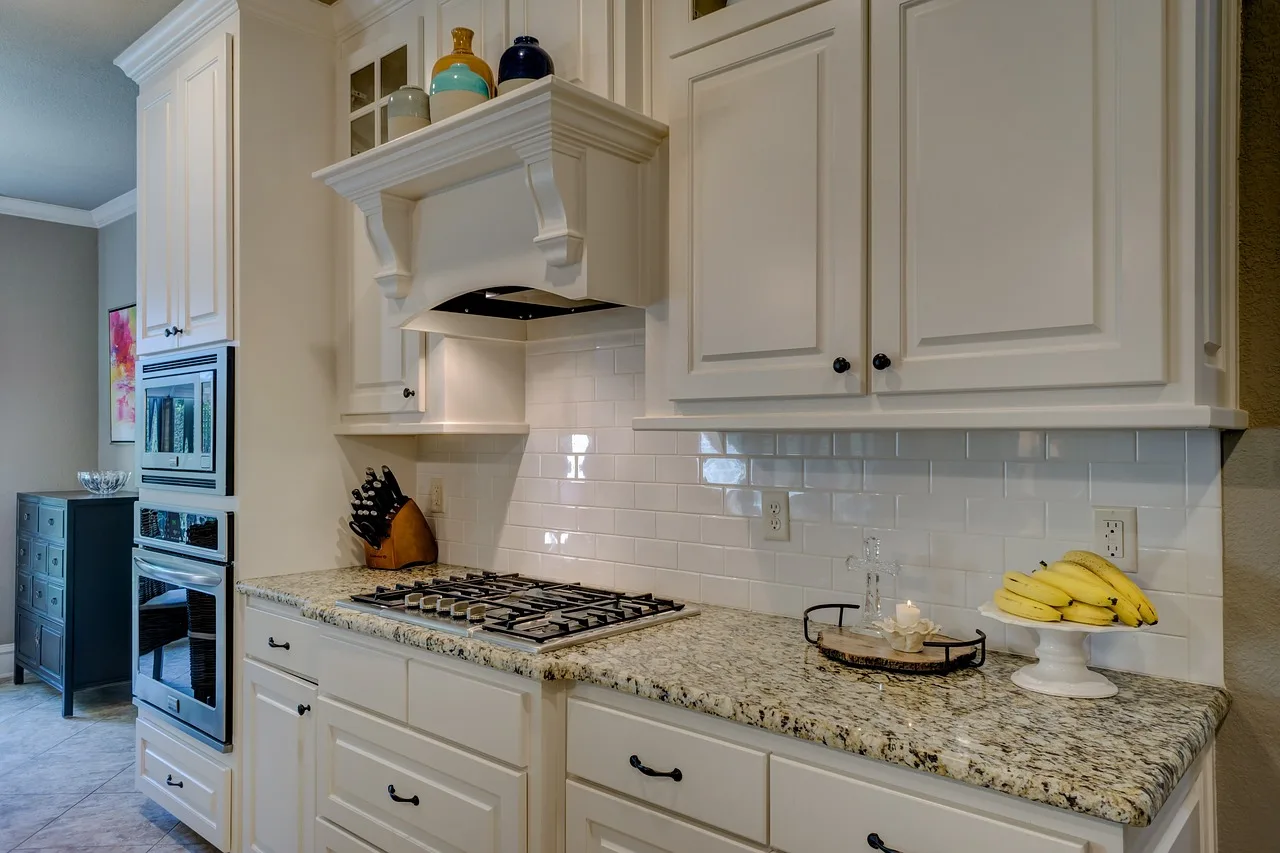
Use this checklist to sort the leak by where it appears. Water at the shingles points to the roof assembly. Grease or moisture inside the duct points to a duct, slope, or insulation problem. Fix the source, not just the stain.
| Failure point | Visible symptom | Exact fix |
|---|---|---|
| Duct joint leak | Greasy film on nearby framing | Reassemble with mechanical fasteners and seal the joint with foil tape or mastic |
| Duct joint leak | Odor or moisture at a seam in the attic | Retighten the joint, then retape or reseal after cleaning the metal surface |
| Roof flashing leak | Water stain on the ceiling below the roof penetration | Reset the flashing with proper underlayment or ice-and-water membrane |
| Roof flashing leak | Wet shingles or damp sheathing around the cap after rain | Replace the flashing kit with one that matches the roof pitch and roofing material |
| Damper backdraft | Cold air moving down the duct when the hood is off | Check that the damper moves freely and seals fully; replace a stuck damper |
| Damper backdraft | Cap flap rattles in wind | Verify the cap is level, the damper is not warped, and the fasteners are tight |
| Condensation in attic runs | Water drips from the duct in cold weather | Insulate the duct in the unconditioned space and confirm the slope is continuous |
| Improper slope | Standing water inside a horizontal section | Reset supports so the duct pitches downward about 1/4 inch per foot toward the roof exit |
| Missing storm collar | Water tracks under the flashing top edge | Install the integrated storm collar that comes with the flashing kit and seal it per instructions |
| Incompatible sealant | Sealant peels away or cracks at the roof edge | Remove the wrong product and use a roofing sealant approved for the roofing material |
| Loose fasteners | Flashing lifts at the corners in wind | Replace loose fasteners with the type and spacing called for by the flashing kit |
| Unsupported long run | Joint separation or sagging duct in the attic | Add supports so the duct stays straight and aligned with the roof cap |
Common mistakes that cause leaks
Most failures come from mixing up water sealing with duct sealing. Roofing caulk cannot fix a bad flashing installation, and foil tape cannot seal a roof penetration. A tight duct is not enough if the cap size, storm collar, or roof pitch is wrong. Manufacturer manuals, the IRC/IMC, and roofing instructions all treat these as separate systems.
Wrong duct size or cap size
Do not size the cap by guesswork. Match the duct diameter to the hood manual and then choose a roof cap that fits that duct. Say your hood needs a 6-inch duct but the roof cap is 4 inches; airflow drops, grease builds faster, and the damper may not close cleanly. The same risk appears if the equivalent length exceeds the hood’s listed maximum, even when the duct diameter is correct.
Loose fasteners and poor sealing
Fasteners should hold the duct together mechanically; sealant should finish the joint, not replace the connection. A common first-timer mistake is using caulk alone on a duct seam. That can split under heat and vibration, then leak moisture into the attic.
Uninsulated attic runs in cold climates
Uninsulated duct in a cold attic can sweat on the outside and drip at low spots. If the duct passes through an unconditioned attic and the kitchen is cold after a winter cook session, condensation can form inside the run unless the duct is insulated and pitched to drain. ENERGY STAR and DOE guidance on duct leakage control and insulation point to the same basic fix: seal the system, insulate where it runs through cold space, and keep the path short.
Wrong fastener or sealant choice
Use materials that match the hood, cap, and roofing instructions. Do not use screws that protrude into the grease path if the manufacturer or local code forbids them. Sealant belongs at the roof edge and around approved flashing details, not as a substitute for metal-to-metal duct joints.
How do I flash a range hood roof vent properly?
Use a flashing kit that matches the roof pitch and the roofing material, then tie it into underlayment or ice-and-water membrane before reinstalling shingles. The roof cap or flashing assembly may include a storm collar, but do not assume that detail is universal; follow the kit instructions for the exact product you bought. Roof sealant is secondary weatherproofing only; it does not replace the flashing or membrane layers. Roofing manufacturers and code guidance generally require the upper overlap to shed water and the fasteners to remain out of the primary drainage path.
Watch the roof pitch
Pitch affects how the flashing sits and how water sheds around it. A roof cap that sits flat on one pitch may leave gaps on another. Confirm the flashing is rated or shaped for that slope before you cut the opening. When the kit specifies a minimum or maximum pitch, that instruction overrides generic practice.
Keep the weather layers in order
Follow the specific assembly instructions for the kit so the roof deck opening is protected and the overlapping weather layers are installed in the correct order for that product. Some systems use integrated flashing and cap components rather than separate layers. Shingles should overlap the flashing in the same pattern they overlap other roof penetrations, with the upper course covering the upper flange and side laps channeling water away from the opening. If the cap or flashing fights the roof shape, stop and get the right kit.
When to call a roofer or HVAC pro
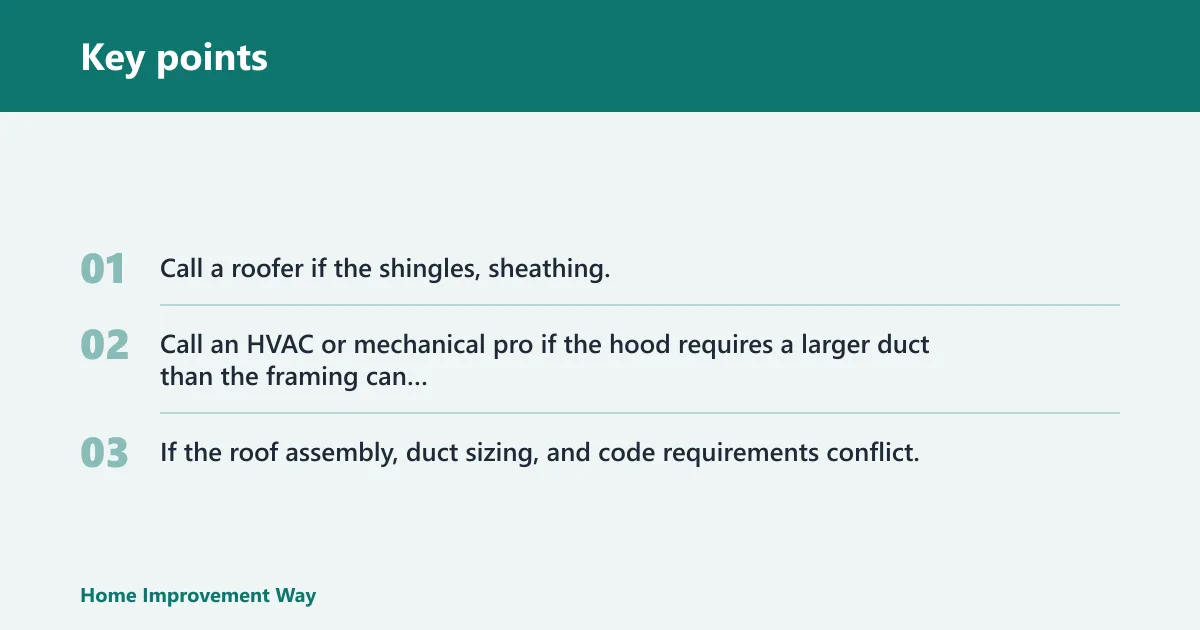
Call a roofer if the shingles, sheathing, or underlayment around the penetration are damaged, if the roof pitch makes the flashing unstable, or if the leak persists after the cap and flashing are reset. Call an HVAC or mechanical pro if the hood requires a larger duct than the framing can easily accommodate, if the run exceeds the manufacturer’s equivalent-length limit, if makeup air is required by code or the appliance manual, or if the duct must be rerouted through conditioned space. If the roof assembly, duct sizing, and code requirements conflict, get a pro before altering the structure.
Range hood duct sizing and common CFM bands
This quick reference is only a starting point. The hood manual, equivalent-length table, and local code control the final sizing. Major hood makers commonly publish installation charts that tie duct diameter to fan capacity, while the IRC/IMC and local amendments can affect termination and makeup-air requirements.
| Typical hood airflow | Common duct diameter | Notes |
|---|---|---|
| Up to about 300 CFM | 6 inches | Common on many residential hoods; verify the manual |
| About 300 to 500 CFM | 6 to 7 inches | Some models require 7 inches; use the manufacturer table |
| About 500 to 900 CFM | 7 to 8 inches | Short, low-resistance runs become more important |
| Above about 900 CFM | 8 inches or larger | Often needs a pro-reviewed layout and local code checks |
Frequently asked questions
Do I need to slope the duct when venting through the roof?
Yes, where the hood manual and framing allow it. Roof or attic ducts should pitch toward the roof exit so condensation drains away from the hood. Keep the slope continuous; do not leave flat spots that can trap water or grease. If the manufacturer requires a different slope, follow that instruction instead.
How do I seal a roof vent pipe so it won’t leak?
Use a pre-fabricated roof vent flashing kit for kitchen exhaust, then tie it into underlayment or ice-and-water membrane. Roofing sealant is only a secondary weather seal around the edges and fasteners. The collar or top seal should be installed exactly as the kit directs, and fasteners should stay in the designated nailing zones.
Should a range hood duct have a backdraft damper?
Yes. A backdraft damper helps block reverse airflow and outside air intrusion. It may be built into the hood or the roof cap. Check that it moves freely and seals fully; a stuck damper can let cold air enter and can rattle in wind.
Can a range hood vent go straight up through the roof?
Yes, if the framing, roof pitch, and hood instructions allow it. A straight-up route can be shorter and cleaner than a long horizontal run, but the duct still needs the correct size, proper slope, secure joints, and a roof cap with correct flashing.
What size duct do I need for a roof-vented range hood?
Start with the hood manufacturer’s listing. Many range hoods use a 6-inch duct, while higher-output models may require 7 or 8 inches. Do not reduce the duct size to fit the roof cap; size the cap to the hood and the duct to the manual.
Do I need insulated ducting in an attic for a roof vented hood?
In cold climates, yes, if the duct passes through an unconditioned attic space. Proper insulation helps prevent condensation. Pair insulation with a clean slope and a short run so moisture does not pool in low spots or drip at joints.
Why is my range hood leaking at the roof vent?
First separate the leak source. Water around the shingles points to flashing trouble, while greasy moisture in the attic points to a duct joint, slope, or insulation problem. Check the damper, fasteners, and collar detail before resealing anything, because the visible stain is often not the root cause.
What should I verify before I cut the roof?
Check the hood’s duct diameter, maximum equivalent length, the roof pitch, and the flashing kit requirements. Also confirm local code for ventilation and roof penetrations. If the home is tightly sealed, plan for makeup air if the hood manufacturer or local code requires it.
Sources
Consult the hood manufacturer’s installation manual for duct diameter, equivalent length, support, slope, and termination requirements; the International Residential Code and International Mechanical Code for exhaust duct and termination rules; ENERGY STAR and the U.S. Department of Energy for duct sealing and insulation guidance; and the roofing manufacturer’s instructions for flashing, overlaps, and fastener placement. These documents control the final installation details and may override general best practices.
Sponsored / affiliate links. As an Amazon Associate I earn from qualifying purchases. I may earn additional commission from eligible campaigns.