DIY Range Hood Vent Installation vs Hiring a Pro
DIY can make sense for a like-for-like vented hood swap when there is already an existing duct, the wiring is reachable, and no cabinet, wall, or roof changes are needed. If any of those pieces are missing, hire a pro. A poor vent install can leak moisture, leave grease in the duct, trip breakers, or fail inspection, which can turn a low-cost job into drywall repair or rework. This guide breaks down the hidden variables, cost tradeoffs, and safety checks that separate a true DIY job from one better left to a licensed installer.
Cost comparison: materials, labor, and risk
| Decision factor | DIY range hood vent installation | hiring a pro | Winner |
|---|---|---|---|
| Upfront cash outlay | Lower if you are replacing an existing vented hood and already have the duct path, fasteners, and access. | Higher because labor, permit handling, and any follow-up repairs are part of the job. | DIY range hood vent installation |
| Risk of redo work | Higher when the route, termination, or electrical connection is wrong on the first attempt. | Lower because a qualified installer is more likely to handle code, support, and termination details correctly. | hiring a pro |
| Project complexity | Best for under-cabinet or wall-mount replacement with existing access. | Better for island hoods, new openings, roof terminations, or cabinet modification. | hiring a pro |
| Code and permit exposure | Manageable only when no new circuit or new exterior penetration is needed. | Better when local mechanical code, clearance rules, or permit triggers come into play. | hiring a pro |
| Time and disruption | Can be quick for a straight replacement with the right fit and access. | Usually faster in calendar time once trades, inspection, and repairs are coordinated. | hiring a pro |
Upfront cash outlay
DIY usually cuts labor costs because you do the labor yourself. That only holds when the job stays simple. Material costs still add up: the hood, duct parts, foil tape, sheet metal screws, sealant, and possibly permit fees all land on your side of the ledger. A pro may look expensive at first, yet that price often absorbs code compliance and cleanup of any openings you create.
Risk of redo work
This is where many “cheap” installs turn expensive. A mis-sloped duct can trap grease or condensation, a weak termination can admit backdraft air, and a poor seal at the wall or roof can lead to water damage. If you have to reopen drywall, repair siding, or pay for a second visit, the pro quote may have been the lower-cost path.
Project complexity
The job changes fast when the hood is not a direct replacement. An existing hole that lines up with the new hood is generally simpler than a new exterior wall penetration, a roof vent, an island hood, or a cabinet cutout. A hood insert inside custom cabinetry may also shift the task from simple swap to remodel work.
Code and permit exposure
Permit risk rises when the project includes a new electrical circuit or a new exterior wall or roof penetration. Manufacturer instructions control clearances, venting method, and mounting details, even if local mechanical code adds more requirements. If the install touches fire separation, moisture control, or a hardwired connection, a licensed installer is usually the safer call.
Time and disruption
A straightforward replacement can take a single day, but the calendar stretches quickly when access is tight or patching is needed. Roof work, siding repairs, and inspection scheduling can all add delay. A pro often reduces the number of separate visits because the same crew or contractor network can handle more of the chain.
Range hood vent triage matrix
| Project scenario | Required trades | Permit risk | Structural risk | Homeowner-safe tasks | Recommended next step |
|---|---|---|---|---|---|
| Like-for-like under-cabinet replacement using an existing wall duct | None if the hood is plug-in and no duct changes are needed; electrician only if the connection changes | Low to moderate | Low | Remove old hood, verify fit, mount new unit, connect duct with foil tape and screws, test airflow | DIY range hood vent installation |
| Wall-mount hood with the same exterior wall opening but new hood dimensions | Possibly electrician; HVAC or handyman for trim and duct alignment | Moderate | Moderate | Measure clearances, level the hood, attach duct, seal the wall cap | DIY range hood vent installation if access is easy; otherwise hire a pro |
| New exterior wall penetration for a ducted hood | Licensed HVAC contractor, possibly framing help | High | Moderate to high | Only layout and prep tasks if the contractor directs them | hiring a pro |
| Roof termination for a ducted hood | HVAC contractor and roofing contractor crossover | High | High | Interior prep only; avoid cutting the roof yourself | hiring a pro |
| Island hood with a long duct run | HVAC contractor, possibly electrician | High | Moderate to high | Cabinet and ceiling prep only if assigned by a pro | hiring a pro |
| Downdraft with a stone countertop cutout | Stone fabricator and licensed installer | High | High | None beyond planning | hiring a pro |
Existing hole versus new cut
The biggest divider is whether you are reusing an opening. If the new hood fits the existing duct route and the wall cap or roof cap stays in place, the work is often in DIY territory. The moment you need a new penetration, framing check, or patched finish surface, the job starts to look like a small remodel.
Electrical and code changes
A licensed electrician may be required if the hood needs new circuit work or if local code does not allow the existing connection. That matters even when the ductwork is simple, because wiring changes can trigger permits and inspection. A plug-in hood can be easier to replace, but only if the outlet location, cord reach, and load are already appropriate.
Termination details that decide the job
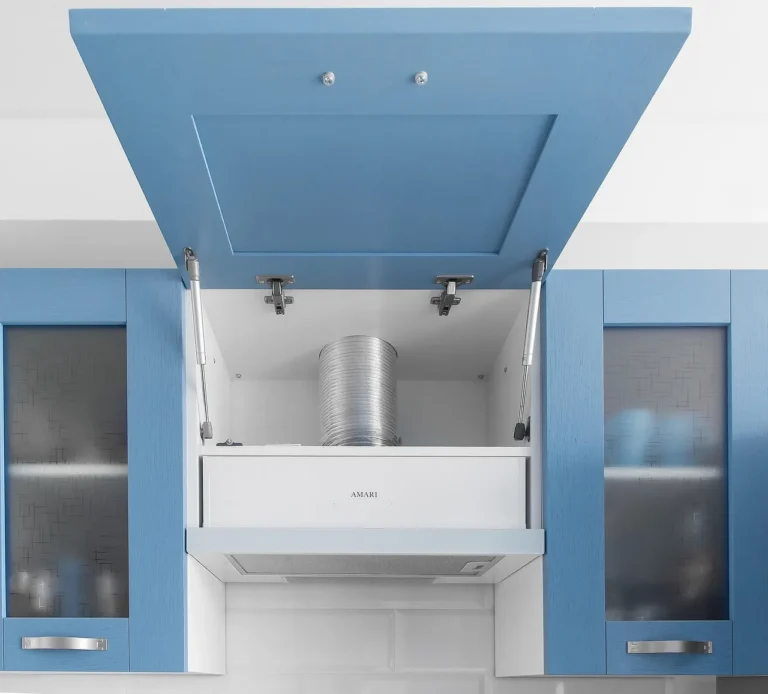
Wall termination needs a wall cap, backdraft damper, framing clearance, and exterior sealing that keeps air and water out. Roof termination adds flashing, shingle or roofing penetration sealing, and more leak risk. Those details are where many homeowners stop making good progress and start creating hidden damage.
Can I install a range hood vent myself?
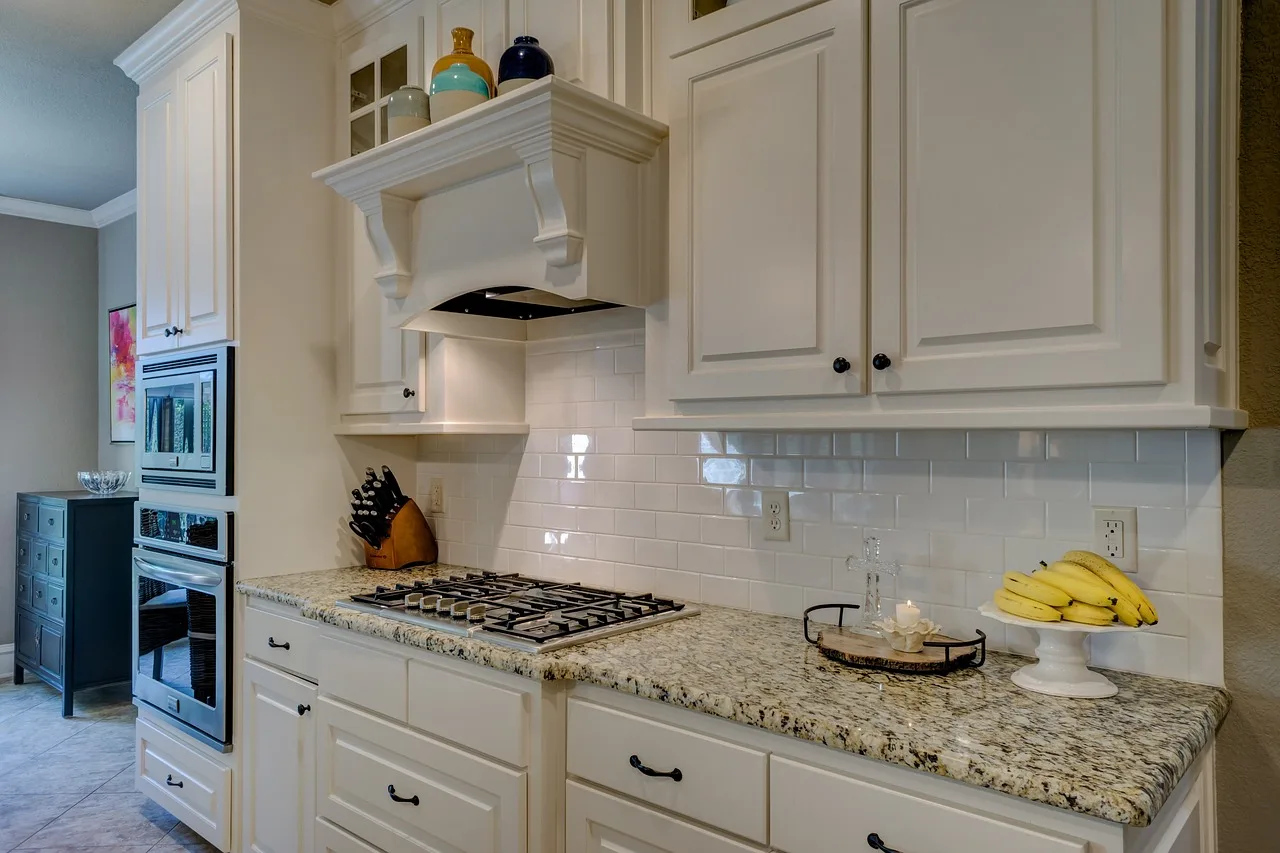
A like-for-like vented hood replacement is usually the more DIY-friendly case only when there is an existing duct path, no new circuit is needed, and there are no cabinet, wall, or roof changes. Under-cabinet hoods are described as DIY accessible for most homeowners when the fit is straightforward and the duct path already exists, and wall-mount hoods are also described as DIY accessible for intermediate DIYers with the same conditions.
DIY-safe conditions
Start with whether the hood type matches the venting setup. Ducted hoods need a real duct route to the outside; ductless hoods recirculate through filters and do not use exterior venting. If the hood is an insert, under-cabinet, or wall-mount unit and the opening already exists, the project may stay manageable.
- Confirm that the new hood is ducted if the old one was ducted.
- Check the CFM rating, since higher-CFM hoods can trigger makeup-air requirements in some jurisdictions, and read the manufacturer installation instructions before any hole is cut.
- Verify that the outlet or hardwired connection is already in the right place.
- Measure clearances from the cooktop and cabinet per the product manual.
- Inspect the existing duct route, cap, and damper for damage before reuse.
- Check the manufacturer’s maximum equivalent duct length and subtract the elbow penalties for every bend before you commit to the route.
When to stop before cutting or wiring
Stop if the hood requires a new opening, the existing duct does not line up, or the electrical work changes from simple connection to circuit work. Stop again if you find framing in the way, a damaged chase, or a roof path that would need new flashing. A simple install turns into an avoidable repair when those issues are ignored.
How ducted and ductless compatibility changes the answer
Ductless compatibility can remove exterior venting from the job entirely, but it does not erase installation requirements. Ducted models need a termination strategy, and that is where wall or roof work enters. The more the installation depends on venting outside, the less likely it stays a clean DIY task.
Suppose you are replacing a 30-inch under-cabinet hood with another 30-inch model and the wall duct already lines up. That is a strong DIY candidate. Change only one variable, though, such as moving the outlet or cutting a new opening, and the decision often flips to a pro.
When should you hire a pro for range hood vent installation?
Hire a pro when the job needs a new duct opening, new electrical work, roof penetration, or any structural or code question you cannot answer from the manual and your local requirements. A licensed HVAC contractor is the right first call for ducted venting, while roofing contractor crossover becomes important when the vent exits through the roof.
New wall or roof penetration
The moment you cut into the exterior envelope, the work moves beyond a simple appliance swap. Exterior wall termination requires a wall cap, backdraft damper, and weather sealing that protects framing. Roof termination adds flashing and leak control, and mistakes there can be costly long after the hood is mounted.
Electrical work that changes the circuit
If the project needs a new 120V dedicated circuit, a licensed electrician is usually required. Hardwired hoods also bring shutoff, lockout, and connection details that should not be guessed at. Even a plug-in hood can become a pro job if the outlet needs relocation or load calculations are uncertain.
Structural, siding, or roofing repairs
Any cut through siding, sheathing, roofing, or framing can trigger repair work that is separate from vent installation itself. Siding cutback and penetration repair must prevent water intrusion, and roof work must be sealed so the assembly sheds water as intended. A handyman may be fine for trim, mount, or low-risk labor, but not for every licensed trade or warranty-sensitive step.
Costs, tools, and permit checks
DIY can save labor, but it does not remove material costs, permit fees, or the price of fixing mistakes.
What tools you need
Use a drill for mounting and pilot holes, a stud finder to locate framing before you cut, a circuit tester to confirm the outlet or wiring is safe, a hole saw or reciprocating saw for vent openings, foil tape and sheet metal screws for duct joints, a level for alignment, and sealant for exterior weatherproofing. Those tools are not interchangeable; each one supports a specific task that affects fit, airflow, or moisture control. A tape measure and the duct size called for in the manufacturer instructions help verify that the parts match before installation starts.
- Drill: mounts brackets, drives screws, and starts openings.
- Hole saw or reciprocating saw: cuts the duct opening in drywall, sheathing, or cabinet material.
- Foil tape: seals duct joints where metal duct sections meet.
- Sheet metal screws: lock duct sections together.
- Level: keeps the hood and cap aligned.
- Sealant: closes exterior gaps at the wall cap or roof penetration.
Permit and code checks
Permit requirements are often triggered by new electrical circuits and new exterior wall or roof penetrations. In some jurisdictions, permits also come up for island hood installs, structural changes to cabinets or framing, or makeup-air compliance on higher-CFM hoods. Local mechanical code may also require specific duct size, termination type, or clearance rules. Manufacturer instructions still control the install, and fire and moisture compliance matter just as much as appearance.
Where the cost can move up fast
A simple replacement usually stays cheaper than a remodel, but only if the hidden variables stay hidden. Add cabinet cutting, outlet relocation, a new duct opening, or a roof repair and the project stops behaving like a bargain install. If the plan includes any of those items, getting multiple quotes is the safer budget move.
Exterior wall and roof vent decisions
The vent path matters as much as the hood itself. Exterior wall terminations are usually simpler than roof exits, but both require correct sealing and support. A duct that moves air well inside the house can still fail if the termination leaks, backdrafts, or leaves the opening poorly repaired.
Exterior wall termination
For wall exits, the wall cap, backdraft damper, and weather sealing do the real work. Framing must allow the duct to pass without crushing insulation or cutting structural members in the wrong place. Siding often needs careful cutback so the cap sits flat and water does not track behind the cladding.
Roof termination
Roof exits are more exposed to leak risk because flashing and shingle or roofing penetration sealing have to be done correctly. The stack has to stay watertight in wind, snow, and rain. If the roof is steep, older, or already in poor condition, this is usually the point where hiring a roofing contractor crossover crew makes more sense than trying to manage the repair yourself.
Common failure modes
A common first-timer mistake is leaving the duct too low or poorly sloped, so grease and condensation collect instead of moving out. Another is a termination that is too small, loosely fastened, or not sealed against the wall or roof. Those errors can mean noise, reduced airflow, moisture problems, and a second round of demolition.
Choose DIY range hood vent installation if… / Choose hiring a pro if…
Choose DIY range hood vent installation if the hood is a like-for-like replacement, the duct path already exists, the wiring is plug-in or unchanged, and the installation stays inside the cabinet or wall space you can reach safely. Choose hiring a pro if the project needs a new opening, a roof or exterior wall termination, a hardwired electrical change, or any code interpretation that affects approval.
Picture a wall-mount hood replacing an old wall-mount hood on the same exterior wall, with the existing wall cap still sound. That is the kind of task that can stay DIY-friendly. Change the scenario to an island hood with a long ceiling run, and the better call is usually a pro.


Frequently asked questions
How much does it cost to DIY vs hire someone to vent a range hood?
DIY usually lowers labor cost, but you still pay for the hood, duct parts, fasteners, sealant, and possible permit fees. Redo work can erase the savings fast.
What tools do I need to install a range hood vent?
At minimum, plan on a drill, a stud finder, a circuit tester, a hole saw or reciprocating saw, foil tape, sheet metal screws, a level, and sealant. Those tools cover mounting, locating framing, checking wiring, cutting, duct assembly, alignment, and exterior weatherproofing. If you need roof access or siding repair, additional trade-specific tools may be required.
Do I need a permit for range hood vent installation?
Often yes, if the work includes a new electrical circuit or a new exterior wall or roof penetration. Local mechanical code may also trigger review for duct size, termination type, clearance requirements, island hood layouts, or makeup-air rules. Manufacturer instructions still control the install details, even when your jurisdiction has different paperwork.
What mistakes make a range hood vent installation fail?
Common failures include a mis-sloped duct, a weak or leaky termination, missing backdraft control, bad sealing at the wall or roof, and wiring that was handled without the right shutoff or lockout. Those mistakes can cause moisture damage, poor airflow, breaker trips, or inspection failure.
How long does a professional range hood vent install take?
A straightforward replacement can be fairly quick, but the clock changes when the job includes a new opening, roof work, cabinet modification, or inspection. A pro often finishes faster in calendar terms because the trade coordination is built in. Hidden repairs, not the hood itself, are what usually extend the timeline.
Is it safe to vent a range hood through the roof or exterior wall myself?
Only if you already have the skills and access to handle the full termination correctly, including sealing and repair. Exterior wall terminations are simpler than roof terminations, but both can fail if flashing, damper placement, or weather sealing is wrong. If you are unsure, a pro is the safer choice.
Sponsored / affiliate links. As an Amazon Associate I earn from qualifying purchases. I may earn additional commission from eligible campaigns.