Range Hood Venting Through an Exterior Wall: What to Plan
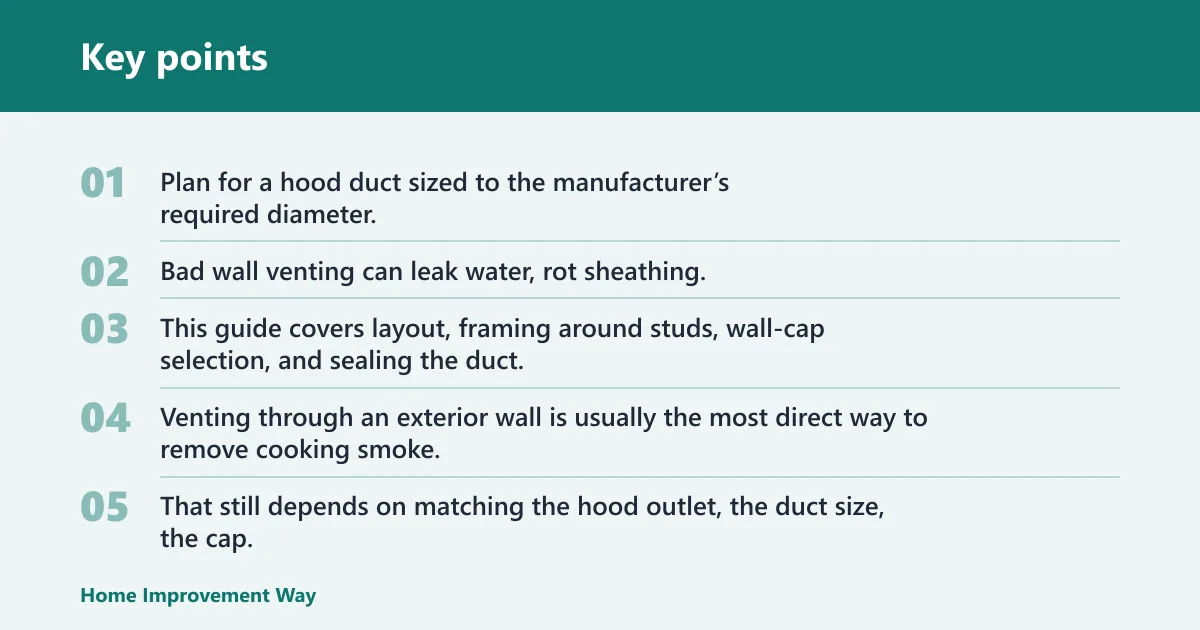
Plan for a hood duct sized to the manufacturer’s required diameter, then frame a rough opening that keeps studs intact or properly doubled, and finish with a wall cap matched to your siding or masonry type. Bad wall venting can leak water, rot sheathing, and trigger airflow or clearance problems that are expensive to fix later. This guide covers layout, framing around studs, wall-cap selection, and sealing the duct, sheathing, and exterior trim so the opening stays weather-tight.
Venting through an exterior wall is usually the most direct way to remove cooking smoke, grease, and odors, and it often gives you the shortest duct run. That still depends on matching the hood outlet, the duct size, the cap, and the wall assembly you are cutting through.
Before you cut the wall


Check the hood manual first
Read the hood installation manual before marking any cut lines. The manual controls the outlet diameter, the allowed duct type, the termination style, any adapter or transition requirements, and any minimum clearances or makeup-air triggers for the model. Use the manual as the primary authority, then verify it against the adopted residential/mechanical code in your area and any local building department handout for kitchen exhaust penetrations.
Confirm permit and code limits
Check local permit rules before you cut a new exterior opening. The IRC and IMC generally require exhaust to terminate outdoors and prohibit discharging into attics, crawlspaces, or concealed wall cavities; local amendments can be stricter. Also verify whether your area treats the wall penetration as a permitted exterior alteration, especially on masonry, fire-rated, or multi-family assemblies.
Map the shortest workable route
Keep the duct run as short and straight as your layout allows. Equivalent length depends on the hood manual and the duct manufacturer’s fittings chart, but major duct manufacturers generally assign additional equivalent length to each elbow and transition; 90-degree elbows typically add far more resistance than straight pipe. A wall exit often limits both length and noise, but only if the run stays within the hood’s published maximum equivalent length.
What you’ll need
- Rigid metal ductwork in the hood’s required size; smooth-wall metal is preferred for grease-laden air
- Elbows and transitions sized to the hood outlet and wall cap collar
- Exterior wall cap with an integrated backdraft damper, weather-resistant housing, and rain protection
- Foil HVAC tape for metal duct joints
- Sheet-metal screws for mechanical fastening at duct joints, if allowed by the hood and duct manufacturer
- Exterior-grade sealant or caulk compatible with siding or masonry
- Stud finder, level, tape measure, drill, pilot bit, reciprocating saw or hole saw, and masonry-cutting tools as needed
- Framing lumber, blocking, trimmer material, drywall repair supplies, and fasteners if a stud or fire block must be modified
What should you check before cutting?
Check the wall cavity for studs, wiring, plumbing, insulation, and fire blocks before you commit to the opening. The hole must clear hidden services and line up with the duct or collar size. If the path lands on a stud, you may need to shift the opening or reframe the rough opening instead of forcing the cut.
Use a pilot hole and verify both sides
- Mark the hood centerline on the interior wall.
- Drill a small pilot hole at the planned centerpoint.
- Check the exterior side for the same location, and confirm the opening will not land on trim, mortar joints, or obstruction points.
- Inspect the cavity with a flashlight or inspection tool before enlarging the hole.
Choose the opening location with the wall build in mind
Wood siding, vinyl, brick, stucco, and masonry do not all take the same cap detail. A vinyl wall often needs a cap that clears the siding profile. Brick and masonry need a flange and sealant detail that bonds to mineral surfaces. Stucco usually needs a watertight flashing transition that matches the finish layers.
Wall vent planning checklist
| Wall type | Likely obstruction | Framing fix | Cap/flashing choice | Sealant location | Red-flag code issue |
|---|---|---|---|---|---|
| Wood siding | Stud or double top plate | Add blocking or trimmer/jack framing if a stud is removed | Cap with flange that sits flat on the siding plane | Around flange perimeter and any trim cut | Termination too close to openings or property-line limits in local code |
| Vinyl siding | Siding return or foam-backed sheathing | Shift opening to avoid trimming a load-bearing stud | Cap with spacer or mounting box made for vinyl profiles | At flange edges and siding interface | Cap buried behind siding where the damper cannot swing freely |
| Brick | Masonry veneer and mortar joint layout | Do not cut structural masonry without an approved plan | Masonry-compatible cap with proper sleeve or sleeve adapter | Between flange, sleeve, and masonry face | Unapproved penetration through fire-rated or structural masonry |
| Stucco | Lath, scratch coat, and sheathing transitions | Reframe only if the opening hits a stud or blocking | Cap with flashing that covers the finish layers cleanly | At the flashing edge and cap flange | Water path left open behind the stucco edge |
| Masonry block | Hollow cells, reinforcement, or mortar joints | Follow permit and structural rules before enlarging the opening | Masonry cap with fasteners approved for the substrate | Around the penetration sleeve and flange | Cutting reinforcement or a fire-rated assembly without approval |
If you hit a stud, use this decision flow
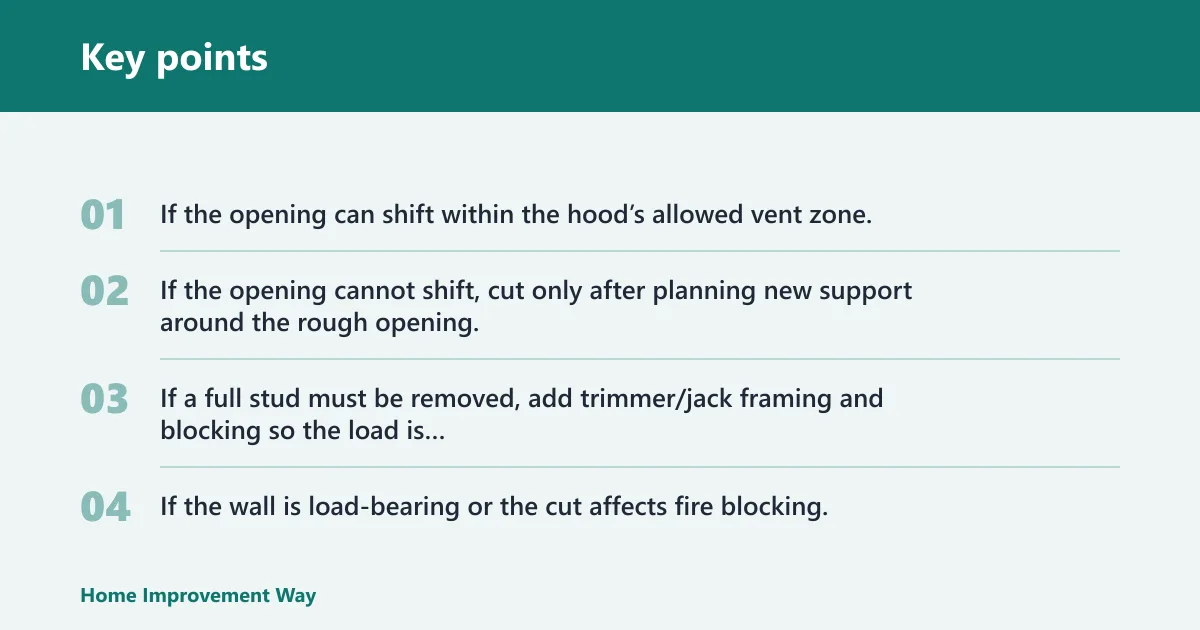
- If the opening can shift within the hood’s allowed vent zone, move it so the duct clears the stud.
- If the opening cannot shift, cut only after planning new support around the rough opening.
- If a full stud must be removed, add trimmer/jack framing and blocking so the load is transferred around the opening.
- If the wall is load-bearing or the cut affects fire blocking, stop and verify the framing plan and permit requirements before proceeding.
How do you frame the opening?
Cut the opening only after the duct path is confirmed and the wall layers are mapped. If a stud, top plate, or fire block lands in the way, the opening usually needs framing support rather than a larger saw cut. Non-load-bearing walls can often be adjusted with a simpler boxed opening, but load-bearing walls and engineered wall conditions need a support plan that preserves the structural load path. Once the rough opening changes, expect drywall repair and finish work around the new edge.
Frame around the opening, not through structure
- Mark the final rough opening from the outside and inside reference points.
- Cut the wall layers in stages so you can confirm what lies behind them.
- If a stud is in the way, install trimmer/jack framing and blocking before enlarging the hole.
- Keep the duct sleeve square and centered so the cap fits without strain.
- Patch drywall or finish layers that were disturbed by the new rough opening.
Suppose a 6-inch round duct lands 1 inch into a stud bay edge on a framed exterior wall. Shifting the opening slightly may solve it. If it cannot move, the framing needs a proper boxed opening with support members, not a notched stud left unsupported.
How do you set the wall cap?
Choose a wall cap that matches the wall finish and lets the damper move freely. The cap should generally include an integrated backdraft damper, a weather-resistant housing, and rain protection. Fit matters here: a cap buried under siding or jammed against masonry can trap moisture or block the damper. If you are choosing between an exterior wall cap vs roof cap, let the hood manual, roof geometry, and termination clearances decide the style before you cut the wall.
Match the cap to the wall material
For vinyl or wood siding, use a cap that lands flat on the exterior plane and does not ride on loose trim. For brick, stucco, or masonry, choose a cap and flashing detail made for mineral surfaces so the flange can seal without gaps. If the hood collar and the cap collar differ, use the correct adapter rather than forcing the fit.
Wall-cap placement limits to verify before you cut
Local code amendments vary, but the most important placement checks are consistent: keep the termination away from operable doors and windows, soffit intakes, gas appliance vents or flues, property lines where local rules apply, combustible materials that could collect grease or heat, and any fire-rated wall or assembly that requires a listed penetration detail. This is especially important in attached housing and multi-family assemblies, where rated separations and listed penetration details are more likely to apply. Also verify the cap will not discharge into an enclosed porch, attic, crawlspace, or other concealed space. Use the hood manual, the IRC/IMC, and your local building department’s venting guidance to confirm the required clearances for your jurisdiction before you cut the opening.
For wall-cap details that help readers compare termination styles, see range hood wall cap options in the context of the hood manual and the wall assembly, not as a substitute for either.
Fasten and flash before sealing
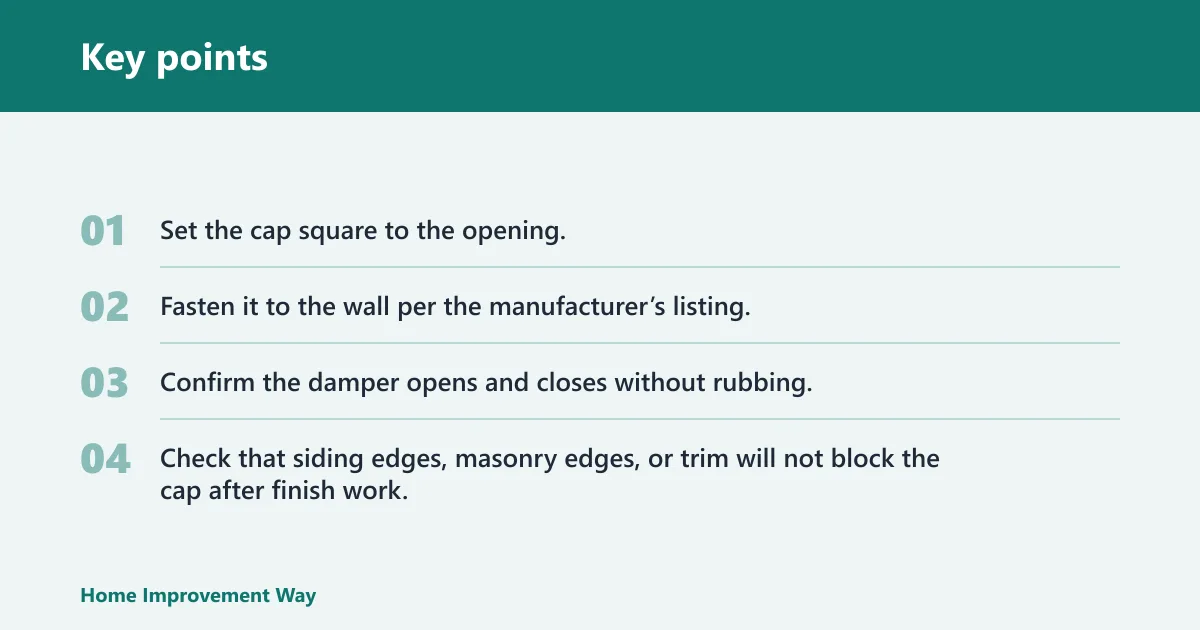
- Set the cap square to the opening.
- Fasten it to the wall per the manufacturer’s listing.
- Confirm the damper opens and closes without rubbing.
- Check that siding edges, masonry edges, or trim will not block the cap after finish work.
How do you seal each layer?
Seal in layers, from the duct outward. Use foil HVAC tape and the approved mechanical fasteners on metal duct joints first. Then seal the sleeve or wall opening at the wall plane. Finish with exterior-grade caulk around the cap flange, using a product compatible with the siding or masonry surface.
Seal in this order
- Seal the duct joints with foil HVAC tape.
- Add sheet-metal screws only where the duct system or cap manufacturer allows them, and do not rely on screws alone as the seal.
- Seal the sleeve-to-wall interface at the wall plane.
- Seal the cap flange last with exterior-grade caulk.
- Recheck the damper after the sealant cures enough to avoid sticking.
Use the right sealant at the right point
Do not spread one bead across every joint and expect it to solve each detail. Joint tape belongs on the metal duct. Caulk belongs at the exterior edge, around the flange, and at the finish transition. If the wall is brick or stucco, choose a sealant meant for those surfaces so it bonds properly and remains weather-tight.
Common mistakes
Wrong duct size is a common failure. So is choosing a cap that does not match the hood outlet or the wall finish. Another mistake is reversing the damper, which can leave the flap stuck closed or open. Cutting through a stud without a framing plan is riskier still, and stopping short on sealant leaves the wall layers exposed.
A common first-timer mistake is a 7-inch hood outlet paired with a smaller wall collar because the wall cap was easier to find. That creates restriction at the termination, and the fix is to match the hood’s required size all the way to the cap, or use the correct transition specified by the manufacturer.
If that did not work, try this next
- Recheck the hood manual for the required outlet, duct type, and termination details.
- Verify that the cap damper moves freely after the cap is fastened and flashed.
- Inspect the wall opening for unsealed edges, blocked airflow, or a misaligned sleeve.
- If a stud was cut, confirm that trimmer/jack framing and blocking were installed before closing the wall.
Prevention: keep the vent path short, confirm the wall type before buying the cap, and seal each layer in the correct order so you do not trap water behind the finish.
Frequently asked questions
How do you vent a range hood through an exterior wall?
Run smooth-wall rigid metal duct from the hood outlet to a wall cap that terminates outdoors. Keep the route as short and straight as your layout allows, follow the hood manual for duct size, and verify local permit and code requirements before cutting the wall.
What size hole do I cut for a range hood vent through a wall?
Cut the opening to match the duct or wall cap collar, not just the drywall hole size. Use the collar or sleeve outside diameter, then add the manufacturer’s required rough-opening clearance for the sleeve and any trim or framing details. Drill a pilot hole first, confirm clearances to studs and services, then enlarge only as needed for the sleeve, collar, and any framing around the rough opening.
What duct size should I use for a wall vented range hood?
Use the duct size listed by the hood manufacturer. Manufacturer manuals vary, but common residential hood outlets are often 6-inch or 8-inch round.
What duct size and makeup-air threshold should I plan for?
Always defer to the hood manual and the adopted code, because makeup-air triggers are manufacturer-dependent and jurisdiction-dependent. The compact reference below is only a planning guide, not a substitute for the listing or local code.
| Typical hood outlet | Common CFM range | Typical round duct diameter | Transition note | When makeup air may be triggered |
|---|---|---|---|---|
| 6 in. | Up to about 400 CFM | 6 in. | Keep transitions short and follow the hood’s collar/adapter detail | Often not triggered at lower airflow, but some jurisdictions require it at lower thresholds |
| 7 in. | About 400–600 CFM | 7 in. or manufacturer-specified equivalent | Use the transition listed by the hood or duct manufacturer; avoid necking down at the wall cap | Commonly reviewed for makeup air in jurisdictions that use 400 CFM or similar thresholds |
| 8 in. | About 600–900 CFM | 8 in. | Often used to reduce static pressure on larger hoods | Frequently triggers makeup-air requirements depending on the adopted code and local amendments |
| 10 in. and larger | 900+ CFM | 10 in. or larger, per listing | Check equivalent length carefully; large hoods are especially sensitive to elbows and restrictions | Makeup air is commonly required by code or local amendment at higher exhaust rates |
Where should a range hood vent cap be installed on an exterior wall?
Install the cap where it clears studs, finish trim, and any exterior obstruction, while still allowing the damper to swing freely and shed rain. The exact height and setback depend on the hood layout, wall type, and local code, so verify the manual and permit rules first.
Do I need framing support when cutting a range hood vent through a wall?
Yes, if the opening hits a stud, top plate, or fire block. Use blocking or trimmer/jack framing when a stud must be removed, and do not leave a cut member unsupported. If the wall is load-bearing or fire-rated, confirm the framing plan before cutting.
How do you seal a range hood wall penetration so it does not leak?
Seal the duct joints with foil HVAC tape and approved fasteners first, then seal the wall plane around the sleeve, and finish with exterior-grade caulk around the cap flange. Match the sealant to siding or masonry so the bond stays weather-tight.
What should I check in the wall before cutting for a range hood vent?
Check for studs, wiring, plumbing, insulation, and fire blocks. Drill a pilot hole, confirm the exterior location, and verify that the planned opening will not force an unsupported stud cut. If the wall assembly or code status is unclear, stop and confirm before enlarging the hole.
Sponsored / affiliate links. As an Amazon Associate I earn from qualifying purchases. I may earn additional commission from eligible campaigns.