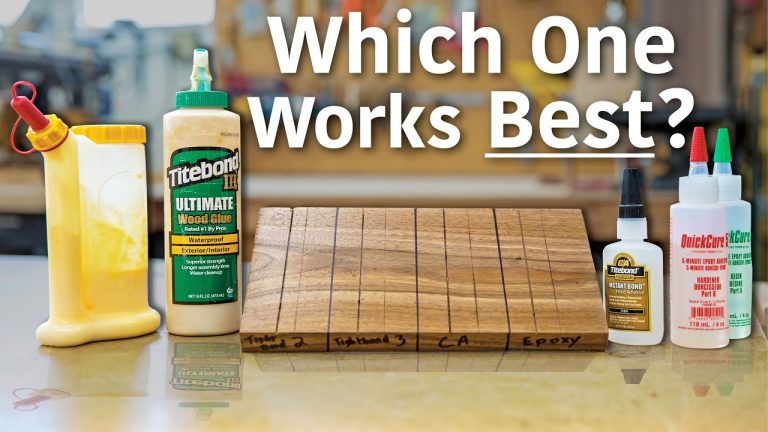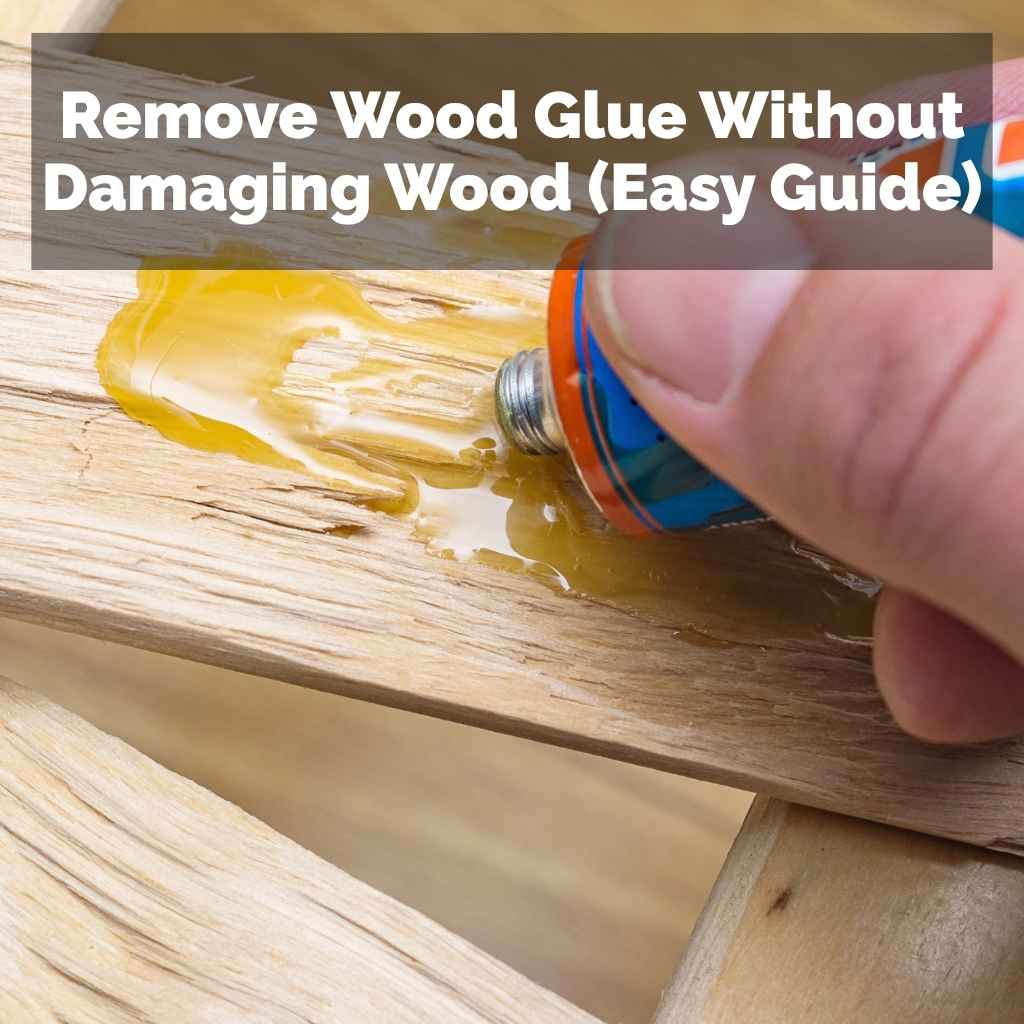
Remove Wood Glue Without Damaging Wood (Easy Guide)
Dealing with wood glue mishaps can be a real headache. You’re working on a project, things are going well, and then, oops! A bit of glue squeezes out.
Or maybe you’re trying to fix a piece of furniture, and old glue is just in the way. It’s super frustrating when you’re afraid of ruining the wood’s finish while trying to clean it up. But don’t worry, there are smart ways to tackle this.
You can remove wood glue and keep your wood looking great. We’ll walk through how to do it, step by step.
Removing wood glue without damaging the wood surface is achievable with the right techniques. Knowing the type of glue and the wood’s finish helps pick the best method, from simple scraping to using specific solvents. Patience is key to avoid scratches or discoloration.
Understanding Wood Glue and Its Removal
Wood glue is a common item for anyone who loves working with wood. It’s what holds so many projects together. When it dries, it becomes really hard.
This hardness is great for building, but tricky when you need to remove it. Different glues act differently. Most wood glues today are PVA (polyvinyl acetate) glues.
These are water-based. But there are also super glues and epoxies. Each needs a slightly different approach.
The biggest worry is always about damage. You don’t want to scratch the wood. You also don’t want to strip away the finish, like paint or varnish.
Or maybe you’ll end up with a weird shiny spot. It feels like a puzzle. You want the glue gone, but the wood perfect.
This is where knowing your materials and methods really pays off.
Think about the goal. It’s not just about getting the glue off. It’s about restoring the wood to its original beauty.
Or at least, as close as possible. This means being gentle. It also means knowing when to use a little more force, but only in the right way.
My Own Gluey Nightmare
I remember building a simple bookshelf for my living room. I was so excited to finally have a place for all my books. I’d cut all the pieces perfectly.
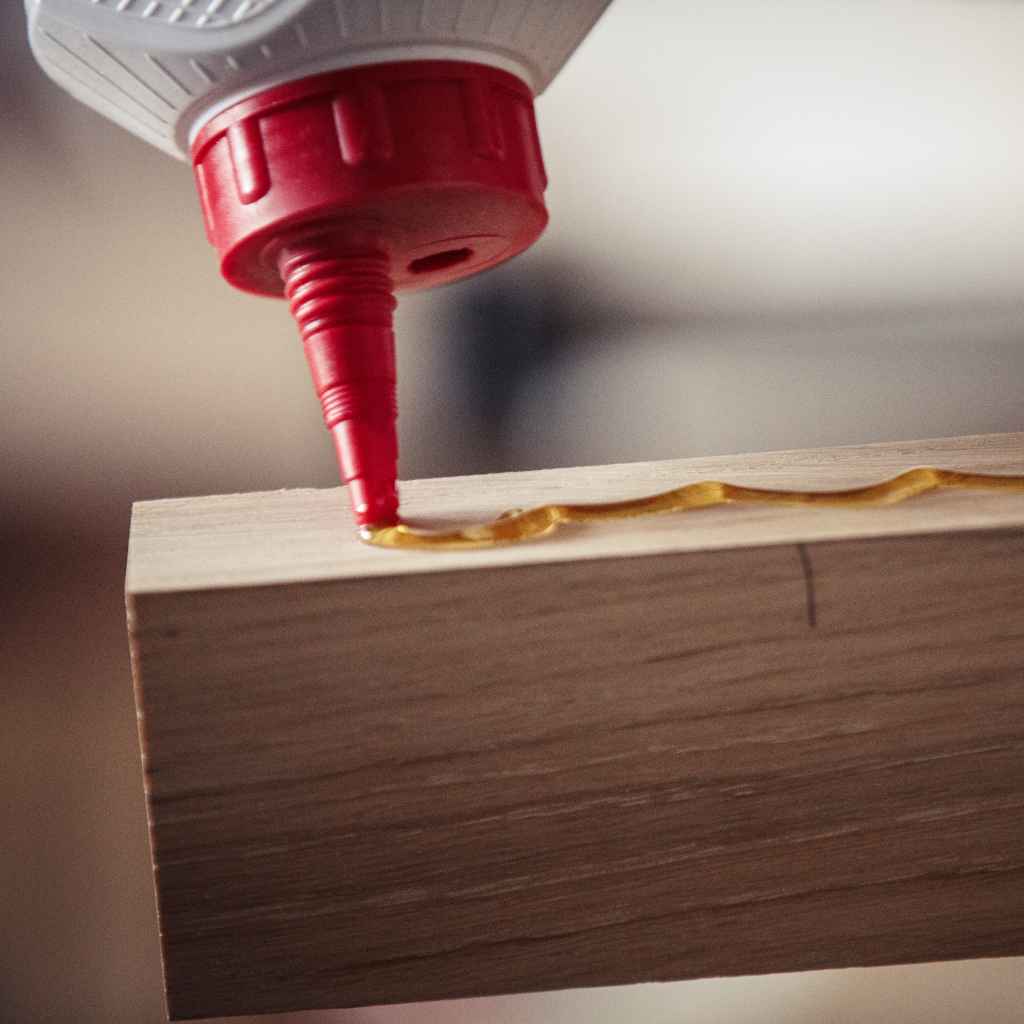
Everything fit together like a dream. I carefully applied the wood glue to the edges. Then, I clamped everything tight.
I felt like a pro! But as I was wiping away the excess glue, my hand slipped. A big glob of still-wet glue smeared all over the front of one of the shelves.
It was still wet, but it was already starting to dry. Panic set in. I didn’t want a sticky, messy shelf.
I grabbed a damp cloth and started wiping. Big mistake! It just spread the glue into a thinner, wider mess.
Then I tried a paper towel. It stuck to the glue, leaving little paper bits behind. My heart sank.
It looked worse than before. I thought I’d ruined the whole project right then. It took me a while to calm down and think it through.
Types of Wood Glue and How They Behave
Knowing what kind of glue you’re dealing with is the first step. This helps you choose the right removal tool. It’s like knowing if you’re fighting a pillow or a brick.
They require different tactics.
PVA Glues (The Most Common)
These are your everyday wood glues. Think Titebond I, II, and III, or Elmer’s Wood Glue. They are water-based.
When wet, they are milky white. When dry, they are usually tan or yellow. The beauty of PVA glue is that it cleans up best when it’s still wet.
A damp cloth usually does the trick. But once it’s fully dry, it’s much tougher.
PVA glues are designed to bond wood fibers. They create a strong bond. That’s why they are so popular.
They are also relatively safe to use. They don’t have strong fumes like some other glues.
Cyanoacrylate (Super Glue)
Super glue is very different. It dries almost instantly. It works by reacting with moisture in the air and on surfaces.
It becomes a hard, brittle plastic. Removing super glue from wood can be tricky. You often need a solvent.
Acetone is a common choice. But acetone can also damage finishes. So, you have to be careful.
Super glue is not ideal for structural joints in woodworking. It’s better for small repairs or quick fixes. Its brittleness means it might not hold up to stress.
Epoxy Resins
Epoxy is a two-part glue. You mix them together. Then they cure into a very hard, durable bond.
Epoxy is super strong. It’s often used for filling gaps or bonding dissimilar materials. Removing dried epoxy can be one of the hardest tasks.
It’s very resistant to solvents. Heat might be needed sometimes.
Epoxy creates a waterproof bond. It’s used when strength and durability are top priorities. Because it’s so tough, it’s also hard to get off if you make a mistake.
Hide Glue
This is an older type of glue. It comes in granules or liquid. It’s made from animal hides.
It’s reversible with heat and moisture. This can be good for antique furniture repairs. But it’s not as strong as modern glues.
It’s also not waterproof. Removing dried hide glue is often easier than other types. Warm water can soften it.
Hide glue is favored by some woodworkers for its traditional qualities. It allows for easier disassembly if needed.
Glue Removal Quick Scan
Wet PVA Glue: Damp cloth, scraping.
Dry PVA Glue: Scraper, sandpaper, careful solvent use.
Super Glue: Acetone, specialized removers.
Epoxy: Mechanical removal, sometimes heat.
Hide Glue: Warm water, gentle scraping.
Removing Wet Wood Glue: The Easiest Scenario
If you catch the wood glue while it’s still wet, you’re in luck! This is the best-case scenario. Most of the time, a simple damp cloth is all you need.
The key is to act fast.
Get a clean, soft cloth. Dampen it with plain water. Gently wipe the excess glue away.
Don’t rub too hard. You don’t want to spread it around too much. Just lift it off the surface.
If there are still little bits, you can use a wet edge of the cloth to get them.
Sometimes, a putty knife or a plastic scraper can help. Use it at a shallow angle. This helps lift the glue without digging into the wood.
Be extra careful if the wood is soft, like pine. For harder woods, you have a little more leeway.
It’s always better to use a gentler method first. You can always try something stronger if needed. But you can’t put back wood that’s been gouged out.
Remember, the goal is to remove the glue, not to scrub the finish off the wood. Gentle is key here. If you’re working on a finished piece of furniture, be especially mindful of the coating.
Wet Glue Wipe-Down Steps
1. Grab a soft cloth. Make sure it’s clean.
2. Dampen it. Use plain water. Not soaking wet.
3. Gently wipe. Lift the glue away from the wood.
4. Use a scraper carefully. For stubborn bits, use a shallow angle.
5. Repeat if needed. A clean section of the cloth is best.
Tackling Dried PVA Glue: Your Next Challenge
Dried PVA glue is much harder to remove. It’s like a little wood-glue rock. You can’t just wipe it away.
You’ll need a bit more effort. But it’s still manageable.
The first thing to try is mechanical removal. This means scraping or sanding. A sharp chisel or a scraper works well.
Hold it at a very low angle. You want to shave the glue off, not dig into the wood. Go slowly.
Move the scraper with the grain of the wood, if possible. This helps hide any minor marks you might make.
If scraping is too slow or difficult, sanding is the next step. Start with a medium-grit sandpaper. Something like 120 or 150 grit.
Sand gently. Again, try to follow the wood grain. The goal is to remove the glue layer.
You don’t want to sand too deep into the wood itself.
Once the bulk of the glue is off, you might need finer sandpaper. Move to 180 or 220 grit. This will smooth out any marks from the coarser sandpaper.
If the wood is unfinished, you might be able to get away with just sanding. But if it has a finish, you’ll need to be more careful.
For really stubborn dried glue, a solvent might be an option. However, most solvents can affect the wood’s finish. You need to test this in an inconspicuous spot first.
Denatured alcohol can sometimes help soften dried PVA glue. White vinegar is another milder option.
Apply the solvent to a cloth, not directly to the wood. Dab the glue with the damp cloth. Let it sit for a minute.
Then try scraping or gentle sanding again. Be patient. Don’t rush the process.
The slower you go, the less likely you are to cause damage.
After removing the glue, you might need to reapply finish to the area. This is especially true if you had to sand down to the bare wood. This ensures the repair blends in.
You want the whole piece to look uniform.
Dealing with Dried Glue
Tool: Sharp scraper or chisel.
Angle: Very low, almost flat.
Motion: Shave off, follow wood grain.
Sandpaper: Start medium (120-150), finish fine (180-220).
Solvent (Test First!): Denatured alcohol or white vinegar on cloth.
Removing Super Glue from Wood
Super glue is notorious for sticking to fingers. It’s also tough to get off wood without drama. Because it cures so fast and hard, you can’t just scrape it easily.
Solvents are usually your best bet here.
Acetone is the go-to solvent for super glue. You can find it in nail polish remover. But pure acetone is stronger.
You must test this on a hidden area first. Acetone can melt finishes like lacquer or shellac. It can also lighten some woods.
Apply a small amount of acetone to a cotton swab or a corner of a cloth. Gently dab the super glue. You don’t want to soak the wood around the glue.
Let the acetone work for a minute. It should start to soften the glue.
Once softened, you can try to gently scrape it off. Use a plastic scraper or a credit card edge. Avoid metal tools if possible.
If it’s still stubborn, apply more acetone. You might need to repeat this process several times.
If acetone is too harsh for your finish, there are specialized super glue removers available. These are often formulated to be a bit gentler. Always read the product label and test first.
After the super glue is removed, you may need to touch up the finish. You might also need to do some light sanding and buffing to restore the sheen.
Be aware that sometimes, super glue can soak into the wood grain. In these cases, complete removal might be impossible without damaging the wood surface. Focus on getting as much off as you can without making it worse.
Super Glue Removal Tips
Primary Solvent: Acetone (test first!).
Application: Cotton swab or small cloth dab.
Action: Soften glue, then gently scrape.
Alternative: Specialized super glue removers.
Post-Removal: Touch up finish as needed.
Dealing with Epoxy Resin on Wood
Epoxy is the heavyweight champion of wood glues. It’s incredibly strong. Once cured, it’s very hard to remove.
This means you need to be extra careful to prevent spills. But if you do get epoxy on your wood, here’s how to approach it.
The best time to remove epoxy is before it fully cures. Most epoxies have a working time, then a curing time. If you catch it in the “gel” stage, it’s easier.
You can often wipe it off with a cloth and a bit of solvent like denatured alcohol or acetone. Again, test the solvent on an unseen area.
If the epoxy has fully cured, it’s much tougher. Solvents are less effective. You might need to use more aggressive methods.
Mechanical removal is usually required.
You can try scraping with a very sharp chisel or blade. Hold it at a very shallow angle. This can be slow and painstaking work.
You’ll be trying to chip away at the hardened epoxy. This method carries a high risk of damaging the wood surface. Gouges and deep scratches are common if you’re not careful.
Sanding is another option. Start with a coarser grit sandpaper (like 80 or 100 grit) to get through the epoxy layer. Then, work your way up to finer grits to smooth the wood.
You will likely be removing some of the wood along with the epoxy. This means you’ll definitely need to refinish the area afterwards.
Some people have success with heat. A heat gun on a low setting can sometimes soften epoxy enough to scrape it away. Be very cautious with heat.
Too much heat can scorch the wood or damage the finish. Never use a heat gun near flammable finishes.
For very stubborn epoxy, professional help might be the best option. Or you might have to accept that the area will need extensive refinishing.
Epoxy Removal Notes
Best Time: Before full cure (gel stage).
Early Removal: Solvent (denatured alcohol/acetone) on cloth.
Fully Cured: Mechanical removal (scraping, sanding).
Caution: High risk of wood damage.
Heat Gun: Use with extreme care on low setting.
Removing Glue from Finished Wood
Working on furniture or a piece with a protective finish adds another layer of complexity. You want to remove the glue, but you absolutely must preserve the finish. This means being extra gentle and strategic.
For wet glue, the same damp cloth method applies. Be very careful not to scrub. You’re just lifting the glue off the surface.
If the finish is old or delicate, even a damp cloth can sometimes dull it. In that case, a dry, soft cloth might be enough to lift the wet glue.
For dried glue on a finished surface, scraping is often the first choice. Use a plastic scraper or a dull blade held almost parallel to the surface. You are trying to get under the glue, not scrape the finish.
Work slowly and in small sections.
If scraping isn’t working, very fine-grit sandpaper (220 grit or higher) might be used. Sand only the glue itself. Feather the edges carefully into the finish.
The goal is to remove the glue with minimal impact on the surrounding finish.
Solvents are the riskiest on finished wood. Always, always test in an out-of-the-way spot. What works on one finish might destroy another.
For instance, acetone will dissolve lacquer. Mineral spirits are gentler and might work on some varnishes.
If you do have to sand through the finish to remove glue, you’ll need to repair the finish. This might involve applying a matching stain, then a clear coat of varnish or lacquer. Blending the repair into the surrounding finish can be challenging.
Sometimes, the best approach is to live with a tiny bit of glue if it’s not very visible. The risk of damaging a good finish might outweigh the benefit of removing a small glue mark. It’s a judgment call based on the item and your skill level.
Glue on Finished Wood: Key Rules
Wet Glue: Gentle wipe, don’t scrub the finish.
Dry Glue: Plastic scraper at a low angle.
Sandpaper: Very fine grit (220+), focus only on glue.
Solvents: EXTREME caution. TEST FIRST.
Repair: Be prepared to touch up the finish.
Removing Glue from Unfinished Wood
Unfinished wood is more forgiving in some ways. You don’t have to worry about damaging a delicate finish. However, you do need to be careful not to alter the texture or color of the wood itself.
For wet glue on unfinished wood, a damp cloth is usually perfect. It will soak up the glue without issue. Make sure the cloth isn’t too wet, though.
You don’t want to raise the grain excessively or leave water stains.
For dried glue on unfinished wood, scraping is generally the best method. Use a sharp chisel or scraper. Hold it at a low angle.
Work with the grain. You’re trying to lift the hardened glue. Be careful not to dig into the wood fibers.
Sanding is also very effective on unfinished wood. You can start with a medium grit (like 120) to remove the glue. Then, move to finer grits (180, 220) to smooth the surface.
This is often necessary to make the spot blend in.
If the glue has soaked into the grain a bit, you might need to sand a little deeper. This is where you might alter the wood’s surface. Once you’ve sanded the spot smooth, you might need to do a final sanding of the whole piece.
This ensures the texture is consistent everywhere.
Solvents are less common for PVA glue on unfinished wood. White vinegar can sometimes help soften it. But generally, mechanical removal is preferred.
For super glue or epoxy, you’d follow the same solvent or scraping/sanding methods as for finished wood, but without the finish concern.
After removing the glue, the sanded area might be lighter or have a slightly different texture. You may want to apply a wood conditioner or a light coat of finish to even it out, even if the rest of the piece is unfinished.
Unfinished Wood Glue Removal
Wet Glue: Damp cloth, lift gently.
Dry Glue: Scrape with low-angle tool, follow grain.
Sanding: Medium to fine grits (120-220) to blend.
Grain Issues: May require slightly deeper sanding.
Post-Removal: Consider a light finish for uniformity.
When Glue Removal Goes Wrong: Common Pitfalls
Even with the best intentions, things can go wrong when removing wood glue. Being aware of these common mistakes can help you avoid them.
One of the biggest mistakes is using the wrong tool or technique. For example, trying to scrape wet glue with a sharp knife can lead to gouges. Or using too coarse a sandpaper on a delicate finish will scratch it.
Always match your tool and grit to the situation.
Another pitfall is being too aggressive. Impatience is a big enemy here. Rushing the process often leads to more damage than you would have had if you just took your time.
Forcing a stubborn piece of glue can tear away wood fibers.
Using too much solvent is also a problem. Applying solvents directly to the wood can cause blotches or dissolve the finish. Always apply solvents to a cloth or swab first, and test in an inconspicuous area.
Ignoring the wood grain is a recipe for disaster. Scraping or sanding against the grain will leave visible marks that are hard to fix. Always try to work with the grain.
Finally, not testing products is a major risk. Whether it’s a solvent or a specific glue remover, you must test it on a hidden spot first. What works perfectly on one type of wood or finish might ruin another.
If you do make a mistake, don’t panic. Often, these mistakes can be fixed with careful sanding, refinishing, or even by using a wood filler. The key is to assess the damage and choose the right repair method.
Mistakes to Avoid
- Using the wrong tool for the job.
- Being too aggressive or impatient.
- Applying too much solvent directly to wood.
- Working against the wood grain.
- Not testing products first.
- Ignoring the potential for finish damage.
Real-World Scenarios: Glue Mishaps and Fixes
Let’s look at a few common situations and how to handle them. These are based on real-life experiences I’ve seen or had.
Scenario 1: Glue Drip on a Tabletop
You’re gluing a repair on a dining table. A drop of glue falls and dries. The table has a polyurethane finish.
This is common. First, try to gently scrape the dried glue with a plastic card or a very dull blade at a low angle. If that doesn’t work, use a cotton swab with a tiny bit of denatured alcohol.
Dab only the glue. If it softens, gently scrape again. You might need to reapply a small bit of the matching topcoat to the tiny spot if the finish was affected.
Scenario 2: Glue Squeeze-Out on Plywood Edge
You’re building a cabinet with plywood. Glue oozes from the edge. This is unfinished plywood.
Once dry, use a sharp chisel held almost flat to shave the glue off. Then, sand the area smooth with 120 grit, followed by 220 grit. You might need to slightly over-sand the area to blend it in.
Then, apply a coat of sanding sealer or paint.
Scenario 3: Super Glue on an Antique Chair Leg
You accidentally get super glue on an antique chair leg. It has a shellac finish. Acetone will ruin shellac.
Try a specialized super glue remover. Test it first! If that fails, you might need to very carefully scrape with a razor blade held almost parallel to the surface.
This is risky. The best bet might be to accept a small mark or consult a furniture restorer.
Scenario 4: Epoxy Blob on a Workbench
You’re doing a messy epoxy job, and a blob hardens on your wooden workbench. This is unfinished wood. You can probably use a heat gun on a low setting to soften it.
Then, scrape it away with a sturdy scraper. Sand the area afterward to smooth it out. Be careful not to scorch the wood with the heat gun.
Real-World Fixes
Tabletop Drip: Gentle scraping, cautious solvent use, touch-up finish.
Plywood Edge: Shave with chisel, then sand smooth.
Antique Chair: Specialized remover, risky scraping, or pro help.
Workbench Epoxy: Heat gun + scraper, then sand.

What This Means for You: When to Worry
Most of the time, wood glue mishaps are minor annoyances. You can fix them with a little patience and the right tools.
When is it normal to see a little glue residue? If it’s wet glue that you missed wiping. Or a tiny bit of dried glue that you can easily sand off unfinished wood.
These are everyday occurrences for DIYers and pros.
You should worry if:
- You’ve damaged the wood surface significantly. This means deep gouges or heavy sanding that has changed the wood’s shape or thickness.
- You’ve removed or damaged the finish and can’t match it. This is especially true for valuable furniture or pieces with a complex finish.
- The glue has soaked deep into the wood and is impossible to remove without major repair.
- You’re dealing with an antique or highly valuable piece. In these cases, the risk of causing irreversible damage might be too high for DIY removal.
If you’re unsure, it’s always best to err on the side of caution. Sometimes, leaving a small, imperfect mark is better than causing irreparable damage. You can also practice on scrap wood before tackling a visible area.
If the problem seems too big, or you’re working on something very precious, consider consulting a professional woodworker or furniture restorer. They have the experience and tools to handle difficult situations.
Quick Tips for Easier Glue Removal
Here are some simple tips to make your life easier when dealing with wood glue:
- Act Fast: Always try to clean up wet glue immediately. It’s the easiest way.
- Use the Right Cloth: A soft, lint-free cloth is best. Microfiber cloths work well.
- Don’t Over-Wet: For wet glue, a damp cloth is enough. Too much water can raise the grain.
- Scrape Gently: Use plastic scrapers or old credit cards first. If using metal, keep the angle very low.
- Follow the Grain: Always scrape or sand with the wood grain.
- Test Solvents: If you must use a solvent, test it on a hidden spot first.
- Work in Layers: For dried glue, remove it in thin layers rather than trying to get it all at once.
- Protect Your Work Area: Use drop cloths or paper to catch drips and debris.
- Have Backup: Keep a variety of scrapers and sandpaper on hand.
- Practice: If you’re nervous, practice on scrap wood first.
Frequently Asked Questions about Wood Glue Removal
Can I use household cleaners to remove wood glue?
Generally, no. Most household cleaners are not designed to break down wood glue. Some might contain mild solvents that could slightly soften it, but they can also damage wood finishes.
It’s best to use methods specifically recommended for wood glue.
Will sanding always damage the wood finish?
Sanding can definitely damage a finish if you’re not careful. If you use too coarse a grit or sand too aggressively, you’ll remove the finish. When removing glue from a finished surface, always use very fine grit sandpaper and sand only the glue itself, feathering into the finish.
What’s the difference between Titebond I, II, and III?
Titebond I is basic interior wood glue. Titebond II is water-resistant (good for outdoor projects in covered areas). Titebond III is waterproof (best for outdoor use and food-contact surfaces like cutting boards).
All are PVA glues and clean up best when wet.
Can I remove glue stains from wood?
Sometimes. If the glue has just dried on the surface, removal is possible. If it has soaked into the wood and dried, it might leave a darker stain.
This may require sanding down to the wood and refinishing the area to match.
Is there a safe way to remove super glue from my skin?
Yes, you can often remove super glue from skin by soaking the affected area in warm, soapy water. You can also try gently rolling the skin to break the bond. Avoid pulling forcefully.
If it’s really stuck, a small amount of acetone on a cotton swab applied to the edge of the glue might help, but be cautious.
My project has old, hardened glue. What’s the best starting point?
For old, hardened glue, start with mechanical removal. Try a sharp scraper held at a very shallow angle. Work slowly and follow the wood grain.
If that doesn’t work, consider very fine-grit sandpaper. Always test any solvents in an inconspicuous spot before applying them broadly.
Conclusion: Patience is Your Best Tool
Dealing with wood glue is part of the woodworking journey. Whether it’s a fresh squeeze-out or old, dried-on residue, you have options. By understanding the glue type and the wood’s condition, you can choose the right approach.
Remember to always start with the gentlest method. Patience and a careful hand are your most valuable tools. With practice, you’ll become adept at removing glue marks and keeping your wood projects looking their best.