Stair Stringer Calculator: Measure, Layout, Cut
Set your stair stringer calculator to the exact rise and run, then subtract tread thickness from the top cut and verify the first riser against the finished deck or landing height. Skip those checks and stairs can bind at the top, land short, or fail inspection. This guide shows how to read the calculator output, mark the stringer, account for tread thickness, and verify the layout before you cut.
How is this calculated?
Press Calculate to see the math with your numbers.
Stair stringer basics
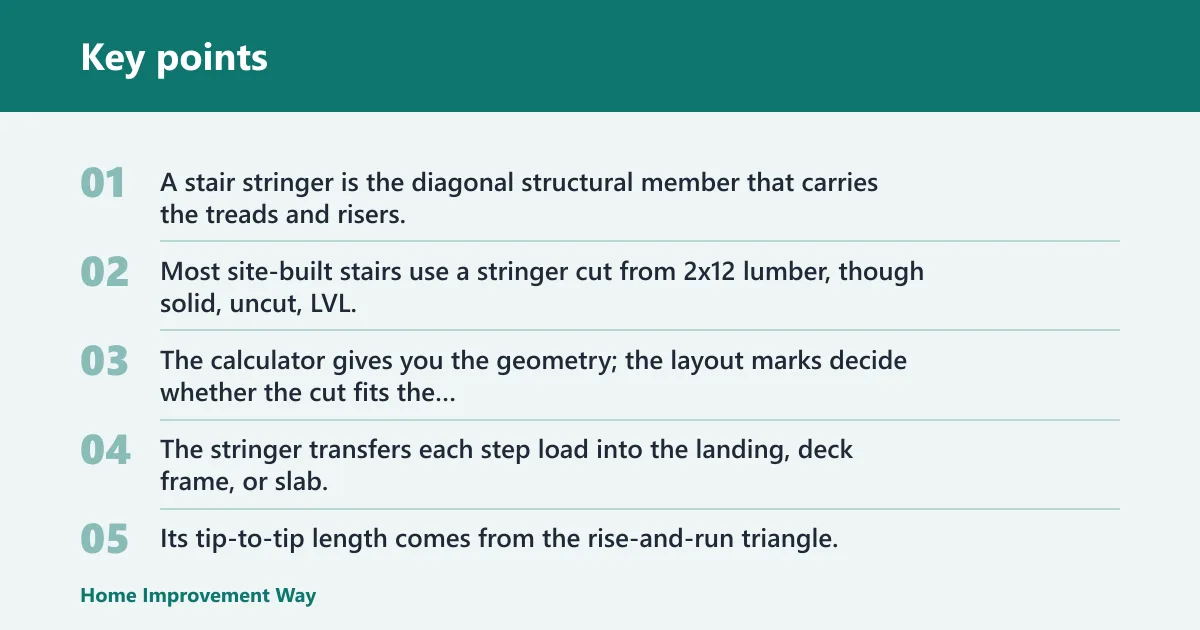


A stair stringer is the diagonal structural member that carries the treads and risers. Most site-built stairs use a stringer cut from 2×12 lumber, though solid, uncut, LVL, and steel versions also appear on some jobs. The calculator gives you the geometry; the layout marks decide whether the cut fits the opening.
What the stringer carries
The stringer transfers each step load into the landing, deck frame, or slab. Its tip-to-tip length comes from the rise-and-run triangle, but the usable part depends on mount type, tread thickness, and how much material remains after notching. A notched 2×12 needs enough wood left at the narrowest point to stay sound.
Standard mount and flush mount do not lay out the same way. In a standard mount, the tread and riser relationship follows the usual stair geometry. In a flush mount, the top connection changes, so the top step and top cut need more attention before you mark the board.
Where calculator output fits in the build
Use the stair stringer calculator for the math, then use the opening itself for verification. Calculator.net offers basic and comprehensive stair calculator versions, and it supports total rise and total run in feet, inches, meters, and centimeters. The output gives rise, run, stringer length, step height, tread depth, and steps, but it does not account for framing errors, slab slope, or finish thickness.
What the calculator needs
The calculator is only as accurate as the numbers you enter. Measure total rise carefully, measure the run or opening length the way your mount type requires, and choose the tread thickness before you trust the layout. A correct input set is the difference between a cut-ready stringer and a board that needs rework.
Measure total rise correctly
Total rise is the floor-to-floor vertical measurement. It drives riser count and stringer length, and it is the vertical leg of the right triangle. Measure from the finished lower walking surface to the finished upper walking surface, not from bare framing unless the calculator specifically asks for rough framing values.
Uneven slabs and sloped sites are where many layouts go wrong. If the lower pad slopes or the upper landing includes added finish thickness, measure to the actual finished condition you will build to. A small error in total rise changes every riser on the flight.
Measure total run and opening length
Total run is the horizontal stair length. It equals the number of treads multiplied by tread depth, and it is the horizontal leg of the right triangle. That number affects the stair angle, which is why a long run with a low rise feels flatter than a short run with the same rise.
For deck stairs, opening length and landing position can force a different top landing offset than interior stairs. Composite treads may also need tighter stringer spacing than wood treads, because the tread material and fastening pattern can change the supported span. Keep the material system in view while you enter the calculator values.
Choose mount type and tread thickness
The stair calculator distinguishes standard stringer mount from flush stringer mount. That matters because the top cut geometry changes, and the first step can shift when tread thickness is added. Tread thickness also changes the last step at the top, where the finished surface is what the user steps onto.
MyCarpentry lists automatic and manual forms, with target step height options from 4.00 inches to 8.50 inches and tread depth options from 9 inches to 12 inches. Those ranges help you see whether your stair can be built comfortably before you commit to a layout.
How do you turn rise and run into layout numbers?
Start by converting total rise into a riser count, then use the chosen mount type to determine tread count and top-step geometry. From there, the calculator gives stringer length and stair angle. Those four outputs are the core values you need before you mark a board.
Riser count from total rise
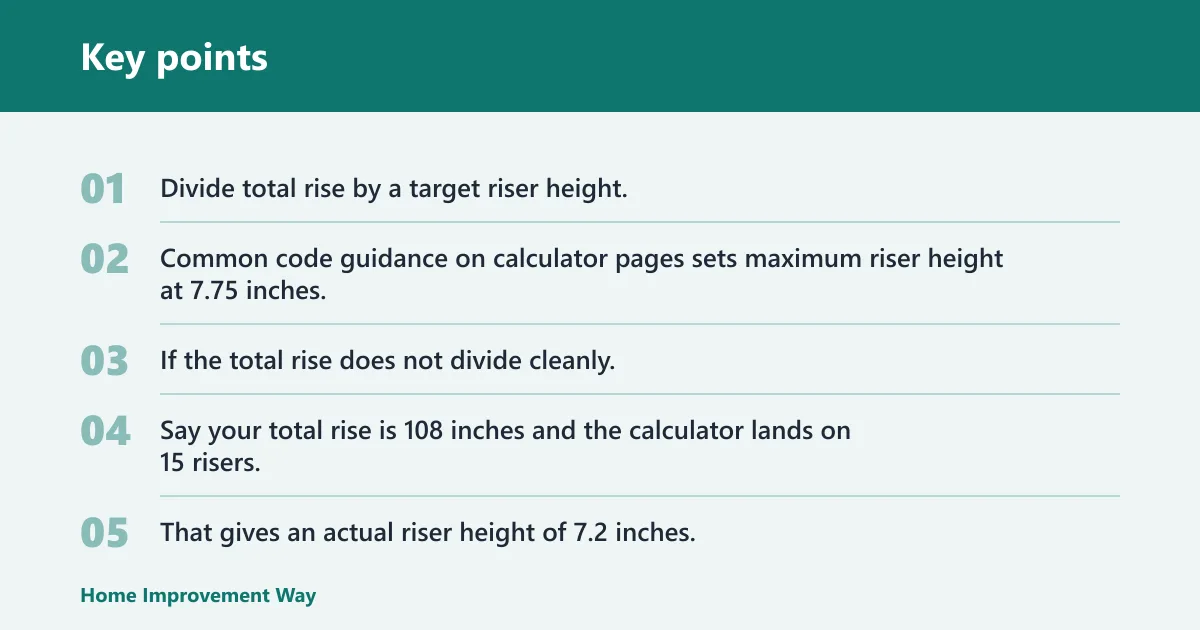
Divide total rise by a target riser height, then adjust until each actual riser stays uniform across the flight. Common code guidance on calculator pages sets maximum riser height at 7.75 inches, and risers must remain even from bottom to top. If the total rise does not divide cleanly, the calculator should show the adjusted actual riser height.
Say your total rise is 108 inches and the calculator lands on 15 risers. That gives an actual riser height of 7.2 inches, which stays under the 7.75-inch guide and is easier to lay out than a number that forces an uneven final step.
Tread count from the chosen mount
In standard stair layout, tread count is typically one less than risers because the top landing or deck surface becomes the last step. That is why the first and last step checks matter so much. In flush mount work, the top detail changes, so the calculator output needs to be read with the exact mounting condition in mind.
Common code guidance on calculator pages sets minimum tread length at 10 inches. Keep that in view when you compare the calculator’s tread depth output with your actual tread material and nosing detail. A nominal number that looks fine on screen may fail once finish material is in place.
Stringer length and stair angle
Stringer length comes from the Pythagorean theorem. The calculator turns total rise and total run into the diagonal length, and the stair angle comes from rise divided by run. MyTrigCalculator frames the calculator around total rise, tread depth, and stringer length, and it also references the 24-25 carpenter’s rule for practical layout work.
For comfort, stair angle is often checked around 30° to 37°. That is not a stand-alone pass/fail for every job, but it is a useful range when you want stairs that do not feel too steep or too flat. The angle also affects handrail geometry and the feel of the finished run.
How do you cut the stringer layout from calculator output?
Translate the calculator output into physical marks by setting a reliable top reference, marking repeated rise-and-run steps, and accounting for tread thickness before you cut. The first riser and the top landing offset are the two marks that most often create a bad fit. Get those right before you reach for the saw.
Mark the first riser and top landing offset
Begin at the finished upper level, not just the framed opening. The top step often needs an offset that matches tread thickness, deck board thickness, or landing finish. If you mark from raw framing and ignore that offset, the staircase can end up short at the top or too tall at the first step.
A common first-timer mistake is to mark every rise exactly the same from the framed header and assume the tread will fix it later. It will not. The top connection must match the finished surface, or the stringer will land wrong even if the calculator math was correct.
Lay out the step pattern
Use a framing square or stair gauge to transfer the calculator’s rise and run to the board, then repeat the pattern for each step. Keep each mark aligned to the same reference edge so the notches stay parallel. On a 2×12, that pattern must still leave enough material after notching for the load you expect.
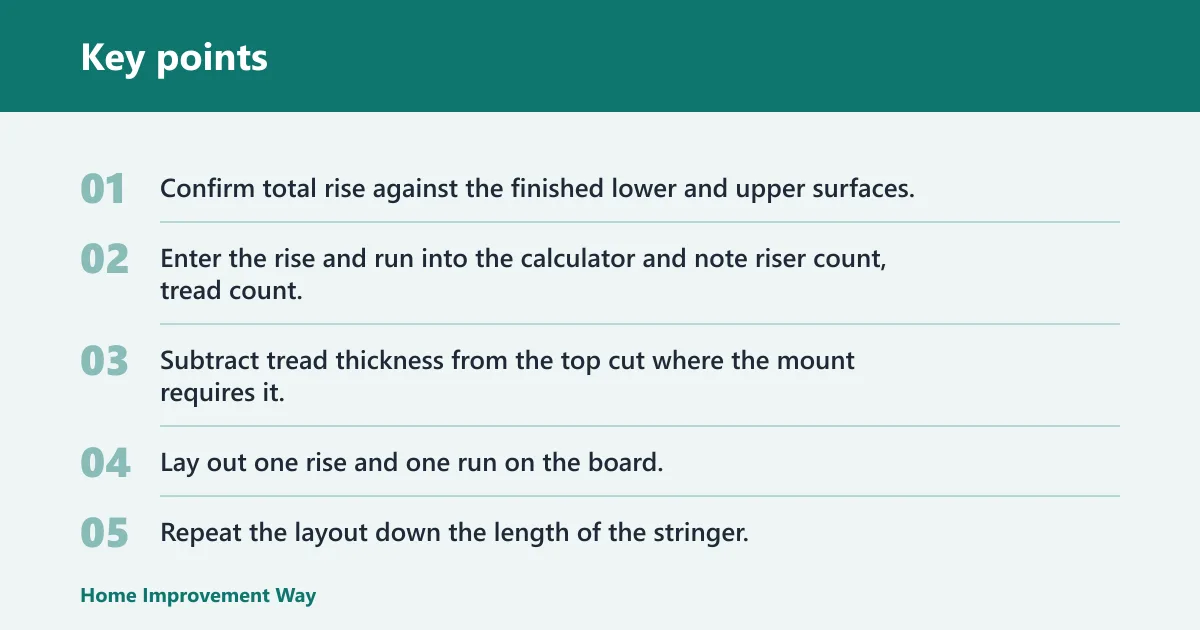
- Confirm total rise against the finished lower and upper surfaces.
- Enter the rise and run into the calculator and note riser count, tread count, stringer length, and angle.
- Subtract tread thickness from the top cut where the mount requires it.
- Lay out one rise and one run on the board.
- Repeat the layout down the length of the stringer.
- Check that the last mark does not force an undersized bottom bearing or a short top step.
Transfer marks to a 2×12 or approved member
Most site-built notched stringers use 2×12 lumber because the wider board leaves more material after the stair notches are cut. If the stringer is solid, uncut, or made from another approved member, the layout method changes but the geometry check does not. Stringer spacing is commonly around 16 inches on center, though tread material and design loads can call for different spacing.
Keep minimum remaining material in mind after notching. If the cut leaves a very thin web at the narrowest point, the board may not be a safe choice for the span or load. That check matters more on steep stairs, where the notches eat deeper into the member.
Cut check table
This table pairs calculator output with site checks so you can catch fit problems before you cut. Use the pass/fail flag as a simple decision code: P means the value matches the site condition, and F means the layout needs adjustment before cutting.
| Check | Calculator output | On-site check | Pass/fail code |
|---|---|---|---|
| Total rise | 108 inches | Finished floor to finished landing measures 108 inches | P |
| Actual riser height | 15 risers at 7.2 inches each | Every riser remains uniform within the flight | P |
| Number of risers | 15 | Top and bottom conditions still allow a 15-riser layout | P |
| Number of treads | 14 for a standard mount | Top landing acts as the final step in the standard layout | P |
| Tread thickness adjustment | 1.5 inches subtracted at the top cut | Finished tread and nosing detail match the assumed thickness | P |
| Top-step adjustment | Top cut offset equals finished landing condition | First step height matches the rest after finish thickness is added | P |
| Bottom-bearing check | Full bearing on slab or landing edge | Stringer rests flat with no short bearing or rocking | P |
| Code flag | Riser under 7.75 inches; tread at least 10 inches; headroom at least 6 feet 8 inches | Local code still needs final confirmation before build | P |
What can go wrong on site?
Calculator output can still produce a bad fit if the field conditions do not match the inputs. The most common problems are uneven framing, a top-step mismatch, and headroom conflicts in the opening. Those issues show up after layout, so they need a final check before you cut the second stringer.
Uneven framing or sloped slabs
If the lower slab slopes, the first riser may be taller or shorter than the calculator predicts. That error then carries up the flight. Measure the actual finished condition at both ends, especially on exterior decks where framing, decking, and trim can change the final rise.
Suppose a deck stair is framed for a 36-inch opening, but the concrete pad falls away by half an inch near the stringer bottom. The calculator can still be right, yet the actual bottom bearing and first riser will be wrong unless the lower measurement reflects the finished support surface.
Top-step mismatch at the landing
The top step is where tread thickness, deck board thickness, and mount type collide. If the top cut ignores those materials, the first step can feel out of sequence with the rest of the flight. That is one of the most common causes of a stair that looks correct on paper but feels wrong underfoot.
Standard and flush mounts need different top details. A flush mount changes the upper geometry, so do not copy a standard layout onto a flush connection without rechecking the top cut and the first riser.
Headroom and opening conflicts
Common code guidance on calculator pages sets stair headroom at least 6 feet 8 inches. That clearance must be checked under floor openings, beams, and any sloped ceiling above the stair. A correct stringer length does not help if the opening steals headroom halfway up the flight.
Common code guidance on calculator pages also sets minimum stair width at 36 inches. That width is a separate check from the stringer layout, but it affects how much room you have for handrails, trim, and comfortable passage.
Frequently asked questions
How do I calculate stringer length for stairs?
Use total rise and total run as the two legs of the right triangle, then take the diagonal as the stringer length. A stair stringer calculator does that automatically. The result is only ready for cutting after you verify the top-step offset, tread thickness, and bottom bearing against the actual stair opening.
How do I calculate a stair stringer layout?
Enter the exact rise and run, let the calculator determine riser count, tread count, angle, and stringer length, then transfer those values to the board with repeated rise-and-run marks. Check whether your mount type is standard or flush, because that changes the top cut and the first step geometry.
How do you calculate stair stringer length?
Calculate stair stringer length from the rise-and-run triangle, not from a rough board estimate. The calculator output should match the finished floor-to-floor rise and the total run you will actually build. If the top landing or lower pad differs from the assumed finished surfaces, recalculate before cutting.
How do I figure stair stringers?
Figure stair stringers by treating the calculator as a layout guide, then verifying every output on site. You need total rise, total run, tread thickness, and mount type before the marks are trustworthy. After that, confirm riser uniformity, headroom, and a sound bottom bearing.
Sponsored / affiliate links. As an Amazon Associate I earn from qualifying purchases. I may earn additional commission from eligible campaigns.