Tile Calculator: How Much Tile You Need for Floors
Use a tile calculator by dividing the project area by tile coverage, then add about 10% waste for straight layouts, around 15% for diagonal installs, and roughly 20% or more for pattern-heavy jobs. I have seen underbuying stop a job mid-run, and I have seen overbuying leave a pile of boxes with the wrong dye lot. This guide shows how to calculate tile count, waste, box count, and rough buy-list cost for floors, walls, backsplashes, showers, and patterned layouts.
How is this calculated?
Press Calculate to see the math with your numbers.
How much tile do you need?


Start with the surface size you are tiling, then convert that area to the same unit as the tile coverage you plan to buy. For a simple rectangle, multiply length by width. For an odd shape, split it into rectangles, then add the pieces before you round up.
Start with room dimensions or total area
A tile calculator estimates tiles for a floor, roof, wall, or any other surface. It can take room dimensions or a total area you already know. Tile size input can use inches, feet, meters, cm, and yards, and room dimensions can be entered in inches, feet, meters, cm, yards, and mm.
For a rectangle, the math is plain: length × width. For a backsplash or shower wall, I measure each section on its own. Niches, returns, and cutouts should be counted as separate pieces, not stuffed into one rough rectangle.
Convert the area into the unit you are buying in
Buying units matter. If tile is priced by square foot, keep the project in square feet. If it is priced by square meter, stay in metric. A calculator that accepts square feet, square meters, square inches, and square centimeters keeps the math honest.
- Measure the full surface.
- Convert all dimensions to one unit.
- Subtract only openings that will not be tiled.
- Add waste before rounding to boxes.
- Check price by tile, box, or area.
Round up before you order
Fractional tiles are not sold, and box coverage is not always exact. Round up to the next full tile count, then round again to the next full box. That second rounding is where many orders go wrong, especially on jobs with larger tile sizes or mixed cuts around edges.
How do tile size and grout spacing change the count?
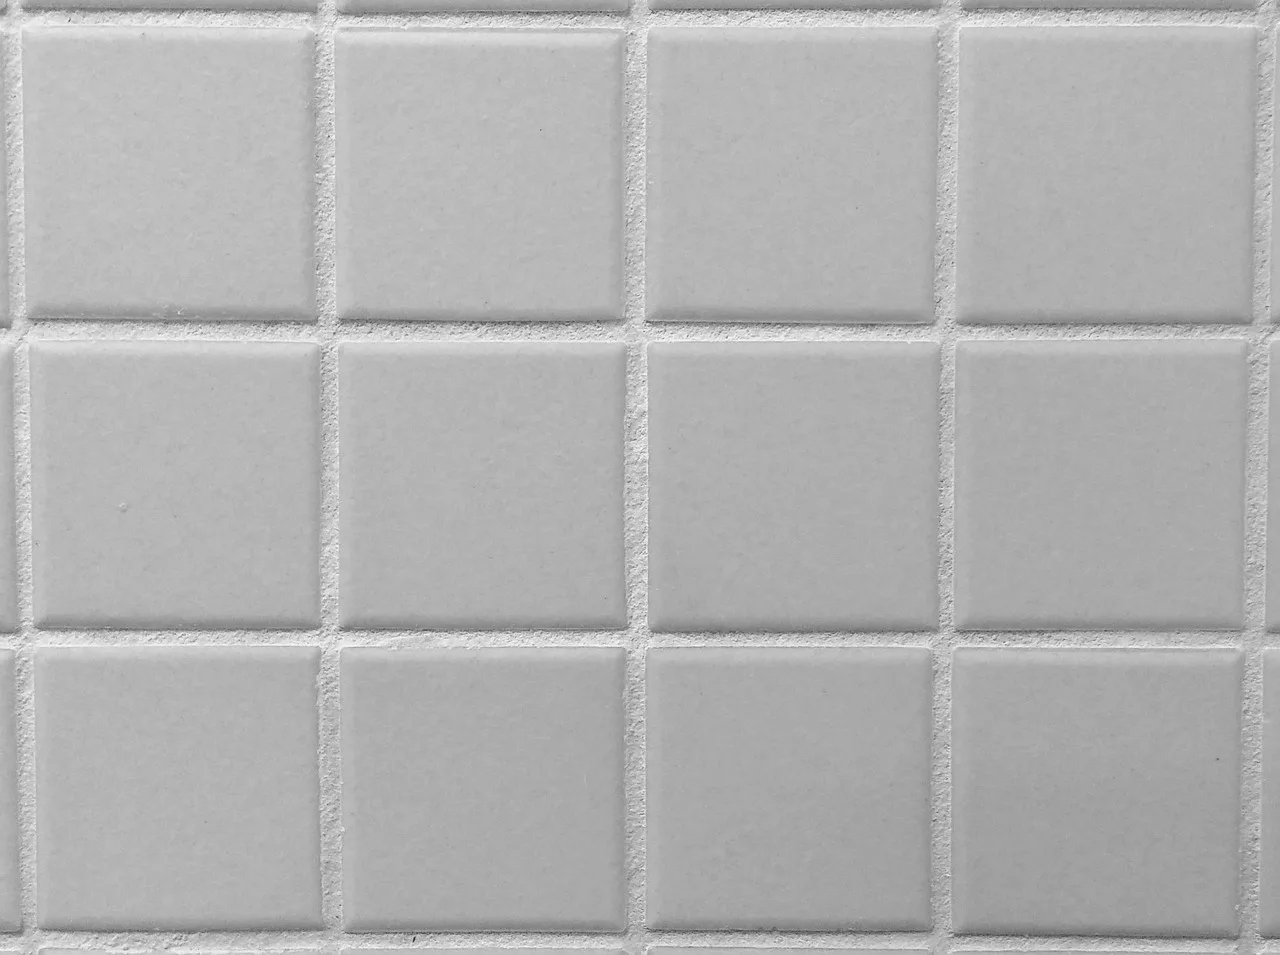
Tile size and grout spacing change the coverage per tile, so the count is never just area divided by the face size printed on the box. Rectangular tile is the usual input shape. Once you account for the gap between pieces, the effective coverage shifts a little, and that shift grows on larger projects.
Use rectangular tile dimensions as the base input
Most calculators assume rectangular tile: length and width. That works for common mosaics, 12×12 field tile, 12×24 planks, and 24×24 large-format tile. Very large slabs and small pieces still fit the same math, but the cut plan changes and so does the waste.
Here is the practical part: a 12×12 tile and a 12×24 tile may cover similar area per piece, but they do not behave the same on a wall or floor. The larger piece often gives fewer grout joints, while the longer piece may create more trim cuts at edges and corners.
Account for grout gaps or overlap values
Grout gaps can range from one-sixteenth of an inch to half an inch. Positive gap values mean space between tiles. Negative overlap values matter for some specialty layouts where pieces overlap or interlock slightly. The calculator should treat spacing as part of coverage, not as an afterthought.
Wide gaps slightly reduce the number of full tiles needed for a fixed area. Tight gaps do the opposite. On paper the difference looks small, but on a room with many cuts, outlets, or edges, it can move the box count by one full carton.
Why 12×12, 12×24, and 24×24 sizes produce different box counts
Box count changes because tile count per box and coverage per box vary by manufacturer. A 12×12 box may include more pieces than a 24×24 box, even when the total square footage is similar. The calculator should let you enter tiles per box, then round up to full boxes.
| Nominal tile size | Typical use case | Ordering note |
|---|---|---|
| 2×2 mosaic | Shower pans, accents | Count sheets carefully; cuts are frequent |
| 12×12 | Floors, backsplashes | Usually simple to lay and box |
| 12×24 | Floors, walls | Watch for offset and warp limits |
| 24×24 | Large floors | Fewer joints, more care in handling |

How much extra tile should you buy?
Use 10% for standard waste, move to 15% for diagonal layouts, and use 20% for complex patterns, heavy cut work, or awkward spaces. Waste is not fixed. It changes with layout, room shape, tile size, and how many cuts land on visible edges.
Use 10% for standard waste
A straight or grid layout in a clean rectangle usually starts with a 10% buffer. The calculator recommends a 10% waste buffer. Running bond layouts generally use about 10% more material. That is enough for most straightforward floors and walls when the tile size is normal and the room has few interruptions.
Move to 15% for diagonal layouts
Diagonal layouts create more edge cuts. The calculator suggests 15% for diagonal patterns. That extra margin covers the long triangular cuts that appear around walls, door openings, and cabinets. It is better to have a little extra than to stop because the last course is short by a few pieces.
Use 20% for herringbone, complex rooms, and heavy cut work
Herringbone layouts use more material than linear layouts. The calculator suggests 20% for complex patterns. Use that higher buffer for rooms with many corners, shower niches, islands, or pattern repeats that must start in a specific place. Odd room shapes also push waste higher than a simple rectangle.
What changes by project type?
Project type changes where cuts land and how much material gets lost to trimming. Floors usually waste more at the perimeter. Walls and backsplashes lose material around outlets, trim, and corners. Showers add niches, bench faces, and pan transitions, which are easy to undercount if everything is treated like one flat wall.
Floor layouts and room edge cuts
Floors often look simple, but they hide edge cuts along every wall. A room with a jog, a hallway entry, or a closet opening usually needs extra tile beyond the standard rectangle. Do not subtract a door opening unless the threshold area will truly not be tiled.
Wall and backsplash coverage around outlets and corners
Backsplashes and walls often use smaller tile totals, but they can need more waste because outlets and corner returns create short pieces. Inch Calculator says tile is common for flooring and backsplash projects. The count may be low, yet the cut burden can still justify a larger buffer.
Shower walls, niches, and pan transitions
Shower work is cut-heavy. Niches, shampoo shelves, curb faces, and the change from wall to pan each remove full-piece efficiency. Running tile into a niche often creates narrow strips, and those strips usually come from the same box as the face tile. Order spare pieces early.
How do box coverage and cost inputs work?
Tiles per box and coverage per box vary by manufacturer, so box count should always be rounded up, not estimated loosely. The calculator can use price per tile, per box, per square foot, or per square meter. That lets you compare buying methods before placing the order.
Tiles per box and coverage per box vary by manufacturer
One box may cover more than another even when the tile size is identical. That is why box coverage must be checked on the actual product label. The calculator includes optional box size as tiles per box, which is the safest way to avoid ordering one box short.
Estimate cost from tile or box pricing
Use the pricing method that matches the supplier. If the store lists price per box, multiply by the full box count. If it lists price per square foot or square meter, multiply by the adjusted area. If it lists price per tile, multiply by the total tile count, then add trim and spare pieces if needed.
Use a buy-list workflow for adhesive and grout
Tile is only one line on the order sheet. Adhesive, grout, and underlayment should be planned with the same area numbers. Thinset or adhesive is usually matched to coverage and trowel size, while grout is matched to joint width and tile format. A floor, wall, or shower that is fully tiled needs all three.
| Project type | Tile count before waste | Waste | Boxes to buy | Adhesive / grout note |
|---|---|---|---|---|
| Floor, 12×12 | 100 | 10% = 110 total | 5 boxes at 24 tiles/box | Plan floor adhesive and sanded grout |
| Wall, 12×24 | 42 | 10% = 47 total | 4 boxes at 12 tiles/box | Use wall-rated adhesive and matching grout |
| Backsplash, 3×6 | 28 | 15% = 33 total | 3 boxes at 12 tiles/box | Light adhesive; narrow joint grout |
| Shower, 12×24 | 64 | 20% = 77 total | 7 boxes at 12 tiles/box | Water-rated adhesive, grout, waterproofing |
| Herringbone floor, 2×10 | 180 | 20% = 216 total | 9 boxes at 24 tiles/box | Higher adhesive use from extra cuts |
How do you avoid under-ordering?
Do not subtract doors the wrong way. Measure niches, returns, and cutouts separately. Check layout repeat before you place the order. The biggest shortages usually come from counting only the open floor area and ignoring the pieces lost to pattern alignment, edge cuts, and mistakes during layout.
Measure oddly shaped rooms, niches, and cutouts separately
Split an L-shaped room into rectangles. For a shower, measure the back wall, side walls, niche faces, niche interior, and curb. Add those areas together. This method is slower than one big estimate, but it keeps small sections from vanishing inside a rough total.
Watch for common measurement mistakes
Subtracting a standard door opening from a floor is often wrong because tile still runs under the jamb or threshold zone. Another common mistake is ignoring the pattern repeat. A diagonal or herringbone layout can shift the starting point, which changes where full tiles land and where scraps appear.
Check layout repeat before you place the order
Dry lay a sample row if possible. Confirm where the centered tile lands, where the cuts fall, and whether the pattern repeats cleanly across the room. If the layout forces thin slivers at one wall, increase the waste allowance before buying.
Frequently asked questions
How do you calculate how many tiles you need?
Measure the area first, then divide by the coverage of one tile. Add waste before rounding to full boxes. Straight layouts often start at 10%, diagonal layouts at 15%, and pattern-heavy installs at 20% or more. That gives a buying number, not just a math result.
How many tiles per m2 calculator?
Convert the tile size to square meters, then divide 1 by that tile area to get tiles per m2. After that, add waste for cuts and breakage. A calculator that accepts meters and cm is useful because it keeps the tile size and room size in the same system.
How many 12×12 tiles do I need?
Start with the room area in square feet or square meters, then divide by the coverage of one 12×12 tile. A 12×12 tile is one square foot nominally, but grout spacing and cuts change the final count. Add waste and round to full boxes before ordering.
How much tile should I buy for waste and cuts?
Buy 10% extra for a straightforward straight layout, 15% for diagonal work, and 20% for herringbone or rooms with lots of cuts. If the room has niches, corners, or many outlets, move up a step. The extra tile is cheaper than a delayed project.
How do you calculate tile needed for a floor or wall?
Measure length times width for each section, then total the area. Floors usually need more attention at the perimeter, while walls need extra thought around openings, corners, and trim. Once the area is set, divide by tile coverage, add waste, and round to boxes.
How much tile adhesive do I need for a project?
Adhesive is usually estimated from the same area used for tile ordering, then adjusted for trowel size, tile format, and substrate condition. Large-format tile and uneven surfaces use more material. Shower work also needs waterproofing products and sometimes a different adhesive plan than a dry floor.
Sponsored / affiliate links. As an Amazon Associate I earn from qualifying purchases. I may earn additional commission from eligible campaigns.