Tile Installation Over Plywood: When It Works and When It Fails
Plywood can accept tile only when the floor is stiff enough, the wood layer is exterior-grade, and a tile-rated underlayment or uncoupling layer is installed; single-layer plywood alone is usually not enough. The plywood is the structural wood layer, while the underlayment is the tile-facing layer above it. Skip that, and grout cracks, loose tile, and broken bonds can turn a small job into a tear-out. This guide shows when plywood is tile-ready, what underlayment or rebuild is needed, and which damage or movement means stop and start over.
Evaluating plywood subfloors for tile
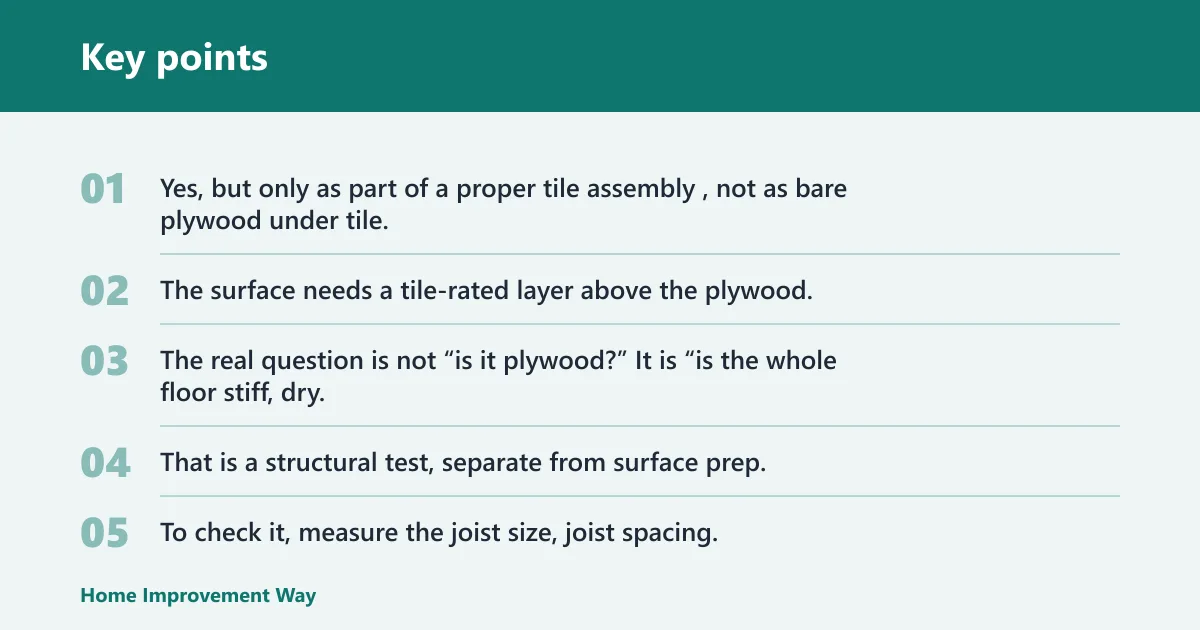

Yes, but only as part of a proper tile assembly, not as bare plywood under tile. The surface needs a tile-rated layer above the plywood, and the structure below it has to meet deflection limits before any underlayment choice matters.
The real question is not “is it plywood?” It is “is the whole floor stiff, dry, and supported enough for tile?” Ceramic and porcelain floors are commonly judged by an L/360 deflection limit, while natural stone needs L/720. That is a structural test, separate from surface prep. To check it, measure the joist size, joist spacing, and the unsupported span between supports, then compare that framing to a deflection calculator or span table before you choose an underlayment.
Plywood floor decision matrix
| Floor condition | Acceptable tile method | Stop-fail warning |
|---|---|---|
| 3/4-inch exterior-grade plywood over joists at 16 inches on center, stiff and dry | Cement backer board or uncoupling membrane over plywood, then tile | Do not skip the underlayment or rely on plywood alone |
| Bouncy floor or noticeable flex between joists | Rebuild or stiffen the structure before tile work | Underlayment will not fix deflection |
| Water-damaged, swollen, or delaminated plywood | Replace damaged subfloor sections first | Moisture damage is a hard stop |
| Bathroom floor with sound plywood but uncertain moisture history | Use a tile-rated underlayment, then waterproof where the system calls for it | Check for soft spots, stains, and loose fasteners before proceeding |
| Large-format tile, 15 inches or longer on any side | Flatter substrate, large-format tile mortar, and careful coverage control | Do not expect plywood plus thinset alone to control lippage |
What plywood thickness do you need?
A common minimum called out in guides is 3/4 inch exterior-grade plywood. That is a starting point, not a guarantee. Thickness helps, but joist spacing, joist span, and the condition of the plywood matter just as much. For stone tile, many floors need a stiffer build-up than a single 3/4 inch layer, so the plywood layer alone is not enough.
Exterior-grade plywood resists moisture better than interior panels, but it can still swell, flex, or delaminate after water exposure. If the panel is soft, stained, or swollen, thickness no longer matters; the floor needs repair or replacement before tile goes down.
Think of thickness as one part of the check. A floor can be 3/4 inch plywood and still fail tile work if the joists are too far apart, the span is too long, or the floor feels springy underfoot.
When is the floor too flexible?
The floor is too flexible when it does not meet the deflection limit for the tile you plan to install. Use L/360 for ceramic and porcelain floors, and L/720 for natural stone. If the floor feels bouncy, squeaks under load, or shows movement at seams, tile is at risk even if the plywood looks fine.
Deflection is a structural issue, not a surface issue. Backer board gives a tile-friendly surface, and a membrane can isolate some movement in the tile layer, but neither one corrects a floor that bends too much between joists or along a weak span. If the floor moves, the tile assembly moves too.
Suppose a hallway floor has 3/4-inch plywood over joists at 16 inches on center, but it still dips slightly when someone walks across it. That is a warning sign. The underlayment choice should wait until the framing and subfloor are stiff enough for the tile type.
Choose the right underlayment
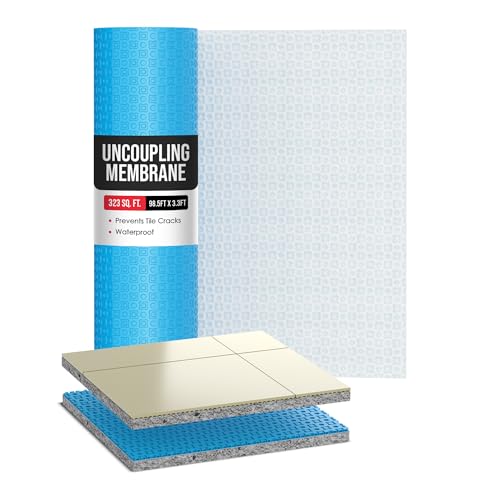
Most tile installations over plywood use either cement backer board or an uncoupling membrane. Both create a better tile surface than plywood alone, but they solve different problems. Backer board gives a cementitious surface. A membrane isolates movement between the wood layer and the tile assembly.
Cement backer board over plywood
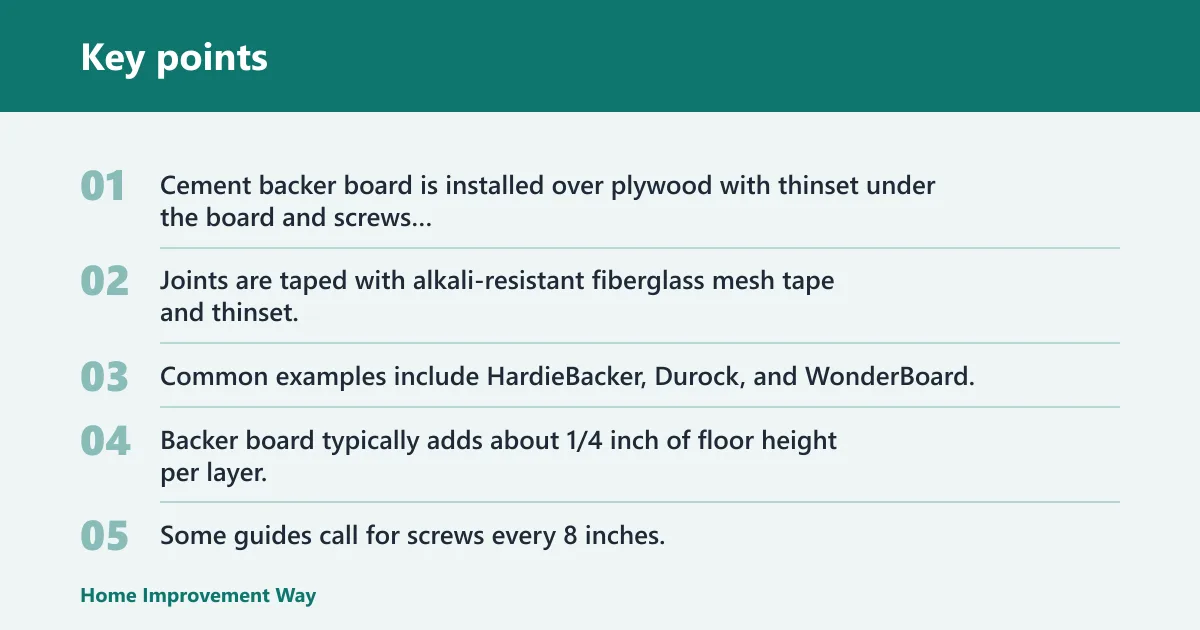
Cement backer board is installed over plywood with thinset under the board and screws through the sheet. Joints are taped with alkali-resistant fiberglass mesh tape and thinset. Common examples include HardieBacker, Durock, and WonderBoard.
Backer board typically adds about 1/4 inch of floor height per layer. Some guides call for screws every 8 inches; another says screws every 6 inches at edges and 8 inches in the field. Follow the system instructions for the board you choose.
Backer board is useful when you want a hard, tile-friendly surface and can spare the extra height. It does not make a weak floor strong, and it does not fix rotten plywood.
Uncoupling membrane over plywood
An uncoupling membrane is bonded to plywood with thinset and used to isolate movement between the wood and the tile. A common example is Schluter DITRA, and one guide says it adds only 1/8 inch of height. That lower build-up matters in tight transitions.
Membranes are often the better fit when floor height is tight or when the goal is to reduce stress transfer from the wood layer to the tile. They are still not a cure for bounce, rot, or badly spaced framing.
Choose backer board if you want a cementitious surface and can accept more height. Choose a membrane if you need less buildup and the floor already meets the structural target.
What thinset goes over plywood?
Over plywood, use the mortar specified by the tile assembly and the membrane or board manufacturer. For cement backer board, that usually means polymer-modified thinset under the board. For uncoupling membranes, many systems call for modified thinset below the membrane and a different mortar above it, so the layer below the membrane is not the same as the layer above it.
The mistake to avoid is assuming one thinset fits every layer. The mortar under the membrane may be different from the mortar above it.
Large-format tile needs more care
Large-format tile needs a flatter substrate and better mortar coverage than smaller tile. Tiles 15 inches or longer on any side need large-format tile mortar. That mortar helps hold the tile in plane while it cures, which matters when tile spans small waves in the floor.
For floors, coverage targets are usually high. A stronger target is near-full mortar contact under the tile, especially for large-format work and other demanding floor installations.
Picture a 24-by-24 tile laid over a plywood floor that is slightly crowned near one joist bay. Even a good underlayment will not hide that dip. The installer still needs a flatter base and mortar that can support the tile without voids.
How to tell tile-ready from rebuild needed

Use a simple path. First, check for damage and bounce. Next, check joist spacing and overall deflection. Then choose the underlayment and mortar that fit the tile and the floor height. If the floor is wet, swollen, soft, or visibly moving, stop and repair before tile work begins.
- Press and walk across the floor to find bounce, squeaks, or soft spots.
- Look for stains, swelling, delamination, or fasteners that have pulled through.
- Confirm the framing is stiff enough for L/360 ceramic and porcelain, or L/720 natural stone.
- Choose cement backer board or an uncoupling membrane based on height, budget, and system requirements.
- Use the correct thinset for each layer and tape backer board seams with alkali-resistant fiberglass mesh tape.
- Leave movement gaps at the perimeter and any required movement joints.
What causes tile grout to crack over plywood? Usually movement. That movement can be seasonal wood expansion, flex between joists, weak seams, or moisture damage that changes the shape of the plywood after the tile is already installed. Grout often breaks first because it is less forgiving than the structure below it.
Frequently asked questions
Can you install tile directly over plywood?
Usually no. Bare plywood is a weak tile base because it moves with humidity and flexes with load. Most tile systems call for cement backer board or an uncoupling membrane over the plywood, plus the right thinset and movement gaps. Direct bonding to plywood is a poor bet for floor tile.
What plywood thickness do you need for tile?
A common minimum mentioned in guides is 3/4 inch exterior-grade plywood. That said, thickness alone does not make a floor ready for tile. Joist spacing, span, stiffness, and moisture condition all matter. A thicker sheet over a bouncy or damaged structure still fails.
Do you need cement backer board over plywood?
Often yes, especially when the floor height allows it and the goal is a cementitious tile surface. Backer board is installed in thinset and screws, and its seams are taped with alkali-resistant fiberglass mesh tape. It does not fix structural problems, so the floor still needs to meet deflection limits.
Can you use an uncoupling membrane over plywood?
Yes, if the system allows it and the floor is already stiff enough. A membrane is bonded to plywood with thinset and helps isolate movement. One common example is Schluter DITRA, which adds only 1/8 inch of height. It is useful where buildup must stay low.
What thinset should be used over plywood?
Use the mortar specified by the assembly and the manufacturer instructions. Many cement backer board systems call for modified thinset under the board, while many membrane systems use modified thinset below the membrane and a different mortar above it. Always match the mortar to the layer and the manufacturer’s instructions.
Is plywood okay in a bathroom floor under tile?
It can be, but the risk is higher than in a dry room. Bathrooms add splash, condensation, and occasional leaks, and plywood can swell or delaminate after moisture exposure. Inspect for stains, soft spots, and movement first, then use a tile-rated underlayment and proper waterproofing where needed.
What causes tile grout to crack over plywood?
Grout cracks when the floor moves too much for the tile assembly. Common causes include bouncy framing, seasonal plywood movement, water damage, weak seams, and improper thinset or underlayment choice. If grout cracks keep returning, the subfloor or framing usually needs correction, not just new grout.
Sponsored / affiliate links. As an Amazon Associate I earn from qualifying purchases. I may earn additional commission from eligible campaigns.