Tile Installation Guide
Byline: Written by Mark Ellington, a renovation writer who has worked alongside tile setters and remodeling crews on bathroom, kitchen, and floor projects. Technical review and edit by the Home Improvement Way editorial team using TCNA, ANSI, manufacturer installation instructions, and adopted plumbing and residential code language for shower receptors and floor framing.
How we know: The readiness checklist below is built from the same pass-fail items I look for before a tile job starts on site: substrate flatness, floor stiffness, moisture risk, approved wet-area waterproofing, flood-test results, mortar coverage, and movement-joint planning. Where a manufacturer requirement is stricter than a general rule, the manufacturer requirement should control.
A tile surface is ready only when the substrate is flat, stiff, clean, and dry: no more than 1/4 inch variation in 10 feet for most tile, or 1/8 inch for large-format tile. Those tolerances come from ANSI A108.02 substrate requirements for tilework. I have seen people skip that prep and pay for it later with cracked tile, loose bond, leaks, mold, and full tear-out. This tile installation guide shows how to judge floors, walls, and showers, what prep each substrate needs, and the stop signs that mean do not set tile yet.
Order decides the job. I check the framing or slab first, then moisture exposure, then the waterproof layer, then control lines and cuts, and only then do I open mortar and start setting tile. When one layer is wrong, the layers above it usually fail with it.
Room type changes the checks. A dry backsplash may be acceptable if the painted drywall is removed and a sound wall remains behind it. A shower should have a waterproofed assembly that has passed a flood test before the first tile is set, using a membrane that meets ANSI A118.10 and a receptor built under a recognized method in the TCNA Handbook.
What are the basic tile installation steps?
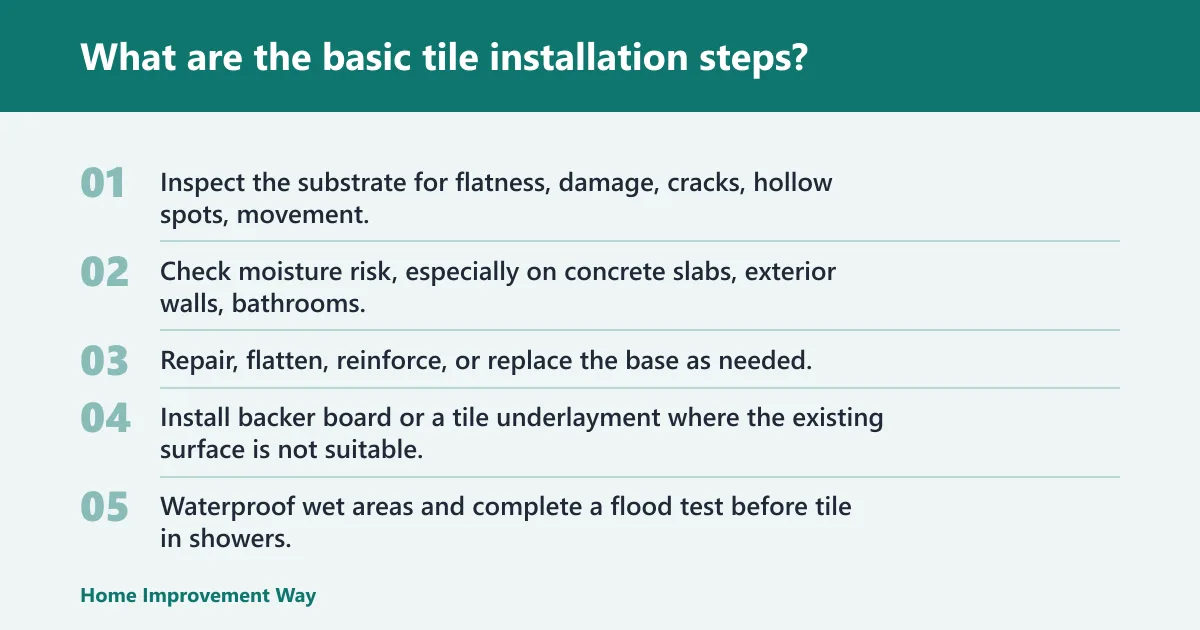


The basic steps are to inspect, correct, verify, lay out, set, and finish. In practice, I start by checking flatness with a straightedge, movement under load, moisture at the slab or wall, then the waterproof assembly in wet areas, before I snap layout lines, test mortar coverage, set tile, grout, and leave movement joints for sealant. If any checkpoint fails, prep comes before mortar, and some jobs should stop entirely.
Readiness comes before installation
- Inspect the substrate for flatness, damage, cracks, hollow spots, movement, and contamination.
- Check moisture risk, especially on concrete slabs, exterior walls, bathrooms, and below-grade rooms.
- Repair, flatten, reinforce, or replace the base as needed.
- Install backer board or a tile underlayment where the existing surface is not suitable.
- Waterproof wet areas and complete a flood test before tile in showers.
- Dry-lay control lines, resolve cuts, movement joints, trim, and transitions.
- Choose the thinset mortar, trowel, grout, and trim that fit the tile and substrate.
- Set tile only after mortar coverage checks and layout approval.
- Grout, seal if needed, and keep movement joints open for the right sealant.
The failure chain to avoid
Many tile failures start long before grout cracks show up. A floor with bounce, a slab with moisture, drywall inside a shower, or an edge with no trim plan can all turn a neat install into a tear-out job.
That is where generic checklists fall short. They explain how to spread mortar. They do not tell you when the surface should fail inspection before tile is even unpacked.
Is your floor or wall actually ready for tile?
A floor or wall is ready for tile only if it is flat enough, stable under load, free of active damage, and dry enough for the assembly above it. Tile cares far more about flatness than levelness. A surface can be out of level and still tile well, but a wavy surface invites lippage and bond failure.
Flatness versus levelness
Level means horizontal. Flat means in plane. Tile can tolerate a floor that slopes toward a drain, but it struggles on dips, crowns, and humps.
Use a long straightedge across the floor or wall in multiple directions. ANSI A108.02 says surfaces to receive tile should not vary more than 1/4 inch in 10 feet from the required plane for tile with all edges shorter than 15 inches, and not more than 1/8 inch in 10 feet for tile with any edge 15 inches or longer. If the straightedge rocks, daylight shows at the middle, or one tile would bridge a low spot, the surface needs correction first.
What fails inspection
- Active cracks in concrete, especially if one side sits higher or moves.
- Hollow spots in old mortar beds or existing tile that sound drummy when tapped.
- Soft, swollen, or water-damaged wood.
- Loose underlayment, squeaks, or visible deflection between joists.
- Flaking paint, adhesive residue, curing compounds, grease, or dust that block bond.
- Drywall in shower walls or other direct-wet zones.
Moisture red flags
Concrete deserves its own caution. Dark patches, recurring efflorescence, a musty smell, or dampness under taped plastic are reasons to pause and investigate further. A slab can look hard and sound solid yet still feed moisture into mortar, grout, and framing.
Bathrooms and exterior walls deserve the same suspicion. If water is entering from behind, tile will not solve it. Tile and grout shed some water. They are not the waterproof layer.
When the job should stop
Stop before mixing mortar if the substrate moves, if moisture is still active, if the shower waterproofing is incomplete, or if flatness is outside what patching mortar can reasonably correct. Mortar is a bonding layer, not a fix for structural problems.

How do you prepare each substrate for tile?
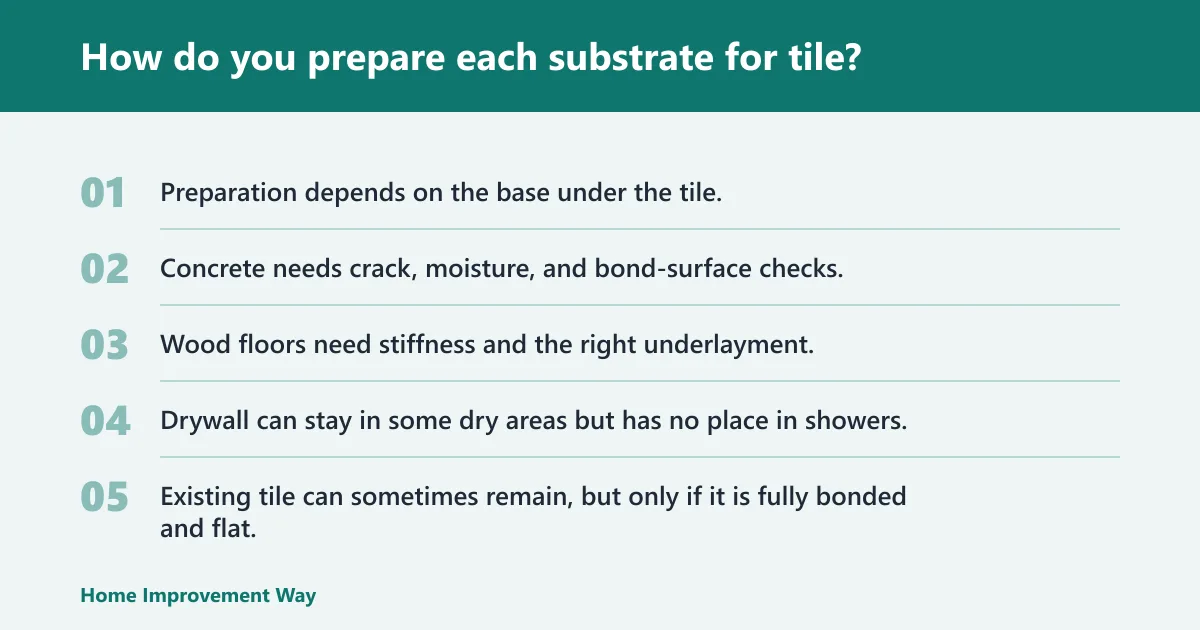
Preparation depends on the base under the tile. Concrete needs crack, moisture, and bond-surface checks. Wood floors need stiffness and the right underlayment. Drywall can stay in some dry areas but has no place in showers. Existing tile can sometimes remain, but only if it is fully bonded and flat.
Concrete slabs
Concrete should be hard, clean, and free of sealers, paint, and bond breakers before tiling. Hairline shrinkage cracks are different from active cracks. If the crack edges are offset, widening, or tied to moisture entry, pause the job and address the slab condition first.
Flatness matters here too. Slabs often look smooth while still missing plane by enough to trip up tile. Grinding high spots and filling lows is common. If moisture risk is present, use field checks before proceeding and be prepared to halt the job for further slab testing. For slab prep basics, see this guide to tile substrate preparation.
Plywood and wood subfloors
Tiling directly over plywood is a common point of failure in DIY jobs. Wood moves with load and moisture changes. That movement can shear the bond or crack grout unless the floor system is stiff enough and paired with a tile-rated underlayment or membrane.
A sound wood floor usually needs more than fresh screws. It needs deflection control, a proper panel layer below, and a tile underlayment above. The tile industry standard is a maximum live-and-dead-load deflection of L/360 for ceramic or porcelain tile and L/720 for natural stone assemblies, as referenced by the TCNA Handbook; floor framing in the IRC also has its own structural deflection limits. Cement backer board, fiber-cement board, uncoupling membranes, or a mortar bed are typical paths. Setting tile straight to unstable plywood is a stop sign.
Drywall, backer board, and existing tile
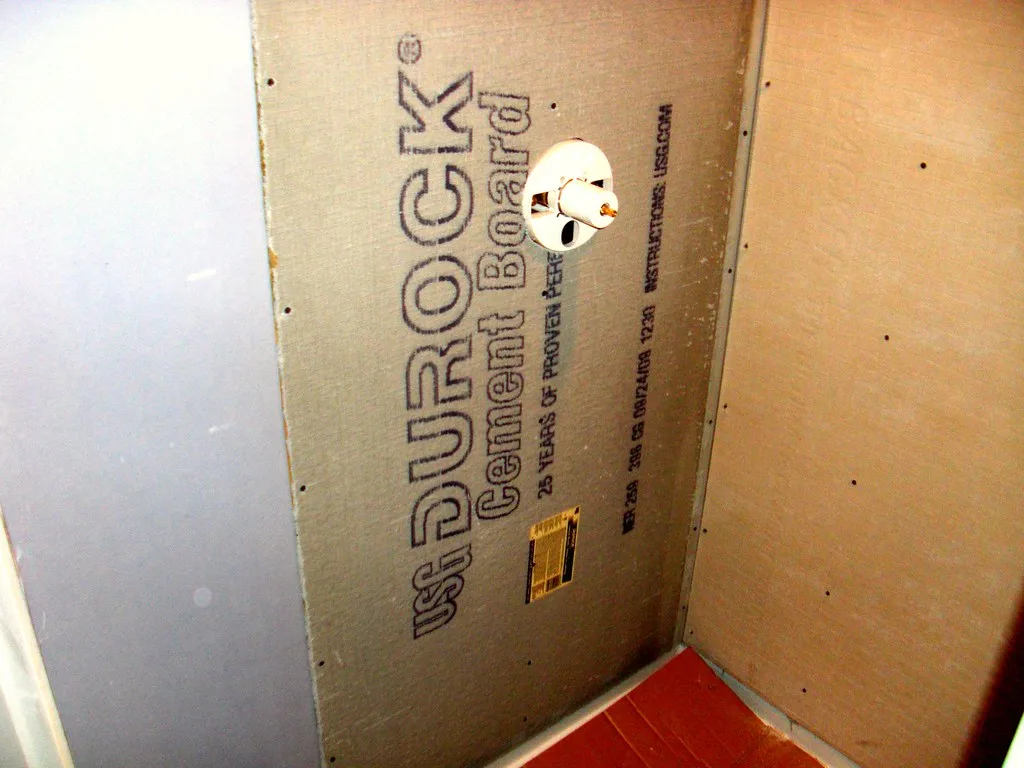
Drywall is acceptable in many dry interior walls, such as a kitchen backsplash with normal splash exposure. It is not acceptable inside a shower or tub surround wet zone. In those areas, cement board or tile backer board replaces it, then waterproofing goes over the board or is built into the panel system.
Existing tile can sometimes stay if it is clean, solid, and flat. Loose tile, hollow tile, greasy kitchen tile, or heavily lipped tile usually means demo is the better call. Tiling over a failing finish only hides the problem for a while.
Backer board basics
Backer board is not a structural patch. It gives tile a compatible surface, but it does not stiffen a weak floor enough to solve bounce by itself. On floors, it is bedded and fastened as part of an underlayment system. On walls, it creates a stable tile face where drywall is unsuitable.
Common misses are poor fastening, unsupported seams, and untreated joints. Panels need the correct fasteners, proper panel spacing, and taped seams set with mortar where the system calls for it. On shower walls, leaving seams or screw penetrations untreated invites water into the assembly.
What waterproofing do I need for a shower before tile installation?
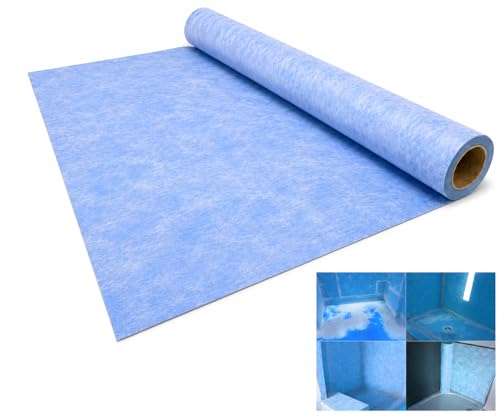
A shower needs a complete waterproofing system before tile, not just water-resistant board. That can be a sheet membrane system, a liquid-applied membrane over a suitable backer board, or a traditional mortar-bed and liner pan. The shower should pass a flood test before any tile work begins.
Where waterproofing belongs
Waterproofing belongs on shower walls, inside niches, on benches, around mixing valve penetrations, at curb transitions, and in the pan assembly. Tub surrounds and other direct-wet walls also need a defined waterproof layer.
Outside showers, the need changes by exposure. A bathroom floor may not need full waterproofing everywhere, but areas around tubs, curbless entries, and frequent splash zones often benefit from it. If you are comparing methods, start with a dedicated shower waterproofing guide before choosing tile.
Membrane systems versus a traditional mud pan
Sheet membranes give a controlled thickness and clear seam treatment. Liquid membranes are useful on awkward shapes but depend heavily on proper film build and cure. A traditional mud pan with liner and clamping drain can still work well when executed correctly, with proper preslope and weep protection.
The key is continuity. Corners, seams, and penetrations fail before open field areas. If there is no complete path directing water to the drain, the shower is not ready. In wet areas, the waterproofing membrane should be an ANSI A118.10-compliant product installed exactly to the membrane manufacturer’s instructions and under a recognized TCNA shower method.
Flood testing before tile
Flood testing is generally treated as a pass-or-fail check. The pan is plugged, filled, and left long enough to see whether the water level holds. A pass means the waterproof layer retained water. A fail means stop, drain it, find the leak path, and repair before tile.
Skipping this step is false economy. A failed shower after tile means demolition, drying time, and a much larger bill. Local code governs the minimum test: for example, the IPC and UPC require shower liners or receptors to be tested with water in place before concealment, while many modern membrane manufacturers call for a 24-hour flood test before tile.
How flat does my floor need to be for large format tile?
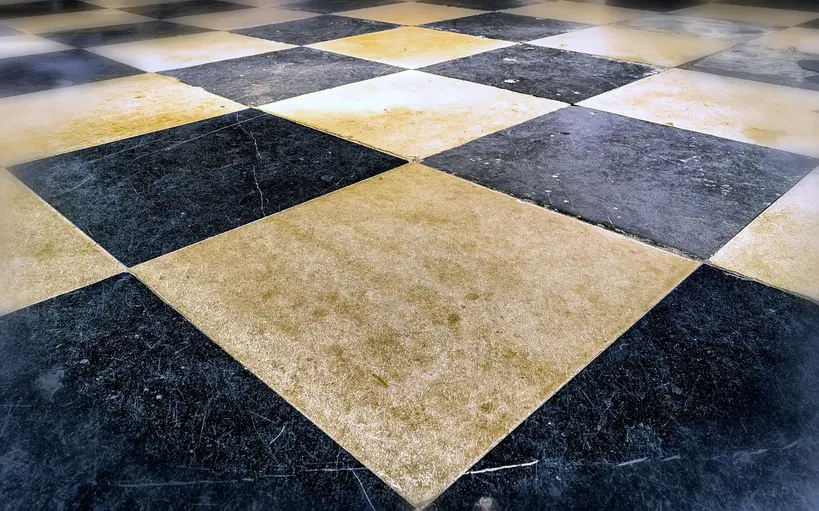
Large-format tile generally needs a flatter surface than standard tile because longer edges can bridge low spots and make surface irregularities more noticeable. The benchmark is no more than 1/8 inch variation in 10 feet. If the floor misses that threshold, flatten it first or expect lippage, weak coverage, and a harder install.
Why bigger tile raises the bar
As tile gets larger, the margin for error shrinks. A slight dip that disappears under a small mosaic can leave one corner of a large tile hanging. That leads to poor support and visible edge height differences from tile to tile.
Many large-format tiles also carry some bow from manufacturing. Offset patterns can make that bow more obvious. A layout that looks fine on paper may become a lippage problem on the floor. If you are planning plank or oversized porcelain, review a large-format tile installation guide before you settle on pattern and joint width.
Layout, trowel, and coverage
Straight lay is usually the simplest pattern to control. Diagonal and herringbone can expose edge conditions faster and generate more cuts. Ordering extra tile for cuts, breakage, and pattern waste is smart, especially as room shape and pattern complexity increase.
Trowel size should match tile size, tile back profile, and substrate flatness. Large-format tile often needs a larger notch and frequent back-buttering to reach proper contact. ANSI A108.5 calls for sufficient mortar contact to provide full support, with at least 80% coverage in dry interior areas and 95% in exteriors and wet areas, and with full support at edges and corners. A coverage check means lifting a freshly set tile and looking for well-collapsed mortar ridges, especially at corners and edges.
Cut placement and movement joints
Good layout avoids tiny sliver cuts at the most visible edge of a room or shower wall. Control lines should establish what the eye sees first: the entry view, the plumbing wall, or the longest run. Movement joints should be planned where surfaces change plane and where the field needs relief.
Large tile makes edge planning more obvious. A misjudged transition at a doorway or stair nosing is harder to hide when each tile spans so much area.
Choose the setting materials before you choose the pattern
Thinset mortar selection
Thinset mortar is the bonding layer between tile and substrate, and it needs to match both. Floor tile, wall tile, porcelain, natural stone, membranes, heated floors, and difficult surfaces may all call for different mortar properties.
I pick mortar by the job in front of me. Porcelain over a membrane, stone on a wall, and tile over heat each ask for different open time, sag control, bond to impervious tile, and compatibility with the substrate below. Pattern choice can wait. Bond compatibility cannot. For product selection basics, this overview of tile thinset mortar helps narrow the field before you buy.
Trowel size and substrate condition
A larger tile usually needs a larger trowel, but trowel size is not picked by tile dimensions alone. A very flat wall may need less build than a lightly wavy one. The goal is contact, not thick mortar for its own sake.
If the installer is trying to make up for serious out-of-plane conditions with extra thinset, the prep stage was skipped. Thinset should not be asked to flatten a badly crowned floor or twisted wall.
Grout choice and maintenance
Grout affects joint width fit, stain resistance, sealing needs, and routine cleaning. Cement grout can work well in many floors and walls but may need sealing and more maintenance. High-performance grouts cost more up front yet can reduce staining and callbacks.
In kitchens, grout upgrades often make sense because grease and food splatter can stain a porous joint quickly. Joint width also matters. Some tiles need a wider joint to handle size variation, while rectified tile may suit tighter lines if the surface is flat enough.
Tile trim profiles and exposed edges
Bullnose tile is no longer the only finish option. Metal and PVC trim profiles can finish exposed tile edges, outside corners, and floor-to-floor transitions cleanly. They also solve the common problem of a field tile with no matching trim line.
Plan trim before layout starts. Edge thickness, tile thickness, and adjoining floor heights all affect which profile fits. Waiting until the last row often leaves an awkward reveal or a rushed compromise.
Pre-install tile readiness checklist
Pass or fail checks
| Checkpoint | Pass | Fail | Action |
|---|---|---|---|
| Substrate flatness | No more than 1/4 inch variation in 10 feet for most tile; 1/8 inch for large-format tile | Straightedge shows dips, crowns, or rocking beyond those limits | Grind highs, fill lows, or re-float before setting tile |
| Movement and stiffness | No bounce, squeaks, loose panels, hollow tile, or shifting cracks | Deflection, drummy spots, loose underlayment, or active cracking | Reinforce, rebuild, or remove unstable layers |
| Moisture risk | Surface is dry, no recurring dampness or trapped moisture signs | Damp slab, efflorescence, musty smell, or water intrusion path | Pause and address moisture source or verify slab condition |
| Wet-area waterproofing | Complete membrane or mud-pan system installed with sealed seams and penetrations | Backer board only, exposed fasteners at vulnerable spots, incomplete corners or niches | Finish waterproofing before tile |
| Flood test | Shower pan holds water level through the test period | Water drops or leakage appears | Stop, locate breach, repair, and retest |
| Edge conditions and trim | All exposed edges, corners, and transitions have a planned finish | No trim plan, no bullnose alternative, or height mismatch left unresolved | Select profiles and revise layout first |
| Large-format tile fit | Flatness, layout, trowel plan, and coverage checks support the tile size | Wavy substrate, risky offset, or no back-butter and coverage plan | Change prep, pattern, or tile size |
Quick approval list before tile is set
- Substrate type identified: concrete, wood, drywall in dry area only, backer board, or existing tile.
- Cracks and hollow spots checked and marked.
- Moisture concerns resolved.
- Waterproofing complete in showers and splash zones.
- Flood test passed before shower tile.
- Tile pattern approved with cut locations shown.
- Trim profiles and transitions chosen.
- Mortar, grout, and trowel matched to tile format and location.
That checklist is not a substitute for a stamped engineering review or a manufacturer warranty inspection. It is a practical pre-start screen based on industry tolerances that most failures ignore: plane, movement, moisture, waterproof continuity, and mortar coverage.
Stop and fix first: the conditions that should halt the job
Immediate stop signs
- Tile planned directly over unstable plywood or a weak wood floor.
- Drywall still present inside a shower or tub surround wet zone.
- No waterproofing system in a shower, or a failed flood test.
- Concrete with active moisture, contamination, or moving cracks.
- Walls or floors so far out of plane that thinset would be used as filler.
- Loose existing tile, peeling finishes, or water-damaged framing.
Why these failures matter
Every item in that list creates a known failure path. Weak wood lets tile and grout crack. Wet slabs break bond and feed mold. Drywall in a shower degrades when water finds its way through grout lines, corners, or penetrations.
Stopping early is cheaper than covering a defect with expensive materials. Pricing varies so much by market, access, demolition load, tile size, and waterproofing scope that a single national figure is not very useful. What is consistent is the direction of the cost: a substrate problem found before tile is usually far cheaper than a tear-out after failure.
What should you ask a contractor, and what will tile installation cost?
Ask a contractor how the substrate will be checked, flattened, waterproofed, and verified before tile. Good answers include straightedge checks, coverage checks, flood testing, and a written trim and transition plan. Cost depends on room type, prep load, tile format, waterproofing scope, and pattern complexity more than tile alone.
Questions that reveal real preparation knowledge
- How will you check flatness, and what happens if the floor or wall fails?
- What substrate is there now, and does it stay or get replaced?
- How will you handle cracks, hollow spots, or movement?
- What waterproofing system will you use in the shower?
- Will the shower be flood tested before tile?
- How do you verify mortar coverage on floors and walls?
- What trim profiles and transitions are included in the scope?
- What grout type is specified, and does it need sealing?
What drives tile labor cost
Labor rises fastest when the substrate needs correction. Flattening, crack treatment, patching, waterproofing, niche work, benches, curbs, trim details, and difficult patterns all add time before much visible tile goes up.
Room type changes the budget fast. A straight floor in a dry room is usually simpler than a full shower because wet-area assemblies have more steps, more inspection points, and more ways to fail if rushed.
Pattern complexity changes pricing too. Herringbone, diagonal layouts, mosaics, tight returns, and heavily cut rooms usually cost more than straight lay because layout takes longer, cuts increase, and waste goes up.
What a written scope should include
A written tile scope should name the substrate prep, underlayment or backer board, waterproofing method, flood-test requirement, tile pattern, grout type, trim profile, movement-joint plan, and who handles demo and disposal. If those details are missing, the bid is not ready for comparison.
For planning help, The Tile Shop offers free one-on-one design consultations online or in store, and it has a resource area for installation and care content. Daltile has step-by-step instructions for floor tile installation, wall tile installation instructions, and a dedicated large-format tile installation guide. Those resources help with product planning, but they do not replace site-specific readiness checks.
Frequently asked questions
How do I prepare the floor or wall before installing tile?
Prepare the surface by checking flatness, movement, damage, and moisture before choosing mortar. Concrete may need grinding or patching. Wood floors may need added stiffness and tile underlayment. Drywall stays only in dry areas. Showers need backer board and a complete waterproofing system before tile.
What waterproofing do I need for a shower before tile installation?
A shower needs a full waterproof assembly, such as a sheet membrane system, a liquid-applied membrane over approved backer board, or a traditional mud pan with liner. Waterproof corners, niches, seams, curb areas, and penetrations. The pan should pass a flood test before tile starts.
How flat does my floor need to be for large format tile?
Large-format tile needs no more than 1/8 inch variation in 10 feet. That flatter surface reduces lippage, supports better mortar contact, and makes layout easier. If the floor misses that threshold, correct it first with grinding, patching, or a new floated surface rather than forcing the issue with extra mortar.
What prep is needed for tile installation over concrete or plywood?
Concrete needs a clean bond surface, crack review, moisture checks, and flatness correction where needed. Plywood needs stiffness and a tile-rated underlayment or membrane because direct tile over unstable wood is risky. In both cases, active movement, contamination, and moisture issues should stop the job until fixed.
What tile installation questions should I ask a contractor before hiring?
Ask how the installer checks flatness, handles cracks or deflection, waterproofs showers, flood tests pans, verifies mortar coverage, and finishes exposed edges. Also ask what grout type is included and whether trim, demo, leveling, and transitions are in writing. Clear answers usually signal a better scope.
How much does tile installation cost per square foot?
There is no one reliable number that fits every tile job. Straight lay in a dry room usually costs less than large-format tile over a wavy floor, and both cost less than a waterproofed shower with niches, curbs, and trim. The best comparison is a written bid that separates prep, waterproofing, setting, grout, trim, and demolition.
Sources
- ANSI A108.02, General Requirements: Materials, Environmental, and Workmanship — substrate flatness tolerances for tile and large-format tile.
- ANSI A108.5, Installation of Ceramic Tile with Dry-Set or Latex-Portland Cement Mortar — mortar coverage expectations and edge/corner support.
- ANSI A118.10, Load Bearing, Bonded, Waterproof Membranes for Thin-Set Ceramic Tile and Dimension Stone Installations — waterproof membrane standard for wet areas.
- TCNA Handbook for Ceramic, Glass, and Stone Tile Installation — recognized methods for showers, movement joints, membranes, and service-condition requirements.
- International Residential Code (IRC), Section R301 — structural design criteria and floor deflection context for framed floors.
- International Plumbing Code (IPC) and Uniform Plumbing Code (UPC) shower receptor test provisions — flood testing before concealment.
- Manufacturer installation instructions for the specific backer board, membrane, mortar, grout, and tile being installed — required where product instructions are more restrictive than general guidance.
Sponsored / affiliate links. As an Amazon Associate I earn from qualifying purchases. I may earn additional commission from eligible campaigns.