Drywall Sheet Calculator
Enter wall area, ceiling area, openings, sheet size, and thickness by surface to get a fast planning estimate. The calculator below uses common coverage values for 4×8, 4×10, and 4×12 sheets; a waste allowance; and typical fastening and finishing assumptions. Always verify the assembly against the drywall manufacturer’s instructions, ASTM C840, and GA-216 where fire rating, framing spacing, or sag resistance changes the choice.
How is this calculated?
Press Calculate to see the math with your numbers.
Drywall sheet calculator
Total net area: 0 sq ft
Sheets needed: 0
Estimated screws: 0
Estimated tape: 0 linear ft
Estimated joint compound: 0 gallons
Notes: screws, tape, and compound are planning estimates. Fastener count is based on typical edge/field spacing guidance; tape assumes a normal 4×8 to 4×12 layout with standard butt and tapered joints; compound assumes a three-coat finish and varies with joint type, corner count, and finish level.
A drywall sheet calculator estimates room or wall area, then divides by sheet size; for most rooms, 4×8 sheets work, but use 4×10 or 4×12 when they reduce seams and offcuts. Bad takeoffs mean extra trips, wasted material, and seams you did not plan for. This guide shows how to choose sheet size, subtract openings wisely, and estimate screws, tape, compound, and thickness for a buildable order.
How do you calculate drywall sheets?
Measure walls and ceilings separately, subtract only the openings that materially change the layout, add waste, then divide by the sheet coverage you plan to buy. The basic formula is net area divided by coverage per sheet. For planning, 10% waste is a common starting point for a simple room, while irregular rooms often need more.
Start with gross area
Multiply each wall length by its height, then add the ceiling if the job includes one. Keep walls and ceilings separate if they use different thicknesses or different fastener patterns, because those choices affect the final order even when the square footage looks similar.
Convert area into sheets
Use the sheet size you plan to buy. A 4×8 sheet covers 32 square feet, a 4×10 sheet covers 40 square feet, and a 4×12 sheet covers 48 square feet. Those coverage figures are the standard planning basis used by major drywall manufacturers and retailers, but the best size still depends on room shape, access, and seam layout.
Add waste before you round up
A practical formula is sheets = ceil( area × (1 + waste%) ÷ coverage_per_sheet ). That keeps the estimate honest by accounting for offcuts, handling damage, and layout waste before the final round-up. For many straightforward rooms, 10% is a reasonable rule of thumb; irregular layouts, stair runs, and ceiling cuts often need more.
- Measure each wall and the ceiling separately.
- Decide which areas you will subtract and which you will keep gross.
- Choose the sheet size that fits the layout, not only the square footage.
- Add waste, then divide by sheet coverage.
- Round up to whole sheets.
Which drywall sheet size fits your room?
The best sheet size is the one that reduces seams without creating awkward cuts or handling problems. A 4×8 sheet is often the safest choice for DIY work, 4×10 can split the difference on taller walls, and 4×12 pays off when the room allows you to span height with fewer horizontal joints.
When 4×8 is the safer choice
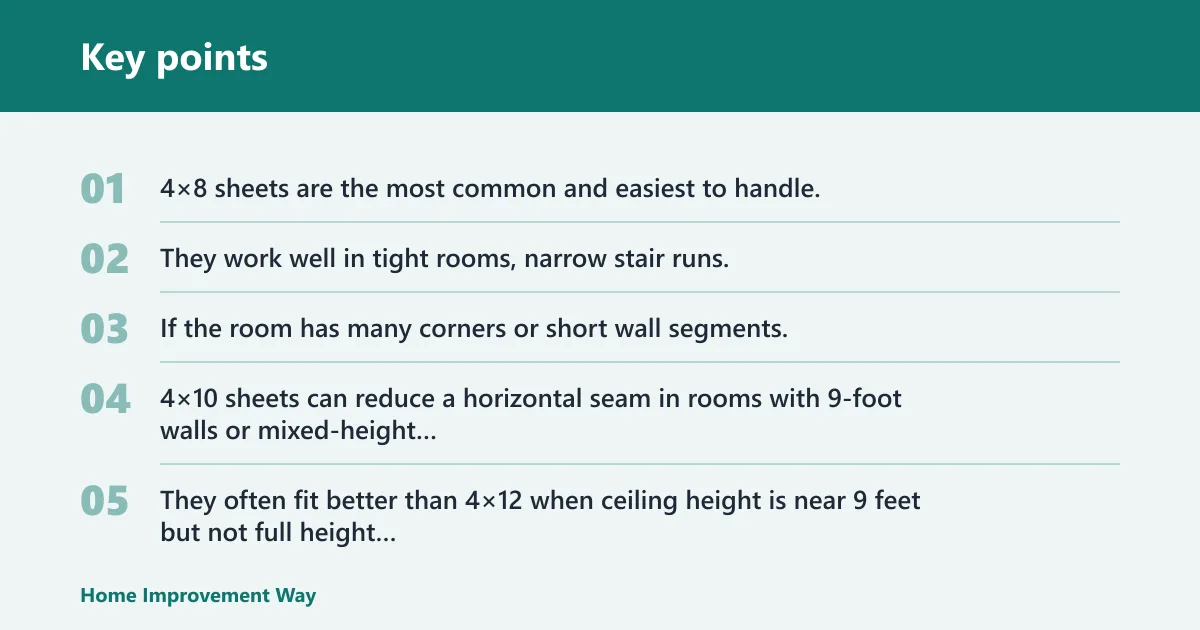
4×8 sheets are the most common and easiest to handle. They work well in tight rooms, narrow stair runs, and jobs where maneuvering matters more than seam reduction. If the room has many corners or short wall segments, smaller sheets may waste less because you can place more full pieces.
When 4×10 cuts seams without becoming awkward
4×10 sheets can reduce a horizontal seam in rooms with 9-foot walls or mixed-height areas while staying easier to handle than 4×12 sheets. They often fit better than 4×12 when ceiling height is near 9 feet but not full height across every wall.
When 4×12 pays off
4×12 sheets are ideal for rooms with 9-foot or higher ceilings when the layout lets you run tall panels with fewer joints. They also help on long, simple walls and ceiling spans where fewer seams mean less taping and fewer finishing passes.
| Room scenario | Sheet-size recommendation | Deduction rule | Why this changes |
|---|---|---|---|
| Standard bedroom | 4×8 or 4×10 | Subtract standard doors and windows; use 10% waste | Simple rectangles usually produce predictable offcuts and few special cuts. |
| Bathroom with small openings | 4×8 | Keep tiny cutouts in gross area; deduct only standard openings | Small boxes, niches, and trim holes are usually absorbed by waste more efficiently than by separate math. |
| Garage wall | 5/8-inch sheets in 4×8 or 4×12 | Deduct large openings; keep small service cutouts gross if they are minor | Garages often need a stiffer or code-driven assembly, and large openings can shift the sheet layout. |
| 9-foot ceiling room | 4×12 | Subtract doors and windows first, then add 10% waste | Taller walls can eliminate a horizontal seam if the panel length matches the height. |
| Ceiling-only run | 4×12 | Use gross ceiling area; do not ignore support and sag needs | Ceilings are governed by sag resistance, framing spacing, and fastening layout more than wall takeoff math. |
| L-shaped room | 4×8 or 4×10 | Use a higher waste allowance because offcuts rise at corners | Re-entrant corners increase odd cuts and reduce the usefulness of long straight offcuts. |
| Mixed wall and ceiling project | 4×10 for walls, 5/8-inch for ceiling | Calculate each surface separately; do not average thickness | Wall and ceiling requirements often differ, especially when the ceiling span needs added stiffness. |
| Room with a large opening | 4×8 or 4×12, depending on span | Deduct openings around standard door or large-window size when they are significant | Large openings can change seam placement and leave reusable or unusable offcuts depending on orientation. |
Picture a 12 by 16 foot room with 8-foot ceilings and a 6 by 7 patio door. A takeoff that ignores sheet orientation may leave you with more seams than expected. If the door is large enough to remove meaningful area, reduce the gross wall total before you divide by sheet coverage, then add waste back to account for the cuts the opening creates elsewhere.
Should you subtract doors and windows?
Subtract standard doors and windows when they are large enough to change the order in a meaningful way. A typical window is often around 12 to 15 square feet, but the better rule is whether the opening changes the sheet count or seam layout. Very small cutouts are usually better left in the gross area.
When a standard opening is worth deducting
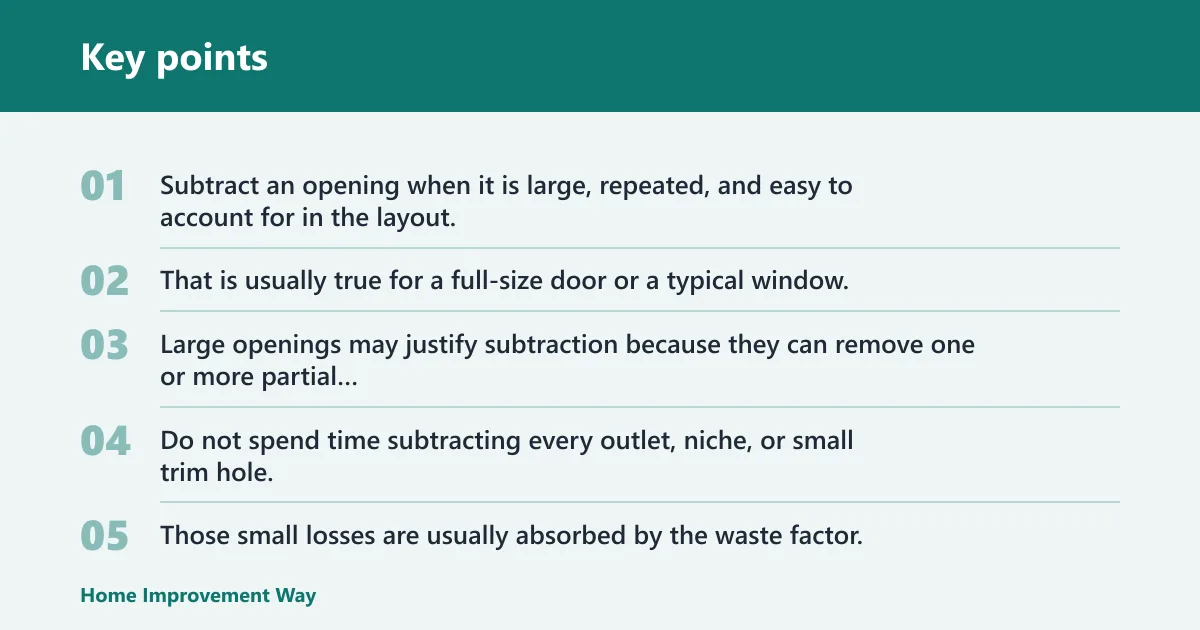
Subtract an opening when it is large, repeated, and easy to account for in the layout. That is usually true for a full-size door or a typical window. Large openings may justify subtraction because they can remove one or more partial sheets from the plan and simplify the seam pattern.
When small cutouts stay in the gross area
Do not spend time subtracting every outlet, niche, or small trim hole. Those small losses are usually absorbed by the waste factor. Some takeoff methods only deduct larger openings and leave smaller penetrations in the gross area for that reason: the math stays practical, and the waste allowance covers the rest.
How large openings change the takeoff
Large patio doors, wide openings, and wall sections with multiple windows can change sheet layout more than the raw area suggests. The issue is not only square footage. A big opening can move seams, change sheet orientation, and create offcuts that belong somewhere else in the room.
A common first-timer mistake is subtracting every opening on sight. That can make the sheet count look neat on paper and fail on site. If the opening is small, keep it gross. If it is a standard door or a large window, deduct it and check whether the remaining wall still supports clean sheet layout.
What thickness should you buy?
Use 1/2 inch for most walls, 5/8 inch where the assembly needs more stiffness or fire performance, and thinner panels only when the job calls for curved or overlay work. Thickness is not a guess. It changes stiffness, sag resistance, fastening needs, and whether the assembly meets the intended use.
1/2 inch for most walls
1/2 inch is the standard thickness for most walls. It is the default for many interior rooms because it balances handling, strength, and cost. For typical wall work, this is the first thickness to price. In most interior conditions, it is the common starting point unless the specification calls for something else.
5/8 inch for ceilings and fire-rated areas
5/8 inch is preferred for many ceilings and is commonly required in fire-rated or sag-resistant assemblies. Ceilings need the added stiffness because framing spacing, span, and humidity can increase sag risk; fire-rated areas need the exact build-up required by the listed assembly. If a ceiling is framed at wider spacing or the project is rated, 1/2 inch may be acceptable only when the panel manufacturer and the listed assembly allow it.
1/4 inch and 3/8 inch for curved or overlay work
Use 1/4 inch or 3/8 inch drywall for curved work or for overlay jobs where a thinner board is appropriate. These sheets are easier to bend or layer, but they are not a substitute for standard wall or ceiling material in a normal room.
What other materials should you estimate?
Drywall sheets are only part of the order. You also need screws, tape, and joint compound in amounts that reflect the actual square footage and seam count. More seams mean more tape, more mud, and more finish work, so the best estimate starts with area and then adjusts for the layout.
Screws by sheet and by square foot
Plan roughly 1 screw per square foot as a broad planning shortcut, but base the final count on edge and field spacing. Typical fastening guidance in manufacturer literature and industry standards places screws about 8 inches on center at panel edges and 12 inches on center in the field for many wall and ceiling installations, with exceptions for framing spacing, board type, and code requirements. That often works out to about 28 to 32 screws per 4×8 sheet, but the exact count changes with sheet length, ceiling work, and whether the assembly is fire-rated.
Tape by seams and corners
Use paper tape or fiberglass mesh based on the joint system you plan to finish. Tape is tied to linear feet of seams and corners, not to square footage alone. More seams from a short-sheet layout mean more tape, even if the wall area stays the same, and butt joints typically add more finishing effort than tapered joints.
Joint compound for a three-coat finish
Most finishes use a three-coat process, so compound planning should follow the seam count and the total area. Yield varies by product and coat type, but manufacturer coverage charts commonly place a 4.5-gallon bucket in the rough range of about 80 to 100 square feet of drywall finish area depending on joint depth, corner count, and finish level. More seams, corners, and fasteners mean the mud order should move up.
Keep the estimate buildable
Use the square footage to set the base order, then adjust for seams, corners, and ceiling work. A smooth order is not the one with the lowest sheet count on paper. It is the one that lets you hang panels with fewer joints and finish them without a shortfall of mud or tape.
Frequently asked questions
How do I calculate how many sheets of drywall I need?
Measure the wall and ceiling area, subtract only the openings that materially change the layout, add waste, then divide by the chosen sheet coverage. A practical formula is area × 1.10 for a simple room or area × 1.15 for a complex layout, then round up after dividing by 32, 40, or 48 square feet. That is the cleanest way to keep the order buildable.
Do I subtract doors and windows when calculating drywall sheets?
Yes, but not always every opening. Subtract standard doors and standard windows when they materially change the order. Small cutouts, trim holes, and minor openings are usually better left in the gross area and covered by waste, especially if the deduction would not change the final sheet count.
Should I use 4×8, 4×10, or 4×12 drywall sheets?
Use 4×8 when handling and tight access matter most. Use 4×10 when you want fewer seams without moving to the largest sheet. Use 4×12 when taller walls or long spans let you reduce joints cleanly. Longer sheets reduce seams, but only when the room shape and access support them.
How much waste should I add to a drywall estimate?
Use about 10% waste for a straightforward room and about 15% for a complex layout with corners, offcuts, or breakage risk. That is a practical planning range, not a fixed rule. If the room is irregular, has many ceilings cuts, or uses long sheets that are hard to maneuver, move higher.
Do I need different calculations for ceilings and walls?
Yes. Include ceiling area in the total drywall plan, but calculate it separately if it needs 5/8 inch board or different handling. Ceiling work can add sag concerns and more difficult seam placement, so the thickness choice, framing spacing, and waste allowance may differ from the walls.
How many screws do I need per sheet of drywall?
A practical rule is about 1 screw per square foot. For a 4×8 sheet, that is about 28 to 32 screws depending on edge and field spacing. Ceiling panels and fire-rated assemblies may need a more careful fastening plan, so count by layout, not by habit. Manufacturer guidance and code requirements override any shortcut.
Sponsored / affiliate links. As an Amazon Associate I earn from qualifying purchases. I may earn additional commission from eligible campaigns.