Door Knobs, Handles and Latches: Replace, Remove, Tighten and Fix — Complete Guide
Testing notes: This guide reflects the way common residential cylindrical knobs and levers are actually serviced in the field: identify the trim style first, verify the backset and door prep before buying, and separate latch alignment problems from loose-handle problems. Measurements and grade references below are checked against current manufacturer installation guides and hardware documentation.[1][2][3][4][5]
Match the symptom to the part before you take anything apart: loose trim usually needs tightening, sticking usually points to latch alignment, and replacement starts with one key measurement, the backset, usually 2-3/8 inches or 2-3/4 inches. If you guess, you can buy hardware that does not fit, strip concealed screws, or leave an exterior door that will not latch or lock securely. This guide sorts knobs, lever handles, latches, and trim by symptom, then shows you how to remove, tighten, repair, measure, and replace each type.
What you’ll need


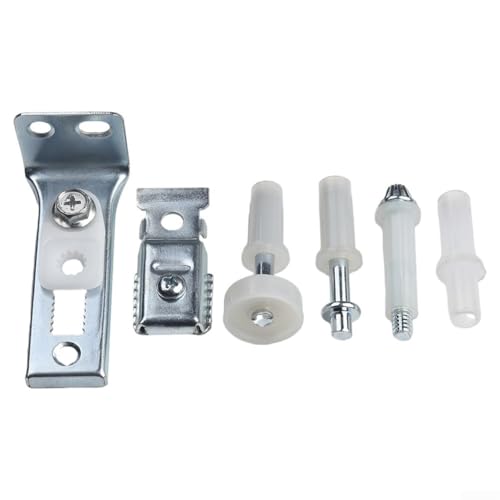
- Small flat-head screwdriver for release slots and snap-on trim notches
- Phillips screwdriver
- Matching hex key or small driver for the set screw
- Door stop or wedge
- Tape measure
- Replacement latch or full handle set, if parts are worn
- Graphite, if the lock mechanism is dirty or dry and the product instructions allow it
- Hole saw, only if the new hardware requires resizing a nonstandard door prep
Start with the symptom
What the failure tells you before you remove anything
A loose knob or lever usually means backed-out mounting screws, a loose set screw, or a cover plate hiding the fasteners. A handle that spins points to spindle or hub wear. A latch that drags or misses the strike is usually alignment-related, not a trim problem.
The quick sort matters because tightening, removal, repair, and replacement follow different paths. If the handle is secure but the latch still drags, inspect the latch assembly at the door edge first. If the trim plate is stuck, figure out whether it snaps off, twists off, or hides a release point before you pry.
Interior, exterior, privacy, passage, dummy, and keyed sets at a glance
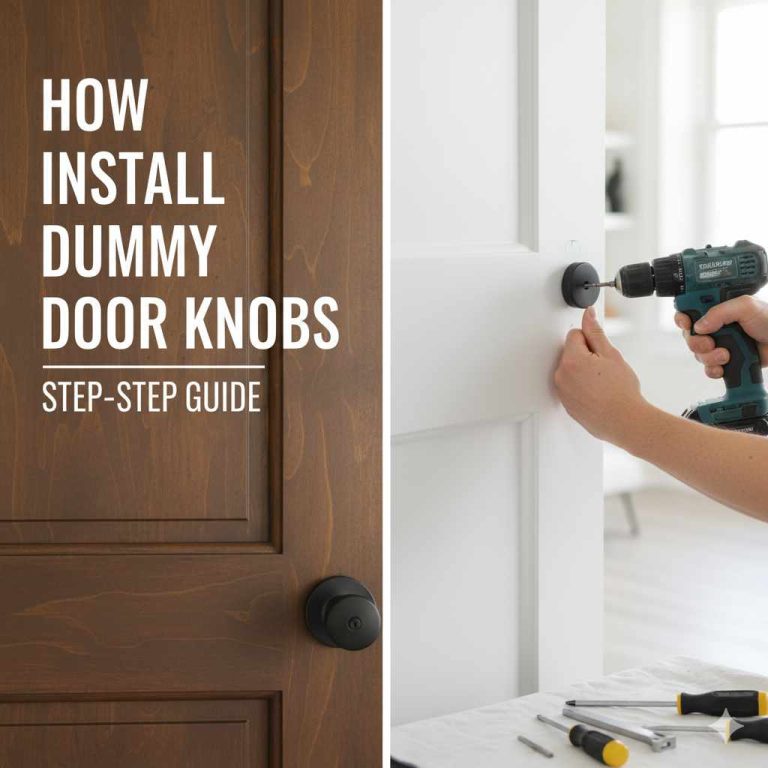
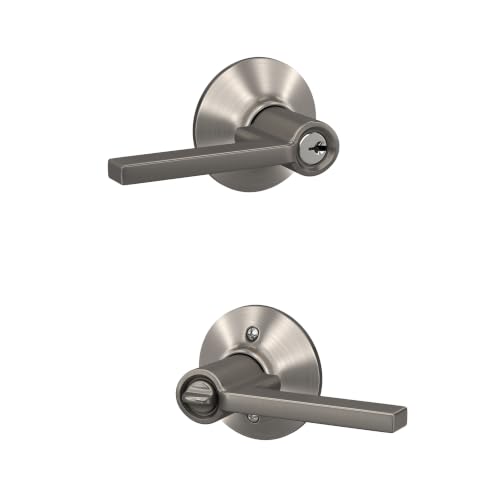
Passage sets do not lock, privacy sets add a simple bedroom or bath lock, dummy sets are fixed pulls, and keyed entry sets are used on exterior doors. On primary entries, keyed knobs or levers are commonly paired with a separate deadbolt rather than relied on alone for main security.
For exterior doors, choose hardware with an ANSI/BHMA grade appropriate to the opening and traffic level. Many residential exterior knob and lever products are sold in Grade 2 or Grade 1 versions, while Grade 3 is common on lighter-duty residential applications; always check the specific product listing rather than assuming by style alone.[3][4][5]
Knob versus lever is mostly a form-factor choice once the dimensions match. A lever can replace an interior knob if the backset, bore, latch prep, and door thickness all fit the new set.
| Comparison | Best for | Watch-outs | Typical replacement note |
|---|---|---|---|
| Knob vs lever | Knobs suit traditional trim; levers are easier to operate and common on hall, bath, and accessibility-minded upgrades | Lever projection, handing on some models, and clearance near jambs or storm-door hardware | Either can replace the other if backset, cross-bore, latch prep, and door thickness match |
| Passage vs privacy vs keyed entry | Passage for halls/closets, privacy for beds/baths, keyed entry for exterior side doors and secondary entries | Wrong function means the trim fits but the room use does not | Match function first, then finish and style |
| Replace latch vs whole set | Latch only when the trim is sound but the bolt sticks, binds, or has a weak spring | Faceplate, backset, drive-in vs faceplate latch, and hub compatibility must match | Replace the whole set if the handle hub, spindle interface, or trim threads are worn |
Hardware diagnosis matrix
| Symptom | Likely cause | Quickest test | Recommended fix |
|---|---|---|---|
| Loose handle | Hidden mounting screws have backed out, or the set screw has loosened from wear | Hold one side steady and wiggle the other; if the trim shifts but the latch still works, check screws before replacing parts | Tighten mounting screws first, then tighten the set screw with the matching driver; replace stripped parts if the handle still rocks |
| Handle spins but does not retract latch | Spindle slip, worn spindle interface, or failed internal hub | Turn the lever or knob while watching the spindle connection after removing trim; if the handle moves without driving the latch, the connection has failed | Retighten the set screw if present; if traction does not return, replace the handle or the full set |
| Latch won’t catch | Strike misalignment, door sag, incorrect latch bevel direction, or worn latch | Close the door slowly and watch whether the latch hits the strike plate high, low, or flat against the lip | Adjust alignment first; if the bevel faces the wrong way or the latch keeps sticking after alignment, replace the latch assembly |
| Trim plate is stuck | Snap-on rose plate, concealed release notch, or paint bridging the edge | Inspect the underside for a small notch or seam before prying | Release the handle, then lift the rose plate gently at the notch with a flat-head screwdriver; score paint first if needed |
| New hardware does not fit due to backset or bore mismatch | Replacement dimensions do not match the existing door prep | Measure from the door edge to the bore center and measure the cross-bore before buying | Buy hardware that matches the existing prep, or resize the door with the correct hole saw only if the new set allows it |
Sizing checklist
| Check | What to confirm before buying |
|---|---|
| Backset | Measure from the door edge to the center of the main bore; common sizes are 2-3/8 inches and 2-3/4 inches |
| Bore hole size | Measure the cross-bore; 2-1/8 inches is common on many doors |
| Door thickness | Confirm the slab thickness; many residential doors fall within 1-3/8 to 1-3/4 inches |
| Lock type | Match the door to passage, privacy, dummy, keyed entry, deadbolt pairing, or a smart-lock function |
| Door swing direction | Check which way the door closes so the latch bevel faces the strike side and any handed lever works correctly |
The fix is often simpler than the symptom looks.
How do you identify what is on your door?

Check the interior trim for visible screws first, then inspect the lever neck or knob shank for a release slot, a set screw on the underside, or a snap-on rose plate covering the fasteners. Identifying the trim style first prevents bent escutcheons, chipped finish, and unnecessary force.
If you can see two through-bolts on the inside plate, removal is simple: support both halves and back out the screws. If no screws show, inspect the underside of the lever or the neck behind the knob for a set screw or a small slot that releases the handle from the spindle hub.
Rose plates, cover plates, and escutcheons vary by design. Common versions include round escutcheons, straight-edged escutcheons, and backplates. Many hide the mounting screws and either snap on or lift off after the handle itself is released.
Spindle types, set screws, and latch styles
The spindle connects both handle halves through the latch. On many household sets, it is a screw-style axle with at least one flat side. If the set screw loses grip on that flat, the handle can spin or feel weak even when the trim looks tight.
The latch assembly sits in the door edge and is held by mounting screws. Its bevel must face the closing direction so the spring latch rides over the strike and then snaps into place. On adjustable residential latches, the backset is commonly set to 2-3/8 inches or 2-3/4 inches, so verify the latch position before assuming the replacement is wrong.[1][2]
Picture a hallway lever with no visible screws and a loose feel only on one side. That usually points to a hidden set screw or a snap-on rose plate, not a bad latch. Remove the wrong part first and you can scar the trim while leaving the real cause untouched.
How do you tighten a loose knob or handle?
Stabilize the door, tighten the mounting screws first, then snug the set screw only enough to stop play. If the handle still slips, inspect the spindle flat, hub, and threads. A loose-feeling handle under load can also be a latch alignment problem, not a trim problem.
Tighten first, then diagnose deeper wear
- Open the door about halfway and hold it steady with a door stop or wedge.
- Grip both handle halves and inspect the interior side for exposed screws, a release slot, or a set screw under the lever or knob neck.
- Remove the rose plate only if it hides the mounting screws; use the notch or seam instead of forcing the edge.
- Tighten the mounting screws evenly with a Phillips screwdriver until the trim sits snug and flat.
- Tighten the set screw with the matching hex key or driver in 1/4-turn increments, then test the handle after each increment.
- Turn the handle fully and release it to check whether the latch retracts cleanly and the spring returns the handle to level.
- Reassemble the trim and test the door closed as well as open.
If that did not work, remove the handle and inspect the spindle interface. A flat-sided spindle that no longer locks firmly into the hub, or a stripped set screw that will not bite, usually means repair is done and replacement is next.
If the lever feels loose only when opening the door, but it feels fine in the air, suspect latch drag instead of trim trouble. Tight screws will not fix a latch that binds against a misaligned strike.
Most hidden-screw sets come apart in a set order: release the knob or lever, remove the rose or escutcheon, expose the through-screws, then remove the latch from the door edge. The critical step is finding the release point before prying so the trim is not distorted.
Removal sequence for concealed fasteners
- Inspect the underside of the handle neck for a tiny set screw or a narrow release slot.
- Loosen the set screw, or press the release tab with a flat-head screwdriver while pulling the lever or knob straight off.
- Find the notch on the rose plate or cover plate and pry gently at that point only.
- Lift off the trim to expose the mounting screws and remove them while supporting the opposite side.
- Separate the interior and exterior halves from the spindle path without forcing the latch hub.
- Remove the screws on the latch face at the door edge and pull the latch assembly straight out.
If that did not work, check for paint bridging around the trim plate. Score the paint line lightly before prying again. On older doors, a stuck plate is often finish buildup, not a threaded connection.
A common mistake is prying a round rose plate from the top edge because it looks loose there. Most release more cleanly at a small notch on the bottom or side, where the screwdriver lifts the cover instead of bending it.
How do you replace the latch or full handle set?

Measure before you buy: confirm backset, cross-bore, door thickness, latch style, and lock function. Replace only the latch when the trim is still solid and the latch dimensions match. Replace the whole set when the hub, spindle interface, trim, or threads are worn along with the latch.
Measure for compatibility before buying
- Measure the backset from the door edge to the center of the bore and confirm whether it matches the replacement set.
- Measure the cross-bore and compare it to the new hardware; many doors use a 2-1/8 inches bore.
- Measure the door thickness and verify the set fits the slab, especially for exterior hardware and smart locks.
- Choose the lock function: passage for closets or halls, privacy for bedrooms and baths, dummy for fixed pulls, keyed entry for exterior use, or a deadbolt pairing for better security.
- For exterior doors, choose ANSI Grade 2 or Grade 1 hardware rather than Grade 3.
Install the latch and handle set
- Insert the new latch into the door edge with the bevel facing the strike side.
- Fasten the latch face with its mounting screws and keep it centered so the spindle path stays straight.
- Feed the exterior half through the latch hub, then align the interior half onto the spindle or through-bolt posts.
- Tighten the mounting screws evenly until the trim sits flat; stop when the handle turns freely and the plate no longer shifts.
- Attach the knob or lever to the spindle and secure any set screw.
- Test the handle with the door open, then close the door and confirm smooth latching and locking.
Interior versus exterior and mixed hardware choices
Exterior sets need more than a matching finish. Weather exposure, keyed security, and grade matter, and many homeowners pair a keyed knob or keyed lever with a separate deadbolt. On an interior door, the choice is more about function and fit.
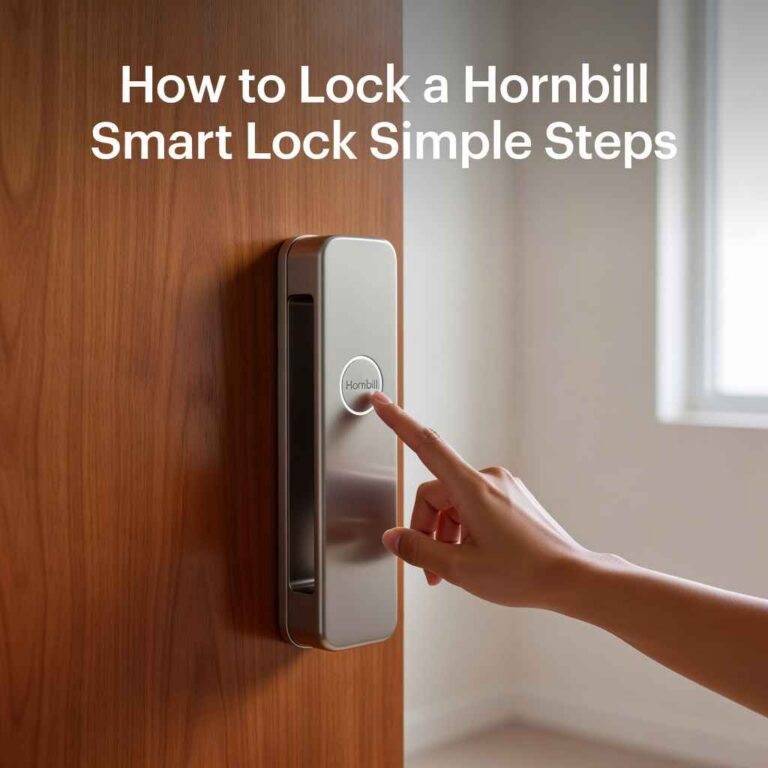
Smart locks add another check: thickness range and interior clearance. Some models also change the locking method. One example is a one-handed slider on the handle for locking, which changes the interior trim shape and can affect compatibility with nearby storm-door hardware or narrow backplates.
Say your existing hall closet has a knob on a door within the common residential thickness range, and you want a lever instead. That is usually a straightforward swap if the new lever matches the backset, the bore, and the latch prep. Miss on any one measurement, and the style change turns into a carpentry job.
Related repairs that often solve the same problem faster: strike plate repair, deadbolt replacement, door hinge alignment, and smart lock sizing.
Why won’t the latch catch or retract correctly?
If the handle turns but the door will not close cleanly or stay shut, check hinge sag, strike alignment, and latch bevel direction before replacing parts. Most latch complaints trace back to door alignment. Replace the latch only after the door path is corrected and the bolt still sticks.
Check strike alignment and bevel direction first
- Close the door slowly and watch where the latch meets the strike plate opening.
- Look for rub marks on the strike lip or latch face to see whether the latch is hitting high, low, or too far to one side.
- Confirm that the latch bevel faces the strike side so it can ride over the strike as the door closes.
- Retighten loose hinge screws if the door has sagged and recheck the latch path before moving hardware.
- Adjust the strike plate position slightly if the latch is missing the opening after the hinges are secure.
When lubrication helps and when it does not
If the latch retracts slowly or feels gritty, graphite can help when the mechanism is dirty or dry, provided the hardware instructions allow it. Lubrication will not fix a bent latch, a failed spring return, or a spindle that is not driving the latch hub properly.
When to replace the latch mechanism instead of just tightening the handle
Replace the latch when the spring return is weak, the bevel is damaged, the hub no longer engages the spindle cleanly, the faceplate screw holes are stripped, or the latch keeps sticking after alignment is corrected. Tightening trim will not fix internal wear.
If that did not work, remove the latch and compare the replacement faceplate, backset setting, and bolt length to the old one before installing. New hardware that almost fits often fails because the door prep does not actually match.
Common mistakes
What goes wrong and how to avoid it
Buying by finish first is the big one. Finish options are easy to compare, but they do not tell you whether the set matches the backset, bore, latch prep, thickness, or lock function. Measure first, then choose brushed, polished, black, or another finish that fits the room.
Forcing a stuck trim plate is another common error. Many rose plates are snap-on covers over the real fasteners. Find the notch, release the handle if required, and pry from the intended point.
Mixing screw lengths can jam a latch or leave exterior trim loose. Keep the latch screws, through-bolts, and strike screws separated during removal. Avoid overtightening. Cranking down too hard can distort the rose plate and make the handle bind.
Do not treat every bad latch as a lubrication issue. Check strike alignment, hinge sag, bevel direction, and spindle engagement first. Also, do not assume every Grade 3 product is suitable for a primary exterior door; verify the product grade and intended use on the manufacturer specification sheet.[3][4][5]
Prevention
Recheck visible handle screws and any accessible set screw after the first week of use on a new installation. Early settling is when minor looseness usually shows up, and a quick retightening can stop spindle slip before the handle starts wearing the hub.
Real installation caveats: Older painted doors often hide release notches under finish buildup, replacement latches may be adjustable but shipped in the wrong backset position, and some decorative levers need more side clearance than the knob they replace. On exterior doors, also verify bore spacing if you are coordinating the handle set with a separate deadbolt or smart lock.
Frequently asked questions
How do I replace a door knob without damaging the door?
Open the door about halfway, hold it with a wedge, and support both handle halves as the screws come out. Remove any hidden trim at the release notch instead of prying at random. Measure the backset and bore before buying, then install the latch first and tighten evenly.
Why is my door knob loose and how do I tighten it?
A loose knob usually means the through-screws have backed out or the set screw has lost grip on the spindle. Tighten the mounting screws first, then tighten the set screw in 1/4-turn steps. If the knob still slips, the spindle interface or screw threads are likely worn.
How do I know what backset door hardware to buy?
Measure from the door edge to the center of the main bore. The common choices are 2-3/8 inches and 2-3/4 inches, and the replacement must match the existing prep or offer the same adjustable range. Check the bore and thickness at the same time before ordering.
Can I replace an interior door knob with a lever handle?
Yes, if the new lever matches the existing backset, bore size, latch prep, and door thickness, and if the function matches the room. Swap passage for passage or privacy for privacy unless there is a reason to change. Handed lever designs also need the correct door swing.
When should I replace the latch mechanism instead of just tightening the handle?
Replace the latch when tightening fixes the trim but the bolt still sticks, fails to spring back, misses the strike after alignment work, or no longer engages the spindle reliably. Also replace it when the latch face screw holes strip out or the bevel is damaged or reversed.
Sources
- [1] Schlage residential lock installation guides and latch instructions: standard residential adjustable backset settings of 2-3/8 inches or 2-3/4 inches, typical 2-1/8 inch cross-bore compatibility, and latch bevel orientation guidance.
- [2] Kwikset installation manuals and support documentation for keyed entry, privacy, and passage locksets: adjustable latch ranges, standard bore compatibility, and door thickness fit ranges for common residential products.
- [3] BHMA/ANSI grading references as published in manufacturer specification sheets for residential locksets, including Grade 1, Grade 2, and Grade 3 performance classifications.
- [4] Allegion/Schlage product specification sheets for residential knob and lever sets showing BHMA/ANSI grades and intended use categories by model line.
- [5] Kwikset and Weiser product specification sheets for residential locksets and deadbolts showing grade, function type, and installation dimensions.
Sponsored / affiliate links. As an Amazon Associate I earn from qualifying purchases. I may earn additional commission from eligible campaigns.