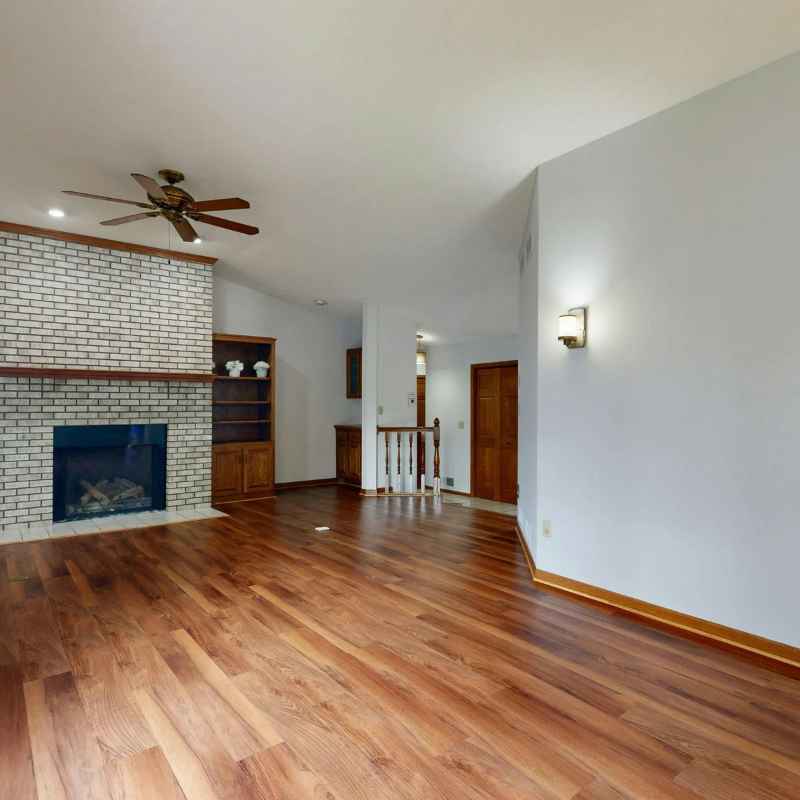
How Many Times Can You Sand Hardwood Floors?
This guide will break down the factors that determine how many times you can safely sand your hardwood floors, offering practical advice and essential considerations.
Simply put, hardwood floors can typically be sanded 3 to 5 times over their lifespan, depending on the thickness of the wear layer, the type of wood, and the quality of the original installation. Each sanding removes a thin layer of wood, so it’s a finite process.
Key Takeaways
- The primary factor determining how many times you can sand hardwood floors is the thickness of the top wear layer.
- Most hardwood floors can withstand 3 to 5 sanding and refinishing cycles throughout their lifetime.
- Engineered hardwood floors have a thinner wear layer and can usually only be sanded once or twice, if at all.
- The type of wood (e.g., oak, maple) and the original installation’s quality also influence sanding frequency.
- Proper maintenance and care can extend the life of your floors, reducing the need for frequent sanding.
What Determines the Sanding Limit of Hardwood Floors?
The lifespan of a hardwood floor’s ability to be sanded is primarily dictated by the thickness of its top layer, often referred to as the “wear layer.” This is the solid wood visible above the tongue-and-groove joint. When you sand a floor, you are essentially removing a small amount of this wear layer to eliminate scratches, dents, and old finish, and to prepare the surface for a new coat.
The amount of wood available for sanding varies significantly based on the type of hardwood flooring. Solid hardwood planks typically have a substantial wear layer, allowing for multiple sanding sessions. Engineered hardwood, conversely, has a veneer of real wood on top of layered plywood or high-density fiberboard, and this veneer is often quite thin.
Other factors like the original milling of the wood, the skill of the installer, and even the type of finish applied can play a role. For instance, floors installed with a significant amount of cupping or crowning might require more aggressive sanding, thus reducing the number of future sanding opportunities.
- Wear Layer Thickness: The most critical determinant. Thicker wear layers allow for more sanding.
- Type of Flooring: Solid hardwood offers more sanding opportunities than engineered hardwood.
- Wood Species: Denser woods might withstand slightly more aggressive sanding.
- Original Installation Quality: Poorly installed floors may have unevenness requiring more material removal.
- Subsequent Refinishing Quality: Each sanding session should be done by professionals to minimize material loss.
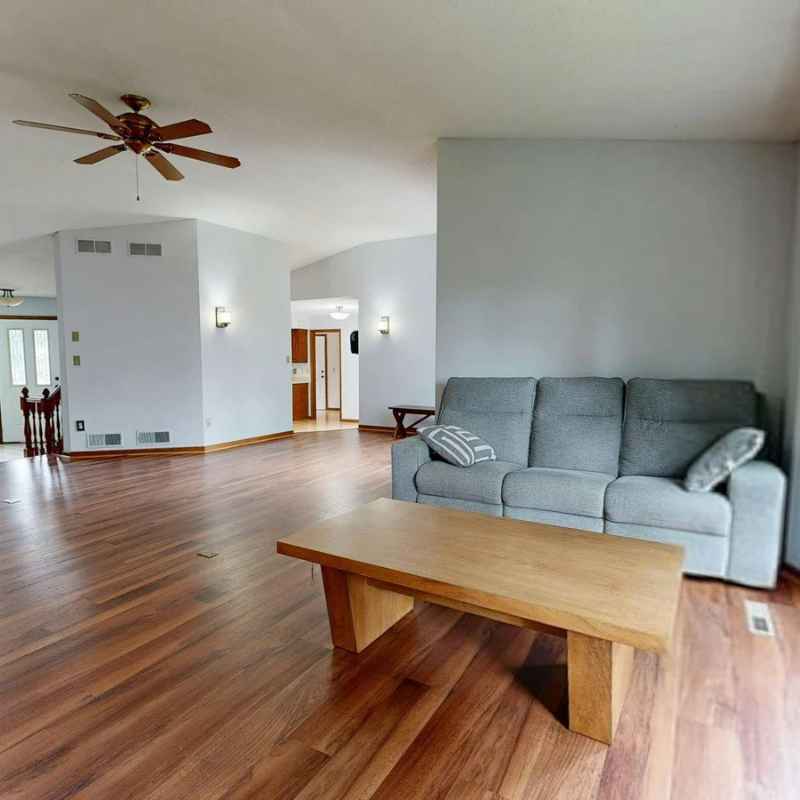
Solid Hardwood Floors: The Sanding Champion
Solid hardwood floors are made from a single piece of wood, typically ¾ inch thick. The wear layer on these floors can range from about 2mm to well over 5mm, depending on the manufacturer and plank size. This significant thickness means they are designed to be sanded and refinished multiple times throughout their existence.
On average, a solid hardwood floor can be sanded between 3 to 5 times. Some exceptionally thick planks or floors that have had minimal wear might even tolerate a sixth sanding. Each sanding process removes a very thin layer of wood, often just a few thousandths of an inch.
Professionals use progressively finer grits of sandpaper to achieve a smooth surface.
The key is that the sanding process must stop before reaching the tongue-and-groove joint. Once that joint is exposed, the structural integrity of the floor is compromised, and further sanding is impossible. This is why professional assessment is vital before undertaking any refinishing project.
| Solid Hardwood Floor Type | Typical Wear Layer Thickness | Estimated Sanding Cycles |
|---|---|---|
| Standard Solid Oak (3/4 inch) | 3mm – 5mm+ | 3 – 5 |
| Thicker Plank Solid Wood | 5mm – 7mm+ | 4 – 6+ |
This table illustrates how the wear layer thickness directly correlates with the potential number of sanding cycles. Thicker is almost always better when it comes to sanding potential.
Engineered Hardwood Floors: A Different Ballgame
Engineered hardwood flooring is constructed with multiple layers. The top layer is a thin veneer of genuine hardwood, bonded to core layers of plywood or high-density fiberboard. This construction provides stability against humidity and temperature changes, making it suitable for basements and areas where solid hardwood might not perform as well.
However, the very nature of the thin veneer means engineered floors have a much more limited sanding potential. The thickness of this top hardwood layer can vary greatly, from as little as 0.6mm to 3mm or more. Floors with a very thin veneer might not be sandable at all, or may only tolerate one light sanding.
Those with a thicker veneer might allow for two, or in rare cases, three sanding sessions.
It’s crucial to know the exact specifications of your engineered hardwood flooring before considering sanding. Manufacturers often provide this information. If you’re unsure, a professional flooring inspector or refinisher can often determine the wear layer thickness through careful measurement or by examining a cut edge or unused plank.
Important: Always verify the wear layer thickness of your engineered hardwood before attempting to sand. Many low-quality engineered floors have a veneer too thin to be sanded, and attempting to do so will result in irreversible damage.
The Sanding Process and Its Impact
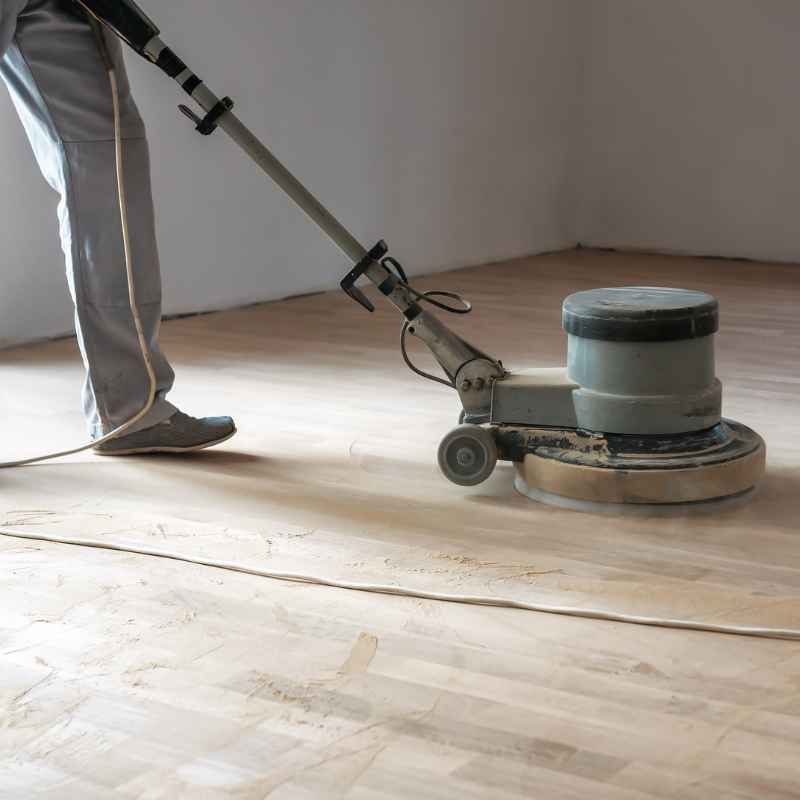
A typical floor sanding process involves multiple passes with different grit sandpaper. It usually starts with a coarse grit (like 36 or 40) to remove the old finish and any significant imperfections. This is followed by progressively finer grits (e.g., 60, 80, 100, 120) to smooth the wood surface.
The final sanding pass often uses a buffer with an abrasive screen for an ultra-smooth finish.
Each pass removes a small amount of wood. The depth of removal depends on the grit of the sandpaper used and how aggressively the sander is applied. Aggressive sanding, often necessary for heavily damaged floors or those with deep scratches, removes more wood.
This is why professionals recommend only sanding when absolutely necessary and using the least aggressive methods required.
The goal is to remove just enough material to achieve a smooth, level surface ready for a new finish. Over-sanding can lead to a floor that is weakened, uneven, or so thin that it cannot be refinished again. The risk of sanding through to the tongue-and-groove joint is also higher with aggressive techniques or multiple passes.
- Initial Coarse Sanding: Removes old finish, deep scratches, and stains. This is the most aggressive step and removes the most material.
- Medium Grit Sanding: Smoothes out the marks left by the coarse grit.
- Fine Grit Sanding: Further refines the surface for a smooth feel.
- Tack Cloth/Vacuuming: Thoroughly cleans all dust from the floor between grits.
- Final Sanding (if needed): Often a buffer with a screen to ensure absolute smoothness.
- Application of Finish: Once clean, a new coat of stain (optional) and protective finish is applied.
Factors Beyond Wear Layer: Wood Type and Installation
While the wear layer is paramount, other elements influence how well a floor can be sanded and how many times. The species of wood itself matters. Denser hardwoods like oak or hickory are more forgiving during sanding than softer woods like pine or fir.
Softer woods are more prone to gouging and damage from sandpaper, potentially requiring more material removal to correct.
The quality of the original installation is also a significant factor. If the floor was not laid perfectly flat, or if there are significant gaps or cupping between planks, the sanding process will need to be more aggressive to achieve a level surface. This means more wood is removed in certain areas, thereby reducing the floor’s overall sanding potential.
A poorly installed floor might not even be suitable for its first refinishing.
Furthermore, the type of finish originally applied can affect sanding. Some old finishes might be harder to remove, requiring more passes with coarser grits. Modern finishes are generally easier to sand.
Understanding these nuances helps in assessing the realistic sanding possibilities for any given hardwood floor.
| Wood Species | Hardness (Janka Rating – lbs) | Sanding Suitability | Potential Sanding Cycles |
|---|---|---|---|
| Red Oak | 1290 | Good | 3-5 |
| Maple | 1450 | Good | 3-5 |
| Hickory | 1820 | Very Good | 4-6 |
| Pine | 690 | Fair (prone to dents) | 2-4 |
This comparison highlights how denser woods can often withstand more sanding, assuming comparable wear layer thickness and installation quality.
When Should You Consider Sanding?
Sanding is a significant undertaking, not something to do on a whim. It’s a process that should only be considered when the existing finish is significantly worn, scratched, or damaged, and cosmetic touch-ups are no longer sufficient. Deep gouges, widespread pet stains that have penetrated the wood, or significant damage from furniture moving are all valid reasons to consider sanding.
Conversely, if your floors have only minor surface scratches or dullness in the finish, screen and recoating might be a better option. This process involves lightly abrading the surface without removing much wood, and then applying a new coat of finish. It’s much less invasive and can rejuvenate the floor’s appearance, preserving its sanding potential for future needs.
The decision to sand should also consider the overall age and condition of the floor. If a floor is already old and has been sanded multiple times, it might be nearing the end of its sandable life. In such cases, a floor replacement might be a more prudent long-term investment than another sanding that risks further damage.
Warning: Do not sand floors that have been previously coated with certain types of finishes, like penetrating oils or wax, without proper professional advice. Some finishes are not designed to be sanded off effectively and can gum up sanding equipment or lead to uneven results.
Alternatives to Full Floor Sanding
For many minor issues, a full sanding isn’t necessary. There are less invasive methods that can restore your floors’ appearance and prolong their life. These options are often less costly and preserve more of the wood’s thickness for future sanding cycles.
Screen and Recoat: This is the most common alternative. A machine with a fine abrasive screen is used to lightly scuff the surface of the existing finish. This creates a surface for a new coat of polyurethane or other finish to adhere to.
It effectively removes surface scratches and dullness without removing any significant wood. This process can be done multiple times.
Light Sanding and Recoating: For floors with slightly more wear but not deep damage, a light sanding with a finer grit paper (e.g., 100-120 grit) followed by recoating can be effective. This removes just the uppermost layer of the finish and a minuscule amount of wood, providing a fresh surface for a new coat.
- Screen and Recoat: Ideal for minor scratches and dullness. Lightly abrades surface for new finish. Can be done numerous times.
- Light Sanding (100-120 grit) & Recoat: For moderate wear, removes only the top layer of finish. Preserves wood significantly.
- Spot Repair: For isolated deep scratches or dents, professionals can sometimes repair just the affected area without sanding the entire floor.
- Restorative Cleaning and Polishing: For floors with minimal wear, specialized cleaning and polishing products can restore shine and mask minor imperfections.
- Professional Assessment: Always consult a professional to determine the best course of action based on your floor’s specific condition.
Frequently Asked Questions
How can I tell if my hardwood floor has enough wear layer for sanding?
The best way is to consult a professional flooring contractor. They can measure the wear layer thickness of your planks. If you have access to an unused plank or can carefully examine the edge of the floor where it meets a wall or in a closet, you might be able to measure the solid wood above the tongue-and-groove.
A wear layer of 2mm or more is generally considered sandable, with thicker layers allowing for more sanding cycles.
Can I sand my own hardwood floors?
Yes, you can rent floor sanders and attempt to do it yourself. However, it’s a physically demanding and potentially risky job. Inexperienced DIYers can easily remove too much wood, create uneven surfaces, or damage the floor irreversibly.
Professional sanders are much more powerful and can cause significant damage if not operated correctly. For best results and to maximize the lifespan of your floors, professional refinishing is recommended.
What is the average cost to sand and refinish hardwood floors?
The cost typically ranges from $2 to $5 per square foot, depending on your location, the condition of the floors, and the type of finish you choose. This price usually includes sanding, staining (if desired), and applying multiple coats of a protective finish. DIY sanding can be cheaper in terms of labor, but the cost of equipment rental and materials can add up, and the risk of costly mistakes is higher.
How long does it take to sand and refinish hardwood floors?
A typical sanding and refinishing job for a single room or a moderately sized home usually takes about 3 to 5 days. This includes the sanding process, drying time between coats of stain and finish, and allowing the finish to cure sufficiently before heavy foot traffic. Professionals aim for efficiency while ensuring proper drying and application.
Will sanding remove pet stains or deep scratches from my hardwood floors?
Yes, sanding is effective at removing most surface-level and even some moderately deep pet stains and scratches. The aggressive nature of the sanding process removes the damaged wood layer. However, if pet stains have deeply penetrated the wood or if scratches are exceptionally deep, the sanding process might need to be more intensive, removing more wood, or in severe cases, the damage might be too deep to fully remove without replacing boards.
Final Thoughts
Understanding how many times you can sand hardwood floors is crucial for their longevity. While solid hardwood floors offer multiple sanding opportunities, typically 3 to 5, engineered floors have a much more limited capacity due to their thin wear layer. Always assess the wear layer thickness, consider the wood species, installation quality, and explore less invasive alternatives like screen and recoating before committing to a full sanding.
Proper maintenance and professional assessment are your best tools in preserving your floors for generations.
Sponsored / affiliate links. As an Amazon Associate I earn from qualifying purchases. I may earn additional commission from eligible campaigns.